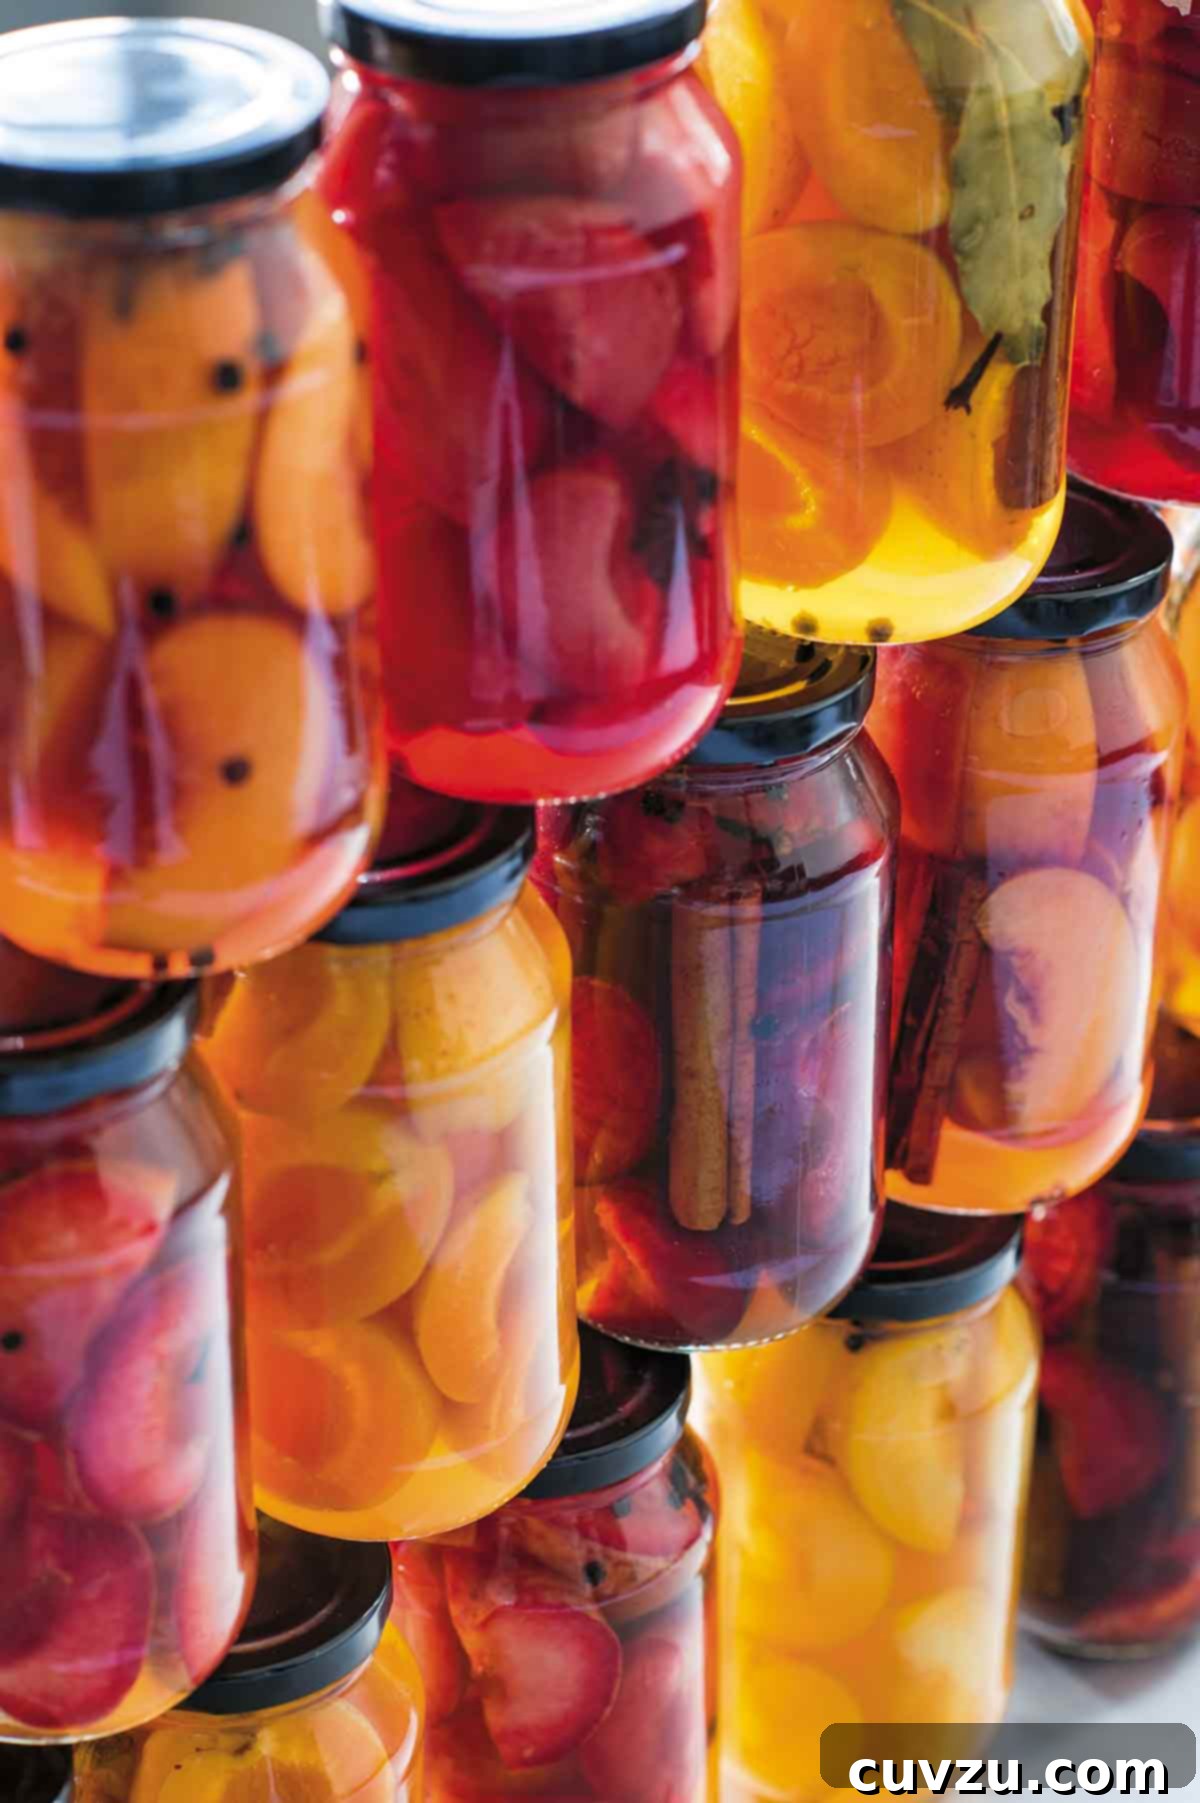
Summer’s bounty is a fleeting treasure, and there’s no better way to capture its vibrant essence than through the art of pickling. Learning how to preserve stone fruits is an incredibly rewarding and surprisingly simple process that transforms fresh peaches, plums, and nectarines into sweet-tart delights you can savor all year round. Imagine the taste of sun-kissed summer fruit bringing a burst of flavor to your table long after the harvest season has ended.
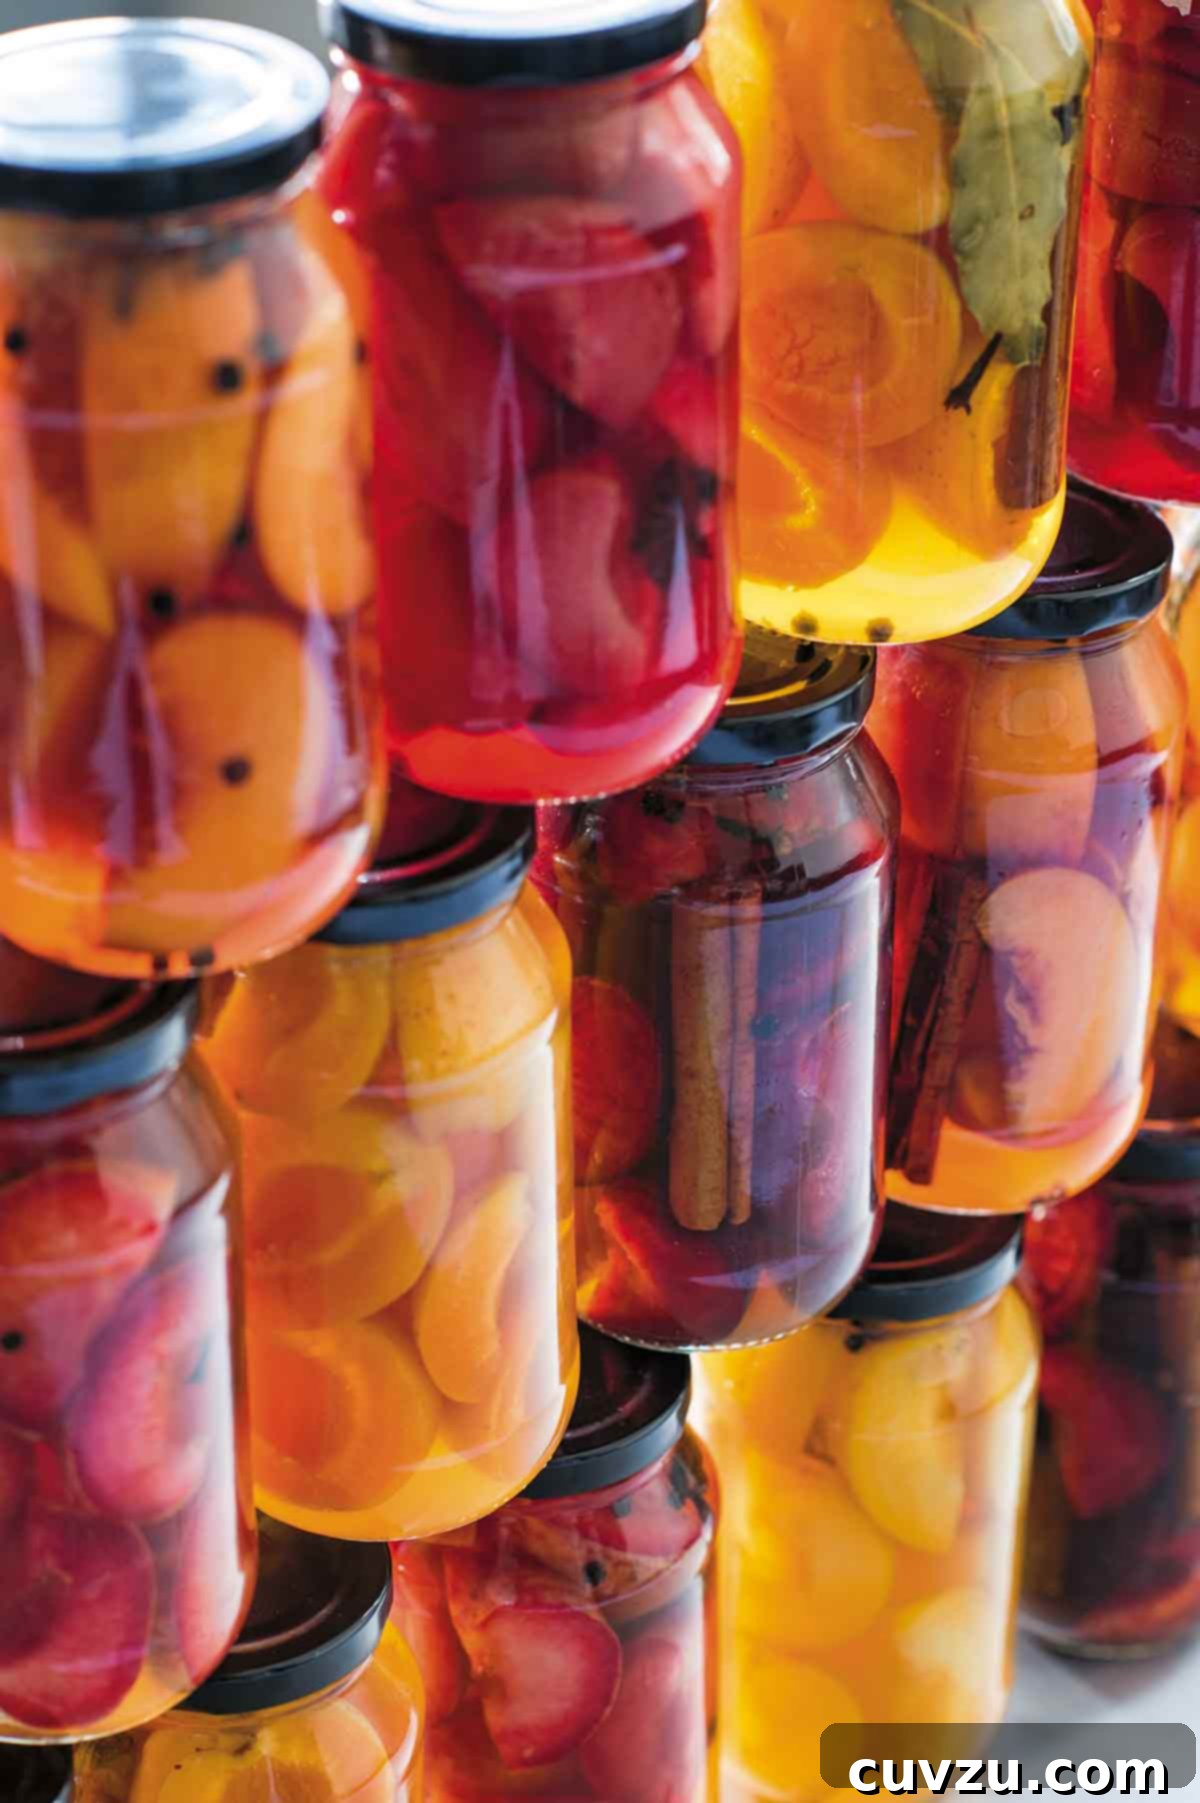
These exquisitely balanced pickled stone fruits are more than just a preserve; they are a conversation starter, a versatile condiment, and a secret weapon in your culinary arsenal. With their slightly lip-puckering tang and gorgeous, jewel-toned hues, they elegantly enhance a variety of dishes. Slip these vibrant pickles onto a sophisticated cheese board, toss them into a crisp purslane salad, or serve them alongside succulent roasted or grilled lamb chops for a perfect complement that will leave your guests impressed.
Why Pickle Stone Fruits? Extending Summer’s Flavors
Preserving seasonal produce is an age-old tradition, and pickling stands out as one of the easiest and most flavorful methods, especially for fruits. While jams and jellies offer sweetness, pickling introduces a delightful sweet-tart complexity that elevates stone fruits to new gastronomic heights. This process isn’t just about extending shelf life; it’s about transforming flavor and creating a product that offers immense versatility in the kitchen.
The Unique Appeal of Pickled Stone Fruits
- Extended Enjoyment: The most obvious benefit is the ability to enjoy the peak flavors of summer peaches, plums, and nectarines throughout the colder months. A jar of pickled fruit is a little ray of sunshine on a dreary winter day.
- Flavor Transformation: The pickling brine, typically a blend of vinegar, sugar, and spices, acts as a magical elixir. It softens the fruit slightly, infuses it with aromatic notes, and balances its inherent sweetness with a bright acidity. This creates a more complex and intriguing flavor profile compared to fresh or cooked fruit.
- Culinary Versatility: Unlike traditional fruit preserves, pickled fruits bridge the gap between sweet and savory. They can brighten a hearty meal, add a gourmet touch to appetizers, or even become a surprising dessert component.
- Simplicity: While canning might seem intimidating, this particular method for pickling stone fruits is straightforward and requires minimal specialized equipment, making it accessible even for novice preservers.
Preserved Fruit FAQs: Your Questions Answered
Absolutely! Customizing your pickled fruit with various herbs and spices is highly encouraged and allows you to create truly unique flavor profiles. The possibilities are endless, so feel free to experiment with your favorite aromatics to complement the natural sweetness and tang of the fruit.
For peaches, consider adding fresh sprigs of rosemary for an earthy, piney note, or a few black peppercorns for a subtle spicy kick. Plums pair beautifully with warming spices like fresh ginger slices, star anise, or a pinch of allspice. Nectarines can be enhanced with vanilla bean, cardamom pods, or even a bay leaf for a more savory undertone. If you prefer a more pronounced savory pickle that leans less sweet, you can easily cut the sugar content by up to half without compromising the preservation process.
Proper storage is key to ensuring the longevity and safety of your preserved fruit. Unopened jars of pickled stone fruit should be stored in a cool, dark place, such as a pantry or cellar, where they can last for up to one year. Once a jar has been opened, it must be stored in the refrigerator. For best quality and safety, plan to consume the refrigerated pickled fruit within a month after opening. Always check for signs of spoilage like mold, off-smells, or bulging lids before consuming.
The world of fruit pickling is vast and exciting! You can pickle nearly any type of fruit, often with delicious results. Beyond stone fruits like peaches, plums, and nectarines, other fantastic options include small, firm fruits that hold their shape well in brine. We particularly love pickled cherries for their sweet-tart burst and pickled grapes, which make an unexpected and delightful addition to cheese boards and salads. Berries, figs, and even melon can also be successfully pickled, each offering a unique twist on this ancient preservation method.
Choosing and Preparing Your Stone Fruits for Pickling
The success of your pickled stone fruits begins with selecting the right produce. Look for fruits that are firm and ripe, but not overly soft or mushy. Overripe fruit will break down too quickly in the pickling brine, resulting in a less appealing texture. Gently press the fruit; it should yield slightly but still feel substantial. Avoid any fruit with blemishes, bruises, or signs of decay.
Once selected, thoroughly wash your peaches, plums, or nectarines. Depending on your preference, you can peel peaches and nectarines, though leaving the skin on adds a rustic charm and additional texture. Plums are typically pickled with their skins on. For all stone fruits, the pit must be removed. Carefully cut the fruit into quarters or wedges, ensuring uniform sizes for even pickling. A common rule of thumb is to use about 2 to 2.5 pounds (around 1 kg) of prepared fruit for every 3-4 pint jars you plan to fill, but this can vary based on fruit density and how tightly you pack the jars.
Essential Equipment for Safe Home Pickling
While this recipe is relatively simple, having the right equipment ensures both safety and success. You’ll need:
- Pint-size Jars (500 ml) with Seals and Bands: Ensure jars are specifically designed for canning. New lids are crucial for a proper seal.
- Large Pot or Hot Water Canner: This is for sterilizing jars and processing the filled jars. A dedicated water bath canner offers better heat distribution, but a large stockpot with a rack at the bottom will work in a pinch.
- Jar Lifter: A tool essential for safely handling hot jars.
- Wide-Mouth Funnel: Helps transfer fruit and brine into jars without spillage.
- Ladle: For pouring the hot brine.
- Non-Reactive Saucepan: For preparing the pickling brine (stainless steel is ideal).
- Clean Towels: For wiping jar rims and general clean-up.
- Butter Knife or Chopstick: Used to remove air bubbles from packed jars.
How to Preserve Stone Fruits: A Step-by-Step Guide
David Leite
Equipment
- Pint-size jars with seals and bands; hot water canner (optional but recommended for long-term storage)
Ingredients
For the pickling brine
- 2 1/2 cups apple cider vinegar
- 1 1/4 cups cold water
- 9 ounces granulated or raw sugar
- 2 pounds 4 ounces firm ripe stone fruit of your choice, such as peaches, plums, or nectarines, cut into quarters or wedges
For each jar (pint size)
- 1 cinnamon stick
- 4 allspice berries
- 1 clove
- 5 black peppercorns
Instructions
Make the pickling brine
-
In a medium, non-reactive saucepan over low heat, combine the apple cider vinegar, cold water, and sugar. Stir consistently until all the sugar has completely dissolved. Bring the mixture to a gentle simmer, then immediately turn off the heat. Set aside.
Prepare and Fill the Jars of Pickled Stone Fruits
-
Sterilize 3 or 4 pint-sized (500 ml) canning jars. This can be done by submerging them in boiling water for at least 10 minutes or following the instructions for your hot water canner. Keep the jars warm until ready to fill.
-
Once the sterilized jars are cool enough to safely handle, place the specified spices (cinnamon stick, allspice berries, clove, black peppercorns) into the bottom of each jar. Firmly pack your prepared stone fruit quarters or wedges into the hot jars, ensuring you leave approximately 1/2 inch (1 cm) of space at the top, known as “headspace.”
☞ TESTER TIP: Always use very firm fruit for pickling. Softer fruit varieties will not retain their texture and will break down too quickly in the brine, resulting in a mushy product.
-
Return the pickling brine to a boil. Carefully and slowly pour the hot brine over the packed fruit in each jar, ensuring all the fruit is completely submerged. Maintain the 1/2 inch (12 mm) headspace at the top of the jar. Use a canning funnel for easier pouring.
-
To remove any trapped air bubbles, gently tap each filled jar on your work surface. Then, carefully slide a clean butter knife or a chopstick along the inside rim of the jar, pressing gently against the fruit to release any hidden air pockets. This is crucial for a good seal. Wipe the rims of the jars thoroughly with a clean, damp paper towel to ensure no brine or fruit residue is present, which could prevent a proper seal. Securely place the lids and bands onto the jars.
-
Process the filled and sealed jars in a hot water canner or a large pot for 15 minutes. Ensure the jars are completely covered by at least 1-2 inches of boiling water throughout the entire processing time. Adjust processing time according to your altitude and the canner manufacturer’s instructions. For comprehensive and up-to-date information on safe home canning practices, consult the USDA’s Complete Guide to Home Canning.
-
After processing, carefully remove the hot jars from the canner and place them on a towel-lined surface, allowing space between each jar. Let them cool undisturbed for 12 to 24 hours. You should hear a “ping” sound as the lids seal. Once cooled, check the seals by pressing down on the center of each lid; if it doesn’t flex, the jar is sealed. Store your sealed pickled stone fruits in a cool, dark place for up to 1 year. Once a jar is opened, refrigerate it and aim to use the contents within a few weeks for best flavor and quality.

Adapted From
Salads & Pickles
Buy On Amazon
Nutrition Facts
Serving: 1 portion
Calories: 145 kcal
Carbohydrates: 34 g
Protein: 1 g
Fat: 1 g
Saturated Fat: 1 g
Monounsaturated Fat: 1 g
Sodium: 9 mg
Fiber: 2 g
Sugar: 31 g
Nutrition information is an approximation.
Tried this recipe?
Mention @leitesculinaria or tag #leitesculinaria!
Serving Suggestions: Get Creative with Pickled Stone Fruits
The beauty of pickled stone fruits lies in their incredible versatility. Their sweet-tart profile allows them to complement a wide range of dishes, adding a gourmet touch with minimal effort.
- Cheese Boards & Charcuterie: This is a classic pairing. The acidity of the pickled fruit cuts through the richness of creamy cheeses like brie or goat cheese, and provides a refreshing counterpoint to sharp cheddars or robust blues. They also pair wonderfully with cured meats like prosciutto or salami.
- Salads: Chop and add to green salads for a burst of unexpected flavor. They work well with bitter greens like arugula or radicchio, combined with toasted nuts, crumbled feta or goat cheese, and a light vinaigrette. Try them in grain salads with quinoa or farro.
- Main Courses: Serve alongside roasted pork loin, grilled chicken breasts, or pan-seared duck for a sophisticated accompaniment. The sweet-tart notes can act as a glaze or relish, brightening savory meats. They are also excellent with lamb, as noted in the introduction, balancing its rich flavor.
- Sandwiches & Burgers: Finely dice pickled plums or peaches to create a unique relish for beef burgers, pulled pork sandwiches, or even grilled cheese.
- Desserts: Don’t limit them to savory! The sweetness in the brine makes them a surprisingly delicious topping for vanilla ice cream, plain yogurt, panna cotta, or even as a filling for tarts with a crumble topping.
- Cocktails: Muddle a few pieces of pickled fruit into a gin and tonic or a bourbon smash for a unique and complex cocktail experience. The brine can even be used in small quantities to add a nuanced flavor.
Recipe Testers’ Reviews: Real Experiences, Delicious Results
Insights from Our Kitchens
Jessica Berndt
I must admit, I had no idea what to expect when I embarked on this pickled stone fruits recipe. My pickling experience had previously been limited to traditional dill cucumbers. However, the description suggested serving these on a cheese board – and as someone who rarely passes up an opportunity to assemble a beautiful cheese spread – I was intrigued enough to give it a whirl. What a revelation! This recipe has truly opened up a whole new world of pickling and preserving for me.
The entire process came together with surprising ease and efficiency. I pre-sterilized my jars the night before, which saved time. The following day, I spent about 20 minutes quartering my nectarines while the vinegar, water, and sugar were gently heating on the stove. From start to finish, including the final water bath canning, the active preparation took less than an hour. It’s an incredibly fast method for such a rewarding outcome.
We allowed the stone fruit pickles to rest for a couple of days to let the flavors meld before tasting. We enjoyed them last night as part of a varied cheese board, featuring both sharp and creamy selections. I was genuinely surprised by how much I loved them with the Challerhocker, a sharper Swiss cheese, where the pickles provided a vibrant contrast. They were equally beautiful and harmonious with the creamy Fromager D’affinois.
These pickles strike such a perfect balance of sweet and tart that they could even venture into dessert territory. I imagine them served alongside a scoop of vanilla ice cream, perhaps with a sprinkle of brown sugar, for a truly fantastic sweet-and-sour treat. I managed to fill four pint jars using six medium-sized nectarines. I’m already looking forward to experimenting further – I bet a star anise pod would be a lovely addition to the brining spices, and I plan to try pickling plums next!
Joanne Richard
While I enjoy making sweet preserves, I also have a deep appreciation for savory ones. This recipe for pickled stone fruits is definitely a keeper in my book, offering a fantastic balance that works across many dishes.
I decided to use a variety of fruits, preparing each into wedges: one jar of peaches, which I customized with fresh rosemary from my garden and black peppercorns, and two jars filled with a mix of nectarines and plums, seasoned with the recommended cinnamon, allspice, clove, and peppercorns. The recipe itself is incredibly straightforward and easy to follow, making the process enjoyable.
We taste-tested the rosemary-peppercorn peaches after about three weeks of resting. At that point, the apple cider vinegar was quite prominent, with a subtle hint of rosemary peeking through. I suspect that with a few more weeks in the jar, the vinegar will mellow out, allowing the sweetness of the fruit and the aromatic spices to truly shine. We enjoyed these initial samples alongside roasted chicken, where they provided a bright, zesty contrast.
I’ve already started thinking about other applications. If I were to dice the fruit instead of cutting into wedges, it would make an excellent relish for beef, pork, or even Indian-spiced chicken burgers. They would also be a fantastic addition to an appetizer plate, complementing various cheeses and cold cuts.
The next time I make this recipe, I’ll likely increase the sugar slightly to lean more into the sweet-savory profile. I’m also considering a fun addition: a little “dab” of brandy, dark rum, or even an orange liqueur to the brine for an extra layer of complexity and warmth.
Final Thoughts on Preserving Stone Fruits
Mastering how to preserve stone fruits through pickling is a culinary skill that truly pays dividends. It allows you to extend the fleeting joy of summer harvests, transform familiar fruits into unexpected flavor bombs, and stock your pantry with a versatile condiment that will elevate countless meals and snacks. With this easy recipe, you can confidently embark on your pickling journey, knowing that delicious, sweet-tart perfection awaits. Enjoy the satisfaction of homemade goodness and the delight of tasting summer’s best, anytime you wish.