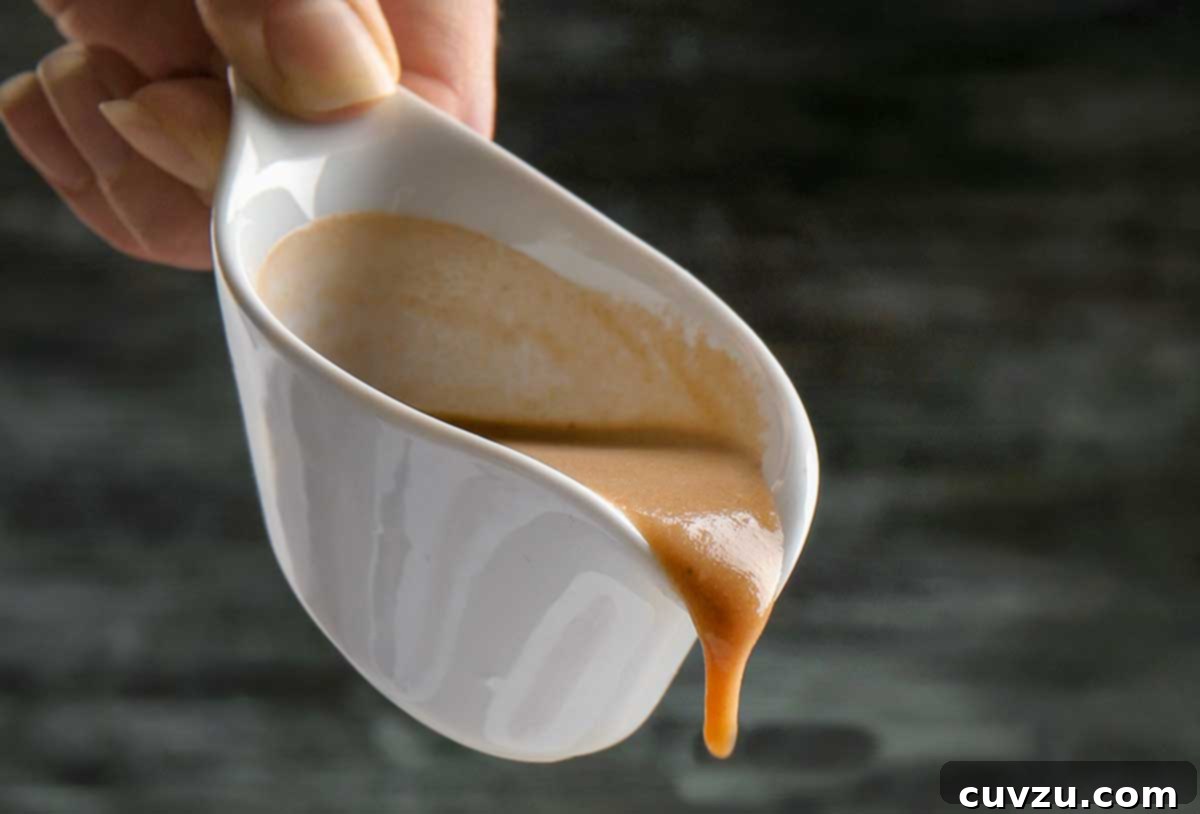
Mastering Thick, Flavorful Gravy: A Step-by-Step Guide to Perfect Consistency
Achieving that perfect, luscious gravy is often considered the pinnacle of a great meal, whether it’s a festive holiday roast or a simple weeknight dinner. Yet, for many home cooks, the quest for truly thick, lump-free, and flavorful gravy can feel like an unending battle. You’re not alone if you’ve ever found yourself stirring a disappointingly thin sauce, wondering how to transform it into the rich, velvety accompaniment it was meant to be. The good news is, the secret to creating impressive, thick gravy that delights every palate is simpler than you might think.
In this comprehensive guide, we’ll delve into the common pitfalls of gravy making and, more importantly, equip you with expert-approved techniques to conquer them. From understanding the nuances of different thickeners to mastering the art of whisking, we’ll ensure your gravy game is strong, leaving you with a confidence boost in the kitchen and rave reviews from your diners. Prepare to banish runny, pasty gravies from your repertoire forever and welcome a new era of culinary excellence.
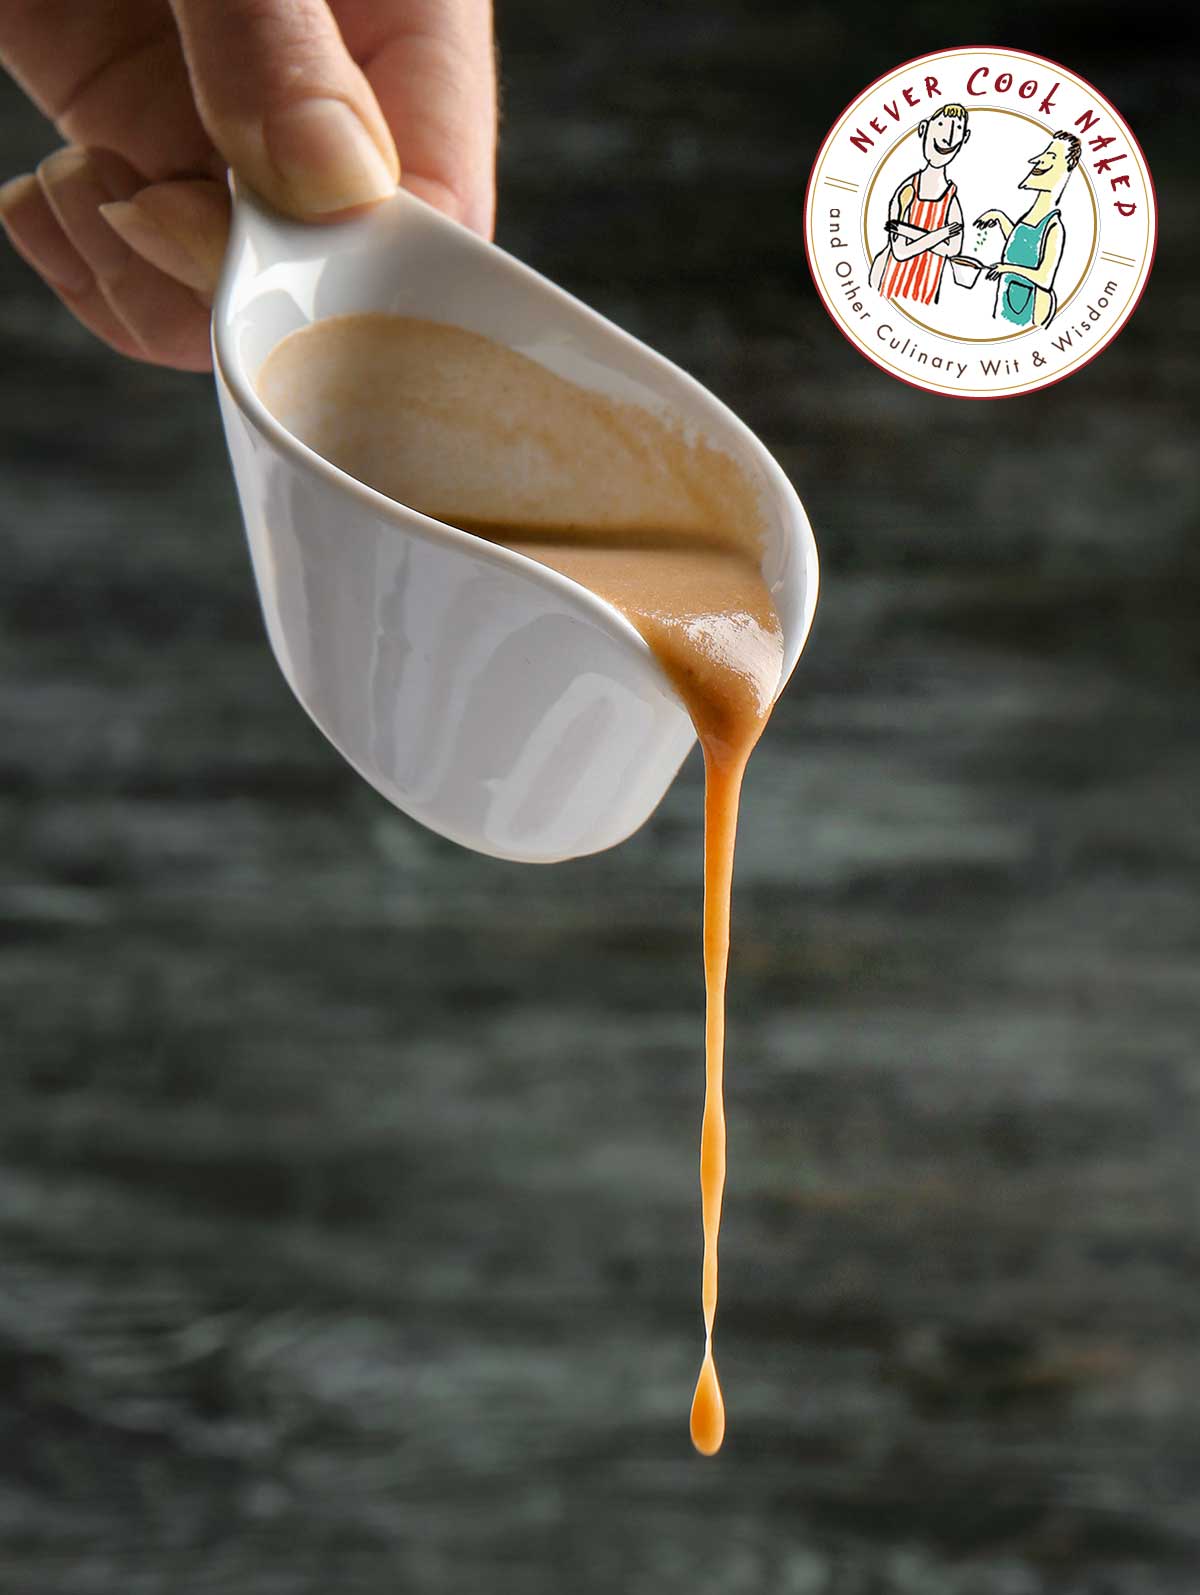
The Gravy Conundrum: Understanding and Solving Common Problems
The frustration of a runny or overly thick, pasty gravy is a sentiment shared by many aspiring chefs. Often, home cooks attempt to thicken their sauces by simply adding more flour directly to the hot liquid, a method that frequently leads to a lumpy texture and, as many discover, an unappetizing raw, floury taste. This issue isn’t just a matter of taste; it’s a textural misstep that can overshadow an otherwise perfectly cooked meal.
The “Never Cook Naked Guys,” our culinary experts, regularly receive pleas for help regarding this very dilemma. One reader, “Runny Without Reason,” perfectly articulated the challenge: “I’m always flummoxed by sauces. I can never get mine to thicken properly. My grandmother used to add flour by the tablespoon to gravy, but when I try this, I always end up with a sauce that has a raw, pasty taste. Not sure if it’s the heat level, the stirring action, the amount of flour, or…?”
The experts clarify a fundamental truth: raw flour tastes like raw flour. While your grandmother’s gravy might have been nostalgic, it’s highly likely that any raw flour taste was simply unnoticed or politely overlooked. The key to truly exceptional gravy lies not just in adding a thickener, but in understanding how to properly incorporate and cook it out. Below, we present three distinct, yet equally effective, solutions to elevate your gravy from runny disappointment to thick, savory perfection. Choose the method that best suits your comfort level and ingredients on hand.
Solution 1: Mastering Flour for Perfectly Thick Gravy
Flour is the most traditional thickener for gravy, and when used correctly, it yields a rich, opaque sauce that is both comforting and delicious. The common mistakes usually stem from the type of flour used, the quantity added, and insufficient cooking time. By following these precise steps, you can overcome these challenges and achieve a smooth, lump-free, and perfectly flavored gravy.
The Right Flour and Gradual Addition
First and foremost, the choice of flour matters significantly. Opt for all-purpose flour. Avoid bread flour, which has a higher protein content and can make your gravy chewy and gluey, or whole-wheat pastry flour, which has less thickening power and can impart an unwanted flavor. All-purpose flour strikes the perfect balance for gravy making.
The trick to avoiding lumps and that dreaded raw flour taste is in the method of addition and cooking. Instead of dumping in large amounts, add flour in small increments – a mere 1 to 2 teaspoons at a time – while continuously whisking. This gradual approach allows the flour to disperse evenly into the hot liquid without clumping. For an average batch of gravy (around 2-3 cups), you might need 2-4 tablespoons of flour in total, but always add it slowly and assess the consistency as you go.
The Art of Whisking and Cooking Out the Flour Taste
Once you’ve added a small amount of flour, whisk with vigor and abandon. This continuous whisking action is crucial for several reasons: it breaks up any potential lumps, helps distribute the flour evenly, and prevents the gravy from sticking to the bottom of the pan. As you whisk, you’ll notice the gravy beginning to thicken. Don’t stop whisking when you reach the desired consistency.
This is perhaps the most critical step often overlooked: continue cooking and whisking for an additional 30 to 60 seconds (or even up to 2 minutes for larger batches) after the gravy has reached your preferred thickness. This extended cooking time is essential for thoroughly cooking the flour and eliminating that raw, pasty taste. The heat allows the starch molecules in the flour to fully gelatinize, creating a stable, smooth thickness while simultaneously cooking off any undesirable raw flour flavor. Without this crucial step, even perfectly thickened gravy can fall flat in taste.
Solution 2: Choosing an Alternate Thickener – The Power of Starch
For those looking for an alternative to flour, perhaps due to dietary restrictions, a desire for a clearer sauce, or simply a less finicky approach, starches offer excellent solutions. While cornstarch is a common go-to, our experts recommend potato starch for its superior qualities in gravy applications.
The Benefits of Potato Starch and Proper Preparation
Potato starch stands out from other starches like cornstarch for several reasons. It creates a gravy that is less gummy and has a beautifully clear, creamy finish, allowing the rich color of your pan drippings to shine through. It’s also a fantastic gluten-free option for those with sensitivities. Cornstarch, while effective, can sometimes impart a slightly cloudy appearance and a texture that can feel a bit more “slippery” or overly viscous.
The absolute golden rule when using potato starch (or any starch slurry) is that it must be dissolved in cold water before it’s added to a hot gravy or sauce. Adding starch directly to hot liquid will cause it to clump instantly and irrevocably, creating frustrating lumps that are almost impossible to whisk out. To create a slurry, simply whisk one tablespoon of potato starch into one tablespoon of cold water. This small amount is typically plenty for a small cruet of gravy (about 1.5-2 cups). For larger batches, you can scale this ratio up, always ensuring equal parts starch and cold water.
Adding and Activating Potato Starch for Instant Thickness
Once your potato starch slurry is prepared, add it slowly to your pan of runny gravy while it’s still on the heat. Immediately begin whisking without stopping. As you continue to whisk, bring the sauce to a full, rolling bubble. This is crucial for activating the starch. Starch molecules need high heat to swell and burst, which is what causes the gravy to thicken almost instantly. You’ll notice a dramatic change in consistency within seconds of it reaching a full boil.
Unlike flour, which requires continued cooking to eliminate a raw taste, potato starch is flavorless and requires minimal cooking once thickened. As soon as your gravy reaches the desired thickness and has come to a full bubble, it’s done. This quick thickening action makes potato starch a favorite for last-minute gravy adjustments or for those who prefer a rapid solution.
Solution 3: The Classic French Technique – Beurre Manié
For an elegant and foolproof method favored by professional chefs, look no further than the beurre manié (pronounced “burr mah-nee-yay”). This traditional French technique literally means “kneaded butter,” and it offers an incredibly effective way to thicken sauces while simultaneously enriching their flavor and preventing lumps.
What is Beurre Manié and How to Make It?
A beurre manié is a simple paste made from equal parts unsalted butter and all-purpose flour, kneaded together until smooth. The magic of this method lies in how the fat (butter) coats the flour particles. This coating prevents the individual flour molecules from clumping together when introduced to hot liquid, ensuring a perfectly smooth gravy every time. It also helps to prevent the overwhelming “flour-ish” taste that can occur with improperly cooked flour.
To make a basic beurre manié, start with softened, but not melted, unsalted butter. In a small bowl, combine equal weights or volumes of butter and all-purpose flour. For example, use one tablespoon of softened butter and one tablespoon of flour. Use the back of a spoon, a fork, or even your clean fingertips to knead them together until a smooth, uniform paste forms. It should have the consistency of a soft dough or putty.
Adding Beurre Manié to Your Gravy and Storage Tips
Once your beurre manié is ready, add it to your simmering gravy by the teaspoon, whisking constantly over the flame. The butter in the paste will melt, releasing the coated flour particles gradually and thickening the sauce. Continue to add small amounts and whisk until you achieve the desired rich, velvety consistency. Just like with direct flour addition, it’s still wise to continue whisking for a minute or two after reaching your desired thickness. This ensures any remaining raw flour flavor is thoroughly cooked out, even though the butter helps to mitigate it significantly.
One of the great advantages of beurre manié is its make-ahead potential. You can prepare a larger batch of the paste and wrap the remainder tightly in plastic wrap. Store it in the refrigerator for up to a week, or freeze it for several months. This means you’ll always have a secret weapon ready whenever the urge for perfectly thickened gravy strikes, making it an indispensable tool for busy cooks.
Beyond the Thickener: General Tips for Superior Gravy
While the thickening method is paramount, several other factors contribute to truly exceptional gravy. Incorporating these general tips will elevate your gravy from merely thick to extraordinarily flavorful.
Flavor First: Pan Drippings and Broth
The foundation of any great gravy is flavor. Always start with rich pan drippings from your roasted meats. These drippings are packed with savory goodness. After removing your roast, deglaze the pan with a little wine, broth, or even water, scraping up all the delicious browned bits (fond). This liquid forms the base of your gravy. Supplement with high-quality beef, chicken, or vegetable broth to achieve your desired volume and depth of flavor.
Skimming Fat and Seasoning
Before thickening, consider skimming off any excess fat from your pan drippings. While a little fat adds richness, too much can make the gravy greasy. A fat separator can be helpful, or you can simply spoon off the top layer once the drippings settle. Finally, remember to taste and adjust your seasonings. Gravy often benefits from a pinch of salt, freshly ground black pepper, and sometimes a dash of herbs like thyme or sage, or even a splash of Worcestershire sauce or soy sauce for added umami. Seasoning should be done gradually and tasted along the way, especially after thickening, as the flavor can concentrate.
Our very clever, very clothed Never Cook Naked columnists are at your disposal, able to troubleshoot everything from questionable table etiquette to tricky cooking techniques (as well as, natch, proper cooking attire). Curious to learn more solutions to culinary conundrums? Just ask! Drop us a comment below.
Originally published November 21, 2021. Updated and expanded for comprehensive guidance.