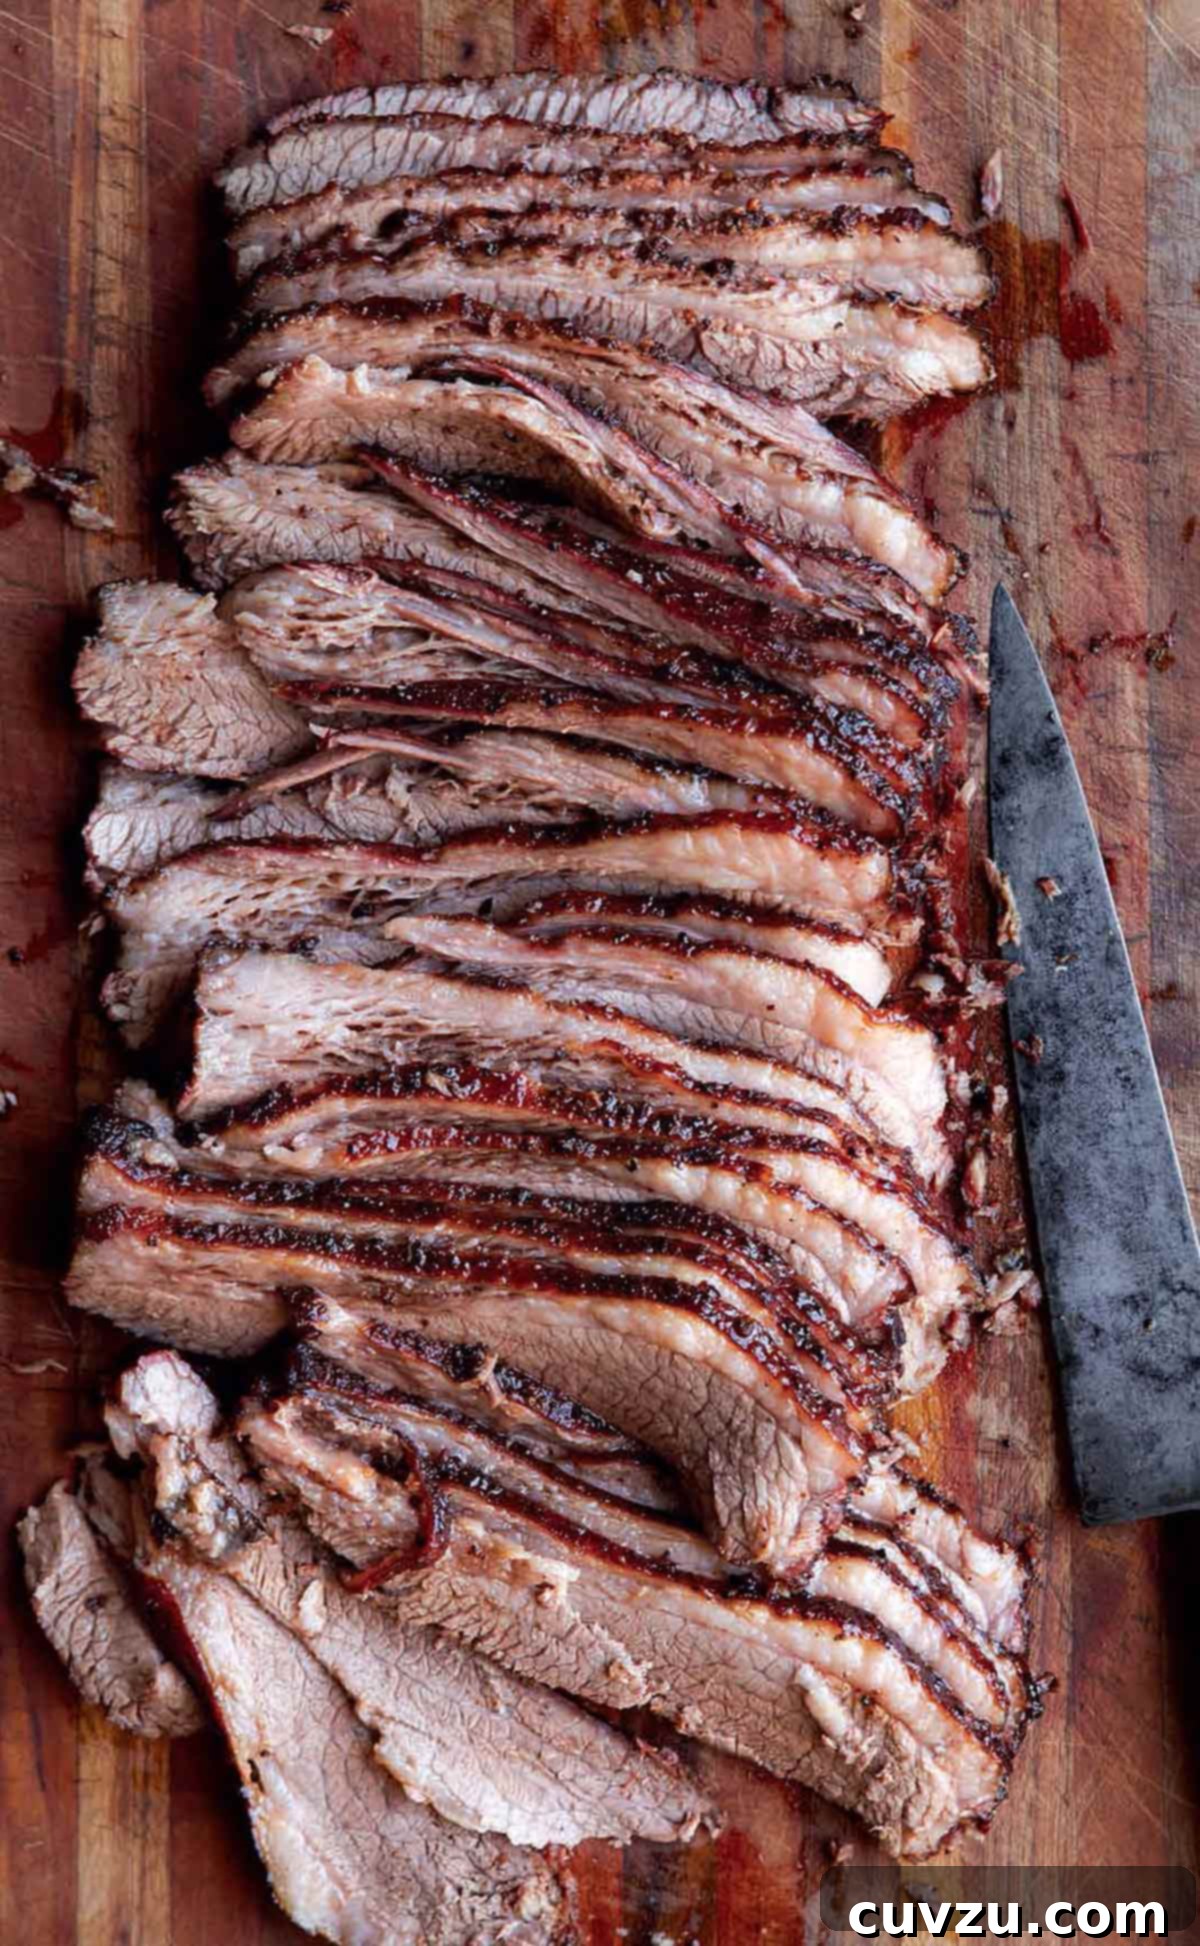
There are few culinary experiences as revered and deeply satisfying as biting into a perfectly smoked Texas brisket. It’s more than just a dish; it’s a testament to patience, precision, and the pure, unadulterated flavor of beef. Forget complicated rubs and excessive sauces; authentic Texas brisket is about allowing the quality of the meat and the magic of low-and-slow smoke to shine through. This guide will walk you through the process of creating a sublime smoked brisket right in your own backyard, a masterpiece that requires nothing but beefy exquisiteness.
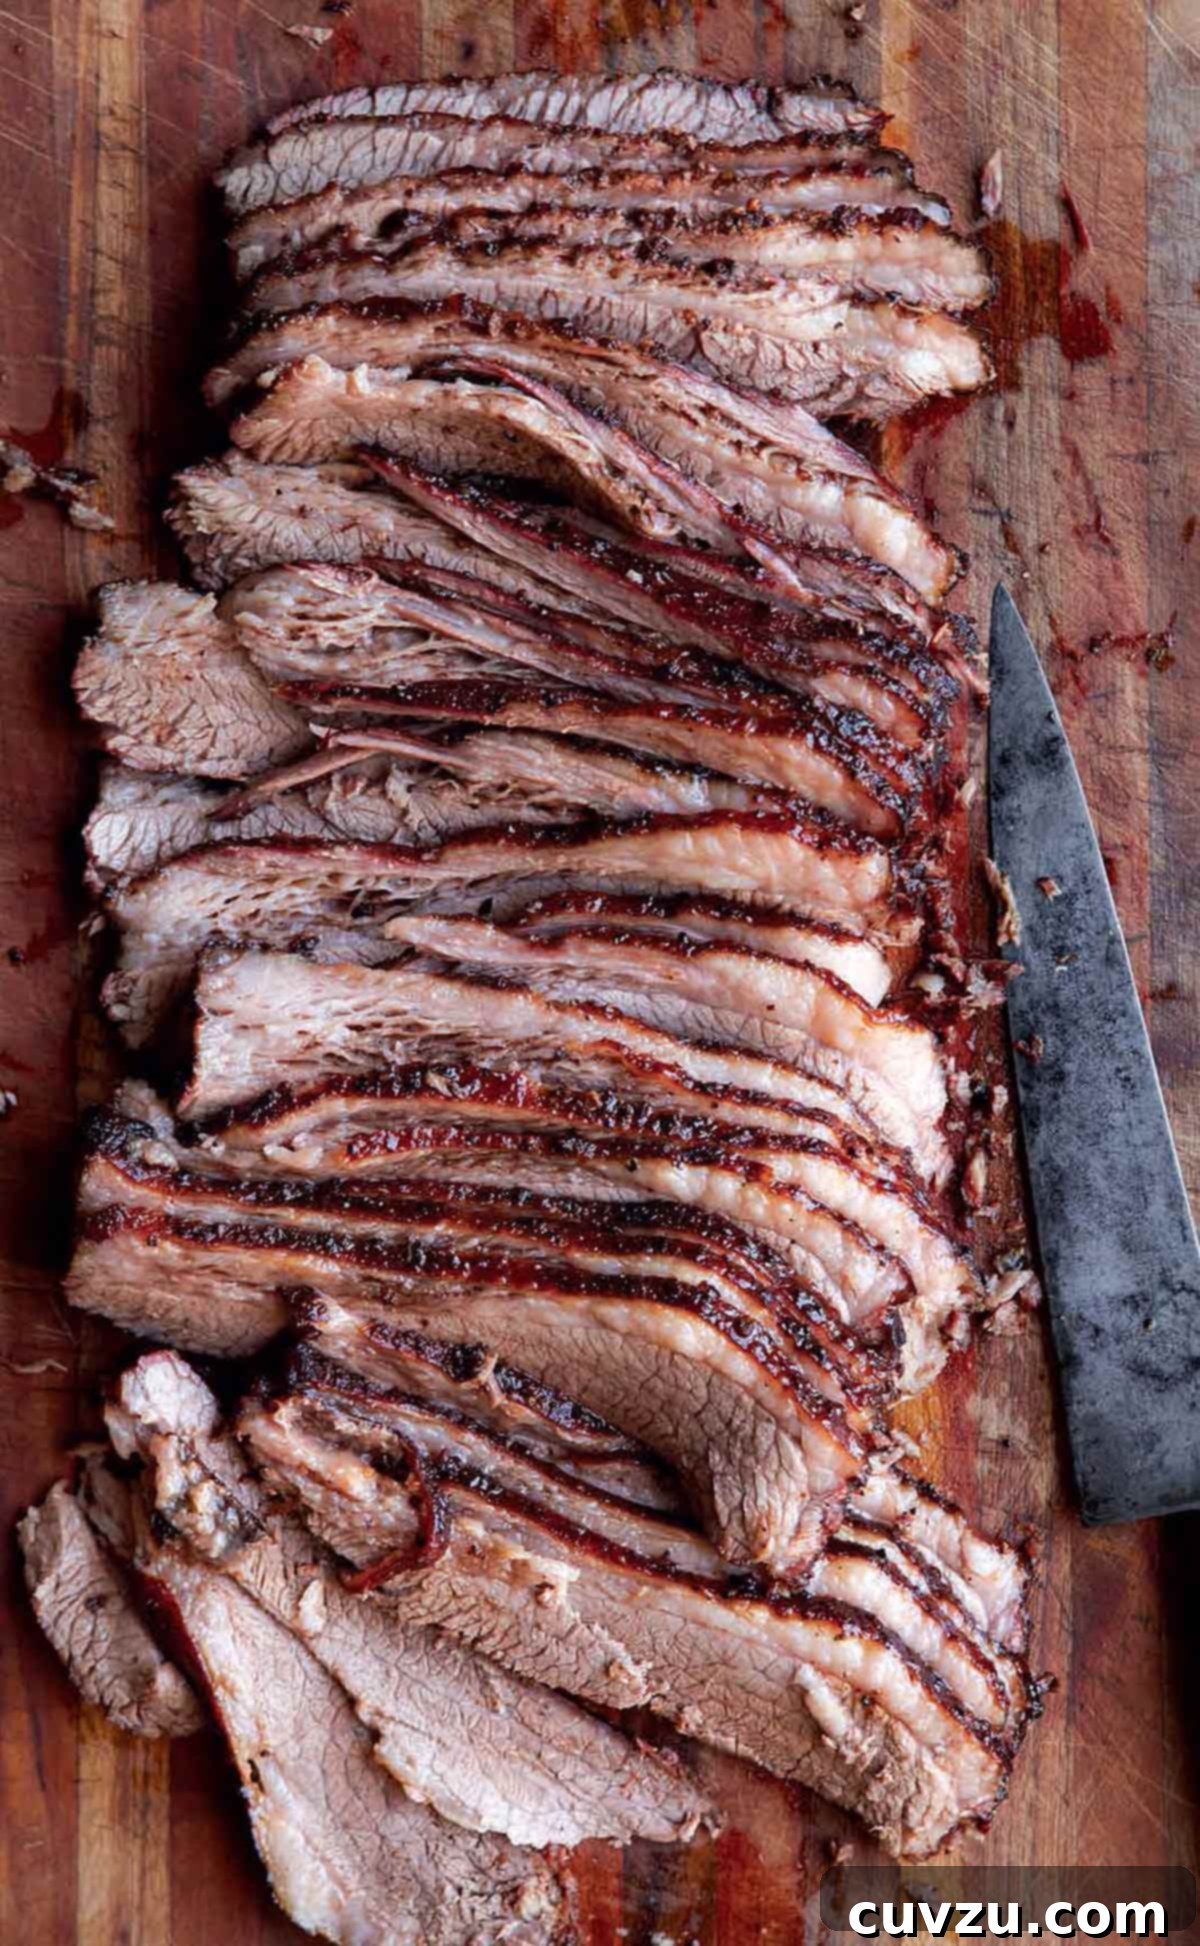
Mastering Texas-style brisket at home means unlocking a level of tenderness, smokiness, and rich flavor that often seems reserved for seasoned pitmasters. But with the right approach and a dedication to the “low and slow” method, you too can achieve an obscenely tender and exquisitely smoky BBQ brisket that might just be the best you’ve ever tasted. Prepare to impress, or perhaps, solidify your reputation as a backyard BBQ legend.
WHAT IS A TEXAS-STYLE BRISKET?
To truly understand Texas brisket, one must first understand the cut itself. Brisket is a large, primal cut of beef taken from the lower chest or breast of a cow. It’s notoriously tough due to the amount of connective tissue, which is precisely why it thrives under long, slow cooking methods like smoking. A full brisket, often referred to as a “packer” brisket, comprises two distinct muscles: the “flat” and the “point” (also known as the deckle), separated by a thick layer of fat.
- The Flat (or “Lean”): This is the larger, leaner portion of the brisket, characterized by its long, flat shape. It’s often sold separately for braising or slow-cooking, and is the part typically sliced against the grain for serving. When smoked properly, it yields beautiful, uniform slices. However, if cooked alone, it can dry out easily due to its lower fat content.
- The Point (or “Fatty”): This is a thicker, fattier, and more irregularly shaped muscle that sits on top of the flat. It contains a higher marble of fat and more connective tissue, making it incredibly flavorful and succulent when rendered down. The point is famously used to make “burnt ends,” those glorious, crispy, caramelized nuggets of brisket that are a BBQ delicacy.
A true Texas brisket utilizes the entire “full packer” cut. This is crucial because the fat cap and the intermuscular fat between the flat and the point render down during the long smoking process, basting the meat and keeping it incredibly moist and flavorful. When selecting a brisket, look for one weighing between 8 to 16 pounds (or even more for larger gatherings) with a good, uniform fat cap. The ideal Texas brisket preparation involves minimal seasoning—typically just a generous coating of coarse kosher salt and black pepper, sometimes with a touch of garlic powder. This simple rub allows the inherent beef flavor and the deep, rich smokiness of the wood to dominate, creating a distinct profile that sets Texas BBQ apart. The cooking method is strictly “low and slow,” maintaining a consistent low temperature (usually between 225°F to 275°F / 107°C to 135°C) for many hours, sometimes over 12-18 hours, depending on the size of the brisket and smoker stability. This extended cooking time slowly breaks down the tough collagen into gelatin, transforming the meat into an incredibly tender, melt-in-your-mouth experience.
THE ART OF SMOKING: YOUR TEXAS BRISKET RECIPE
Embark on your journey to pitmaster excellence with this step-by-step recipe for a truly authentic Texas brisket. This detailed guide ensures you have all the knowledge to achieve that coveted smoke ring, tender texture, and unforgettable flavor.
Texas Brisket
Texas brisket is a special thing: perfectly smoked BBQ brisket with a simple rub. It doesn’t need any accoutrements; it’s pure beefy exquisiteness. Here’s how to make it at home.
By David Leite
Mains
Southern
12 servings
613 kcal
25
12
18
30
Equipment
-
**Smoker or Grill:** A dedicated smoker, charcoal grill, or gas grill capable of indirect, low-temperature cooking for extended periods.
-
**Wood Chips/Chunks:** About 6 cups (540 grams) of wood chips (preferably oak, mesquite, or a blend), soaked in water for at least 30 minutes, plus 2 cups (180 grams) of dry wood chips. Wood chunks can also be used for longer smoke.
-
**Drip Pan:** Essential for charcoal grills to catch drippings and provide moisture.
-
**Instant-Read Thermometer:** Crucial for accurately monitoring the internal temperature of the brisket. A reliable probe thermometer for the smoker’s ambient temperature is also highly recommended.
-
**Aluminum Foil (Heavy-Duty) or Butcher Paper:** For wrapping the brisket during the second phase of cooking. Butcher paper is preferred by many pitmasters for maintaining a crispier bark.
-
**Cutting Board:** A large, sturdy cutting board with a juice groove for carving.
-
**Tongs or BBQ Gloves:** For handling the hot brisket.
-
**Water Spray Bottle (Optional):** For spritzing the brisket during the smoke to maintain moisture.
Ingredients
The beauty of Texas brisket lies in the simplicity of its ingredients, allowing the rich beef flavor and smoky essence to take center stage. Opt for high-quality components to achieve the best results.
- One (10-pound) beef brisket, fat trimmed to 1/4 inch (6 mm)
- 1/2 cup kosher salt
- 1/2 cup coarsely ground black pepper
- 1 tablespoon granulated garlic (optional, but highly recommended by many)
- Barbecue sauce for serving (optional, many Texans prefer it plain)
Instructions
Achieving a legendary Texas brisket involves careful temperature management, consistent smoke, and unwavering patience. Follow these steps for a bark that snaps, a smoke ring that impresses, and meat that melts in your mouth.
- Brisket Preparation: Remove the brisket from the refrigerator at least 1 hour, preferably 2-3 hours, before cooking. This allows the meat to come closer to room temperature, ensuring more even cooking. Carefully trim the excess fat from the brisket, leaving a uniform 1/4 inch (6 mm) fat cap on the leaner side. This fat will render down, moistening the meat without making it greasy. Season generously all over with the kosher salt and coarsely ground pepper, pressing the rub firmly into the meat to ensure it adheres well. If using, sprinkle with granulated garlic, then gently rub it over the salt and pepper. Don’t be shy with the rub; it forms the foundational “bark” and flavor.
-
Smoker Setup & Initial Smoke: Prepare your smoker, charcoal grill, or gas grill for smoking over low, indirect heat. The target grill temperature should be between 225°F to 250˚F (107°C to 120˚C).
- For Charcoal Grills: Bank lit coals on either side of the grill bed, leaving a strip in the center without heat. Place a drip pan filled with water in this center strip. Add 1 to 2 cups of your soaked wood chips (preferably oak or mesquite) to the hot coals just before placing the brisket. Keep the remaining soaked chips in water until ready to use. Replenish lit coals every few hours as needed to maintain temperature.
- For Gas Grills: Fill a smoker box with about 1/2 cup of soaked wood chips, or create a foil pouch with holes. Place it directly over a burner turned to high until it starts smoking, then reduce heat. Preheat the grill, turning off one or more burners to create an indirect-heat zone. The wood chips should begin to smolder and release a steady stream of “thin blue smoke” – this is ideal. To get more smoke without increasing grill heat, add a few dry chips to the soaked ones.
- For Dedicated Smokers: Follow your smoker’s specific instructions to maintain a consistent 225-250°F (107-120°C) using wood chunks for consistent smoke.
Once your setup is ready, brush and oil the grill grate to prevent sticking.
- The First Smoke Phase: Place the brisket on the grill grate, fatty side up, as far away from the direct heat source as possible. Close the lid and cook for 4 to 6 hours. During this phase, the brisket develops its flavorful “bark” and absorbs the initial smoke. Check the wood chips every 30 to 45 minutes, adding more (about 1/2 cup at a time) to keep the smoke levels constant and consistent. If using charcoal, add a chimney starter filled with glowing coals to replenish your fire as needed, ensuring stable temperatures. The brisket is ready for the next step when an instant-read thermometer inserted into the thickest part of the meat (the flat) registers between 150°F to 170˚F (66°C to 77˚C). This internal temperature range is often referred to as “the stall,” where moisture evaporating from the surface cools the meat, temporarily halting the temperature rise.
- The “Texas Crutch” (Wrapping): Once the brisket reaches 150-170°F (66-77°C) and has developed a desirable bark, remove it from the heat. This is a critical point where many pitmasters employ the “Texas crutch”—wrapping the brisket tightly in heavy-duty aluminum foil or unlined butcher paper. This technique helps to push the brisket through “the stall” by preventing further evaporative cooling, accelerating the cooking process, and retaining moisture. Return the wrapped brisket to the smoker or grill, or transfer it to a preheated 250˚F (120˚C) oven for an additional 4 to 6 hours. The brisket is ready when it is “probe tender” – meaning an instant-read thermometer slides into the thickest part of the flat with very little resistance, much like pushing it into soft butter. The internal temperature should register between 195°F to 205˚F (91°C to 96˚C). The total cooking time will typically range from 8 to 12 hours, but always cook to tenderness, not strictly to time or temperature.
- The Crucial Rest & Slicing: This step is arguably as important as the smoking itself. Move the wrapped brisket to a cutting board and let it rest, still wrapped, for at least 1 hour, or ideally 2 to 4 hours. For longer rests, you can place the wrapped brisket in an insulated cooler. Resting allows the internal juices to redistribute throughout the meat, resulting in a more tender and juicy final product. After resting, remove the foil (or butcher paper) and prepare to slice. Always slice the brisket thinly and AGAINST THE GRAIN. Slicing against the grain shortens the muscle fibers, making the meat feel more tender to eat. Arrange the slices on a platter and serve at once. While many Texans prefer their brisket unadorned, you can serve it with your favorite barbecue sauce, either warm or at room temperature.
Expert Tip: Maintaining a consistent grill temperature and smoke level is a true art. When smoking in a charcoal grill, keep a chimney starter filled with unlit coals ready. As your fire burns down, ignite a new batch in the chimney and add glowing coals to your existing firebox every 30 minutes to an hour to maintain that crucial low-and-slow heat.
Adapted From
The Total Grilling Manual
Buy On Amazon
Nutrition
Calories: 613 kcal
Carbohydrates: 7 g
Protein: 79 g
Fat: 28 g
Saturated Fat: 10 g
Cholesterol: 234 mg
Sodium: 1421 mg
Fiber: 3 g
Sugar: 1 g
Nutrition information is automatically calculated, so should only be used as an approximation.
Tried this recipe?
Mention @leitesculinaria or tag #leitesculinaria!
Recipe Testers’ Reviews: Real-World Brisket Success
Curious about how this Texas brisket recipe performs in real kitchens? Our dedicated recipe testers put it to the ultimate test, sharing their valuable insights and experiences. Their feedback confirms that with patience and adherence to the “low and slow” method, extraordinary results are within reach.
Lori Widmeyer
Simple perfection. So few ingredients came together to make the perfect brisket. It was so tender and juicy straight out of the foil that you could have cut it with a butter knife and you don’t even need the sauce. This is one of those recipes you won’t even want to try to improve. We ended up smoking a smaller brisket—only 5 pounds. If you do this, reduce the portion of rub appropriately as it will end up too salty or peppery and is perfect as written.
We have a grill with an offset smoke box so the smoke and heat are truly indirect. We used hardwood charcoal and soaked mesquite chips. To get more heat about halfway through the cooking process we used a charcoal chimney starter to ignite a new batch of charcoal to add to the existing. Simply adding charcoal to the existing firebox didn’t seem as successful as it didn’t always ignite quickly. This helped maintain the temperature between 225°F to 270°F degrees. It took 5 1/2 hours for our internal temperature to get over 150°F. We took it off about 155°F degrees and transferred it to the oven.
By this time our time management caused a problem…it was late at night. We still put the brisket in the oven but set the oven to go off in 4 hours. At 4:00 a.m. my husband removed the brisket from the oven and set it on the counter. About 6:00 a.m. he unwrapped the foil. The recipe had called for unwrapping the brisket to rest for 30 minutes but ours rested in foil for 2 hours. This small error did nothing to hurt the outstanding flavor and tenderness of the brisket. Reheated later it was still amazing but the succulent tender flavor when originally cut was superior to the reheated version.
That night we served this to a group including a true BBQ master and Texan who agreed this Texas brisket recipe was a 10/10. Looking forward to doing this one again. For our group, we made homemade BBQ sauce and served the brisket along with macaroni and cheese, fresh corn and several summer vegetable dishes, and salads.
Helen Doberstein
At first, I considered doing a half recipe but decided to go “whole hog” as it were when my butcher offered me a lovely 10-pound brisket at a special deal for testing. So I gladly spent a day tending to the grill with fabulous results. The rub is very simple and after applying it I did allow it to rest 8 hours in the fridge overnight. I’m not sure whether this made a big difference or not but it did have a decent bark on the meat by the end.
My grill may have been a little closer to 270°F degrees but that was needed to keep the wood chips smoking. I only had the 2 outside burners on med-low and all other burners were turned off. After 5 hours of cooking, I turned the burners to low and cooked it for a further 4 hours wrapped in foil. We allowed it to rest for 1 hour. The end result was meat with a dark bark on the outside and tender juicy meat inside.
We served it the first time with a grilled sweet potato salad and a green salad. Three of us took some of the leftovers for lunch the next day. Our second serving was in tortillas with mashed avocado, chopped onions and tomatoes, shredded lettuce, and Jack Daniels BBQ sauce. I also sent double servings each to the butcher (as a thank you) and a couple of elderly family members who couldn’t come up to take part in the taste test. The last servings were the tougher bits and bark ends. I chopped those up and will be adding them to a crock of baked beans later this week. A day well spent.