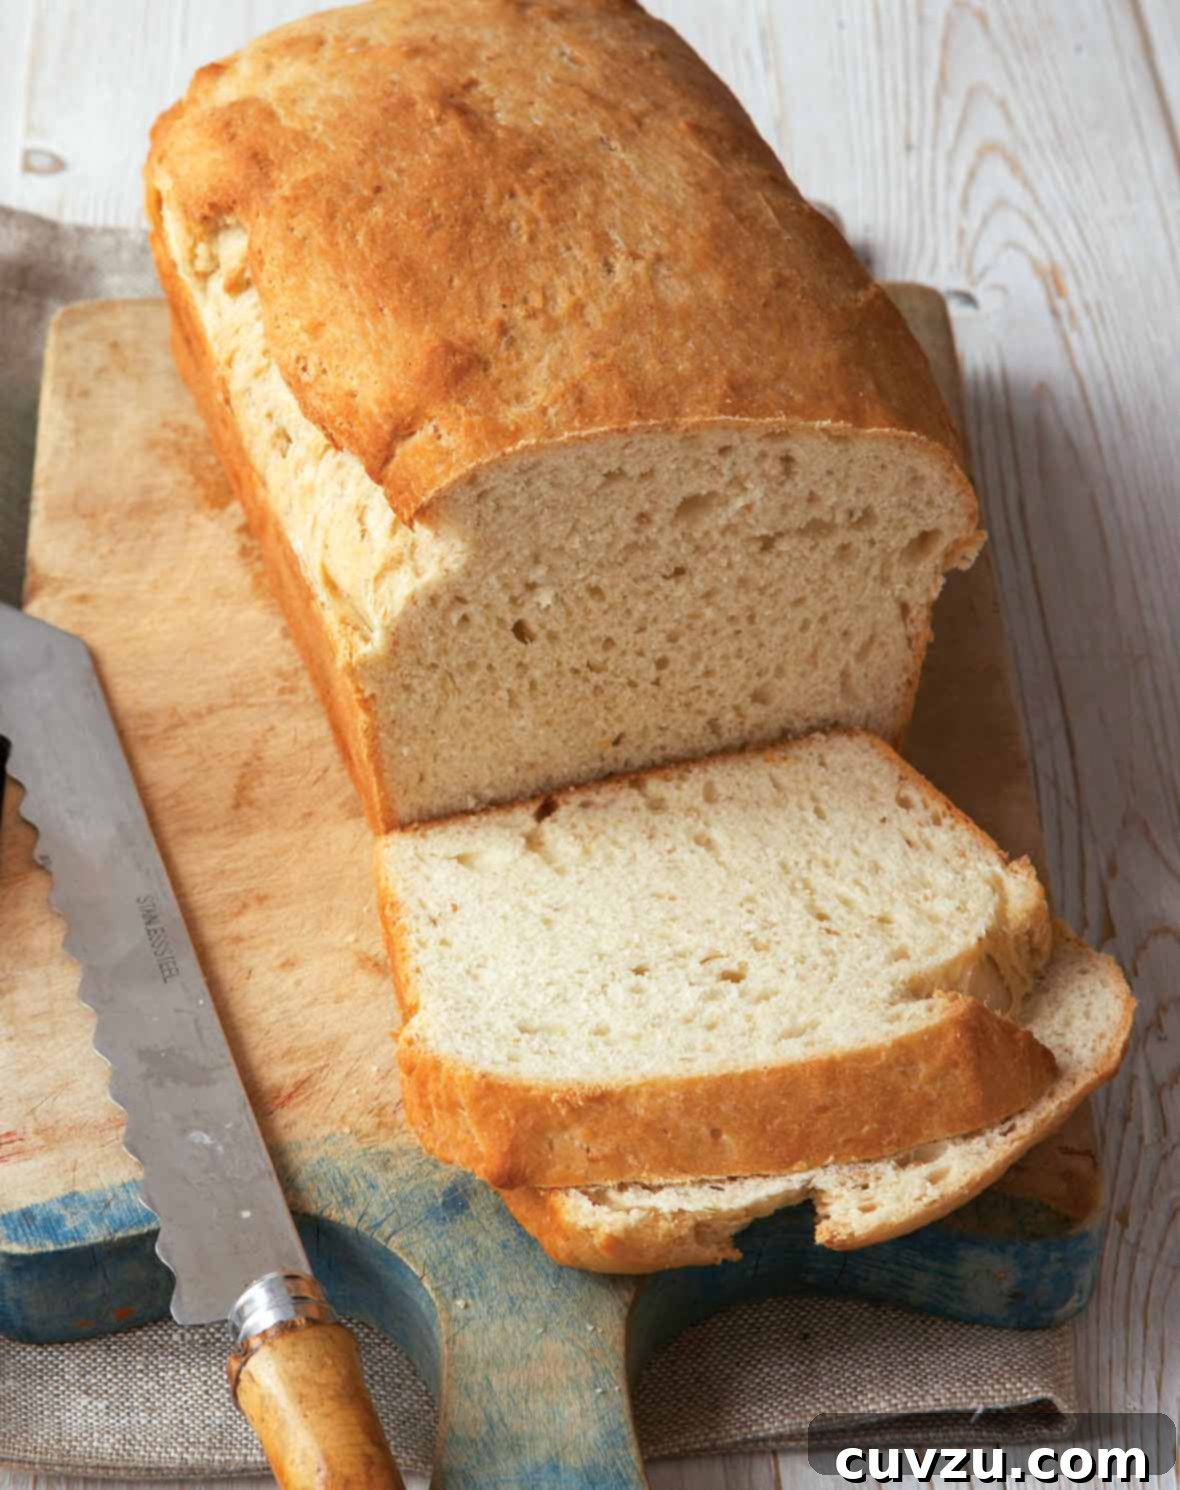
Homemade Buttermilk Sandwich Bread: Your New Favorite Tender Loaf
There’s nothing quite like the aroma and taste of freshly baked bread filling your home. This buttermilk sandwich bread recipe elevates that experience, offering a classic loaf that’s remarkably tender, subtly tangy, and incredibly versatile. Forget store-bought options; this homemade version promises a superior texture and a delightful flavor that makes it perfect for a myriad of uses – from the simplest morning toast to the most elaborate sandwiches, and even as a base for comforting bread pudding.
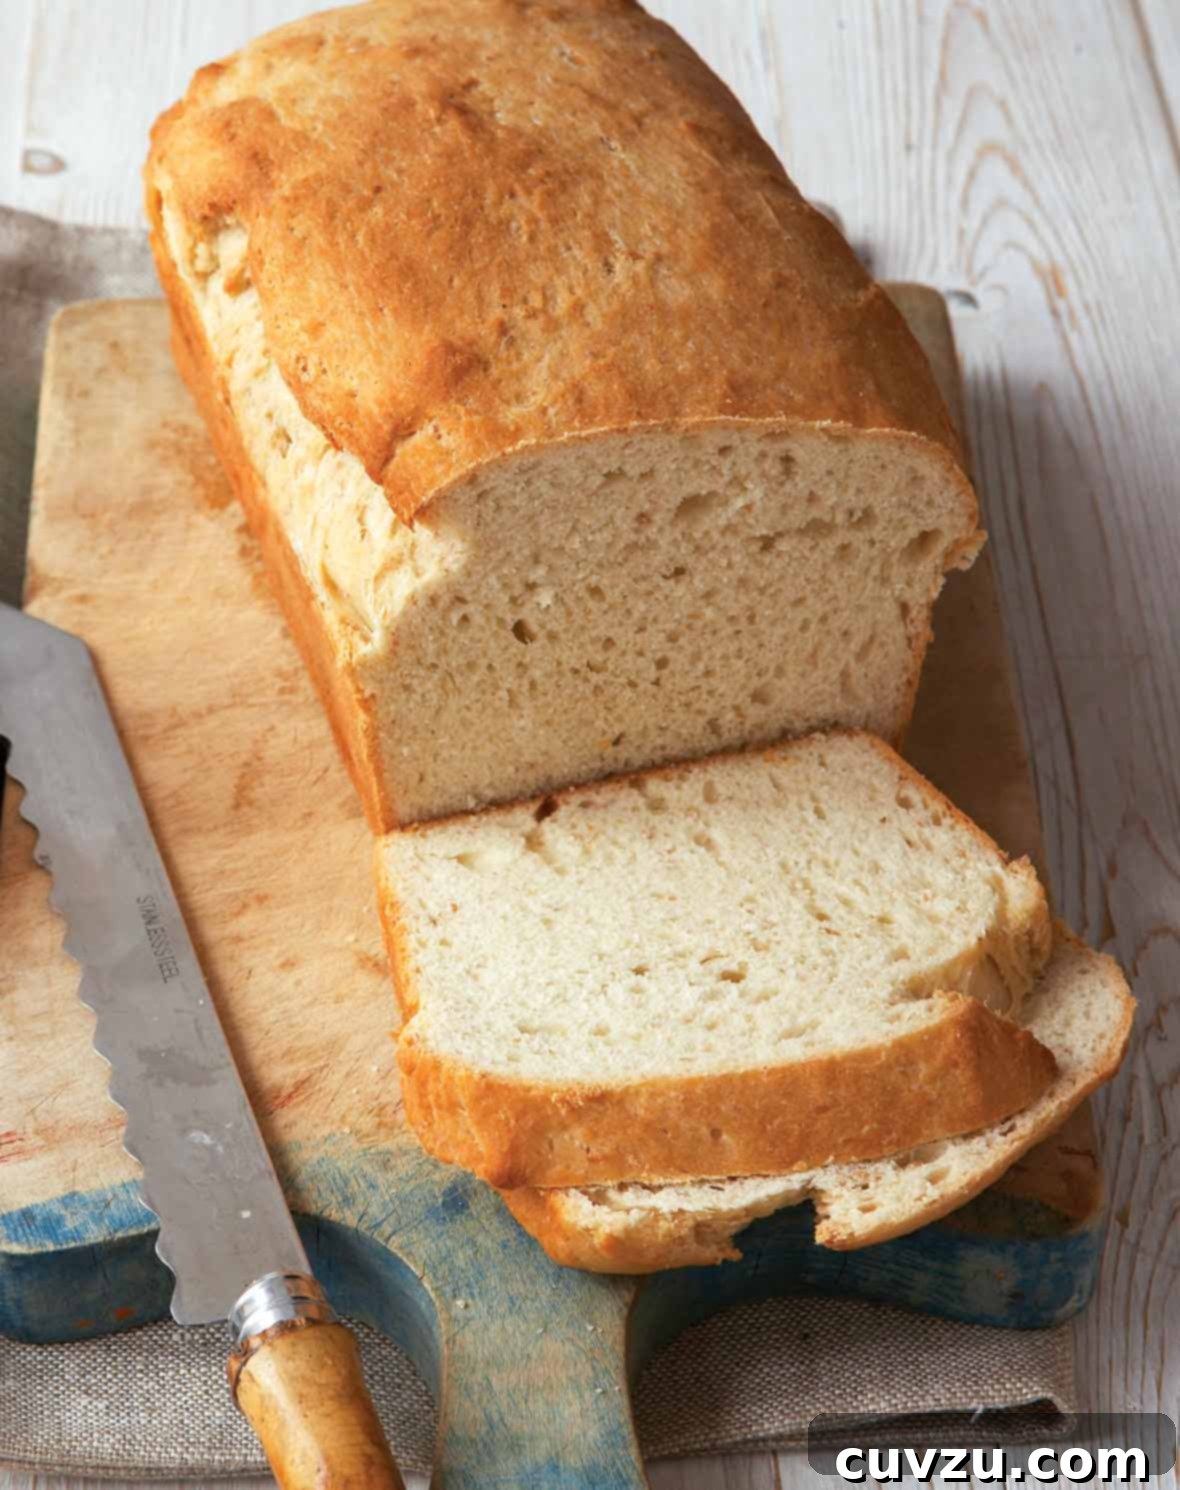
As Renee Schettler Rossi, a celebrated voice in the culinary world, perfectly puts it, “This buttermilk sandwich bread has an ever so slight tang and an almost cake-like in texture and toasts amazingly. It’s also ideal for, natch, sandwiches of any sort.” This concise description captures the essence of what makes this recipe so beloved: a unique balance of flavors and an irresistible texture that stands out from typical white bread.
Why Buttermilk is the Secret to Superior Sandwich Bread
Buttermilk, often lauded for its role in pancakes and biscuits, plays a transformative role in bread baking. Its slight acidity interacts with the leavening agents, particularly the yeast in this recipe, creating a softer crumb and a more tender loaf. This acidity also contributes to the bread’s longevity, helping it stay fresh for longer, and imparts that signature, subtle tanginess that makes each bite so flavorful. Unlike water or regular milk, buttermilk tenderizes the gluten in the dough, resulting in a bread that is not only incredibly soft but also exceptionally moist. The natural tanginess beautifully complements both sweet and savory fillings, making it a truly universal bread for any meal, elevating your everyday toast or sandwich to a gourmet experience.
Effortless Baking: The Joy of a “No-Knead” Style Recipe
Many home bakers shy away from yeast bread recipes, fearing the intricate process of kneading and the time commitment. This buttermilk sandwich bread recipe challenges that notion with its remarkably straightforward approach. While it isn’t strictly a “no-knead” bread in the traditional sense of a long, cold fermentation, it requires minimal active kneading, relying instead on a stand mixer and a brief mixing period to develop gluten. This makes it an ideal recipe for beginners and experienced bakers alike, proving that a truly delicious homemade loaf doesn’t demand hours of strenuous work or complex techniques. The beauty lies in its simplicity and the swiftness with which it comes together, allowing you to enjoy warm, fresh bread without the extended wait and with confidence in a fantastic result.
The Versatility of Buttermilk Sandwich Bread in Your Kitchen
Once you’ve tasted this bread, you’ll find countless ways to incorporate it into your daily meals and special occasions. Its robust yet tender structure holds up beautifully to all kinds of fillings, from classic deli meats and cheeses to gourmet spreads, fresh vegetables, and even fried eggs. But its utility extends far beyond just sandwiches. Imagine thick slices, perfectly toasted and slathered with butter and jam for a comforting breakfast, or alongside a bowl of hot soup. Envision it cubed and transformed into a rich, decadent bread pudding, or perhaps dried and seasoned for homemade croutons that elevate any salad. The tender crumb and delicate flavor profile make it an exceptional foundation for both sweet and savory culinary creations, ensuring that no crumb goes to waste and offering endless possibilities for creative cooks.
Buttermilk Sandwich Bread
This classic buttermilk sandwich bread recipe yields a wonderfully tender loaf with a subtle tang, making it ideal for everything from toast to gourmet sandwiches and even decadent bread pudding.
Recipe by: David Leite
Print Recipe
Ingredients
For a perfect loaf of buttermilk sandwich bread, you’ll need these essential components. Ensure all ingredients are measured accurately for the best results:
- 1 1/4 cups buttermilk (either low-fat or full-fat will work beautifully, though full-fat can add a touch more richness and moisture to the crumb. If you don’t have buttermilk, see our FAQ for a quick homemade substitute.)
- 2 tablespoons unsalted butter, cold or room temperature, plus more for generously greasing the loaf pan and an additional 2 teaspoons for brushing the top of the loaf. Butter adds essential flavor, tenderness, and a rich quality to the bread.
- 3 1/4 cups unbleached all-purpose flour. Unbleached flour typically has a slightly higher protein content compared to bleached varieties, which contributes to a better gluten structure and a wonderfully chewy yet tender crumb in your finished loaf.
- 1 tablespoon granulated sugar. This not only adds a subtle hint of sweetness to the bread but, more importantly, provides a vital food source for the yeast, aiding in its activation, fermentation, and the bread’s eventual rise.
- 1 tablespoon wheat bran (optional). Incorporating wheat bran can slightly enhance the nutty flavor profile and boost the fiber content of your bread without dramatically altering its classic tender texture. Feel free to omit if you prefer a purer white bread experience.
- 1 teaspoon kosher salt. Salt is crucial for balance, enhancing the overall flavor of the bread. It also plays a significant role in regulating yeast activity and strengthening the gluten network, contributing to a well-structured loaf.
- 2 1/4 teaspoons (equivalent to a 1/4-ounce or 7-gram packet) instant yeast. Instant yeast is a fantastic choice for its convenience, as it does not require proofing in liquid before being mixed with other ingredients, streamlining the baking process. For more on different types of yeast and their uses, explore our guide: What is the Difference Between Yeasts?
- 1 large egg. The egg is an enriching ingredient that contributes significantly to the bread’s luxurious texture, making the crumb finer and softer, and also helps in achieving a beautiful, golden-brown crust.
- 2 teaspoons melted butter, specifically for brushing the top of the loaf just before its final rise. This step is key for a beautifully soft, golden, and flavorful crust.
Instructions: Baking Your Buttermilk Sandwich Bread
Follow these detailed steps carefully to achieve a beautifully baked buttermilk sandwich bread with a tender crumb and perfect crust. Precision in temperature and timing is key to success:
- Prepare the Loaf Pan: Begin by generously buttering a standard 9-by-5-by-3-inch loaf pan. Ensuring the pan is well-greased is crucial for preventing sticking and allowing your loaf to release easily after baking, contributing to a flawless crust.
- Warm the Buttermilk Mixture: In a small saucepan, combine the buttermilk and the 2 tablespoons of unsalted butter. Heat this mixture over medium heat, stirring occasionally, until it registers approximately 130ºF (54°C) on an instant-read thermometer. This precise temperature is vital; it’s warm enough to activate the instant yeast effectively without being so hot that it could damage or kill the yeast. Remove the saucepan from the heat immediately once the target temperature is reached.
- Combine Dry Ingredients: If using a stand mixer (recommended for ease), fit it with the flat beater attachment. In the mixer bowl, combine 1 1/2 cups of the measured unbleached all-purpose flour, the granulated sugar, wheat bran (if you’ve chosen to include it), kosher salt, and the instant yeast. Mix these dry ingredients on low speed for just a few seconds until they are uniformly combined.
- Incorporate Wet Ingredients (Initial Mix): Pour the entire warm buttermilk mixture from the saucepan into the bowl with the dry ingredients. Continue to mix on low speed until all ingredients are smooth and thoroughly combined. At this stage, the mixture will be quite fluid and resemble a thick batter.
- Add Egg and Beat: Add the large egg to the mixture in the stand mixer. Increase the speed to medium and continue beating the mixture for a full 1 minute. This step is critical for hydrating the flour further and beginning the initial development of gluten, which contributes to the bread’s structure and elasticity, even in this “no-kneade” friendly recipe.
- Add Remaining Flour and Develop Dough: Now, gradually add the remaining 1 3/4 cups of unbleached all-purpose flour to the mixture. Continue mixing with the flat beater for an additional 5 minutes on medium speed. During this extended mixing period, the dough will start to transform, becoming somewhat thicker and more cohesive, though it will remain noticeably sticky and may not completely pull away from the sides of the bowl. This sticky consistency is normal and desired for this recipe; resist the temptation to add more flour.
- Shape and Prepare for Rise: Once the mixing is complete, use a rubber spatula to scrape the sticky dough into your prepared (buttered) 9x5x3-inch loaf pan. Gently spread the dough evenly across the pan. Evenly brush the top surface of the dough with the 2 teaspoons of melted butter. This butter layer will not only add flavor but also contribute to a beautifully soft and golden-brown crust during baking.
- First Rise (Proofing): Loosely cover the loaf pan with a piece of waxed paper or plastic wrap, ensuring there’s room for the dough to expand. Place the pan in a warm, draft-free spot in your kitchen. Allow the dough to rise until it swells to within about 1 inch of the top of the pan. This process typically takes around 25 minutes, but keep a close watch, as rise times can vary based on ambient room temperature and humidity. While your dough is rising, position an oven rack in the middle of your oven and preheat it to 375ºF (190°C).
- Bake the Loaf: Once the oven is preheated and your dough has achieved its desired rise, carefully transfer the loaf pan into the preheated oven. Bake for approximately 40 minutes. The bread is done when the top feels firm to the touch and has developed a rich, golden-brown color. For an exact measurement, an instant-read thermometer inserted into the center of the loaf should register between 200-210°F (93-99°C).
- Cool Completely: Remove the baked loaf from the oven and immediately place the pan on a wire rack. Let the bread cool in the pan for exactly 10 minutes. This crucial resting period allows the internal structure of the bread to set properly and prevents it from becoming gummy. After 10 minutes, carefully turn the loaf out onto the wire rack and allow it to cool completely before slicing. Resisting the urge to slice a warm loaf is essential for the crumb to fully develop its tender texture. Once fully cooled, slice into desired thickness – from thick, rustic hunks perfect for toast, to slender, even slices ideal for sandwiches.
Adapted From

This delightful and easy-to-make recipe for buttermilk sandwich bread is proudly adapted from the acclaimed cookbook Fast Breads. This book is a treasure trove of quick and simple bread recipes designed for the modern home baker. Discover more inspiring recipes and culinary wisdom by exploring this fantastic resource.
Buy On Amazon
Nutrition Facts
Please note that nutritional information is automatically calculated and should be considered an approximation. Individual results may vary based on exact ingredient amounts and brands used.
- Serving Size: 1 slice
- Calories: 133 kcal
- Carbohydrates: 22 g
- Protein: 4 g
- Fat: 3 g
- Saturated Fat: 2 g
- Monounsaturated Fat: 1 g
- Trans Fat: 1 g
- Cholesterol: 19 mg
- Sodium: 175 mg
- Fiber: 1 g
- Sugar: 2 g
Share Your Creation!
We absolutely love seeing your culinary masterpieces! If you’ve tried your hand at this buttermilk sandwich bread recipe, we encourage you to share your beautiful photos and baking experiences on social media.
Mention @leitesculinaria or tag #leitesculinaria on Instagram. Your contributions inspire us and our community of home bakers!
What Our Recipe Testers Are Saying About This Buttermilk Bread
Curious about how this recipe performs in real home kitchens? Our dedicated team of recipe testers put this buttermilk sandwich bread through its paces, providing invaluable insights into its ease of preparation, exquisite flavor, and desirable texture. Their experiences affirm why this recipe is a must-try for any bread enthusiast:
Leanne Abe
Leanne, initially hesitant about tackling yeast breads, was thoroughly impressed, declaring this her “new basic bread recipe.” She noted its unique position, marrying the best qualities of traditional sandwich bread with the convenience of a no-knead loaf – delivering soft, tender results without the prolonged rising and proofing times often associated with homemade bread. She particularly emphasized the critical 5-minute mixing period, observing a visible transformation in the dough’s texture and consistency. Leanne also shared a valuable pro tip: keep a close eye on the dough during the first rise to prevent over-proofing, and recommended checking for doneness around 35 minutes in the oven, rather than waiting the full 40. The final verdict? A soft crust, incredibly tender crumb, and a delightful hint of tanginess made this bread an undeniable winner for toast and beyond, making her a confident bread baker.
Tracey G.
Tracey, who often found the extensive time commitment for homemade sandwich bread a deterrent, was thrilled by how quickly and easily this particular recipe came together. She highlighted the “delicious” results, stating that the buttermilk truly enhanced the loaf, infusing it with “a nice tang” and “much more flavor than store-bought white bread.” Her enthusiastic endorsement suggests this recipe is a strong contender for regular rotation in many busy kitchens, offering a homemade advantage without the fuss.
Abigail Corn
Abigail found this buttermilk sandwich bread remarkably “easy to prepare,” even for those who might typically harbor a “yeast phobia.” She noted its quick preparation time and its authentic appearance, closely resembling a classic white bread loaf. The bread was an instant hit in her household, so popular that it was “finished by 6 pm on Friday,” despite being intended for the entire weekend. She particularly praised its lightness and the ease with which it could be cut into neat slices just a few hours after baking, making it perfect for fresh enjoyment or delicious morning toasts. Abigail is already planning another batch!
Jyoti D.
Jyoti aptly described this recipe as a “very nice everyday bread,” highlighting its practical convenience for busy schedules. She loved that you could mix up the dough in the morning and have fresh bread ready for lunch, making it a perfect quick-fix for daily meals. She also pointed out that the strategic addition of an egg contributes to a slightly richer texture compared to many other basic bread recipes. Moreover, Jyoti enthusiastically confirmed its excellence when transformed into toast, suggesting it holds up beautifully for breakfast or snack time.
Adrienne Lee
Adrienne praised the bread’s “good flavor” and its “perfectly soft” interior texture, noting that the crust offered a satisfying crunch without being overly hard or difficult to cut. She opted not to use the optional wheat bran in her bake. While she meticulously followed all the directions, she contemplated trying to smooth the top of the loaf a little more next time, indicating a desire for a perfectly rounded, aesthetically pleasing finish. However, she reassured that this minor cosmetic preference did not diminish the deliciousness or overall quality of the loaf, proving the recipe’s robustness.
Cindy Zaiffdeen
Cindy vividly described the sliced bread as “almost cake-like” in texture, emphasizing its exceptional tenderness and soft crumb. She lauded the recipe for being “very quick and easy” to prepare, making it a feasible and satisfying bake even on a busy “weeknight.” She also confirmed its superb quality as toast, highlighting its versatility. Cindy used low-fat buttermilk for her batch and opted to add the wheat bran for a little extra fiber, noting that its presence wasn’t overtly noticeable in the final product. She shared a practical tip, mentioning she baked her loaf for an additional five minutes to achieve a beautifully desirable golden-brown top, demonstrating how easy it is to customize the bake to personal preference.
Frequently Asked Questions About Homemade Buttermilk Sandwich Bread
What kind of buttermilk should I use for this recipe?
You have flexibility here! You can use either low-fat or full-fat buttermilk for this recipe. While full-fat buttermilk might lend a slightly richer and more moist crumb, both options will yield excellent results, imparting that characteristic tanginess and tender texture that makes this bread so special. If you don’t have buttermilk on hand, don’t fret! You can easily make a quick substitute: simply add 1 tablespoon of lemon juice or white vinegar to a liquid measuring cup, then fill the rest of the cup with regular milk (dairy or even most non-dairy alternatives work) until you reach 1 1/4 cups total. Let this mixture sit for 5-10 minutes until it visibly curdles, and then it’s ready to use.
Can I make this buttermilk bread without a stand mixer?
While a stand mixer is highly recommended for its convenience and ability to ensure consistent mixing – particularly during the 5-minute dough development phase – you can absolutely mix this dough by hand. Be prepared for a slightly stickier dough texture and expect to put in a bit more arm work during the kneading process to adequately develop the gluten necessary for a well-structured loaf. You’ll want to aim for a smooth, elastic, albeit sticky, dough. A strong wooden spoon and a bit of perseverance will get the job done!
How do I know when my buttermilk sandwich bread is fully baked?
The key indicators for a perfectly baked loaf are visual and tactile. The bread is fully baked when the top is firm to the touch and has achieved a beautiful, deep golden-brown color. For an extra layer of certainty and precision, we recommend using an instant-read thermometer. Insert the thermometer into the center of the loaf; a perfectly baked loaf should register an internal temperature between 200°F and 210°F (93-99°C). If the crust is browning too quickly, you can loosely tent the loaf with aluminum foil for the remaining bake time.
What’s the best way to store homemade buttermilk sandwich bread to keep it fresh?
Proper storage is essential to maintain the freshness and delightful texture of your homemade bread. Once your loaf has completely cooled to room temperature (this is critical – never store warm bread!), place it in an airtight container, a reusable bread bag, or wrap it tightly in plastic wrap. Stored this way at room temperature, it will remain fresh and delicious for up to 3-4 days. For longer storage, you can slice the cooled bread and freeze it in an airtight freezer-safe bag for up to 2-3 months. Simply thaw individual slices as needed for toast or sandwiches – a fantastic way to enjoy homemade bread anytime!
Can I add other ingredients or variations to this buttermilk bread recipe?
Absolutely! This recipe provides a fantastic, versatile base, and we encourage you to experiment with additions to suit your taste. Feel free to incorporate subtle enhancements such as a tablespoon of poppy seeds or sesame seeds sprinkled on top before baking for added texture and visual appeal. For a savory twist, a small amount (around 1-2 tablespoons) of finely chopped fresh herbs like rosemary, thyme, or chives can be folded into the dough during the final mixing stage. If you desire a slightly sweeter bread, you could increase the granulated sugar by another tablespoon or two, though be mindful that larger quantities of sugar can sometimes affect yeast activity and browning, so adjust accordingly. Enjoy making it your own!
Bake Your Way to Better Bread: The Buttermilk Difference
This buttermilk sandwich bread recipe is more than just a list of ingredients and steps; it’s an invitation to rediscover the simple, profound joys of homemade baking. With its remarkably tender crumb, that delightful subtle tang, and its incredible versatility, this loaf is destined to become a cherished staple in your kitchen. Whether you’re whipping up a quick, nourishing weekday lunch, crafting an elaborate gourmet sandwich for a special occasion, or preparing a comforting weekend brunch, this meticulously crafted loaf consistently delivers on exceptional flavor and deep culinary satisfaction. So, gather your ingredients, preheat your oven with anticipation, and prepare to fill your home with the irresistible, comforting aroma of freshly baked bread. Happy baking – your journey to superior homemade bread begins here!