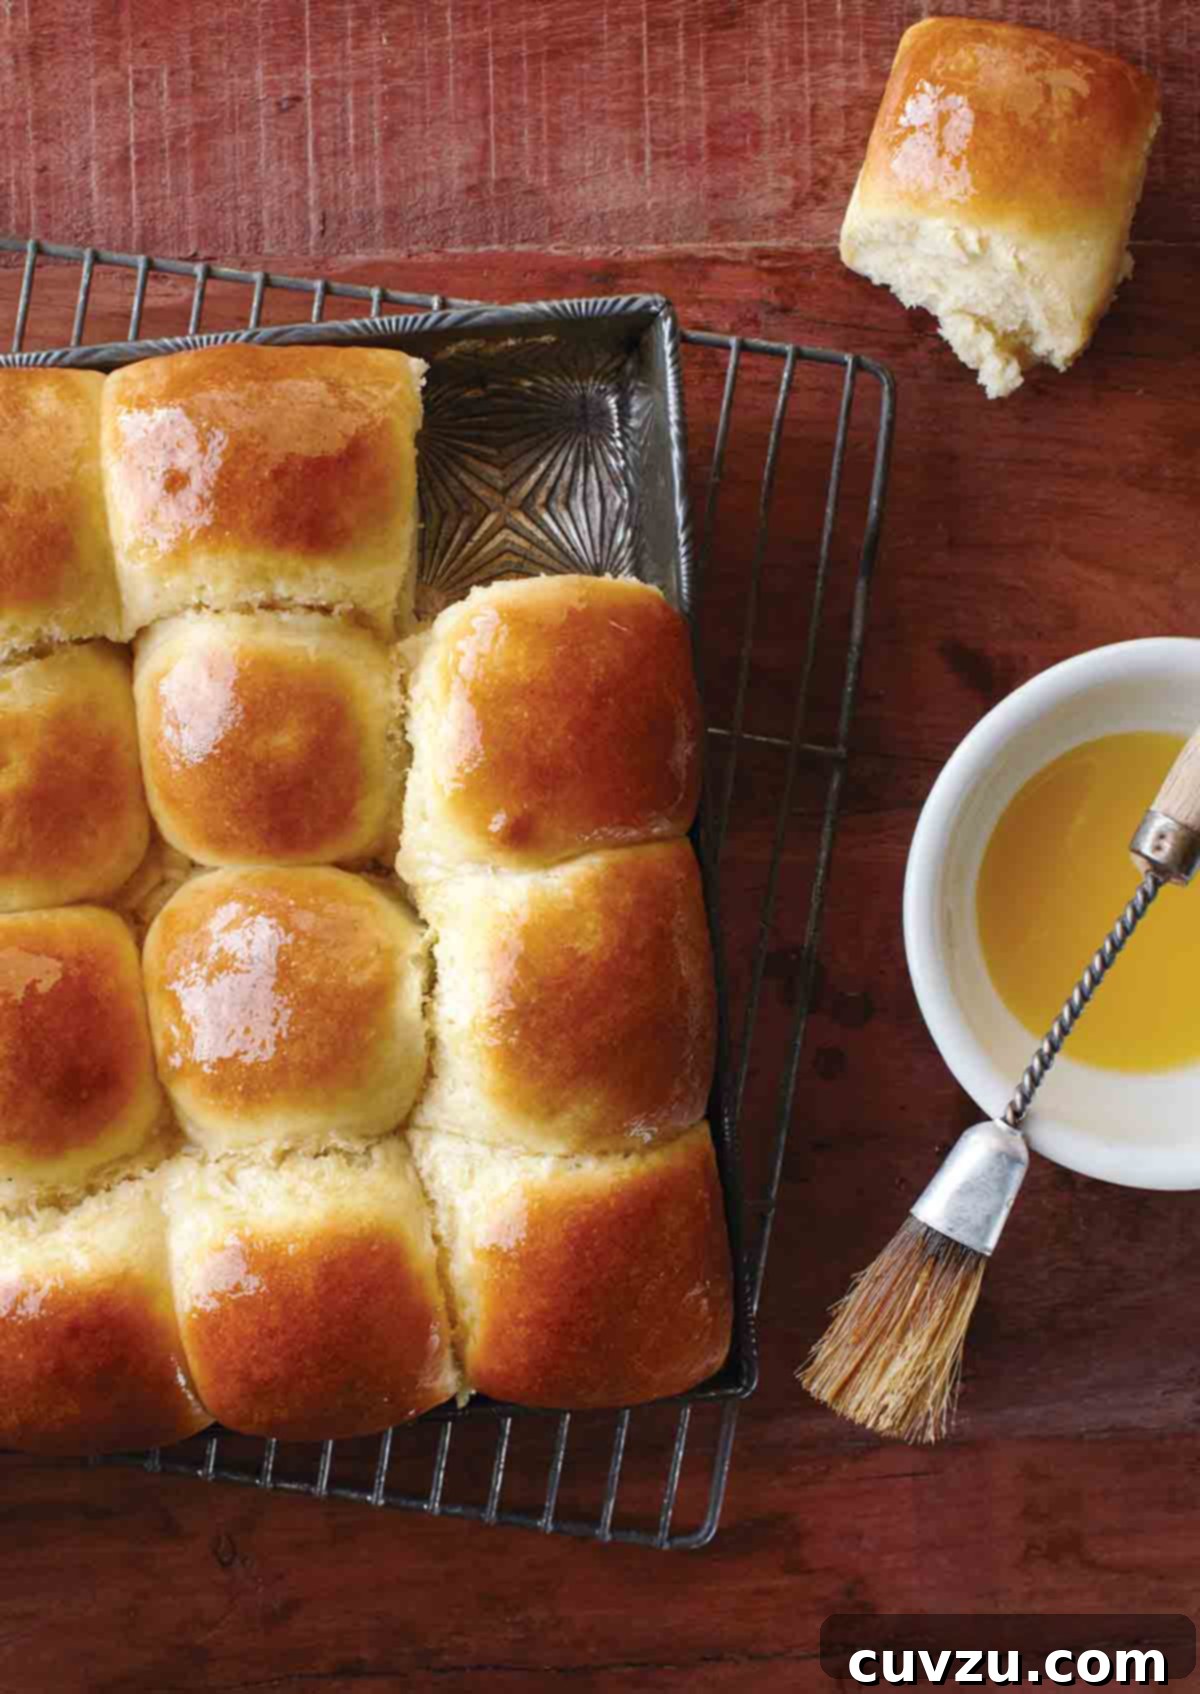
There’s nothing quite like the warmth and aroma of freshly baked bread to transform any meal into a special occasion. These classic dinner rolls, a timeless staple for holiday gatherings and weeknight dinners alike, embody everything you crave in homemade bread: an incredibly soft, fluffy texture, a delicate sweetness, and a rich, buttery finish. Forget store-bought alternatives; this recipe promises a swift and satisfying baking experience, delivering rolls so irresistible they’ll become your go-to.
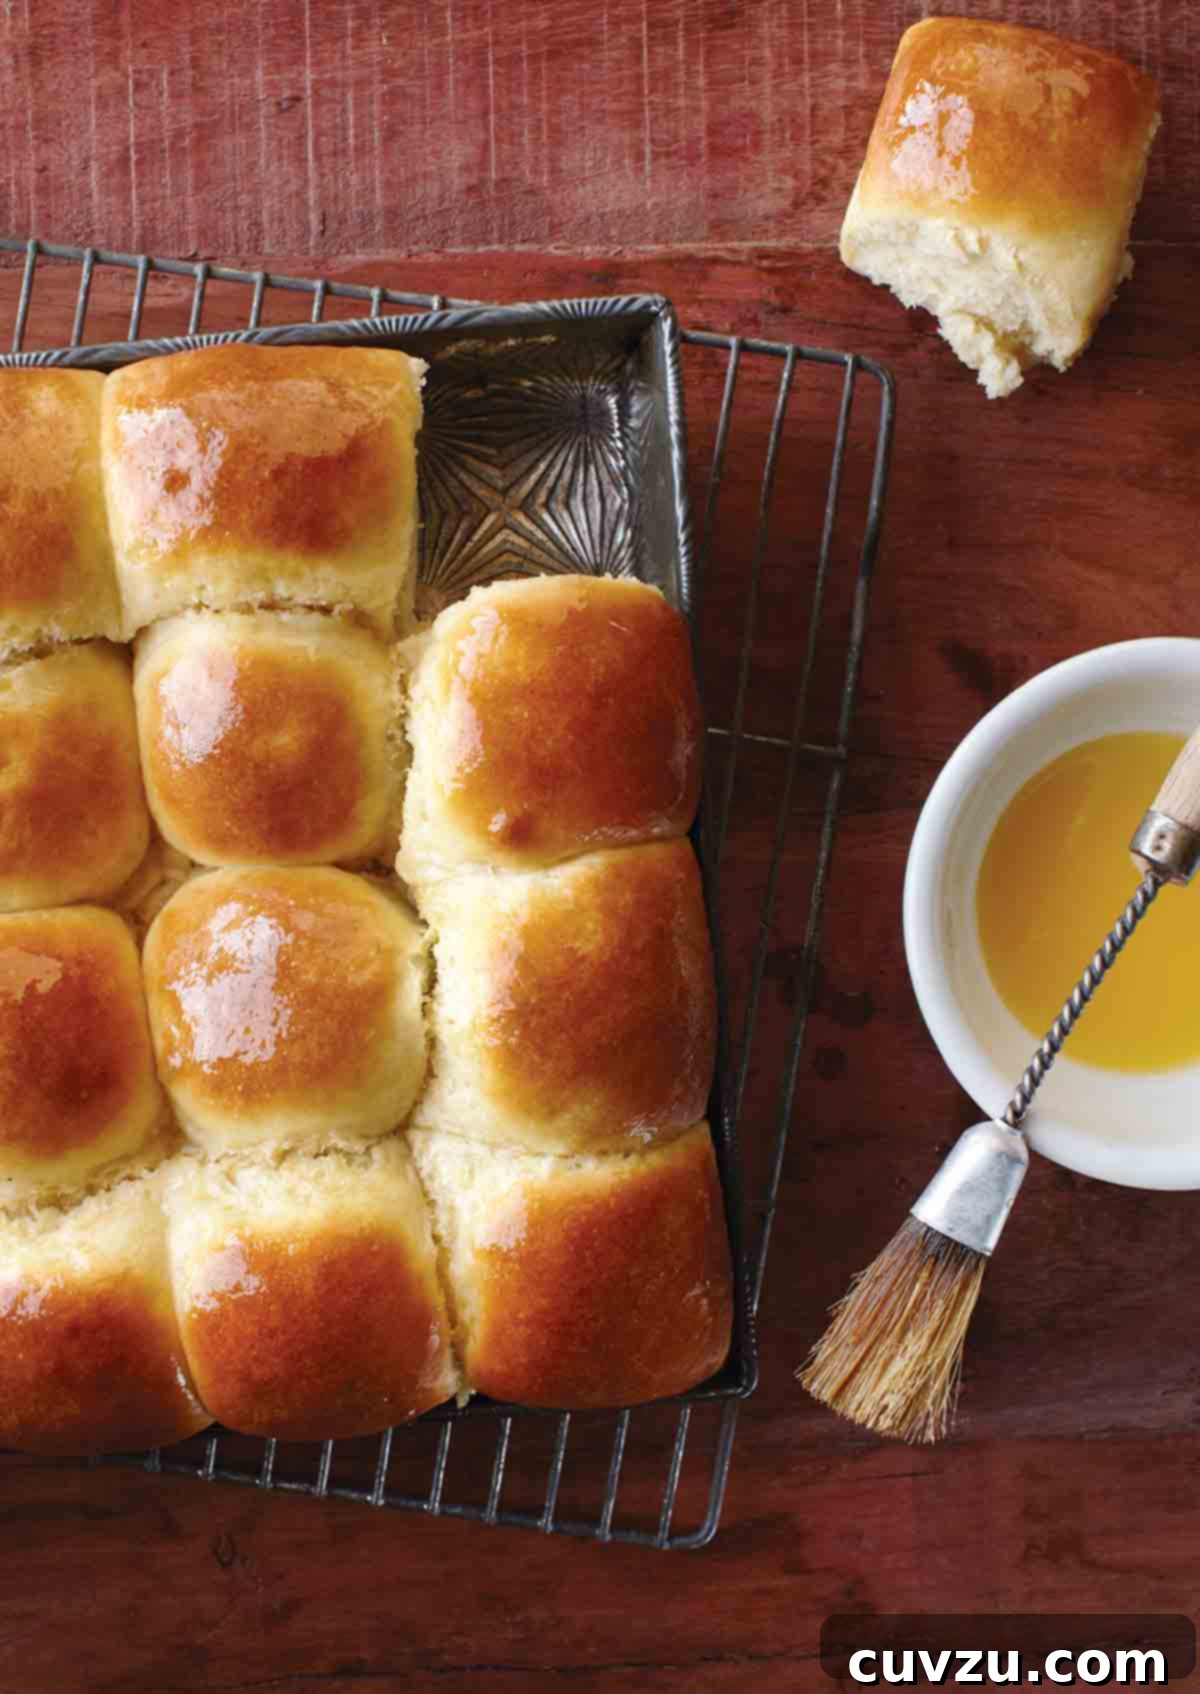
Quick Glance: Everything You Need to Know
- What it is: A foolproof, tender, and richly buttery dinner roll recipe, subtly sweetened with honey for exceptional flavor and a beautiful golden-brown crust. Ideal for any festive meal or family get-together.
- Why you’ll adore it: These rolls are a remarkable time-saver, requiring only a single rise and a mere 90 minutes from start to finish. The result is an unparalleled fluffy, melt-in-your-mouth texture that will leave everyone asking for more.
- How to make it: Combine a few simple ingredients to form a pliable dough, allow for one brief rise, then shape into perfect balls. Bake until golden and finish with a luxurious brush of melted butter for an unforgettable taste.
Featured Review
I baked these today… They took about 15 minutes, and after brushing with butter and sprinkling with salt, I tried one. OMG! Soft, buttery, tender… truly the best rolls I have ever made in my life. I would make these again in a heartbeat! My family is so impressed with my baking skills; these will definitely replace the store-bought rolls we usually have at Thanksgiving!
RJ Haynes
Many home cooks hesitate when it comes to baking bread or dinner rolls for special occasions, especially around the holidays. We get it. Traditional bread baking can feel daunting, often demanding a significant investment of time, a delicate touch, and the right environment for optimal rising. Plus, you need guests who aren’t navigating a maze of dietary restrictions, avoiding carbs, refined flours, gluten, dairy, or other specific food choices.
However, this classic dinner roll recipe is designed for maximum satisfaction with minimal effort. It delivers almost instant gratification thanks to its remarkably short rise time. The straightforward mixing method practically ensures success, guiding you to a dough that’s easy to handle. The end result? Light, airy, incredibly tender, slightly sweet, and gloriously buttery pull-apart rolls that are, quite frankly, utterly addictive. You’ll find them nearly impossible to resist!
So, go ahead and dismiss those baking anxieties. We’ve tackled the primary concerns: time and complexity. As for those who choose to decline for personal reasons, well, that just leaves more of these heavenly rolls for the rest of us to savor! –Kelsey Nixon
Why Homemade Dinner Rolls Are Always Best
While store-bought rolls offer convenience, nothing compares to the freshness, flavor, and incredible texture of homemade dinner rolls. The process of baking them, though often perceived as complex, is incredibly rewarding. This particular recipe demystifies bread baking, making it accessible to even novice bakers. Here’s why these rolls are a game-changer:
- Unmatched Freshness: The moment these rolls emerge from your oven, filling your home with their irresistible aroma, you’ll understand. Freshly baked rolls are superior in every way.
- Perfect Texture: Achieving that ideal balance of soft, fluffy, and slightly chewy is a hallmark of a great dinner roll. This recipe nails it, providing a delicate crumb that practically melts in your mouth.
- Customizable Flavor: With homemade, you control the ingredients. The subtle sweetness from honey and richness from butter create a flavor profile that complements any meal, yet is distinctively delicious on its own.
- Impressive Factor: Serving warm, golden rolls that you’ve baked from scratch is sure to impress your family and guests. It’s a simple gesture that adds a touch of heartfelt warmth to any gathering.
- Quick and Easy: Despite their gourmet appeal, these rolls are surprisingly quick. With only one rise, you can have them ready in about 90 minutes, making them feasible even on busy days.
The Secret to Speed and Flavor: Honey and a Single Rise
What makes these classic dinner rolls so exceptionally fast and flavorful? It all comes down to a few key ingredients and a streamlined process. Active dry yeast, activated in warm water, gets a quick boost from honey. Honey not only provides a natural, delightful sweetness but also contributes to the rolls’ beautiful golden-brown crust, thanks to its natural sugars caramelizing during baking. This recipe cleverly utilizes a single, efficient rise, minimizing waiting time without sacrificing the airy texture characteristic of perfectly leavened bread.
The addition of melted butter, eggs, and salt enriches the dough, making it tender, moist, and savory. Eggs add structure and contribute to the rich color and tender crumb. Salt balances the sweetness and enhances all the other flavors. The result is a dough that comes together quickly and bakes into rolls that are both sturdy enough to hold their shape and delicate enough to tear apart effortlessly.
Scaling Down: Making a Smaller Batch of Rolls
If your gathering is smaller or you simply don’t need two dozen dinner rolls, adjusting the recipe is incredibly easy. To yield a more manageable dozen rolls, simply halve all the ingredients. For instance, instead of three packets of yeast, use one and a half. Reduce the water, honey, butter, eggs, salt, and flour accordingly. A standard 13-by-9-inch baking dish will perfectly accommodate 12 rolls, allowing them to rise and bake into beautifully cohesive pull-apart clusters.
When halving the recipe, remember to also adjust the baking vessel. A smaller pan ensures the rolls remain snugly together, helping them steam slightly and stay soft during baking, while still achieving a lovely golden exterior. Monitor the baking time closely, as smaller batches might cook slightly faster or slower depending on your oven and pan choice.
Achieving Perfect Rolls Every Time
Even with an easy recipe, a few expert tips can elevate your baking from good to extraordinary:
- Yeast Activation is Key: Ensure your warm water is between 105°F and 115°F (41°C to 46°C). Water that’s too hot can kill the yeast, while water that’s too cool won’t activate it properly. If your yeast doesn’t bubble and look creamy after 5 minutes, discard it and start with fresh yeast and properly warmed water.
- Flour Measurement Matters: Bread baking is a science. While a specific amount of flour is suggested, humidity and even the type of flour can affect how much is needed. Add flour gradually until the dough pulls away from the sides of the bowl. It should be soft, slightly sticky, but workable. Avoid adding too much flour, which can lead to dry, dense rolls.
- Embrace the Sticky Dough: Don’t be alarmed if the dough is still a bit sticky even after adding the suggested flour. A slightly sticky dough often results in a more tender, moist crumb. Resist the urge to add excessive amounts of flour; a lightly floured surface for shaping is usually enough.
- Warmth for Rising: Yeast thrives in warmth. A warm kitchen (around 75-80°F or 24-27°C) will encourage a quicker rise, often within 30 minutes. If your kitchen is cooler, the rise might take up to an hour. You can create a warm environment by placing the covered dough in a slightly warmed (but turned off) oven or near a sunny window.
- Pan Choice Affects Baking: Cast-iron skillets tend to provide more even browning, especially on the bottom of the rolls, and help maintain a consistent oven temperature. If using glass or metal baking dishes, keep a closer eye on the rolls, especially towards the end of baking, to prevent the bottoms from over-browning.
- Don’t Overbake: The honey in this recipe causes the rolls to brown quickly. Start checking for doneness at the 15-minute mark. The tops should be golden brown. Overbaking can dry out the rolls, making them less soft and fluffy.
- The Final Butter Brush: Don’t skip the second brush of melted butter right out of the oven. This creates a beautiful sheen, adds another layer of rich flavor, and helps keep the crust tender. A sprinkle of flaky sea salt at this stage adds a delightful contrast.
More Irresistible Roll Recipes to Explore
Cheryl Day’s Icebox Rolls
3 hrs 45 mins
Pretzel Rolls
2 hrs 30 mins
Jamie Oliver’s Garlic Pull-Apart Rolls
3 hrs 40 mins
Portuguese Sausage, Ham, and Cheese Bread
3 hrs 10 mins
Share Your Experience: Write a Review
If you make this recipe, or any dish from Leite’s Culinaria, please consider leaving a review, a star rating, and your best photo in the comments below. I love hearing from you! –David
Featured Review
Excellent recipe! Cooked both batches in cast iron pans and they came out perfect. Definitely a go-to recipe.
Michelle-Randy
Classic Dinner Rolls Recipe
David Leite
Ingredients
- Three (1/4-ounce) packets active dry yeast
- 1 3/4 cups warm water, [105º to 115ºF (41º to 46ºC)]
- 1/2 cup honey
- 1 stick (4 oz) unsalted butter, melted, plus more for brushing
- 2 large eggs, beaten
- 2 teaspoons kosher salt, plus more for sprinkling
- 6 cups all-purpose flour, plus more as needed
Instructions
-
1. Activate the Yeast: In the bowl of a stand mixer fitted with the paddle attachment, combine the three packets of active dry yeast and the 1 3/4 cups warm water. Let this mixture stand undisturbed for about 5 minutes. You’ll know the yeast is active and healthy when it becomes bubbly and develops a creamy, frothy appearance. If your yeast doesn’t show these signs, it may be old or the water temperature was incorrect; discard it and start again with new yeast and slightly warmer (but not hot) water.
-
2. Mix the Dough: Once the yeast is bubbly and active, turn your mixer to low speed. Gradually add the 1/2 cup honey, followed by the 1 stick (4 oz) melted butter, 2 beaten large eggs, and 2 teaspoons kosher salt. Slowly incorporate the 6 cups of all-purpose flour, adding it 1 cup at a time. Continue mixing for 3 to 5 minutes, or until the flour is fully incorporated and the dough begins to pull away from the sides of the bowl. The dough should be soft and slightly sticky. If it seems too sticky to work with, add a little more flour (1 tablespoon at a time) until it reaches a manageable consistency. Note: the amount of extra flour can vary significantly depending on environmental factors like humidity, sometimes requiring up to an additional 3 cups.
-
3. Shape and Rise the Rolls: Lightly flour your work surface and turn the dough out onto it. Divide the dough evenly into 24 pieces. For consistent roll sizes, you can weigh each piece, aiming for approximately 2 ounces (57 grams) per roll. Roll each piece into a smooth ball. Arrange 12 of these rolls about 2 inches apart in a large (12-inch) cast-iron skillet or a 9-by-13-inch baking dish. Repeat with the remaining 12 dough balls in a second skillet or baking dish. Cover both pans with a clean kitchen towel and place them in a warm spot. Let the rolls rise until they have doubled in size. This usually takes about 30 minutes in a warm kitchen, but can extend up to 60 minutes if your kitchen is cooler.
-
4. Preheat Oven: While the rolls are rising, preheat your oven to 400°F (204°C).
-
5. Bake to Golden Perfection: Just before baking, gently brush the tops of the risen rolls with a little extra melted butter. Place the pans in the preheated oven and bake for 15 to 25 minutes, or until the tops are beautifully golden brown. It’s crucial to keep a close watch on these rolls, as the honey content makes them prone to browning quite easily. The type of baking dish or skillet you use also influences the cooking speed of the bottom of the rolls. For anything other than a cast-iron skillet, 20 minutes is typically ideal; baking longer might result in overly dark bottoms.
-
6. Finish and Serve: Carefully remove the skillets or pans from the oven. Immediately brush the hot dinner rolls with more melted butter for an extra touch of richness and shine. Sprinkle a pinch of kosher or flaky sea salt over the tops. Serve these divine rolls warm, fresh from the oven, for the best experience. Leftovers can be stored in an airtight container at room temperature for up to 3 days. To rewarm, wrap them loosely in foil and heat in a warm oven (around 300°F/150°C for 10-15 minutes) until soft and heated through.
Adapted From
Kitchen Confidence
Buy On Amazon
Explore More with AI
Nutrition
Calories: 178 kcal
Carbohydrates: 30 g
Protein: 4 g
Fat: 5 g
Saturated Fat: 3 g
Monounsaturated Fat: 1 g
Trans Fat: 1 g
Cholesterol: 26 mg
Sodium: 202 mg
Fiber: 1 g
Sugar: 6 g
Nutrition information is automatically calculated, so should only be used as an approximation.
Insights from Our Recipe Testers
Chiyo Ueyama
Chiyo found these classic dinner rolls so enticing she couldn’t resist eating three fresh from the oven! She noted their slight sweetness and versatility, being delicious both plain and with butter or jam. The recipe’s ease impressed her. She observed that her dough required an additional tablespoon of flour to become workable and took 35 minutes to double in size due to a cooler kitchen. Baking in a metal pan, her rolls were done in 20 minutes, confirming the quick overall process. For her smaller batch of 12 rolls, she precisely measured yeast and water, and the rolls fit perfectly in her 13×9-inch pan. Chiyo suggests omitting the sprinkled salt next time and using salted butter for brushing instead, as the salt didn’t adhere well to the hot crust. She highly recommends rewarming cooled rolls wrapped in foil for 10 minutes at 300°F for optimal texture.
Alexander Cowan
Alexander raved about the amazing outcome of these dinner rolls, finding them easy and almost foolproof. He described them as light, airy, squishy, slightly sweet, and utterly addictive. He did note that his dough was very sticky initially and required an extra cup of flour to pull away from the bowl, attributing this to high humidity in his kitchen. Despite the extra flour, the dough remained sticky, not forming a completely clean ball as some recipes do. His rolls took longer to rise, about 60 minutes instead of the suggested 20-30. He highlighted that the recipe yields 24 large rolls, potentially lasting several days for a small family if self-control prevails. Alexander experimented with reheating methods, preferring steaming for 5 minutes for moist, chewy rolls over oven reheating (350°F for 10 minutes) which made them crispier. However, he concluded that nothing beats them fresh out of the oven, slathered in butter and sprinkled with salt.
Irene Seales
Irene praised these rolls as perfectly fresh and slightly sweet, ideal for any buffet or holiday dinner. She found the recipe relatively quick with an easy dough and fast turnaround. Using the paddle attachment on her mixer produced a remarkably smooth dough that was simple to divide and roll with minimal additional flour. Her rolls rose in 35 to 40 minutes, slightly longer than suggested, which she attributed to her 68°F kitchen. She halved the recipe and baked them in a 9×13-inch glass dish, completing baking in 20 minutes. Irene loved the final touch of a second butter brushing and Maldon sea salt flakes. She also mused that these rolls would be perfectly sized for small ham sandwiches. While accustomed to breads with more character from fermented doughs, she acknowledged a definite place for these quick, satisfying rolls, though she might experiment with reducing the sweetness while considering its impact on the yeast’s rapid rise.
Lila Ferrari
Lila reported that these classic dinner rolls came together quickly and were swiftly devoured by her guests. Initially concerned about the quantity of yeast, she found it wasn’t an issue, as the rolls were neither bitter nor overly yeasty, and perfectly fluffy. She was surprised by their airy yet dense texture, truly feeling like a substantial homemade roll. Her only regret was not weighing the dough balls to ensure perfectly uniform sizes. Her rolls rose in a quick 20 minutes and baked for approximately 22 minutes. Served warm, none were left for leftovers! For future batches, Lila plans to incorporate herbs into the dough and with the brushed butter to explore new flavor dimensions.
Eydie Desser
Eydie found her perfect Thanksgiving dinner roll recipe in this classic! She noted needing around 7 cups (35 ounces) of flour to achieve a moist but firm enough dough for rolling, with each roll weighing about 6 ounces. She baked 12 rolls in a cast-iron skillet and 12 in a 9×13-inch glass baking dish. After a 35-minute rest, all rolls doubled in size. The rolls baked in the cast-iron skillet were superior, offering more even browning, less crispness, and an overall softer, more delicious texture compared to those in the glass dish, which had much darker bottoms and crispier tops. This experience made her consider getting a second cast-iron skillet. Eydie emphasized that these rolls are best enjoyed fresh from the oven. For reheating, she discovered that microwaving for 15-20 seconds yielded moist, pillowy results, far superior to oven reheating, which tended to make them crisp and dry.
Sarah Heend
Sarah achieved a beautiful batch of buttery, yeasty rolls in just over an hour, noting their softness, subtle sweetness, and rich butter flavor. The honey flavor was present but not overpowering, and the quick turnaround was a definite bonus. Initially, she worried about the large amount of yeast, but the rolls weren’t overly yeasty. She pondered if two packets of yeast would suffice for future attempts while maintaining the 30-minute rise. She felt the rolls had just enough salt, especially using salted butter. Sarah recommended a mild honey unless a strong honey flavor is desired. Her dough required a significant addition of 3 extra cups of flour to transition from a thick batter to a workable dough, which she partly attributed to substituting some white whole-wheat flour. She liked the added depth from the whole wheat and plans to use more next time. Cold eggs might have contributed to a slower rise for her. She used two 10.5-inch cast-iron skillets and a 9-inch cake pan to accommodate all 24 rolls, rotating them in the oven for even baking. The honey indeed contributed to quick browning, requiring careful monitoring during the last stage of baking. She didn’t notice a significant difference between rolls brushed with butter after baking and those not brushed, perhaps due to light brushing, and forgot the salt sprinkle, which wasn’t missed as she used salted butter. She found the rolls quite large, eating seven among three people, and suggested making 30 smaller rolls next time, also noting they would make excellent slider buns if flattened slightly.