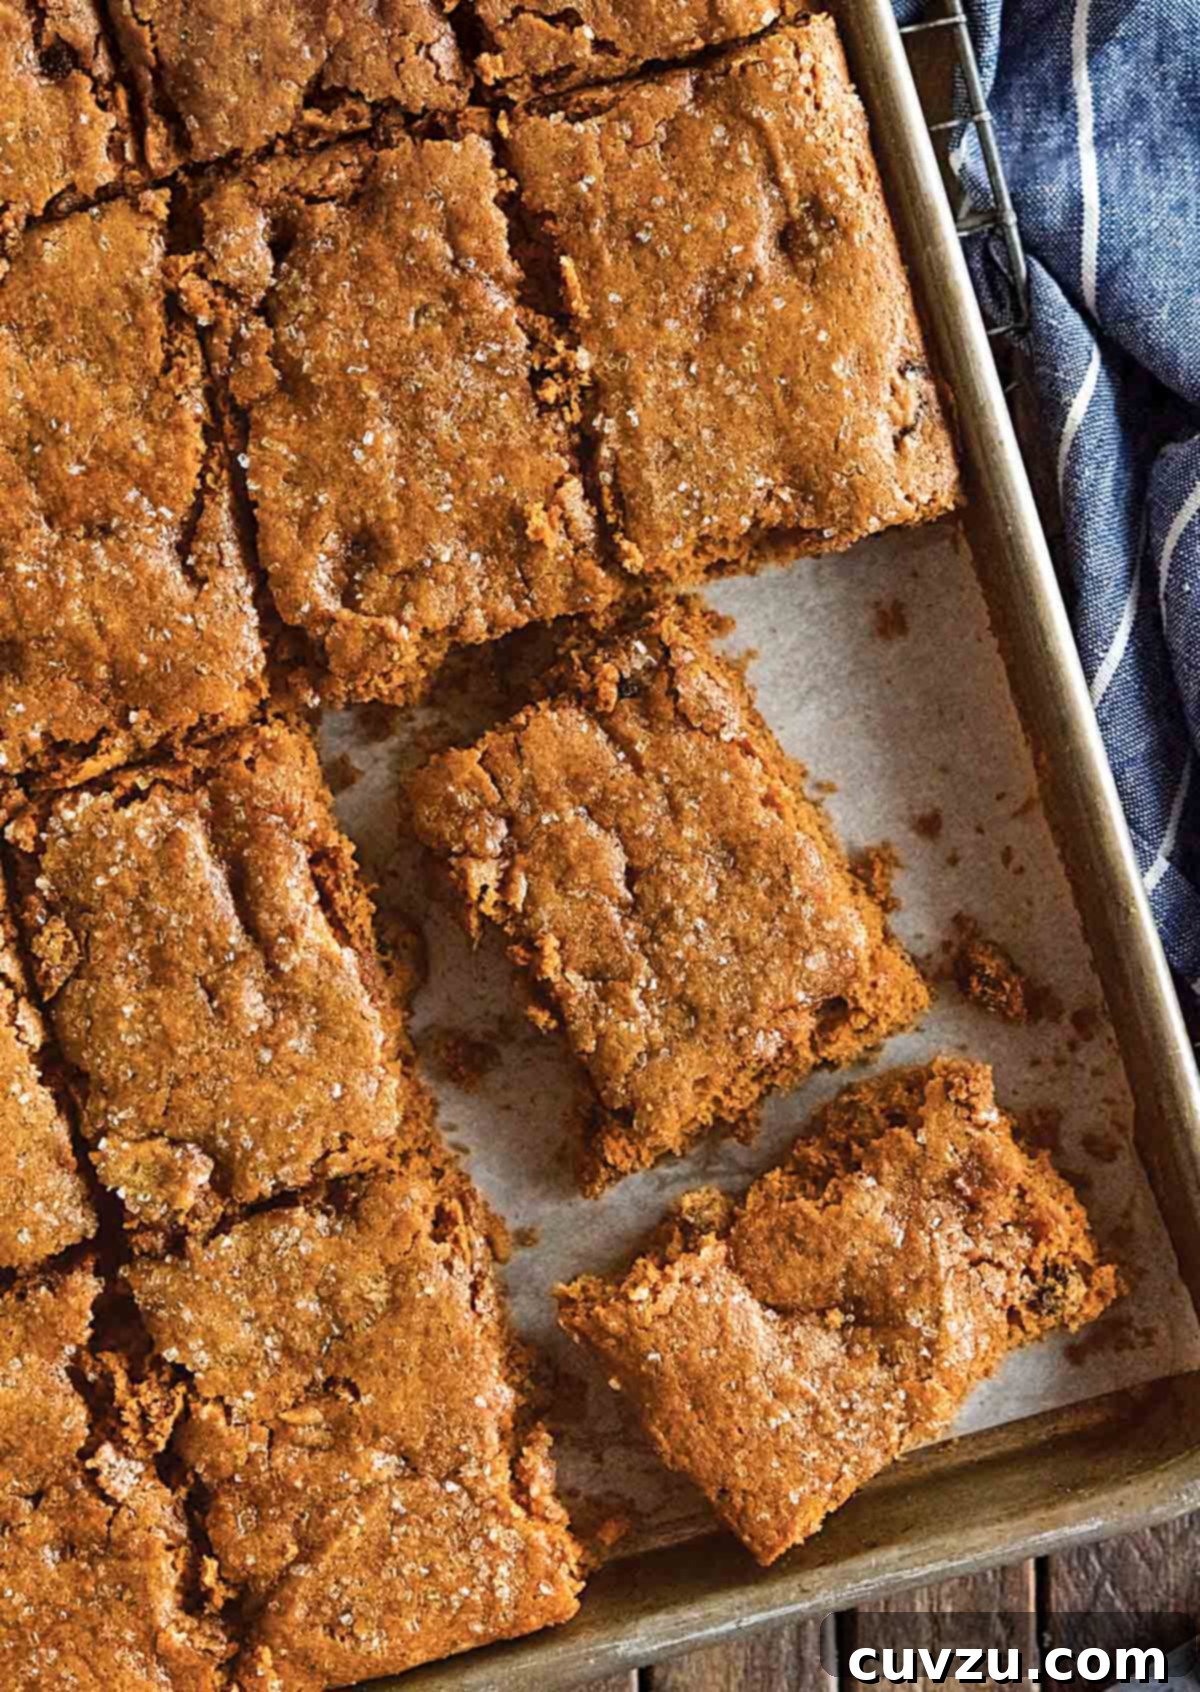
Prepare to rediscover the humble hermit bar, a classic Colonial American treat, in an entirely new light. These aren’t just any hermit bars; these are the ultimate chewy hermit bars – a revelation of flavor and texture that will captivate your senses. Wonderfully spicy with a warming blend of autumn spices, generously plumped with succulent raisins, and boasting an amazingly chewy, almost fudge-like consistency, this recipe elevates a time-honored favorite into a truly irresistible delight for the 21st century palate.
For years, hermit bars held a rather modest place in my culinary memory. I grew up familiar with them – the cookie kind, of course, not the reclusive human kind! While I appreciated their presence at local farmstands or the occasional, uninspired debate club bake sale, they never quite ignited my passion. They simply existed, a quiet, unassuming presence.
My childhood affection was reserved for the more flamboyant cookies of the era. Oreos, with their indecent amounts of creamy filling and satisfying crunch; Keebler Chocolate Chip Cookies, promising elfin magic; and the elegant, delicate crunch of Pepperidge Farm Brussels. These were the cookies that knew how to flirt, flaunting their chocolatey allure and sophisticated textures. Hermit bars, by comparison, felt a bit… reserved. Their primary boast was their raisins, a perfectly respectable ingredient, yet one that rarely made it to the coveted snack table at the “cool kids'” parties, like those legendary gatherings Donna Doane and Bobby Heron would throw. They were wholesome, perhaps even virtuous, but certainly not glamorous.
So, when a recipe for hermit bars from the esteemed King Arthur Baking Company Essential Cookie Companion landed on my desk, I admit, I nearly dismissed it. My past experiences had set a low bar, pun intended. However, the murmurs and enthusiastic praises from colleagues were impossible to ignore. Everyone raved about how exceptionally chewy, how incredibly moist, and how surprisingly fudge-like these particular bars were. Could it be true? Had someone managed to take this unassuming classic and transform it into something truly fashionable? Something retro-camp-deluxe, perhaps even chic? My curiosity, once dormant, was officially piqued. I simply had to try them.
To merely describe these bars as “good” would be a grave injustice. To call them “great” would be an understatement of epic proportions. These Chewy Hermit Bars were nothing short of exceptional, a revelation that instantly shattered my preconceived notions. The moment I tasted them, I understood the hype. Their deep, spiced flavor married perfectly with the plump, sweet raisins, all enveloped in a texture that was simultaneously dense, moist, and wonderfully chewy – a true fudgy marvel.
The proof of their irresistible nature came swiftly. “The One,” my usually discerning partner who typically turns up his nose at any dessert lacking chocolate or pumpkin, took immediate, unequivocal ownership of the entire batch. And then, in a move that still makes me marvel, he snuck them out of the house, absconding with them to the city when my back was turned! This speaks volumes, more than any effusive adjective I could conjure. To convert a chocolate-or-bust connoisseur is a feat worthy of celebration, and it solidified my belief: the folks at King Arthur Baking Company are, without a doubt, my new knights in shining armor. (I say this in my best, most tremulous Katherine Hepburn voice, naturally.) They didn’t just elevate the hermit bar; they transformed it into a legend.

Why This Recipe Is Uniquely Special: A Testament from Our Testers
Our dedicated recipe testers were absolutely effusive in their praise for these Chewy Hermit Bars, and for truly excellent reasons. Jack V., one of our most discerning palates, declared them the “best introduction” to hermit bars anyone could ever hope for, expressing immense delight at having found “the perfect recipe.” We wholeheartedly concur with his assessment. The genius of this particular recipe lies in its meticulous instructions, especially the critical baking time. It ensures a result that far surpasses the often-dry, cakey versions of the past, delivering an unparalleled texture that truly sets these bars apart. This isn’t just a good recipe; it’s a truly exceptional one that converts skeptics and delights long-time fans alike.
Ingredient Insights: Crafting the Perfect Hermit Bar
Each ingredient in this Chewy Hermit Bar recipe plays a crucial role in achieving that signature flavor and exquisite texture. Understanding their nuances can help ensure your baking success and even inspire creative variations.
- Molasses: The Soul of the Hermit Bar
For these bars, opt for regular unsulfured molasses. This type of molasses contributes a rich, deep, and subtly sweet flavor that is quintessential to traditional hermit bars and other spice cookies. It also adds significant moisture, which is key to their chewy texture. Absolutely avoid blackstrap molasses; its intensely robust and slightly bitter flavor is far too overpowering and will completely disrupt the delicate balance of spices and sweetness in these bars. The subtle complexity of unsulfured molasses is indispensable here. - Unsalted Butter: A Foundation of Flavor and Texture
We specify unsalted butter to give you complete control over the salt content, allowing the intricate spice profile to shine. Butter contributes richness, tenderness, and helps create that desirable chewy texture. If your pantry only holds salted butter, don’t fret! Simply reduce the amount of table salt in the recipe to 1/2 teaspoon to account for the added sodium. Ensure your butter is at room temperature for optimal creaming with the shortening and sugar, leading to a light and fluffy base. - Raisins: Plump Pockets of Sweetness
Raisins are a classic inclusion in hermit bars, offering bursts of natural sweetness and a delightful chewiness that complements the dense bar. For the best results, use plump, moist raisins. If you’re looking to explore different flavor profiles or simply don’t have raisins on hand, dried currants are an excellent, slightly tart alternative. Dried cranberries also work beautifully, imparting a brighter, tangier note that can add an exciting twist to the traditional flavor. Whichever dried fruit you choose, ensure they are fresh and not overly dry. - Spices: The Aromatic Heart
The blend of ground allspice and ground cinnamon creates the iconic warm, inviting aroma and flavor of hermit bars. Ensure your spices are fresh for maximum potency and fragrance. Older, stale spices will result in a muted flavor. Consider checking the “best by” date or doing a quick sniff test – if they don’t smell vibrant, it’s time for an upgrade. - Cake Flour: The Secret to Tenderness
Using cake flour, with its lower protein content, contributes to the wonderfully tender crumb of these bars while still allowing for that satisfying chewiness. If you don’t have cake flour, you can create a substitute: for every cup of cake flour needed, measure out 1 cup of all-purpose flour, remove 2 tablespoons, and then replace those 2 tablespoons with cornstarch. Sift this mixture together thoroughly before using.
Step-by-Step Instructions: Baking Your Chewy Hermit Bar Masterpiece
- Prepare Your Oven and Pan: Preheat your oven to a precise 350°F (180°C). This temperature is crucial for the correct rise and texture. Lightly grease a 10- by 15-inch (25- by 38-cm) jelly roll pan, a 14-inch (35-cm) round deep-dish pizza pan, or any similar-sized baking pan. Greasing helps prevent sticking and ensures easy removal.
- Creaming the Base: In the bowl of a stand mixer fitted with the paddle attachment, or using a large mixing bowl and a hand mixer, combine the vegetable shortening, granulated sugar, and unsalted butter. Beat these ingredients together at medium speed for 2 to 3 minutes, until the mixture becomes wonderfully fluffy and pale. This creaming process incorporates air, contributing to the bar’s light yet dense texture.
- Adding Wet and Dry Flavorings: Next, incorporate the molasses, salt, ground allspice, ground cinnamon, and baking soda into the creamed mixture. Mix for about 1 minute until well combined. Stop the mixer and use a rubber spatula to scrape down the sides of the bowl, ensuring all ingredients are fully incorporated. Add the large eggs one at a time, beating thoroughly after each addition until fully blended. This step builds the structure and richness of the batter.
- Incorporating Flour and Raisins: With the mixer on low speed, add half of the cake flour to the wet ingredients. Mix just until combined, avoiding overmixing. Once this first portion of flour is incorporated, add the water, followed by the remaining half of the cake flour. Continue mixing until the batter is just combined and no dry streaks of flour remain. Finally, gently fold in the packed raisins until they are evenly distributed throughout the batter. Overmixing at this stage can develop the gluten too much, leading to tougher bars. Spread or press the thick batter evenly into your prepared pan. A slight dampening of your hands can help with spreading if the batter is sticky.
- Baking to Perfection: Bake the hermit cookies for 15 to 20 minutes. This is the most critical step for achieving the desired chewy, fudgy texture. Keep a close eye on them: when the edges are lightly browned, and the entire top surface of the bars appears shiny and slightly puffed, it’s time to act! Immediately remove the pan from the oven. You might think it’s too soon, but trust the process. As they cool, the top will gently fall back down, and the interior will set into that irresistible, dense, almost fudgy consistency we’re aiming for. Overbaking, even by a few minutes, will result in a drier, cake-like texture rather than the moist, chewy treat we desire. Allow the hermit bars to cool completely in the pan on a wire rack before proceeding to the glazing step.
- Applying the Glaze: While the bars are cooling, prepare the glaze. In a small bowl, whisk together the whole milk and confectioners’ sugar until the mixture is smooth and free of lumps. The glaze will be quite thin, which is exactly what we want for a delicate, shiny finish. Once the bars are completely cool, use a pastry brush to evenly coat the tops of the hermit bars with this thin glaze. This adds a subtle touch of sweetness and a beautiful sheen. After glazing, you can cut the bars into desired squares or rectangles using a sharp knife or a pizza cutter.
Common Questions About Chewy Hermit Bars
While raisins are traditional, these bars are wonderfully versatile. I’ve personally achieved fantastic results using 2 cups of dried currants, which provide a lovely tartness and a slightly smaller texture. More recently, I experimented with dried cranberries, and they also worked beautifully, lending a brighter, more tangy flavor profile to the bars. Feel free to use either based on your preference or what you have on hand.
I’m afraid not. Blackstrap molasses has an incredibly strong, somewhat bitter, and highly concentrated flavor that will completely overpower the delicate balance of spices and sweetness in these chewy hermit bars. It would fundamentally alter the intended taste. For this recipe, it’s essential to stick to regular, unsulfured molasses to achieve the authentic flavor profile.
This is the most crucial secret to truly chewy, fudge-like hermit bars! At approximately 15 to 20 minutes into baking, the bars will puff up noticeably, and their top surface will develop a distinct shine. This “shiny top” is your unequivocal signal to immediately remove them from the oven. Even if your instinct tells you it’s too soon, I promise you, it’s the perfect moment. Pulling them out at this precise point will reward you with incredibly moist, dense, and gloriously chewy, almost fudge-like bars. Hubba hubba! Overbaking is the enemy of chewiness, so be vigilant!
Pro Tips & Troubleshooting for Perfect Hermit Bars
- Optimal Storage: To maintain their exceptional chewiness and freshness, store your hermit bars in an airtight container. They will keep beautifully in the refrigerator for up to 5 days. For longer enjoyment, these bars freeze exceptionally well. Place them in a freezer-safe, airtight container or bag, separating layers with parchment paper, and freeze for up to 1 month. Thaw at room temperature or gently warm for a quick treat.
- Effortless Slicing: Achieving perfectly even squares or rectangles can be tricky with bars, but a pizza cutter is your best friend here! Once the bars are completely cooled and glazed, a pizza cutter makes quick, clean, and precise cuts, giving your hermit bars a professional finish. For even cleaner cuts, briefly chill the glazed bars in the fridge before slicing.
- Room Temperature Ingredients: Always ensure your butter and eggs are at room temperature before you begin. This allows them to emulsify properly with the sugar and shortening, creating a smooth, cohesive batter that traps air efficiently, leading to a better texture in your baked goods.
- Don’t Overmix: After adding the flour, mix the batter just until the ingredients are combined. Overmixing develops gluten, which can lead to tougher, less tender bars. Gentle folding in of the raisins is also key.
- Pan Size Matters: While the recipe suggests a jelly roll pan or deep-dish pizza pan, using a pan that is too small will result in very thick bars that might require longer baking times and could affect the desired fudgy texture. Conversely, a pan that is too large will yield thinner bars that bake much faster and might dry out. Stick to the recommended dimensions or adjust baking time accordingly.
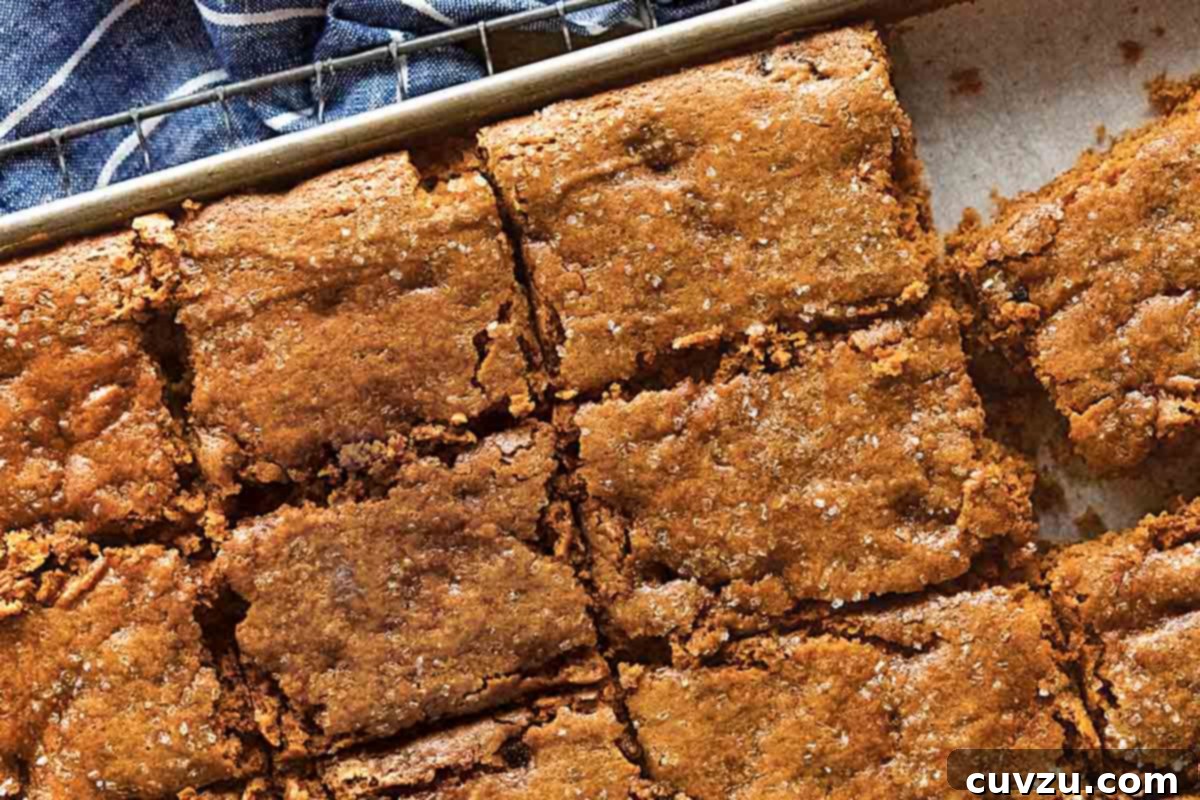
Discover More Delightful Bar Recipes
Homemade Larabars
45 mins
Cinnamon Toast Bars
45 mins
Homemade Ice Cream Bars
12 hrs
Coconut Candy Bars
45 mins
Share Your Experience: Write a Review!
If you whip up these incredible chewy hermit bars, or any other delicious dish from Leite’s Culinaria, we’d absolutely love to hear about it! Please consider leaving a review, a star rating, and your best photo in the comments section below. Your feedback and culinary adventures truly inspire us. – David
Irresistible Chewy Hermit Bars
David Leite
Print Recipe
Ingredients for Chewy Hermit Bars
For the hermit bars
- 1/2 cup plus 2 tablespoons vegetable shortening, plus more for the pan
- 1 1/3 cups granulated sugar
- 4 tablespoons (2 oz) unsalted butter
- 1/4 cup molasses
- 3/4 teaspoon table salt
- 3/4 teaspoon ground allspice
- 3/4 teaspoon ground cinnamon
- 1 3/4 teaspoons baking soda
- 2 large eggs
- 5 cups cake flour
- 1/3 cup water
- 2 cups raisins, packed
For the glaze
- 3 tablespoons whole milk
- 1 cup confectioners’ sugar
Instructions
Make the hermit bars
-
Preheat the oven to 350°F (180°C). Lightly grease a 10- by 15-inch (25- by 38-cm) jelly roll pan, a 14-inch (35-cm) round deep-dish pizza pan, or similar-sized pan.
-
In the bowl of a stand mixer fitted with the paddle attachment or in a large mixing bowl using a hand mixer, beat together the shortening, sugar, and butter, beating at medium speed until fluffy, 2 to 3 minutes.
-
Add the molasses, salt, allspice, cinnamon, and baking soda. Mix for 1 minute, then stop the mixer and scrape down the sides of the bowl. Add the eggs one at a time, beating well after each addition.
-
Mix in half the flour. Once it’s mixed in, add the water, then the other half of the flour. When the batter is mixed completely, add the raisins and stir until combined. Spread or press the batter in the prepared pan.
-
Bake the hermits until the edges are light brown, 15 to 20 minutes. They’ll puff up in the oven and the top will get shiny. As soon as you see this, pull the pan from the oven. The top will fall back down and the interior of the cookies will have an almost fudgy consistency. (If you leave them in the oven longer, you’ll get a product that’s more like a cake-type brownie, and it won’t be as moist and irresistible.) Remove the hermits from the oven and cool them in the pan on a rack before glazing.
Make the glaze
-
In a small bowl, stir together the milk and confectioners’ sugar until smooth; the glaze will be quite thin. Using a pastry brush, brush glaze on top of the hermits before cutting into bars.
Notes
- Substitutions: For a delightful twist, feel free to use dried currants or cranberries instead of raisins. Both offer a different, yet equally delicious, flavor profile.
- Storage: Keep these hermit bars fresh and chewy by storing them in a sealed, airtight container in the refrigerator for up to 5 days.
- Freezing: If you’re planning ahead or want to enjoy them for longer, these chewy hermit bars can be frozen in an airtight container for up to 1 month. Thaw at room temperature before serving.
- Slicing: For beautifully even and clean cuts, use a pizza cutter to slice your cooled and glazed bars into perfect squares or rectangles.

Adapted From
The King Arthur Baking Company Essential Cookie Companion
Buy On Amazon
Nutrition Information
Nutrition information is automatically calculated, so should only be used as an approximation.
Recipe Testers’ Enthusiastic Reviews
Jack V.
Having had the distinct pleasure of sharing these utterly irresistible chewy hermit bars with my neighborhood, I witnessed firsthand the profound impact they had. One neighbor, upon tasting, devoured the entire batch before their spouse even returned home, admitting they were simply too good to share! Another offered to hire me immediately to bake copious batches as holiday gifts, a testament to their exceptional quality. While it’s possible that in California, these reactions might stem from the novelty of those who have never encountered (let alone heard of) hermit bars, I firmly believe this recipe offers the finest possible introduction to this classic treat.
What truly elevates them to such high regard? The undeniable key to their success lies in the meticulous baking instructions. The critical moment of pulling them from the oven as soon as the top achieves that tell-tale shine, and then allowing them to gently collapse back onto themselves, is what ensures their remarkably dense, moist, and unequivocally fudge-like consistency. This precise technique prevents the common pitfalls of overbaking.
During my six years living in New England, I observed the downfall of countless hermit bars: they were almost invariably overcooked, resulting in a dry, cakey texture that became stale after just a day. In stark contrast, these bars remained deliciously moist and flavorful even on day five. For optimal enjoyment, I’d highly recommend savoring the crispier edge pieces first, preserving the lusciously soft center pieces for last, as they retain their perfect texture the longest. These bars fulfilled every hope I had for the perfect hermit, and I can now confidently declare my quest for a perfect recipe complete.
Lisa C.
These are truly tasty, traditional chewy hermit bars that hit all the right notes. My batch yielded an impressive 49 bars, which made me particularly happy given their excellent keeping qualities. I used a 12-by-12-inch ovenproof baking dish, and it worked wonderfully for achieving the perfect thickness and texture. Next time, I’m considering dividing the batter between a 9-by-9-inch and an 8-by-8-inch pan. This way, I can easily freeze one batch for later enjoyment, ensuring I always have these delightful treats on hand!