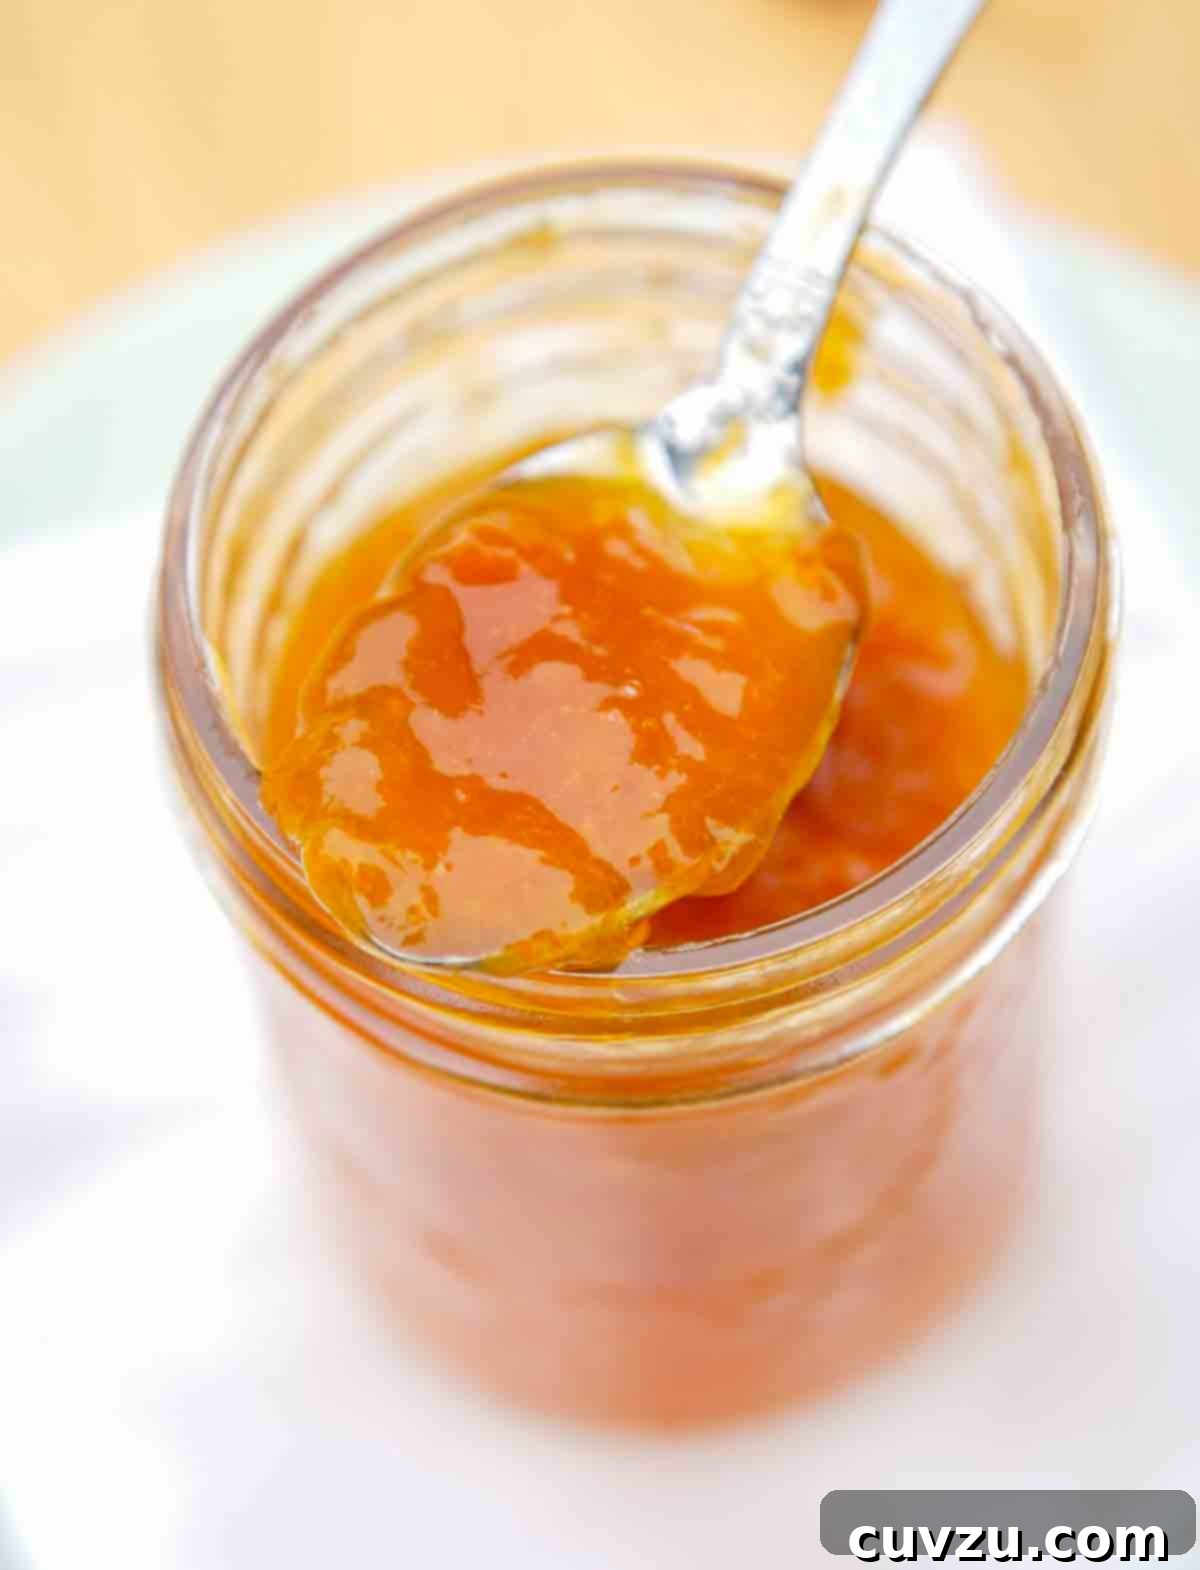
Unlock the vibrant taste of summer all year long with this exquisite homemade apricot jam. Crafted with just three simple, natural ingredients – ripe fresh apricots, granulated sugar, and a squeeze of bright lemon juice – this recipe proves that you don’t need pectin to achieve a perfectly set, deliciously flavorful jam. It’s an effortlessly easy way to capture the fleeting essence of apricot season and enjoy its sun-kissed sweetness whenever a craving strikes.
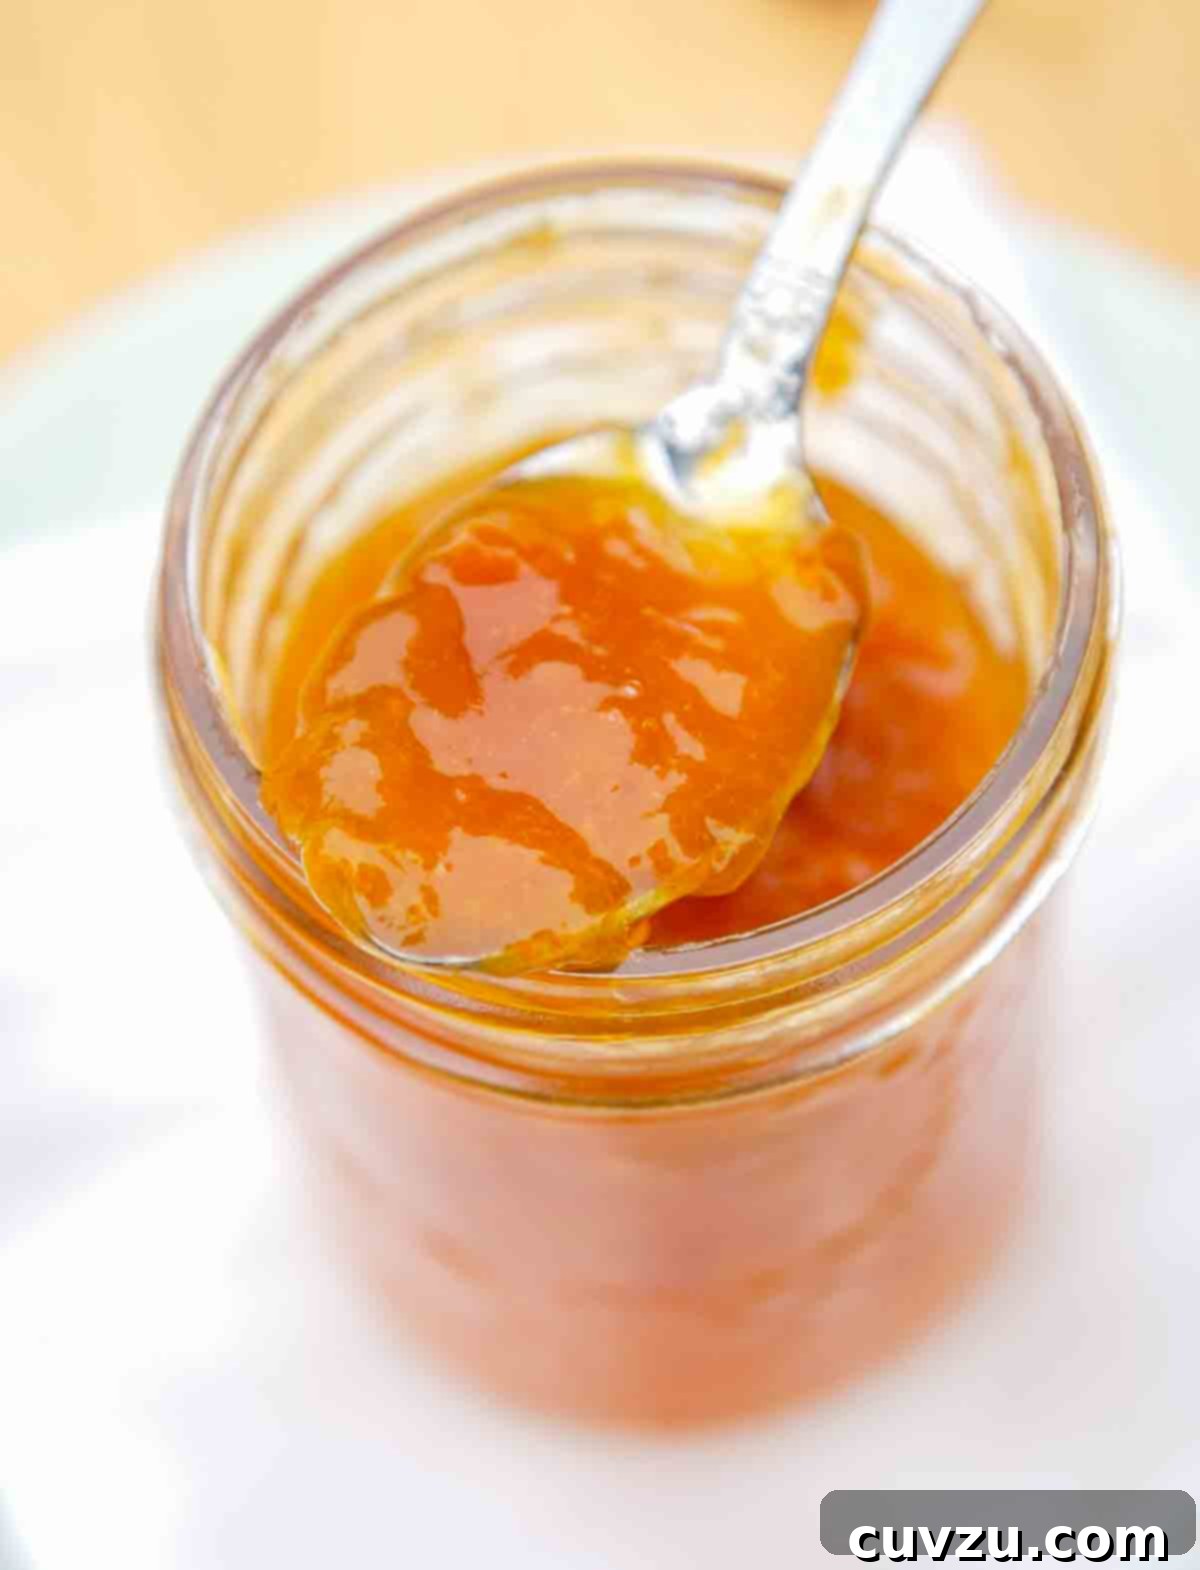
Apricots are truly one of summer’s most cherished treasures. Their season is notoriously brief, offering only a few precious weeks when these delicate, fuzzy fruits can be plucked at their peak, savored immediately, and ideally, preserved for months to come. The beauty of these ephemeral gems lies not just in their luscious taste but in their incredible versatility, transforming effortlessly into a jam that embodies pure sunshine. Imagine the sensation: biting into a perfectly ripe apricot, the sweet-tart juice dribbling down your arm, a pure moment of summer bliss. This jam allows you to revisit that sensation, one spoonful at a time, long after the summer sun has set. It’s more than just a preserve; it’s a jarred memory, a taste of sunshine on a gray day.
Homemade Apricot Jam FAQs: Your Questions Answered
The possibilities are truly endless, offering both sweet and savory applications. Here are some of our absolute favorites to inspire you:
∙ Begin your day by generously spreading it on warm, buttery toast, flaky croissants, or freshly baked scones for a delightful breakfast.
∙ Elevate your appetizer game by drizzling a spoonful over a wheel of warm baked brie or a log of creamy goat cheese, serving with crackers or crusty bread.
∙ Transform your holiday meals by using it as a vibrant and flavorful glaze for ham or even a roasted chicken or pork loin, adding a touch of sweet acidity.
∙ Add an unexpected twist to side dishes; a dollop can beautifully jazz up roasted carrots or sweet potatoes.
∙ Impress your dinner guests with sophisticated main courses, like this elegant pork with chanterelles and apricot jam, where the fruit’s sweetness perfectly balances the earthy mushrooms.
∙ Swirl it into plain yogurt or oatmeal for a quick, healthy, and flavorful boost.
∙ Use it as a filling for thumbprint cookies, tarts, or delicate pastries.
∙ Pair it with strong cheeses on a sophisticated charcuterie board.
∙ Even simpler, enjoy it straight from the spoon when you need a little burst of sweet, fruity comfort.
Determining when your jam has reached the perfect setting point is crucial for a successful batch. There are a few reliable methods you can use to test for doneness:
The Spoon Test: This is a quick and visual method. Scrape a wooden spoon across the bottom of your pot. If a clear line of separation remains visible for a few seconds before the jam slowly flows back together, your jam is likely ready. This indicates enough moisture has evaporated for the natural pectin to do its job.
The Temperature Test: For a more precise assessment, use an instant-read thermometer. Jam typically sets at approximately 220°F (104°C) at sea level. If you live at a higher altitude, this temperature will be slightly lower (subtract 2°F for every 1,000 feet above sea level). Monitoring the temperature helps ensure consistent results.
The Cold Plate Wrinkle Test: A popular and highly effective method. Before you start cooking, place a few small white plates in the freezer. When you suspect the jam is ready, remove a plate from the freezer, place a small spoonful of hot jam onto it, and let it sit for about 30 seconds to cool. Then, gently nudge the jam with your finger. If the surface wrinkles and doesn’t run back smoothly, it has reached the gelling point. If not, continue cooking for a few more minutes and repeat the test with another chilled plate until you achieve the desired wrinkle.
No, canning is completely optional! While canning offers extended shelf life at room temperature, it’s not strictly necessary for this delicious apricot jam. Once your jam has thickened to the desired consistency, you can simply pour it into clean jars and allow it to cool before stashing it in the refrigerator or freezer. If stored in the refrigerator, it will keep beautifully for up to 3 months. For longer storage, freeze it for up to 6 months or even a year, thawing in the fridge before use. If you do choose to can it, follow the instructions carefully for proper sealing and shelf stability.
Don’t despair if a jar doesn’t seal! It happens sometimes, even to experienced canners. A simple solution is to treat that particular jar as fresh jam. Pop it into the refrigerator as soon as it has cooled, and make sure to use it first, typically within 3 months. The jam is still perfectly safe and delicious to eat; it just won’t be shelf-stable at room temperature like properly sealed jars. Consider it a bonus jar for immediate enjoyment!
Making Your Own Homemade Apricot Jam: A Taste of Sunshine
There’s something incredibly satisfying about transforming fresh, seasonal fruit into a vibrant, shimmering jam right in your own kitchen. This apricot jam recipe, relying on the natural pectin in the fruit and the power of lemon juice, is a testament to simple ingredients yielding extraordinary results. It’s perfect for both novice and experienced jam makers, bringing the bright, sweet-tart essence of apricots to your table any time of year.
Apricot Jam
David Leite
Equipment Essentials for Jam Making
-
Three 8-ounce jelly jars with lids and screwbands (or more if you plan to refrigerate/freeze)
-
Large, heavy-bottomed stockpot or Dutch oven
-
Wooden spoon or heat-proof spatula for stirring
-
Ladle or jar funnel for filling jars (optional but recommended for neatness)
-
Canning pot with rack, jar lifter, and headspace tool if planning to water bath can
Ingredients for the Perfect Apricot Jam
- 5 1/2 cups unpeeled, chopped, and pitted fresh apricots (about 2 1/4 pounds or 1 kg)
- 2 tablespoons fresh lemon juice, (from 1 lemon, essential for flavor and natural pectin activation)
- 1 1/2 cups granulated sugar
Step-by-Step Instructions for Homemade Apricot Jam
-
Prepare Your Jars: If you plan to can your jam for long-term storage, meticulously prepare three 8-ounce Mason jars, along with their lids and screwbands, for canning. Follow the manufacturer’s specific directions for sterilization and keeping them hot until ready to fill. This ensures food safety and a proper seal.
-
Macerate the Fruit: Combine the chopped apricots and fresh lemon juice in a large, heavy-bottomed stockpot or Dutch oven. Add the granulated sugar, stirring gently to combine. Let this mixture rest at room temperature, stirring occasionally, for about 1 hour. This crucial maceration step allows the sugar to draw out the natural juices from the apricots, creating a flavorful syrup and helping the jam set later.
-
Begin the Cook: Place the pot over medium-high heat. Bring the apricot mixture to a rolling boil, stirring frequently to prevent sticking and ensure even cooking. The mixture will bubble vigorously.
-
Simmer to Perfection: Once boiling, reduce the heat to medium and allow the jam to simmer gently. Continue stirring often, and use a clean spoon to skim off any foam that rises to the surface; this keeps the jam clear and attractive. Simmer for approximately 20 minutes, or until the jam visibly thickens and begins to run off the side of a spoon in heavy, slow drops. Conduct one of the doneness tests (spoon, temperature, or cold plate) to confirm it’s reached the setting point. Once achieved, remove the pot from the heat.
-
Fill and Process (Optional Canning): Carefully fill the hot, sterilized jars one at a time, leaving about 1/4 inch of headspace. Wipe the rims clean, center the lids, and apply the screwbands until fingertip-tight. If canning, process the jars in a boiling water canner for 10 minutes. Afterward, remove the jars and let them cool completely on a towel-lined counter. You’ll hear the satisfying “pop” as they seal. Store properly sealed jars at room temperature for up to 1 year. If not canning, simply let the jars cool and store them in the refrigerator for up to 3 months or freeze for longer enjoyment.

Inspired By
This timeless recipe finds its roots and inspiration in the beloved collection from The Harrow Fair Cookbook, a treasure trove of classic preserves and country fare.
Buy On Amazon
Explore More with AI
Nutrition Facts (Per Serving)
Nutrition information is automatically calculated and should be considered an approximation for dietary planning.
Recipe Testers’ Reviews: Real Feedback on Our Apricot Jam
Curious about what others thought of this easy apricot jam recipe? Our dedicated team of recipe testers put it to the test, and their glowing reviews confirm that this no-pectin method delivers truly outstanding results. Read on for their insights and serving suggestions!
Brenda Carleton
What an absolutely sensational jam this is! It perfectly embodies what apricot jam should be – a beautiful balance of slightly tart and intensely rich apricot flavor. Having made apricot jam regularly over the years, I can confidently say this version stands out for its balanced sweetness; it’s never cloyingly sweet, which is a common pitfall. I honestly had to exercise extreme willpower to stop myself from eating it straight from the jar with a spoon. This is a wonderfully simple, yet profoundly delicious, jam that anyone, regardless of their jam-making or canning experience, could successfully create.
For my batch, I used exactly 26 apricots, which amounted to a perfect 2 1/4 pounds. The jam thickened and set beautifully, achieving that ideal consistency without any added pectin. With more apricots waiting, I’m already envisioning exciting variations, perhaps infusing it with a hint of lime, or delicate herbs like sage, lemon thyme, or even a touch of rosemary for a savory twist. However, in its original form, it’s already truly lovely and utterly satisfying.
My culinary imagination is buzzing with plans for this versatile jam. I can already picture it gracing the table alongside a succulent baked country ham, or as a sophisticated accompaniment to a perfectly seared duck breast. It’s also an absolute must-have addition to any thoughtfully curated charcuterie board, where its bright fruitiness can cut through richer flavors. This jam is definitely a keeper in my recipe repertoire!
Lori Widmeyer
Making this pectin-free apricot jam was an absolute breeze – so incredibly easy! Since I knew I’d be using it up very quickly, I didn’t bother with the canning process, opting instead to store it in the fridge for immediate enjoyment. On the very first day I made it, the jam was delightful, but what truly surprised me was how its flavors deepened and melded even further after a day or two; it became even better, richer, and more complex.
This jam proved to be the perfect little treat, transforming ordinary bagged lunches into something much more special and anticipated. I thoroughly enjoyed incorporating some of this luscious jam into my baking, using it to make classic thumbprint cookies and Giada De Laurentiis’ famous apricot bars, both of which were met with rave reviews. Beyond baking, its versatility shone through in simpler pleasures: it’s absolutely wonderful slathered on a classic PB&J sandwich, adding a gourmet touch, and, of course, it’s divine spread thickly over warm, crunchy toast. A definite staple for my kitchen!
Karen Lynch
My earliest and most vivid memory of apricot jam dates back to when I was about 10 years old, enjoying my summer break from school. I had a strong craving for a peanut butter and jelly sandwich, but to my dismay, we were all out of grape jelly – a childhood tragedy! In a moment of culinary exploration, I reached for the apricot jam instead. From that day forward, I’ve rarely had a PB&J without that distinctive, sunny apricot flavor. It transformed a simple sandwich into something truly special.
Apricots themselves are like little orbs of edible sunshine, with their soft, fuzzy skin, delicate aroma, and vibrant hue. The first bite of a fresh apricot always instantly transports me to warm, lazy summer days. This recipe perfectly captures that feeling, allowing you to turn the fleeting abundance of summer apricots into a delightful jam. It means that the warmth and sweetness of summer can be savored year-round, simply by opening a jar of this exquisite homemade apricot jam. It’s truly a jar of happiness!
Linda B.
As a long-time admirer of apricot jam, I was excited to finally try my hand at making it from scratch, something I’d never done before. One of the aspects that truly appealed to me about this particular recipe was its thoughtful approach to sweetness – it uses noticeably less sugar than many other apricot jam recipes I’ve encountered, allowing the natural, vibrant flavor of the apricots to truly shine through without being overwhelmed. This results in a jam that is bright, fresh, and perfectly balanced.
The finished product is simply fantastic. It’s absolutely wonderful on a simple piece of toast, elevating a quick snack into a moment of pure enjoyment. Beyond that, its versatility means it’s also a superb ingredient to incorporate into various recipes, from glazes to baked goods. This recipe is definitely a “keeper” in my collection, and I foresee myself making many more batches in the future. It’s a rewarding experience that produces a truly superior homemade jam.
Sita Krishnaswamy
I found this apricot jam recipe to be refreshingly straightforward and incredibly simple to follow, making the process of preserving summer’s bounty an absolute pleasure. The instructions were clear and concise, leading to a perfectly cooked batch of jam without any fuss. From the specified quantity of ingredients, I was able to fill a standard 500-milliliter Mason jar, with a delightful little bit leftover to enjoy immediately (which I promptly did!).
This is truly a very basic, yet exceptionally good, recipe for anyone looking to make homemade jam. It doesn’t rely on complex techniques or obscure ingredients, proving that sometimes the simplest approach yields the most authentic and satisfying results. The jam tasted wonderfully fresh, with the pure essence of apricots shining through. It’s a fantastic foundation for any home preserver, and I highly recommend it for its ease and delicious outcome.