Delightful Mini Jam Tarts: An Easy Recipe for Every Occasion
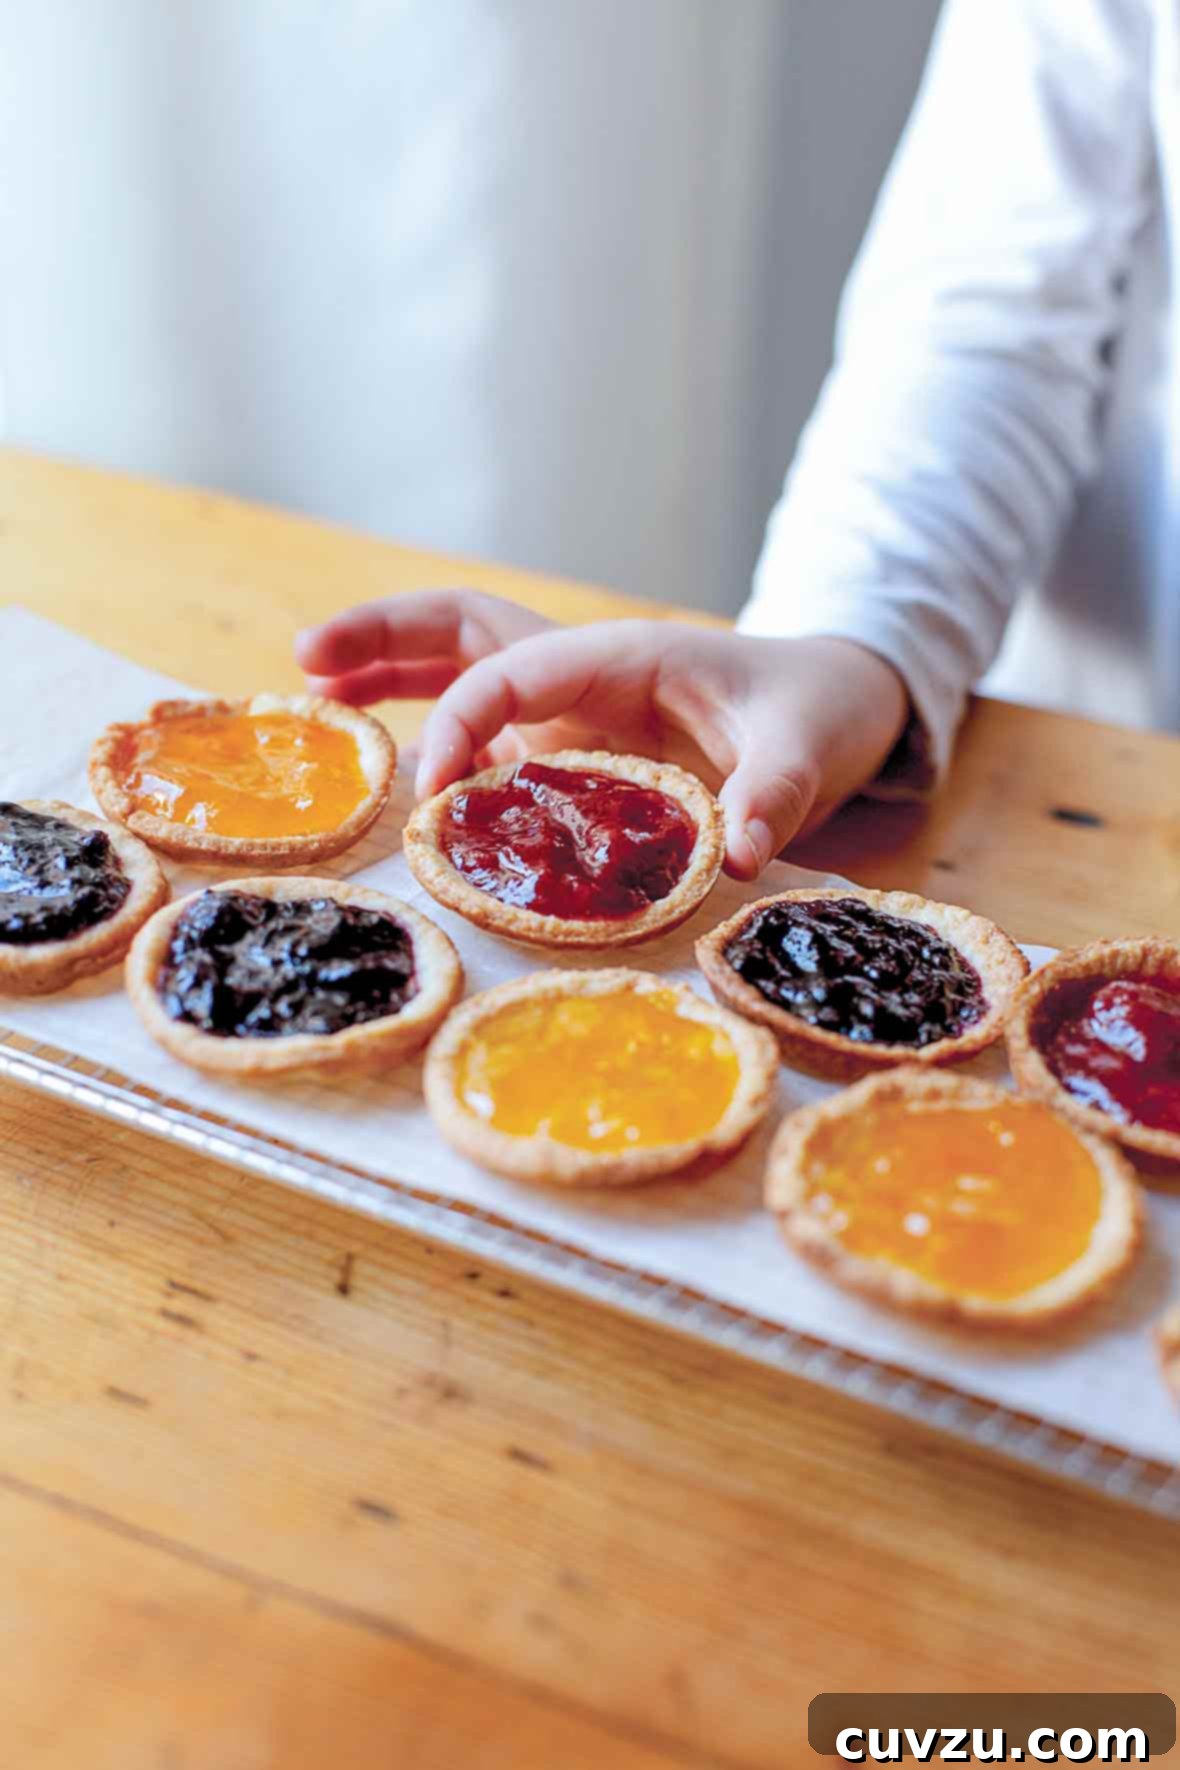
Imagine a bite-sized burst of fruity goodness, nestled in a flaky, golden crust. That’s precisely what these irresistible mini jam tarts offer. Perfectly sized for small hands and delicate palates, these charming treats are not just enticingly delicious but also remarkably simple to make. Crafted with a delicate shortcrust pastry, which is blind-baked to perfection, they are then generously filled with your favorite jam—whether a luscious homemade preserve or a convenient store-bought variety. Best of all, they provide a wonderful opportunity to gather the family in the kitchen, making baking a memorable activity for everyone.
Why These Mini Jam Tarts Are a Must-Try
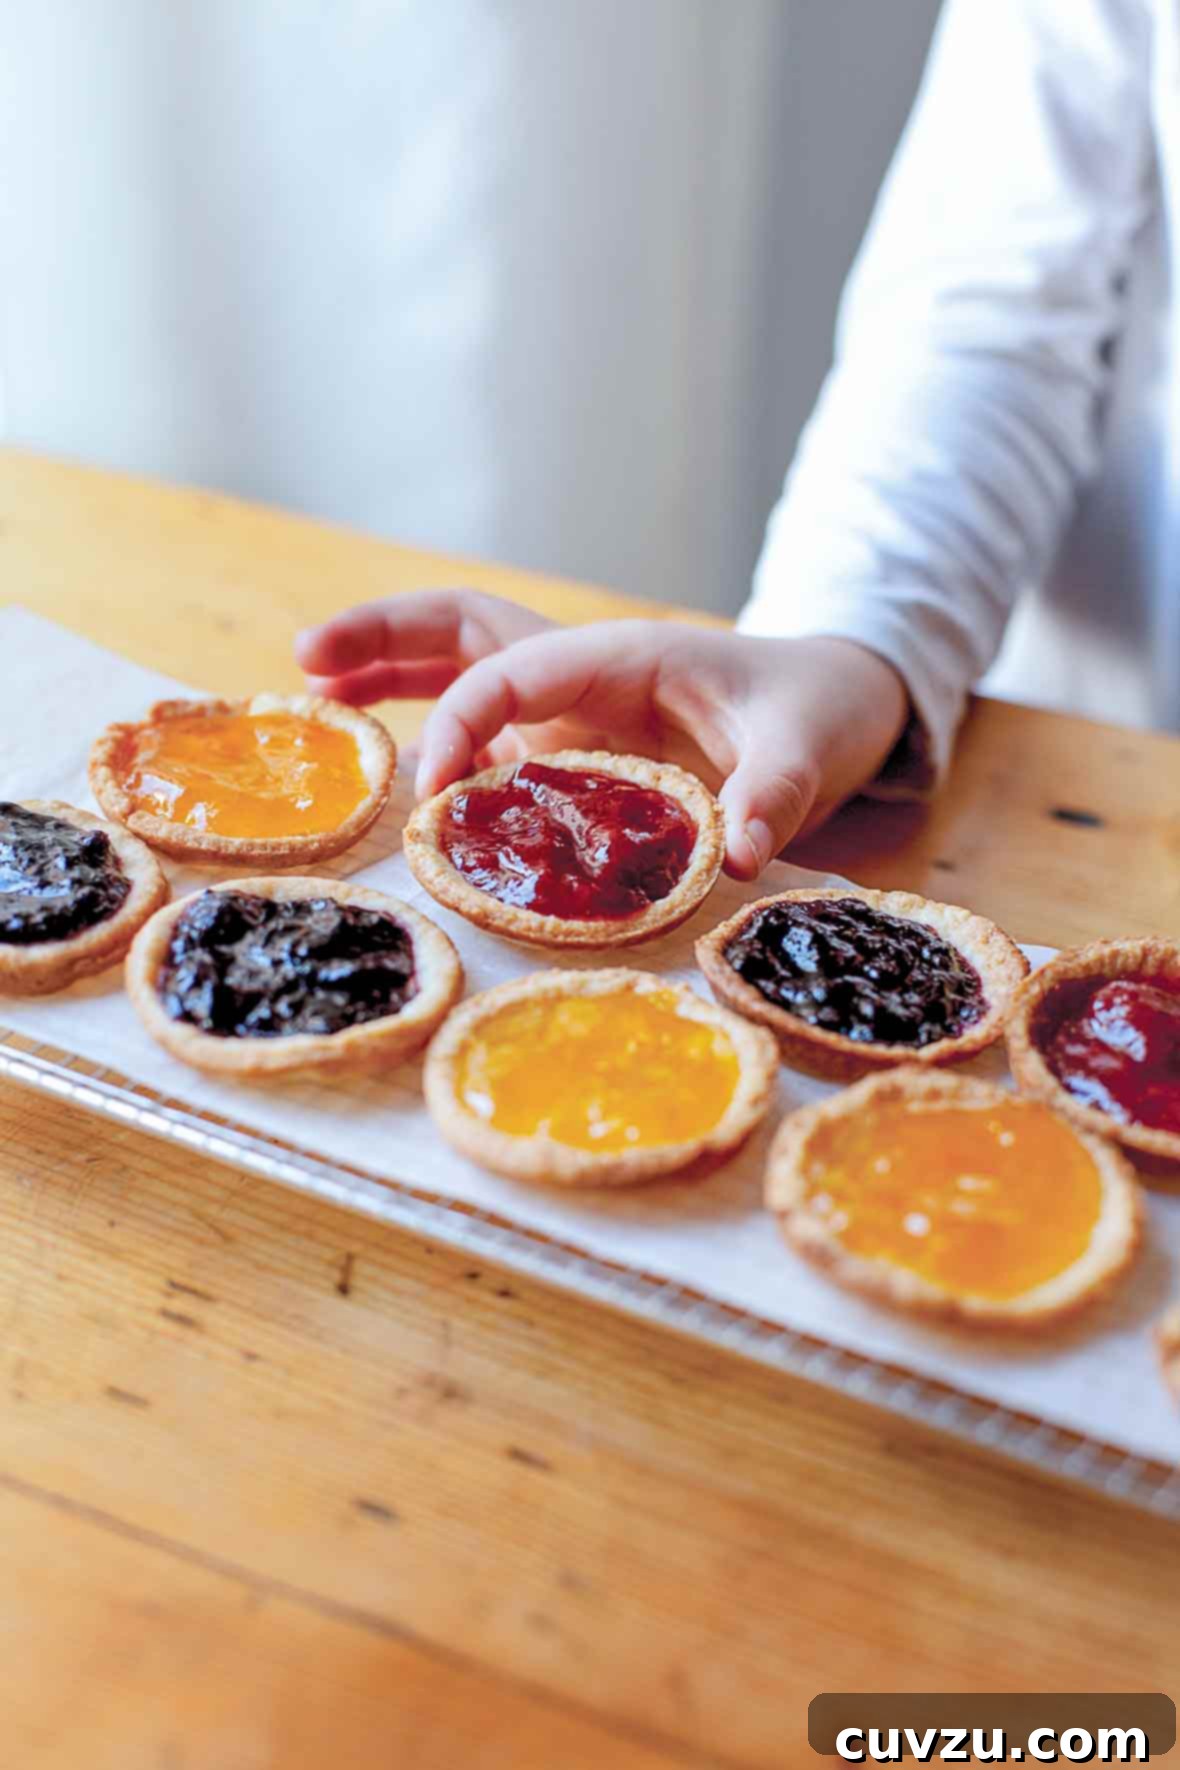
Beyond their adorable appearance, these mini jam tarts are a culinary delight that fits seamlessly into various settings. They are easy enough for even young aspiring bakers to help prepare, making them an ideal family activity. Their versatility means they’re perfect for your next brunch gathering, a relaxed book club meeting, an elegant tea party, or simply to elevate a mundane Tuesday afternoon with a cup of freshly brewed coffee or tea.
One of the greatest appeals of these tarts is their endless customization. With just a few different types of jam on hand, you can create an array of flavors and colors, transforming a simple tray of tarts into a vibrant display. This not only adds visual appeal but also gives everyone an “excuse” to sample each delicious variation. From classic strawberry to tangy apricot or exotic fig, the possibilities are limited only by your imagination and pantry.
Baking these tarts is a joyful process. The aroma of sweet pastry and bubbling fruit filling permeating your kitchen is truly comforting. They embody simple elegance and homely charm, promising a delightful experience with every bite. The crisp, buttery crust perfectly complements the sweet, fruity filling, creating a harmonious balance of texture and taste that will leave you reaching for just one more.

Mini Jam Tarts Recipe
These mini jam tarts are designed for delightful snacking, featuring buttery short pastry crusts filled with your choice of jam after being blind-baked. They are a fantastic recipe for involving children in the kitchen!
By David Leite
Ingredients
For the Pastry
- 1 1/2 cups all-purpose flour, plus more for rolling the dough
- 1/4 teaspoon fine sea salt
- 1/4 cup granulated sugar
- 1 stick cold unsalted butter, cut into small pieces
- 1 large egg, lightly beaten
- 2 tablespoons heavy (35%) cream
For the Tarts
- Unsalted butter, for greasing the pans
- About 1/2 cup store-bought or homemade jam, any flavor
Instructions
Make the Pastry Dough
- In a large mixing bowl, thoroughly whisk together the all-purpose flour, fine sea salt, and granulated sugar until well combined.
- Add the cold, cubed butter to the flour mixture. Using your fingertips, gently and quickly rub the butter into the flour until the mixture resembles coarse breadcrumbs, with some larger pieces of butter remaining, about the size of small peas. Alternatively, you can achieve this texture using a pastry blender, which can be quicker and keeps the butter colder.
- Create a well in the center of the flour and butter mixture, then pour in the lightly beaten large egg. Using a sturdy wooden spoon, gradually mix the egg into the flour mixture until it is fully incorporated and starts to come together.
- Next, add the heavy cream and continue mixing until the dough becomes firm enough to form a cohesive ball when pressed together with your fingers. The dough might appear slightly crumbly at first, but with gentle pressure, it should come together. Form the dough into a flat disk, wrap it tightly in plastic wrap, and refrigerate for at least 1 hour, or up to 3 days. For longer storage, the dough can be tightly wrapped and frozen for up to 3 months; remember to thaw it overnight in the refrigerator before use.
- Once ready to bake, remove the chilled dough disk from the refrigerator and let it sit at room temperature for a few minutes. This slight softening will make it easier to roll out without cracking. Divide the dough into two equal halves.
- Lightly flour a large sheet of parchment paper. Place one half of the dough onto the floured parchment, sprinkle it lightly with a bit more flour, and then cover it with a second sheet of parchment paper.
- Using a rolling pin, roll the dough evenly between the two sheets of parchment paper until it reaches a uniform thickness of approximately 1/6 inch (4 mm). If the dough becomes too soft or sticky during rolling, carefully transfer it back to the refrigerator for a few minutes to firm up before proceeding with cutting.
Assemble and Bake the Mini Tarts
- Preheat your oven to 375°F (190°C). Lightly grease two 12-cup muffin pans with unsalted butter, ensuring all cups are well coated to prevent sticking.
- Using a cookie cutter with a diameter of about 3 inches (8 cm), cut out rounds from the rolled dough. A cutter with fluted edges can create particularly elegant tartlets, but a plain round cutter, or even the rim of a glass or ramekin of the correct diameter, works just as well. Each half of the pastry dough should yield approximately 10 rounds. You will need to gather and gently re-roll any scraps of dough to ensure you get all 10 rounds from each half. When re-rolling, use a minimal amount of flour to prevent the dough from sticking to the parchment. If the dough becomes very soft and sticky after re-rolling, chill it again briefly.
- With the aid of an offset spatula, carefully lift the pastry rounds from the parchment paper and gently place them into the prepared muffin cups. There’s no need to press them firmly to the bottom; they will naturally settle and form a small cup shape during baking. Ensure each pastry round is evenly centered within its muffin cup. Place the filled muffin pan in the refrigerator while you repeat the process with the second piece of dough. Once both pans are filled, refrigerate both pans with the pastry rounds for an additional 30 minutes. This chilling step helps the pastry hold its shape and prevents excessive shrinking during baking.
- Remove the chilled pastry cups from the refrigerator. Place 1 teaspoon of your chosen jam directly into the middle of each pastry cup. While this might seem like a small amount, the jam will bubble up and expand as it bakes. Bake the tarts in the preheated oven until the pastry edges are golden brown and the jam is visibly bubbling, typically between 15 to 20 minutes.
- Once baked, remove the muffin pans from the oven and allow the tarts to cool undisturbed in the pans for about 15 minutes, or until the jam has set and is no longer runny. The setting time can vary slightly depending on the type and sugar content of the jam. If you find your jam hasn’t spread evenly or enough as it cooked, you can gently add another small teaspoon of jam to the center of the tartlets immediately after they come out of the oven. A gentle swirl can help combine the hot and cooler jams, then allow them to set completely.
- Carefully remove the cooled tartlets from the muffin pans and transfer them to wire racks to cool completely to room temperature. These delightful mini jam tarts can be stored in an airtight container for up to 3 days, though they are so delicious, it’s unlikely they will last that long!
Nutrition Information
Serving: 1 mini tart
Calories: 117 kcal
Carbohydrates: 16 g
Protein: 1 g
Fat: 5 g
Saturated Fat: 3 g
Monounsaturated Fat: 1 g
Trans Fat: 1 g
Cholesterol: 24 mg
Sodium: 37 mg
Fiber: 1 g
Sugar: 7 g
Nutrition information is automatically calculated and should only be used as an approximation.
Tried this recipe?
Mention @leitesculinaria or tag #leitesculinaria on Instagram!
Insights from Our Recipe Testers
Our team of dedicated recipe testers put these mini jam tarts to the test, offering invaluable feedback and practical tips. Their experiences highlight the versatility of the recipe and provide helpful insights for home bakers.
Helena Pereira
These mini jam tarts are a delightful tea-time classic, reminiscent of English tradition. The pastry, intentionally not too sweet, achieves a wonderful balance of softness inside and a slight crunch on the outside. The fruit jam, perfectly spread across the bottom, imparts a lovely sweet flavor to this tiny treat. When using an assortment of jams with different fruits and colors, the presentation becomes particularly beautiful and vibrant.
Helena’s key recommendation is to use a compote or jam with a high fruit content and a thicker consistency. This prevents the filling from spreading too much during baking and ensures it stays neatly contained within the delicate pastry base. She also advises sticking to the recommended 1 teaspoon of jam per tart. Exceeding this amount can result in an overly sweet tart and a messy overflow during baking, which affects both taste and appearance.
Jenny Latreille
Jenny describes this as a very basic, yet perfectly acceptable, recipe for mini jam tarts. She notes that the combination of shortcrust pastry and readily available jam comes together easily and is quite appealing. For her, these tarts are often a happy accident when she has leftover pastry, but this recipe elevates them to a main event, rather than just an afterthought.
Having her own shortcrust recipe that typically excludes eggs, Jenny was curious about the difference the egg would make. She found that it added a touch more richness to the pastry, though she felt the shells were not quite as tender as her usual preference. She also highlighted the importance of handling the dough carefully, particularly for tarts that require significant manipulation, and was surprised by the lack of explicit warnings against overworking the dough in the original recipe.
For her fillings, Jenny experimented with two distinct flavors: sour cherry and blueberry lime. She also creatively served the tarts with a small dollop of leftover lime curd from a previous gin and tonic birthday cake, which added a wonderful complementary tang. The tarts were delicious and presented beautifully, making them a lovely addition to a casual dinner.
Patty Fabian
Patty sought European-inspired desserts for her book club meeting, aiming to match the theme of their current read. These beautiful mini jam tarts proved to be an enormous hit with her group, exceeding expectations.
While making the pastry dough itself was straightforward, Patty encountered a challenge during the rolling out phase. The dough was quite firm initially when taken from the refrigerator. However, when she started rolling it between floured sheets of parchment as instructed, the butter seemed to soften and melt rapidly. If rolled too thinly, the dough began to stick and melt into the parchment on both sides, making cutting impossible. For her second piece of dough, she quickly rolled it out on freshly dusted parchment, making sure not to roll it as thinly as before. This approach allowed her to successfully cut out fluted rounds and transfer them to the muffin tin. She then gathered and re-rolled the first piece of dough, again careful not to roll it too thin, and managed to get the remaining pastry rounds into the tins. Despite these minor adjustments, she ended up with 19 tart crusts that baked up beautifully.
Patty used Bonne Maman Preserves in Wild Blueberry, Mango-Peach, and Strawberry flavors. She noted that the blueberry preserves, with their abundant whole blueberries, required a little extra jam to be added after baking, as the fruit didn’t spread as much as the smoother jams. She enthusiastically declared that she would definitely make these tarts again, remembering to work quickly and avoid rolling the dough too thinly. A definite keeper for her recipe collection!
Rosie Coelho
Rosie found these mini jam tarts to be yummy, simple, and a fairly easy sweet treat to prepare, confirming their accessibility for home bakers.
She encountered personal challenges with the parchment paper method for rolling out the dough, admitting it’s a technique she generally struggles with. As a workaround, she opted to roll the dough using her conventional method, without parchment. She still had to be mindful of the dough’s tendency to become soft and sticky but found that working swiftly and briefly chilling the dough in the refrigerator as needed effectively managed this issue. Rosie also didn’t find the instruction to divide the dough into two rounds necessary, as the total quantity was manageable enough to work with as a single round. In fact, she felt that working with one round resulted in less gathering and re-rolling of scraps compared to two smaller rounds.
Using a non-stick muffin pan, Rosie discovered that she didn’t need to add additional butter to grease the pans, simplifying the preparation step. She also deviated from the cooling instructions. Instead of letting the tarts cool completely in the pan, she carefully removed them with a fork shortly after baking to prevent any bubbling jam from gluing the tarts to the pan as they cooled. She then placed them on a wire rack to finish cooling.
For her fillings, Rosie used three different kinds of jam: a European peach jam with sizable fruit bits, an artisanal strawberry-rhubarb local jam, and an everyday store-bought strawberry jam. She observed that the smoother jams yielded a more appealing consistency in such small tarts, while the chunkier peach jam was less ideal. Regardless of the jam texture, the deliciousness of the tarts remained undeniable!