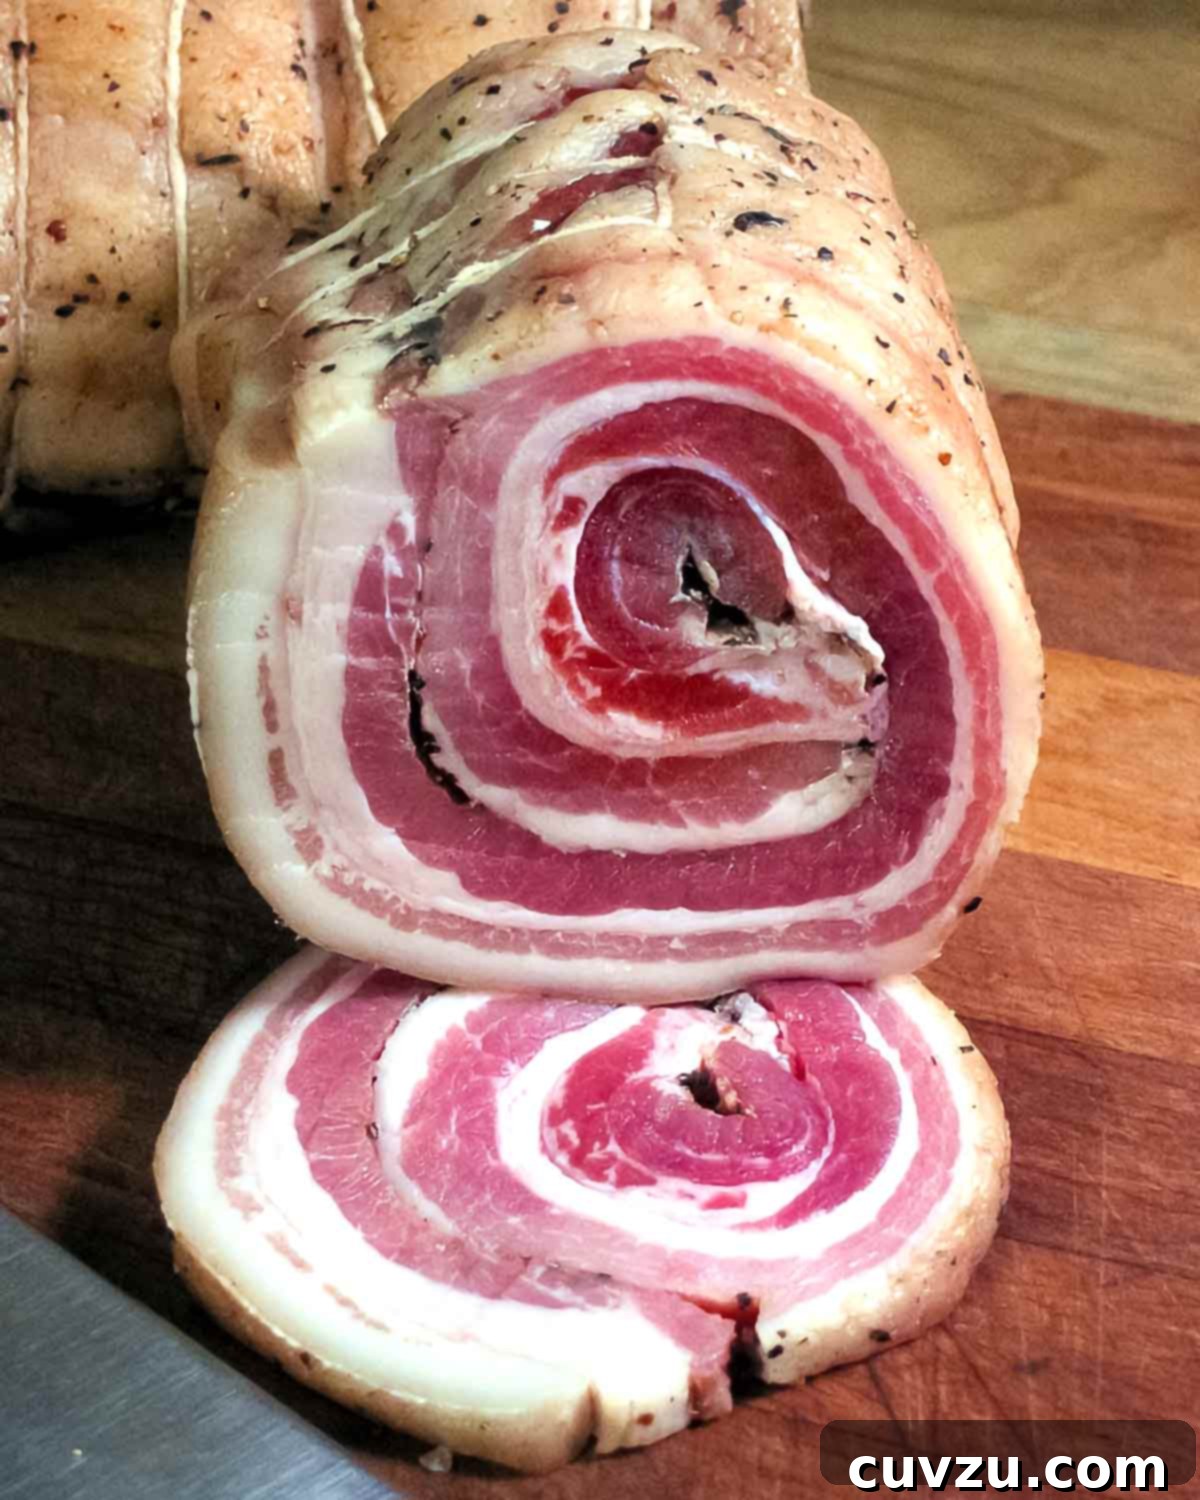
Unlock the rich, savory world of Italian charcuterie by crafting your very own homemade pancetta. This culinary endeavor transforms a simple slab of pork belly into a deeply flavorful, unsmoked bacon, cured with a meticulously balanced blend of salt, sugar, pepper, fragrant juniper berries, aromatic bay leaves, warm nutmeg, and earthy thyme. While store-bought options can be scarce and often lack the nuanced taste of an artisanal product, mastering this recipe allows you to create a superior ingredient that will elevate countless Italian dishes. Imagine the depth it adds to classics like Spaghetti Carbonara or how it perfectly substitutes guanciale in a robust Bucatini all’Amatriciana. Beyond its use in pasta, homemade pancetta brings an unparalleled complexity and richness to a wide array of culinary creations, making it an indispensable staple in any well-stocked kitchen.
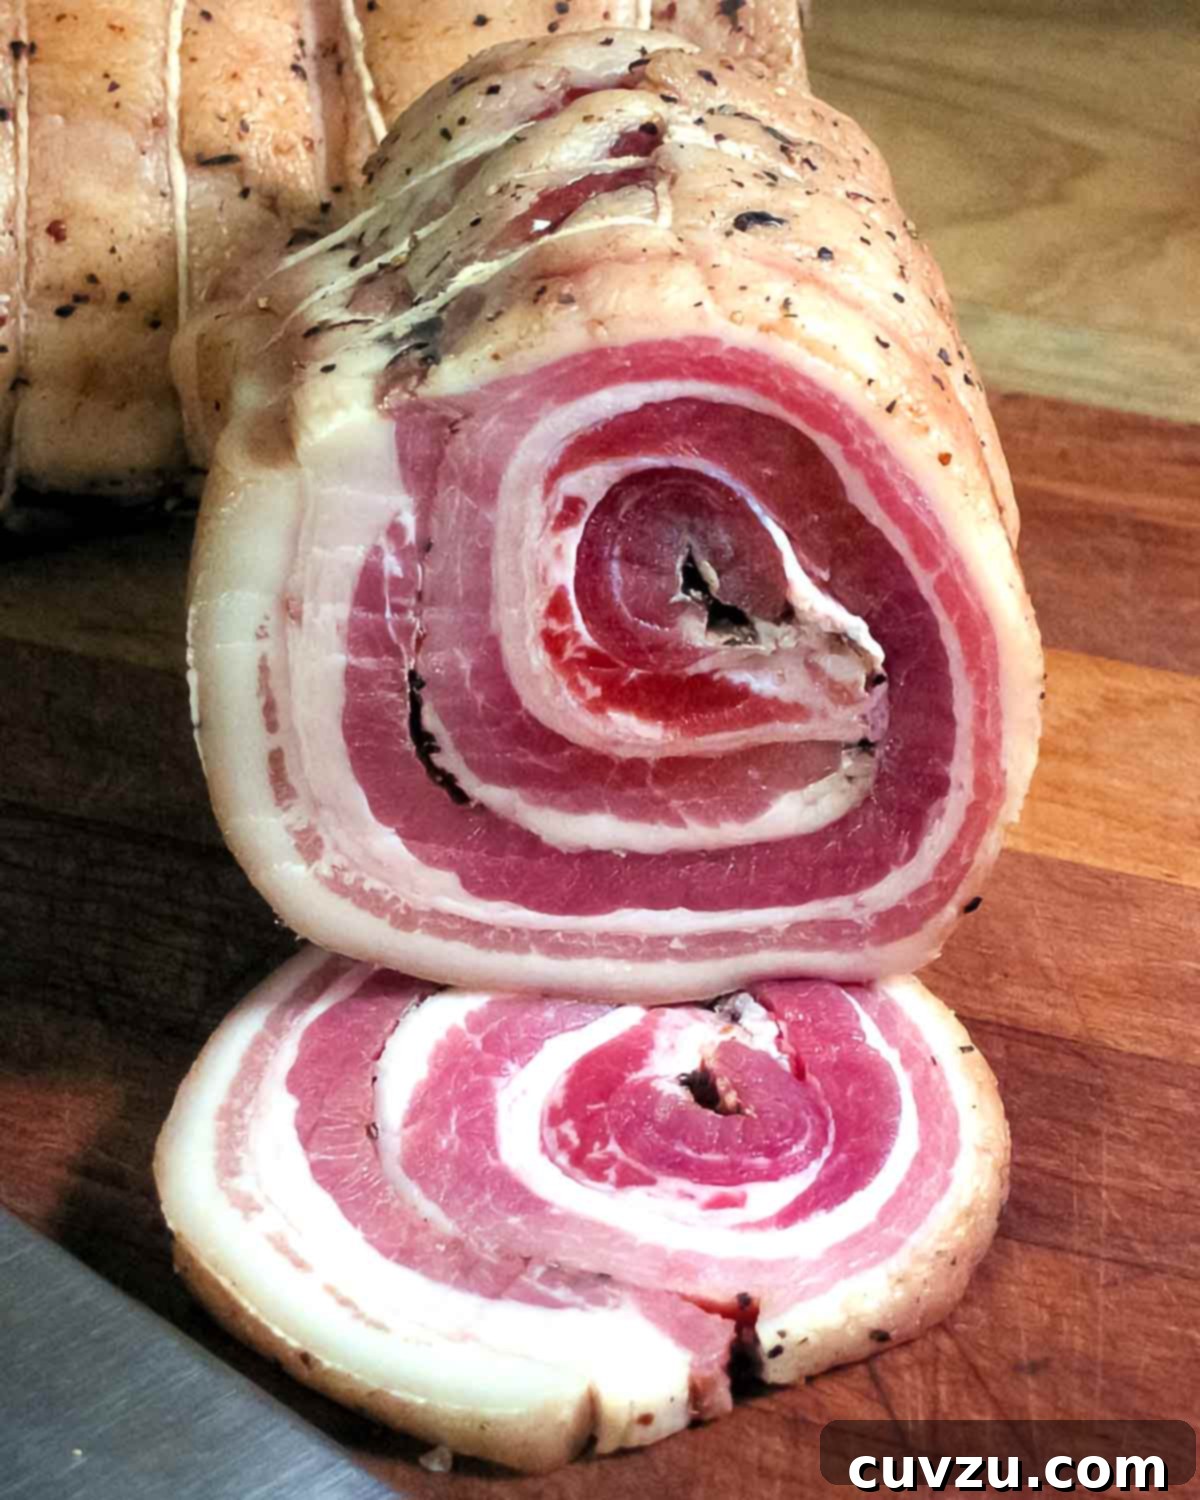
Homemade pancetta is essentially Italy’s answer to unsmoked bacon. It begins with quality pork belly, carefully cured with a blend of salt and an array of aromatic seasonings. Unlike traditional bacon, which is often smoked, pancetta is typically rolled into a compact log and then hung to dry for several weeks. This meticulous curing and drying process, usually spanning around three weeks, imbues the meat with its distinctive, savory-sweet flavor and firm, pliable texture. However, the exact timing can vary slightly depending on environmental conditions and personal preference. Alternatively, you can choose to cure the pork belly flat, treating it much like fresh bacon, without the rolling and extensive drying period. Whether rolled or flat, this culinary staple is traditionally thinly sliced or diced and then gently sautéed to render its fat and release its rich flavors, providing a foundational element that adds incredible depth and complexity to countless dishes. The process, while requiring patience, is profoundly rewarding, yielding a product far superior to most commercial offerings. As renowned chefs Michael Ruhlman and Brian Polcyn wisely note, the craft of charcuterie, including making pancetta, is a testament to culinary tradition and flavor.
Homemade Pancetta FAQs
What can you do with homemade pancetta?
Homemade pancetta’s savory-sweet, unsmoked flavor is truly unique and, as Marcella Hazan so eloquently put it in The Essentials of Classic Italian Cooking, “has no wholly satisfactory substitute.” This makes it an incredibly versatile ingredient in the kitchen. Here are just a few ways to incorporate your exquisite homemade pancetta into your cooking:
- Classic Pasta Dishes: It’s the star of the show in many beloved Italian pasta dishes. The classic Roman dish spaghetti alla carbonara (pictured below), relies on sautéed pancetta for its signature flavor, combining beautifully with eggs and Pecorino Romano. For a rich, tomato-based sauce, use it in place of guanciale for Bucatini all’Amatriciana.
- Soups, Stews, and Beans: Chunks or diced pieces of homemade pancetta can be added to hearty stews, comforting bean dishes, and flavorful soups. Sautéing it first creates a wonderful foundation of rendered fat and crispy bits, infusing the entire dish with a deep, umami richness.
- Vegetable Enhancer: Pancetta has a magical way of transforming simple vegetables. Sautéing it with cabbage or Brussels sprouts brings out their sweetness and adds a delightful textural contrast. Marcella Hazan herself suggests sautéing it with fresh spring peas for a traditional and exquisite side, or even braising Boston lettuce with it for an unexpected burst of flavor. Consider trying pasta with pancetta and Brussels sprouts for a perfect dish to showcase your homemade charcuterie.
- Beyond Italian: Don’t limit its use to Italian cuisine. Use crispy pancetta lardons as a gourmet topping for salads (like Caesar or Cobb), sprinkle over roasted vegetables, or even fold into scrambled eggs or frittatas for a luxurious breakfast or brunch.
What is pink curing salt, and why is it essential for homemade pancetta?
First and foremost, it’s crucial to understand that pink curing salt is not the same as Himalayan pink salt, despite their similar color. Himalayan pink salt is a natural rock salt used for seasoning, while pink curing salt (also known as tinted cure mix or T.C.M., DQ Curing Salt, Prague Powder #1, or Insta Cure #1) is a specialized blend of salt and sodium nitrite. It is dyed pink to distinguish it from regular table salt and to prevent accidental overuse.
This specific curing salt is absolutely vital for making pancetta and other cured meats for several reasons:
- Flavor Development: The nitrite in curing salts contributes to the distinctive, savory flavor characteristic of cured meats, adding a depth that cannot be achieved with plain salt alone.
- Preservation of Color: It helps preserve the appetizing red color of the meat, preventing it from turning gray during the curing process.
- Fat Stability: Nitrite plays a key role in preventing fats from developing rancid, off-flavors, ensuring the pancetta remains fresh and delicious throughout its storage.
- Bacterial Inhibition: Most importantly, pink curing salt is a powerful inhibitor of many harmful bacteria, including Clostridium botulinum, which causes botulism. This makes it an indispensable ingredient for the safe curing of meats, particularly those that are not immediately cooked at high temperatures.
Using the correct amount of pink curing salt, as specified in the recipe, is critical for both safety and the quality of your finished pancetta. Always measure accurately.
Homemade Pancetta: A Step-by-Step Recipe
This recipe guides you through making exquisite unsmoked Italian bacon, or pancetta, right in your own kitchen. Cured with a blend of salt, sugar, pepper, juniper berries, bay leaves, nutmeg, and thyme, this homemade version will surpass any store-bought alternative. It’s an indispensable ingredient for classic Italian pasta dishes like Carbonara and Bucatini all’Amatriciana, and its rich flavor will transform countless other recipes.
Recipe by David Leite
Mains
Italian
90
slices
121
kcal
30 minutes
20 days
23 hours
30 minutes
21 days
Ingredients
-
One
(5-pound)
slab pork belly, skin removed -
4
garlic cloves, minced -
1
teaspoon
pink curing salt, known as DC Curing Salt, Prague Powder #1, and more (see FAQ above) -
1/4
cup
kosher salt -
2
tablespoons
dark brown sugar -
4
tablespoons
coarsely ground black pepper, divided -
2
tablespoons
juniper berries, crushed with the bottom of a small sauté pan -
4
bay leaves, crumbled -
1
teaspoon
freshly grated nutmeg -
4 or 5
sprigs
fresh thyme
Instructions
-
Begin by preparing your pork belly. Carefully trim the slab so that its edges are neat and form a relatively square or rectangular shape. This ensures a consistent cure and a more aesthetically pleasing final product, especially if you plan to roll it.
-
In a medium bowl, combine the minced garlic, pink curing salt (Prague Powder #1), kosher salt, dark brown sugar, crushed juniper berries, crumbled bay leaves, freshly grated nutmeg, fresh thyme sprigs, and half of the coarsely ground black pepper. Mix these ingredients thoroughly to ensure the critical pink curing salt is evenly distributed throughout the mixture. This even distribution is paramount for a safe and effective cure.
-
Liberally rub the prepared curing mixture all over every surface of the pork belly. Take your time to ensure it’s uniformly coated, paying attention to the edges and any crevices. This creates the initial contact for the curing process.
-
Place the rubbed pork belly into a 2-gallon resealable plastic bag or a covered, non-reactive container that is just large enough to hold it comfortably. Refrigerate for a minimum of 7 days. During this curing period, it’s essential to “overhaul” the pork belly. Without removing it from the bag, rub the pork belly every other day to redistribute the seasonings and flip it over. This ensures the cure penetrates evenly and that any accumulated liquids are reabsorbed or distributed.
-
After 7 days, check the pork belly for firmness by gently pressing on its thickest point. It should feel firm to the touch, indicating it has sufficiently cured. If it still feels somewhat squishy or soft, return it to the refrigerator with the cure for an additional 1 to 2 days, checking again for firmness. The goal is a consistently firm texture.
-
Once cured, remove the pork belly from its bag or container. Rinse it thoroughly under cold running water to remove all excess curing mixture and seasonings from its surface. Pat it completely dry with paper towels. A dry surface is crucial for the next stage. Finally, sprinkle the meat side of the belly with the remaining coarsely ground black pepper, pressing it gently to adhere.
-
To create the traditional rolled pancetta (pancetta arrotolata), start from one of the long sides of the pork belly and roll it up very tightly, similar to how you would roll a thick towel. It is vital that there are no air pockets within the roll, as these can harbor unwanted bacteria. Secure the roll very tightly with butcher’s twine at 1- to 2-inch intervals. Ensure the ties are firm enough to maintain the tight roll. Alternatively, for a flat pancetta (pancetta tesa), you can leave the belly flat, wrap it tightly in cheesecloth, and proceed to the drying stage. This flat version typically requires 5 to 7 days of drying.
-
Using the butcher’s twine, suspend the rolled pancetta in a cool, humid environment to dry for approximately 2 weeks. The ideal conditions for drying are temperatures between 50°F to 60°F (8°C to 15°C) with around 60 percent humidity. However, a cool, humid basement or even a kitchen area away from direct sunlight (like next to hanging pots) can work well. The goal is a stable environment that allows for slow, even drying.
TESTER TIP: Humidity is crucial during this drying stage. If your pancetta begins to feel too hard and stiff, it indicates it’s drying out too quickly. In this case, wrap it in plastic film and refrigerate it immediately to prevent it from becoming overly dry. The finished pancetta should be firm yet still pliable, much like an almost ripe avocado, not brittle or rock-hard. Remember, unlike prosciutto or dry-cured sausages that are meant to be eaten raw, pancetta is typically cooked. Therefore, while drying enhances its texture and concentrates its flavor, and significantly prolongs its shelf life, the drying stage for pancetta is less critical for safety compared to meats consumed uncooked.
-
After the drying period, your homemade pancetta is ready. Wrap it tightly in plastic wrap to protect it from air and refrigerate it for up to 3 weeks or even longer, depending on your storage conditions. For extended storage, pancetta freezes exceptionally well for up to 4 months. Freezing also offers a practical benefit: it makes the pancetta much easier to slice very thinly, which is often desired for many culinary applications.

Adapted From
Charcuterie: The Craft of Salting, Smoking, and Curing
Buy On Amazon
Nutrition Facts
Serving: 1 slice
Calories: 121 kcal
Carbohydrates: 1 g
Protein: 2 g
Fat: 12 g
Saturated Fat: 4 g
Monounsaturated Fat: 6 g
Cholesterol: 16 mg
Sodium: 373 mg
Fiber: 1 g
Sugar: 1 g
Nutrition information is automatically calculated and should be used as an approximation only.
Tried this recipe?
We’d love to see your creations! Mention @leitesculinaria or tag #leitesculinaria on Instagram!
Recipe Testers’ Reviews: Real Experiences with Homemade Pancetta
Linda McElroy
Without a doubt, this is the best pancetta I have ever tasted, far superior to anything available in stores. The meat was permeated with beautiful floral notes from the thyme and juniper, alongside a subtle complexity gained from the hanging cure. The week I dedicated to curing the pork belly, Seattle’s climate was absolutely ideal. I rolled the pork and carefully hung it in my fruit cellar. According to my little gizmo, the average daily temperature was a consistent 63°F, with an average humidity of 59%. After allowing the belly to hang for just 9 days, it looked and smelled so enticing that I simply couldn’t wait to try it. The belly achieved a medium-firm texture, with just a slight dryness at the ends, and the outer fat possessed a wonderfully smooth, dry quality.
I put my homemade pancetta to immediate use in several ways. First, I trimmed off the slightly dried ends and added them to a soup I was preparing, allowing their flavor to enrich the broth. I then sliced the main log into about five manageable sections, cutting in between the strings. The very next evening, I cut some thick slices to create delicious lardons, which I used as a gourmet substitute for croutons in my Caesar salad. The following night, they made another appearance in a delightful Cobb salad for dinner. Carbonara is definitely next on the dinner plan! I froze the remaining sections, patiently awaiting their next culinary adventure. This process was surprisingly easy to execute, and I can already envision heading back to the market for more pork belly to begin a new cure when I’m down to my last chunk of this incredible pancetta.
Greg Crawford
For me, one of the most exciting aspects of cooking is the opportunity to try something completely new. Much like in other areas of life, I often find it beneficial to push myself beyond my usual comfort zone. This was precisely my experience with this homemade pancetta recipe. Initially, my thought was a firm “No way.” However, that quickly evolved into a more adventurous “Why not?” So, I decided to give it a shot, embracing the challenge.
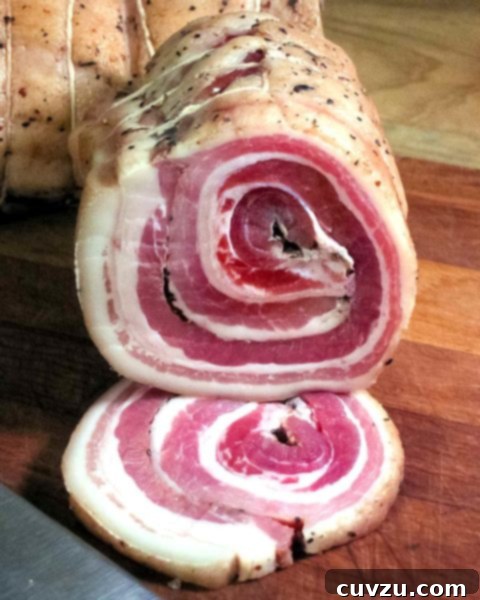
The recipe itself proved to be fairly straightforward to follow. Given that we were dealing with cured meat, I opted to extend the refrigeration period for an extra week, ultimately leaving the pork belly to cure for a full 14 days. Following that, I meticulously rolled the pancetta and hung it in my basement for 2 weeks to dry. Consequently, from start to finish, the entire process took approximately 4 weeks to yield the final product. I was genuinely (and happily!) surprised to discover that my homemade pancetta looked remarkably similar to the picture provided in the recipe. However, as any true food enthusiast knows, the ultimate test lies in the taste.
Our inaugural use of the pancetta involved chopping it up, sautéing it until crisp, and then mixing it into a serving of scrambled eggs with cheese. While this might be considered fairly standard fare, I reasoned it would serve as an excellent platform to truly assess the flavor, and it did not disappoint. The taste was truly exceptional. You could discern virtually all the distinct spice flavors from the curing mixture, creating a complex and satisfying profile. It was, as expected, a little on the salty side, which is perfectly characteristic of cured meats and contributes to its robust flavor.