The Enduring Legacy of Challah: A Traditional Jewish Bread Recipe
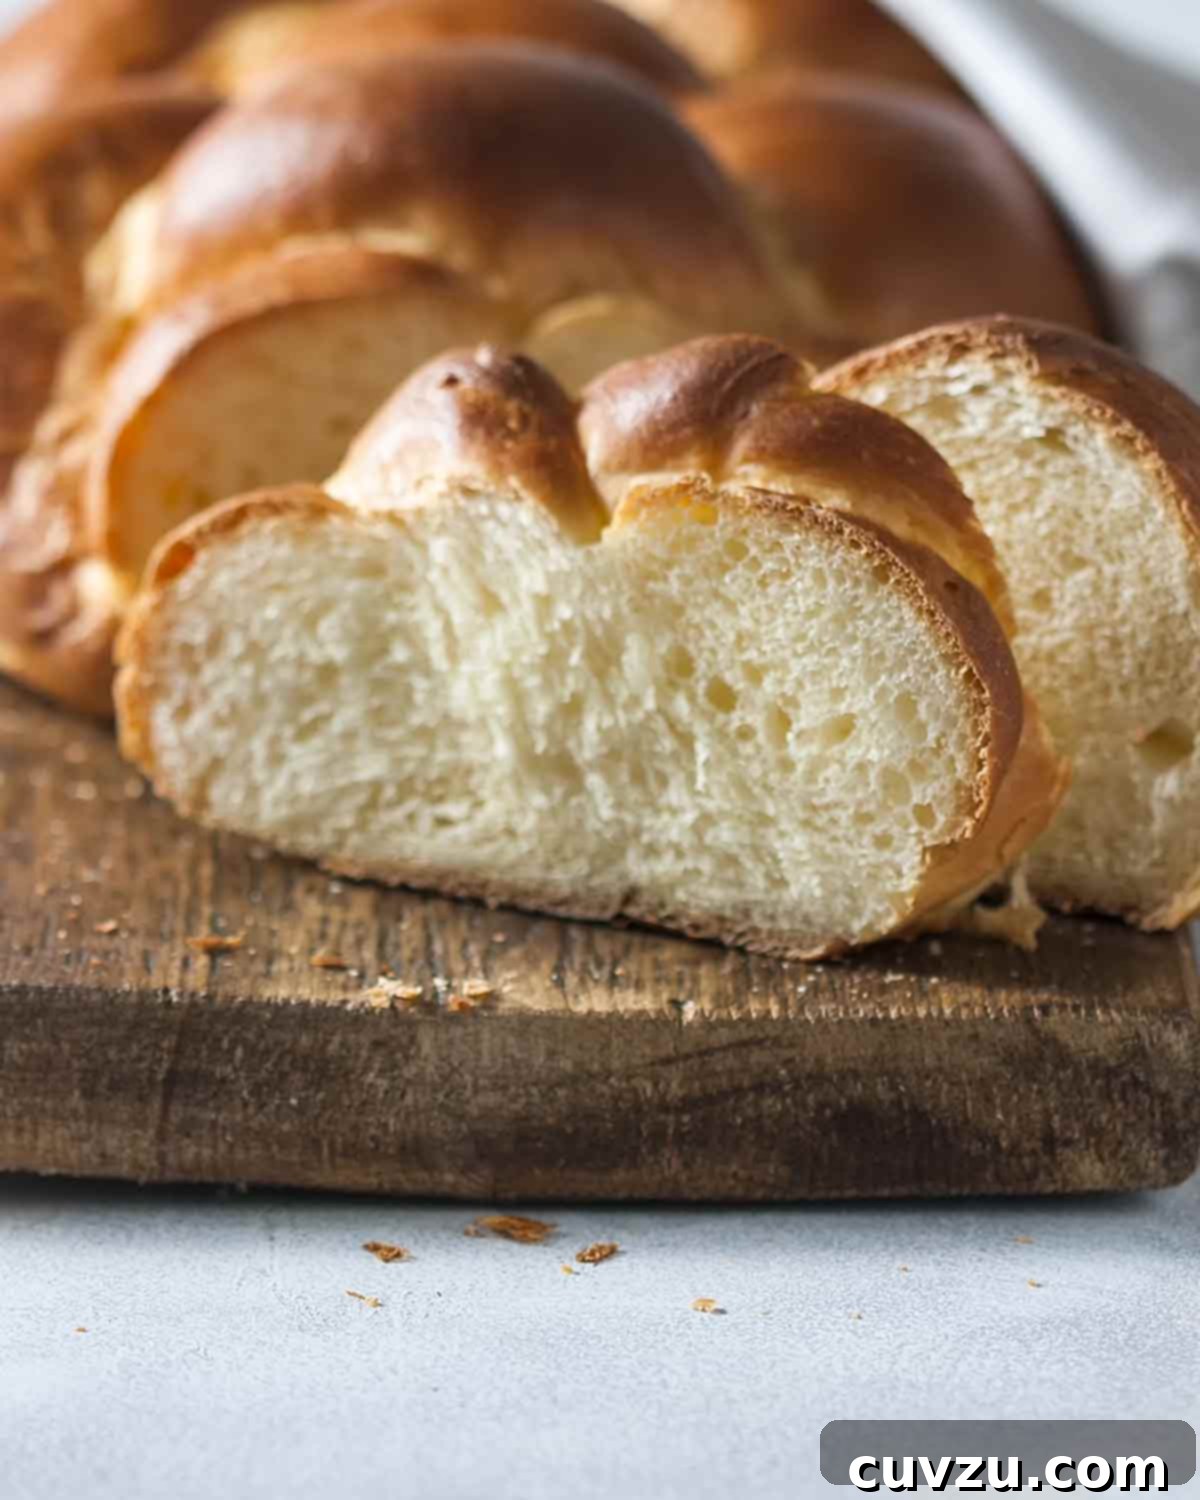
Challah is more than just bread; it’s a centuries-old symbol, deeply woven into the fabric of Jewish tradition and celebration. This exquisite, yeast-leavened bread, enriched with eggs and oil, boasts a tender crumb and a subtly sweet flavor that captivates anyone who tastes it. Its golden hue and distinctive braided or coiled shapes make it instantly recognizable and a beloved centerpiece for the Sabbath, Rosh Hashanah, and countless other special occasions. Whether you’re a seasoned baker or new to the world of bread making, crafting your own challah is a profoundly rewarding experience, connecting you to a rich cultural heritage and delivering unparalleled freshness and taste.
The Heart and Soul of Jewish Celebrations
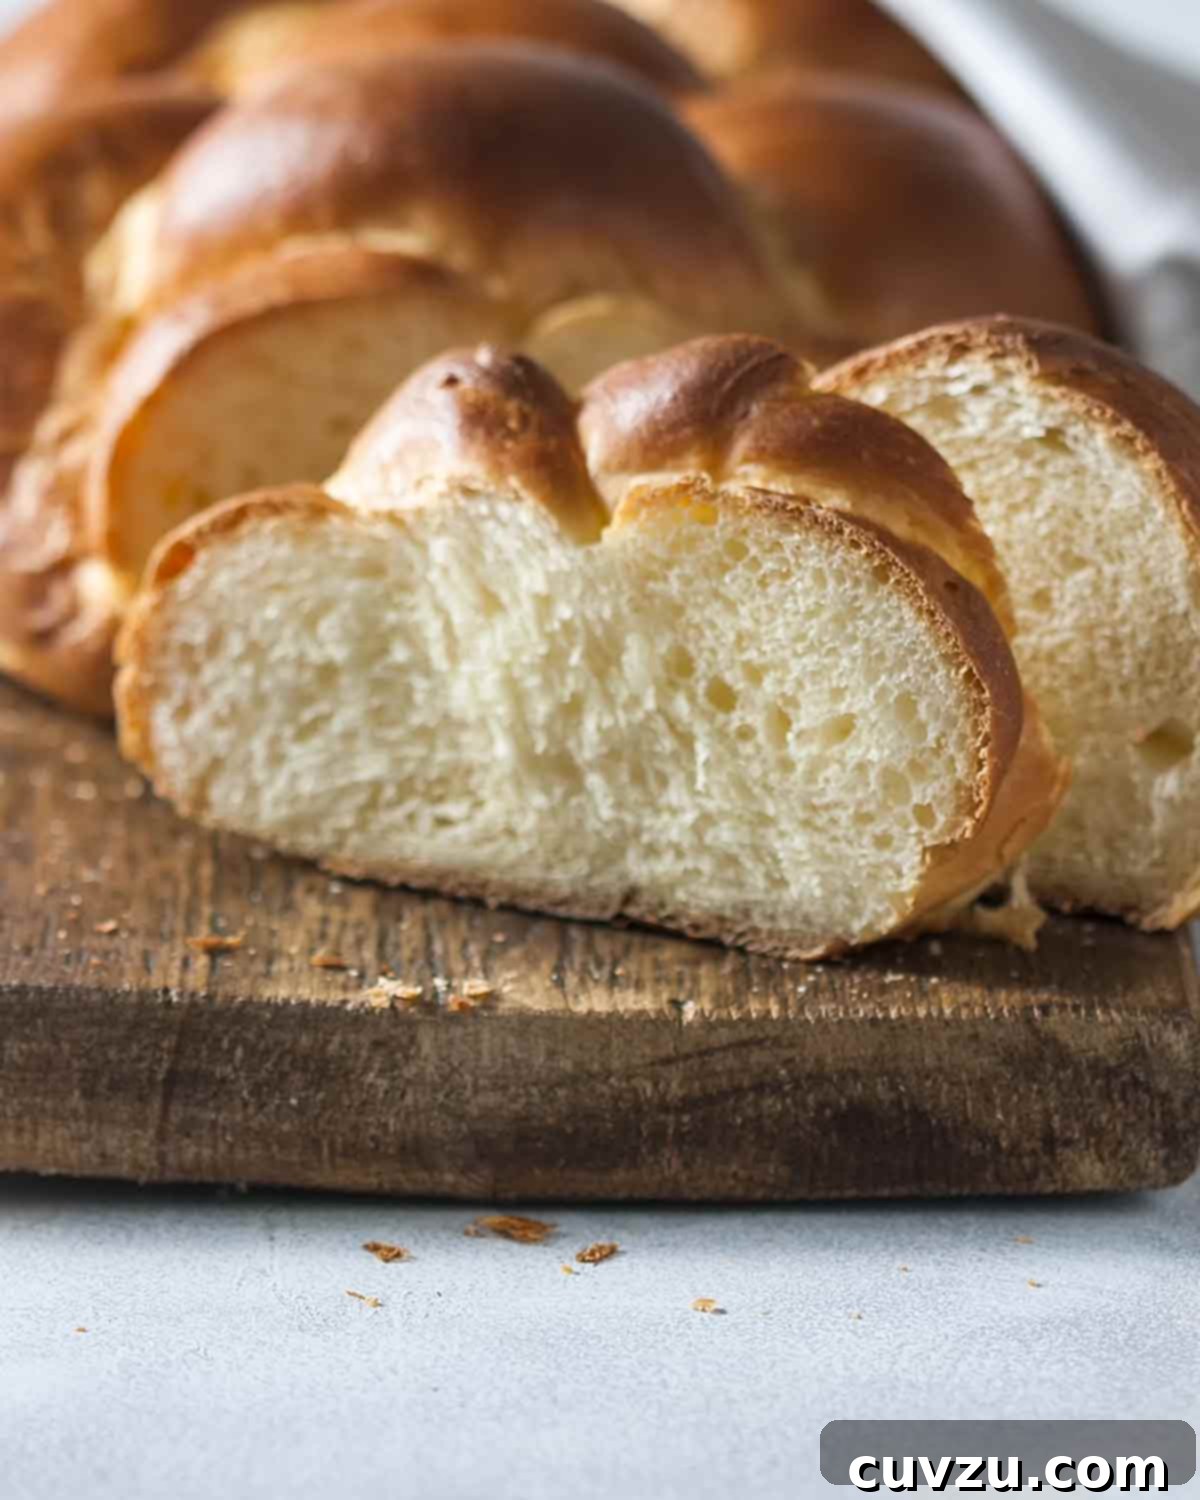
Challah holds immense significance within Jewish culture, far surpassing its role as a simple food item. Its presence at the table marks time, commemorates history, and embodies hope for the future. Similar in richness to French brioche, challah’s unique character comes from its generous inclusion of eggs and oil, which contribute to its distinctive color, soft texture, and slightly sweet profile. This special loaf is fundamental to the Sabbath meal and many other important Jewish holidays and life events.
Sabbath and Its Symbolism
For the Sabbath, it is customary for Orthodox families to prepare two loaves of challah. This tradition serves as a poignant reminder of the double portion of manna that the Israelites received each Friday during their forty years of wandering in the desert. Each of these challah loaves is typically braided with six strands of dough, tapering to elegant ends. Together, these two loaves symbolically represent twelve loaves, recalling ancient miracles associated with the sanctuary carried in the desert and the revered Temple in Jerusalem—a testament to the enduring power of faith and provision.
Challah at Life’s Milestones
Beyond the weekly Sabbath, challah plays a ceremonial role in significant life events. At weddings and Bar and Bat Mitzvah receptions, before any other food is served, a ceremonious bread cutting and blessing takes place. Often, a majestically large challah is baked for this purpose, big enough to ensure every guest can partake in a piece, symbolizing unity and blessing for the new chapter being celebrated.
Rosh Hashanah: A Sweet New Beginning
On Rosh Hashanah, the Jewish New Year, challah takes on a distinct round coil shape. This circular form is rich with symbolism, representing eternal life, the continuous cycle of the year, or the soul’s ascension, depending on different interpretations. These diverse forms of challah, each with its own spiritual narrative, illustrate the deep connection between food, faith, and folklore in Jewish tradition.
Challah Beyond Tradition: A Culinary Staple
The appeal of challah extends far beyond religious observance. In bustling metropolises like New York City, challah has become a beloved and assimilated ethnic food. It is readily available in virtually every supermarket, baked into familiar rectangular loaves perfect for everyday use, much like sandwich bread. Restaurants embrace its rich flavor and texture, transforming it into decadent French toast. Even diners, often owned by non-Jewish proprietors, recognize the diverse culinary tastes of their patrons and routinely include challah in their bread baskets. This journey from a sacred ritual bread to a mainstream culinary delight exemplifies the immigrant experience and the beautiful fusion of cultures.
Historically, challah was baked once a week, on Friday, to be enjoyed during Friday evening’s Sabbath dinner and the subsequent day’s lunch. It is also prepared for other specific holy days. Many kosher bakeries still adhere to this tradition, selling challah primarily on Thursdays and Fridays. Observant Jewish homemakers often bake their own challah for the Sabbath, a considerable undertaking, especially for large Orthodox families who require sizable quantities of the customary two loaves. With increasing health consciousness, modern challah recipes frequently incorporate whole-wheat flour, offering a nutritious twist on this classic.
Challah FAQs: Your Essential Guide to This Beloved Bread
Is homemade challah really better?
Absolutely! While store-bought challah offers convenience, nothing compares to the unparalleled taste and texture of homemade. Commercial bakers often load their challah with excessive sugar and fat, sometimes even resorting to artificial coloring to mimic the rich yellow hue that comes naturally from a generous amount of eggs. These commercial versions can become more akin to cake than bread. When you bake challah at home, you have complete control over the ingredients, ensuring a wholesome, authentic loaf. Furthermore, the baking process itself is a meditative and aromatic experience, filling your kitchen with an irresistible warmth.
For a delightful twist, many homemade challah recipes incorporate honey, providing a natural sweetness, or are studded with plump raisins, particularly for Rosh Hashanah, where sweet foods symbolize a sweet new year. More contemporary variations, like chocolate-laced or chocolate-chip challah, have also gained popularity, offering a modern indulgence.
Can you freeze challah bread?
Yes, challah freezes beautifully, making it an excellent candidate for meal prep or enjoying fresh-baked bread whenever you desire. After baking, allow your challah loaf to cool completely on a wire rack. Once thoroughly cooled, wrap it tightly in plastic wrap, ensuring every part is sealed to prevent freezer burn. For extra protection, you can then place the wrapped loaf in a freezer-safe bag or another layer of foil. Properly stored, challah will maintain its quality in the freezer for up to 3 months. To enjoy, simply thaw at room temperature or gently reheat in a warm oven for that fresh-from-the-bakery taste.
What can I do with leftover challah?
The rich, eggy nature of challah makes it incredibly versatile for repurposing. It transforms beautifully into indulgent breakfast dishes or decadent desserts. Stale challah is the ideal base for a luscious bread pudding, soaking up custardy mixtures to create a truly comforting treat. Its sturdy yet soft texture also lends itself perfectly to creating the most luxurious French toast you’ll ever taste, absorbing the egg batter without falling apart. For a savory twist, try using challah to elevate your grilled cheese sandwiches, adding an extra layer of richness and chewiness that’s truly irresistible.
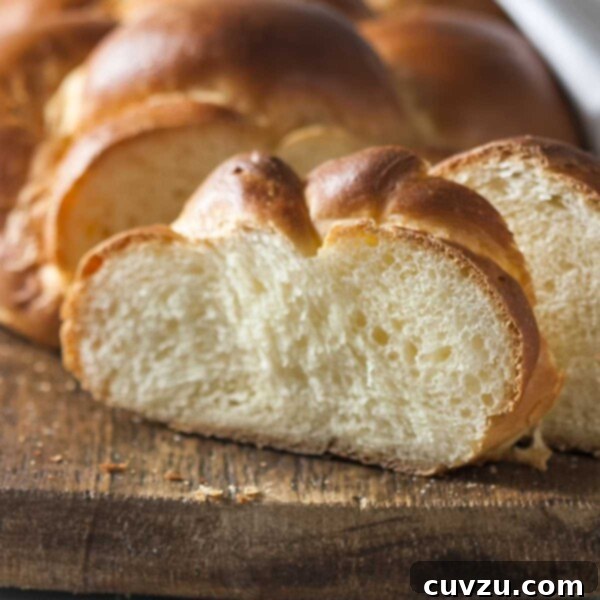
Homemade Challah Bread
David Leite
Video Tutorial
Video by: King Arthur Baking Company
Ingredients
For the Dough
- 1 package (2 1/4 teaspoons) active dry yeast
- 1 cup warm water, (no more than 110°F [43°C])
- 1/3 cup sugar
- 4 1/2 to 5 cups bread flour, or 5 1/2 to 6 cups all-purpose flour
- 3 large eggs
- 1/4 cup mild vegetable oil
- 2 teaspoons salt
For the Egg Wash
- 1 large egg
- 1 teaspoon granulated sugar
Instructions
Make the Dough
-
In the bowl of a stand mixer fitted with the dough hook, combine the active dry yeast and the warm water on low speed. Mix for about a minute until the yeast is fully dissolved.
-
Add the sugar to the yeast mixture. Mix again for a few seconds, then incorporate about 1/2 cup of the flour. Mix thoroughly until combined.
-
Crack the three eggs into the bowl and increase the mixer speed slightly to ensure they are well incorporated into the dough. Once blended, add another 1 cup of flour. On medium-low speed, work in the flour, then add the vegetable oil and salt, mixing until fully integrated.
-
Turn off the machine and add 3 more cups of the remaining flour, bringing the total to 4 1/2 cups. At medium speed, continue to knead the flour into the dough, stopping the machine occasionally to scrape down the sides of the bowl and ensure all ingredients are well combined.
-
Allow the machine to knead the dough for approximately 15 minutes. It’s important to turn the mixer off every few minutes to scrape down the bowl as needed and to give the motor a brief rest, as dense dough can cause it to overheat if run continuously. After several minutes of kneading, the dough should begin to pull away from the sides of the bowl. If using all-purpose flour, it may remain slightly sticky at the bottom. If necessary, add a tablespoon of flour at a time, stopping the mixer each time, until the dough is firm, smooth, elastic, and only minimally sticky to the touch.
-
Transfer the kneaded dough into a large, lightly oiled bowl, turning it over to ensure the entire surface is coated with oil. Cover the bowl tightly with plastic wrap and let the dough rise in a warm place until it has tripled in volume, which typically takes 1 1/2 to 2 hours.
Make the Classic 6-Strand Braid
-
Once risen, gently punch down the dough to release the air. To create a 6-strand braid, form the dough into a long, flattened loaf. Cut it evenly into 6 crosswise pieces. Roll each piece into an oval loaf shape and place them on a lightly floured board, covered with a clean dish towel. Let these pieces rest and rise again for about 30 minutes.
-
Carefully roll each rested piece into a strand approximately 12 inches long, ensuring each strand is thicker in the center and tapers to a point at each end. Line up all six strands neatly. Pinch the ends of the strands together firmly at one end to anchor them. From the right end, bring strand #6 (the outermost right strand) over strand #1 (the innermost right strand) and move it up to the left side. Then, take strand #1 from the left (which was previously an inner strand) and bring it up to the top right.
-
At this point, you will have a unique configuration that resembles a creature with four “legs” and two “arms” crossed over each other. Keep the “legs” (the lower strands) spread apart in pairs. Bring the “left arm” (as you are facing the braid) down into the center space between the “legs.” Next, take the outer “right leg” and bring it over and up to form a new “top left arm.” Finally, bring the “top right arm” down between the remaining “legs.”
-
Repeat this intricate braiding pattern: the left outer “leg” comes up to form the new right “arm,” and the left “arm” comes down to the center. Then, the right “leg” comes up to form the new left “arm,” and the right “arm” comes down to the center. Continue this sequence until you reach the end of the loaf. Finish by firmly pinching the ends of all strands together to seal the braid.
-
To help you keep track, always maintain a gentle hold on the last strand you moved. When manipulating strands, think of grasping the “arms” by their ends and the “legs” near their feet. Keep the “legs” spread in pairs to facilitate bringing the “arms” down to the center. If you lose your place or the braid becomes confused, don’t hesitate to carefully unbraid and start again from the beginning of this step. Once complete, turn the bread upside down; the design should appear perfectly symmetrical. If not, gently undo and re-braid. Cover the braided loaf with a clean dish towel and allow it to rise for another 30 minutes.
Alternative Challah Shapes
-
To make a single round challah loaf (perfect for Rosh Hashanah), form the entire dough into one long, even rope. Carefully coil this rope into a round, spiral loaf on a prepared baking sheet. Cover with a clean dish towel and let the dough rise for another 30 minutes.
-
For more standard, rectangular challah loaves suitable for slicing, divide the dough in half. Gently form each half into a 9-inch-long loaf. Place each loaf into an oiled 9- by 5-inch (23- by 13-cm) loaf pan. Cover the pans with clean dish towels and allow the dough to rise until it extends noticeably over the top of the pan, typically 30 to 60 minutes.
Finish and Bake the Loaf
-
Before baking, position an oven rack in the center of your oven. Preheat the oven to 350°F (175°C).
-
Prepare the egg wash by whisking the remaining egg and granulated sugar together until well combined. Generously brush this mixture onto the entire surface of the risen dough, paying special attention to ensuring the glaze seeps into all the crevices between the braided strands. This will give your challah a beautiful, shiny, golden crust.
-
Bake the challah for 35 to 40 minutes, or until deeply golden brown. To confirm doneness, gently tap the bottom of the loaf with your fingers; it should produce a hollow sound. If the loaf begins to brown too quickly, you may loosely tent it with aluminum foil during the last 10-15 minutes of baking. Once baked, immediately transfer the challah to a wire rack to cool thoroughly before slicing and serving. Cooling completely ensures the crumb sets properly for the best texture.
Adapted From
Jewish Home Cooking
Buy On Amazon
Nutrition Facts (Approximate)
Serving: 1 portion
Calories: 516 kcal
Carbohydrates: 80 g
Protein: 16 g
Fat: 14 g
Saturated Fat: 3 g
Monounsaturated Fat: 3 g
Trans Fat: 0.1 g
Cholesterol: 124 mg
Sodium: 827 mg
Fiber: 3 g
Sugar: 12 g
Nutrition information is automatically calculated, so should only be used as an approximation.
Tried this recipe?
Mention @leitesculinaria or tag #leitesculinaria!
Insights from Our Recipe Testers
Our dedicated team of recipe testers put this challah recipe through its paces, and the verdict is clear: it’s a winner! Here’s what they loved and their valuable tips for your baking journey:
Karla Cyr’s Experience
Karla Cyr praised this challah as worthy of all accolades, noting its similarity to brioche – light, moist, subtly rich, and perfectly sweet. She found the recipe surprisingly easy to follow. The bread achieved a beautiful smooth, shiny exterior, a testament to the generous egg and sugar wash.
She highlighted the bread’s soft texture, which allowed a bread knife to glide through effortlessly. Each slice held its shape remarkably well, whether toasted or used for heartier preparations like French toast. Even after soaking in egg batter, the slices maintained their integrity. Karla’s key recommendation? Make at least two loaves at a time; she did, and not a crumb was left!
Karla chose to make the bread by hand instead of using a mixer and opted for all-purpose flour (totaling 6 cups) over bread flour. The dough mixed, proofed, and baked without any issues. However, she found braiding six strands a bit tricky. Her advice is crucial: “Don’t braid the strands too tightly or they will stretch while baking, which will cause the bread to lose some of its artistic definition.” For visual learners, she suggested watching a video tutorial for guidance.
She baked her loaf on a parchment-lined baking sheet for 40 minutes, achieving a delicious golden-brown color with deep yellow accents in each braided section. Karla offered a valuable tip for even browning: rotate the pan halfway through baking. If the bread seems to brown too quickly, covering it loosely with tinfoil during the final 10 minutes can prevent over-browning.
Linda Pacchiano’s Perspective
Linda Pacchiano found this challah recipe exceptionally easy to make, noting that mixing the ingredients in a stand mixer worked perfectly. Her dough turned out ideal, requiring no additional flour and proving to be less sticky than many other bread doughs she’s made.
She emphasized the importance of stopping the mixer periodically to scrape down the sides and bottom of the bowl. She observed that upon restarting, the dough quickly came together again. Both the initial two-hour rise and the subsequent 30-minute rise after shaping were spot-on in her 70°F kitchen, indicating reliable timing for the recipe.
The final product was “one of the most beautiful challahs” Linda had ever seen, boasting a rich, dark golden-brown exterior and a light, moist, flavorful crumb. She confidently stated that this loaf would be very accessible even for beginner bakers. While she found the six-strand braiding a little challenging, she didn’t re-do it despite a minor error, and it still looked fantastic. Linda also took the liberty of adding sesame seeds after the egg wash for extra flavor and visual appeal.
For those intimidated by the six-strand braid, Linda suggested opting for a simpler three-strand braid, similar to braiding hair. She also addressed a common concern: the recipe doesn’t call for an additional rise after braiding, which differs from some other challah recipes. However, based on her successful outcome, she concluded it was entirely unnecessary. Linda also noted the recipe’s omission regarding what to bake the bread on. She used a baking stone brushed with a little oil but suggested that an oiled or parchment-lined cookie sheet or sheet pan would work equally well. Her final tip: generously brush the egg wash into all the crevices of the braid to ensure a uniform, beautiful shine after baking. For special occasions, she even suggested applying a second coat of egg wash to the crevices midway through baking for an extra glossy finish. She also noted that the recipe yields a fairly large loaf, potentially serving more than six people.
Maria Peplowski’s Evaluation
Maria Peplowski, a self-proclaimed challah lover, found this recipe “so easy and really tasty,” declaring she wouldn’t change a thing. She highlighted that this isn’t the “supermarket yellow ‘white bread'” version, but rather a dense, flavorful loaf with just the right amount of sweetness, a delightful crust, and a wonderful crumb. For her, a slice with butter was “heavenly.”
Like other testers, Maria found the braiding a bit tricky due to the strands’ tendency to shrink but was ultimately happy with her results. She considered trying the loaf pan method next time for simplicity. She also pointed out a missing instruction: whether the baking sheet should be oiled or not. She opted to oil hers, which proved successful. Maria also humorously expressed hope for leftover stale bread to make bread pudding, though she doubted her luck, hinting at how quickly the challah was consumed!
Fran Brennan’s First-Time Bake
As a first-time challah baker, Fran Brennan admitted to initial nervousness regarding the time and effort involved. However, she was pleasantly surprised by how minimal the actual hands-on time truly was. The main active parts were mixing the ingredients (with the aid of a KitchenAid for kneading) and forming the braid. The majority of the process involved patient waiting for the dough to rise and then bake.
Fran also pinpointed the braiding as the most challenging step. She unwound and re-braided her dough twice before finally giving up and baking it, even though she knew the pattern wasn’t quite right. It was only later that she figured out her error and how to fix it for next time.
Despite her imperfect braid, the challah came out beautifully, although slightly darker than she preferred. She plans to experiment with shorter baking times in the future. Fran successfully used her challah to make French toast, which she declared “magnifique,” showcasing the versatility and deliciousness of the homemade bread even with minor imperfections.
Annie Barron’s Recommendations
Annie Barron’s testing confirmed that this challah recipe produces an excellent loaf, earning it a “Testers’ Choice” designation despite a few minor suggestions for the directions. She found the bread simple to make, resulting in a pretty, delicious loaf with a lovely, light crumb that was robust enough to hold up to cool butter spreads.
Annie encountered a slight issue with using the dough hook for the initial mixing steps (1 through 3), finding it less effective for blending dry and wet ingredients. She recommended using a paddle attachment or a spoon for the initial mixing before switching to the dough hook, a common practice for many bread recipes. She also noted the absence of a specific instruction on what to bake the bread on, though, like others, she easily concluded that a cookie sheet would suffice.
Baking Your Own Challah: A Rewarding Culinary Journey
As our recipe testers unanimously confirm, this challah recipe consistently delivers a tender, flavorful, and visually stunning loaf. Whether you’re making it for a special occasion or simply to enjoy the comfort of freshly baked bread, the process is incredibly rewarding. Don’t be deterred by the braiding; it’s a skill that improves with practice, and even an imperfect braid yields a delicious result. With the detailed instructions and valuable tips from our testers, you’re well on your way to mastering this traditional Jewish bread. Enjoy the warmth, the aroma, and the exquisite taste of homemade challah!