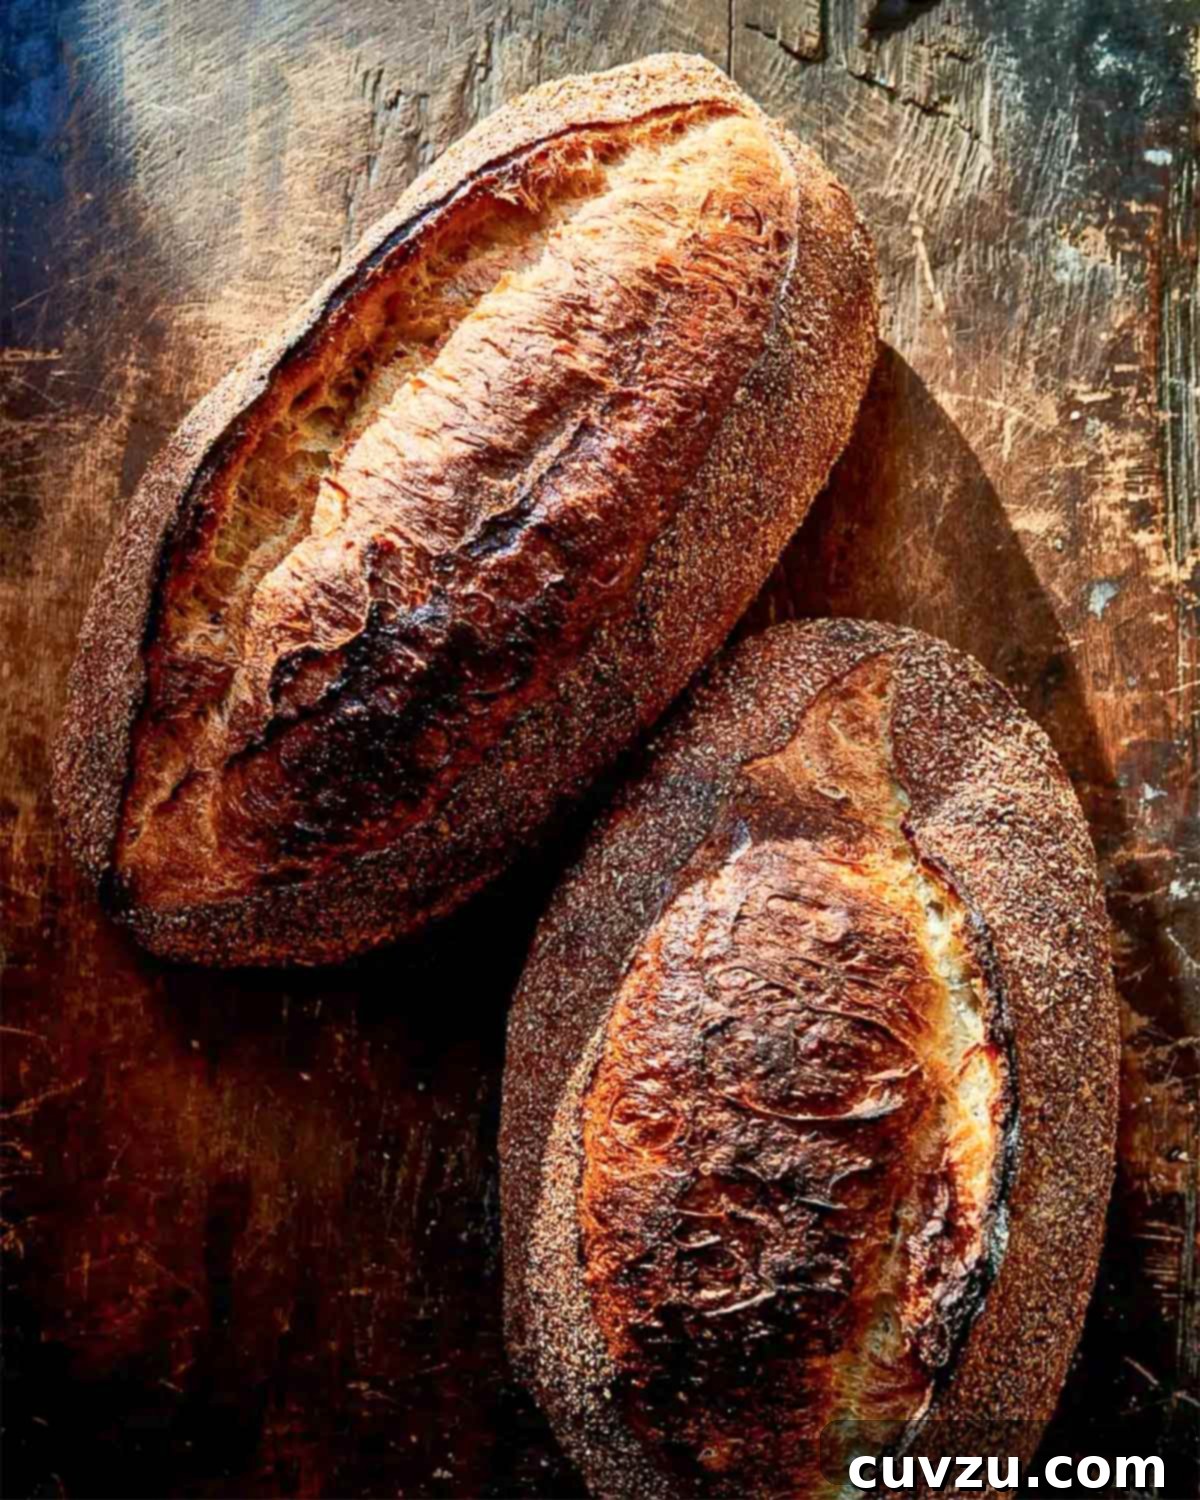
Discover the Art of Italian Sourdough: Baking the Perfect Filone Bread
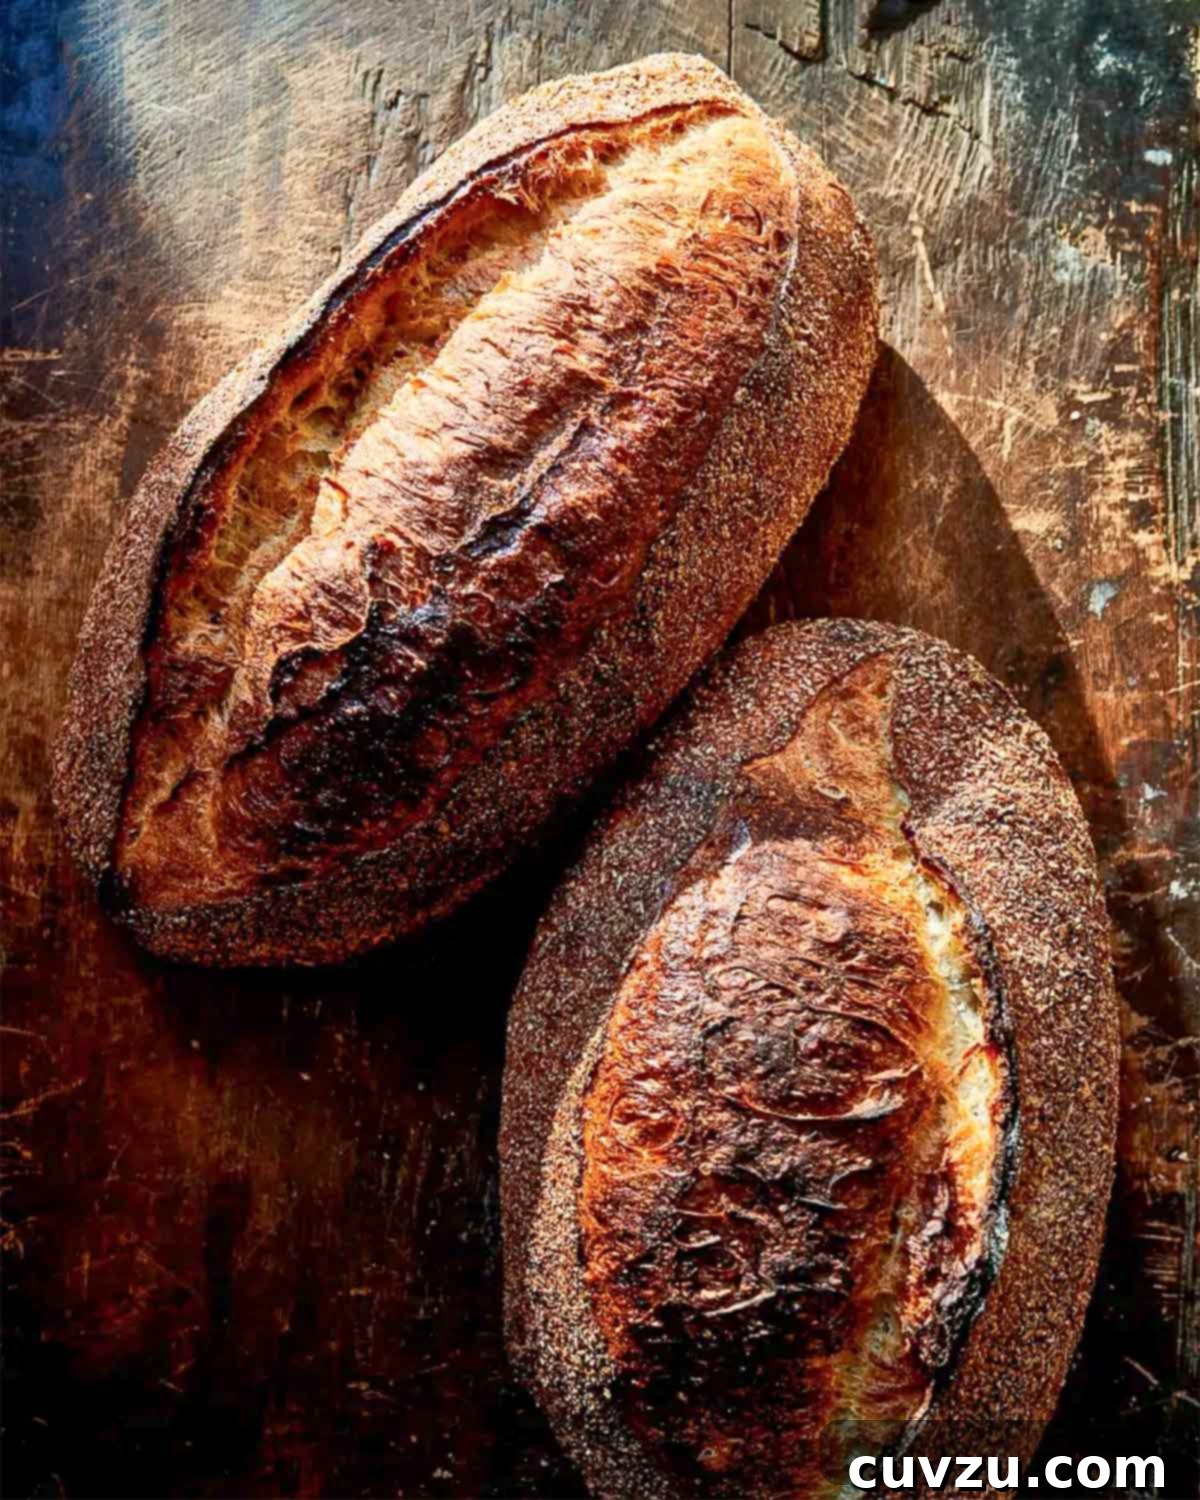
There’s a unique satisfaction that comes from baking your own bread, and when it’s a classic like Filone, that satisfaction is truly exceptional. Filone is an exquisite Italian sourdough bread celebrated for its irresistibly crisp crust and a delightfully light, airy crumb. What makes this recipe truly special is its consistent magnificence and surprising simplicity, making it a perfect endeavor for even novice bread bakers eager to explore the world of artisan sourdough.
Our interpretation of this naturally leavened sourdough offers a softer, less pronounced tangy profile compared to the early, often intensely sour, breads that defined the San Francisco bread scene. At Alimentari, it has become our indispensable go-to loaf, cherished for its incredible versatility. The contrast between its delicate, open interior crumb and a firm, dark crust with subtle bitter undertones makes it absolutely wonderful for crafting gourmet sandwiches or preparing delectable crostini. Beyond its exceptional flavor and texture, this deeply hydrated bread also boasts impressive longevity, remaining fresh and delicious for several days after baking.
For those who favor a loaf with more character and depth, a compelling variation awaits: the buckwheat rye filone. This earthy alternative is remarkably easy to create, requiring only a simple change in flours while adhering to the core Filone recipe. (Details for this enticing variation can be found below the main recipe.)
What is Filone? The Essence of Everyday Italian Sourdough
Originating from the sun-drenched regions of Calabria and Tuscany, Filone is more than just bread; it’s a staple, a daily companion embodying the heart and soul of Italian baking. Crafted with a lightly fermented Italian sourdough starter, Filone stands as Italy’s elegant answer to everyday bread. Its defining characteristics are its superb texture: a crunchy, brittle crust that yields to a remarkably light and airy crumb within. This harmonious balance makes Filone inherently versatile and utterly delightful for a multitude of culinary uses.
Imagine tearing off a piece and dipping it into rich, fruity olive oil, allowing the bread to soak up every drop of golden liquid. Or perhaps using it to meticulously swirl up the last vestiges of a flavorful pasta sauce, ensuring no culinary goodness goes to waste. Filone’s structure, a result of careful fermentation and high hydration, provides the perfect vessel for these simple yet profound gastronomic pleasures. Unlike some rustic European breads that can be dense and chewy, Filone maintains a delicate quality that makes it appealing to a wide range of palates. Its subtle flavor profile allows it to complement both sweet and savory accompaniments without overpowering them, solidifying its status as a true culinary classic.
Filone: Classic Italian Sourdough Bread
By David Leite
Sides, Bread
Italian
6
servings | 1 loaf
338
kcal
30
50
20
Ingredients
Creating this remarkable Filone bread requires a handful of essential ingredients, each playing a crucial role in developing its characteristic flavor and texture. Ensure your sourdough starter is active and vibrant before beginning for the best results.
- 18 ounces all-purpose flour (3 1/2 cups), plus additional for kneading, as needed
- 12 1/4 ounces room temperature water (1 1/2 cups)
- 5 1/4 ounces sourdough starter
- 1 tablespoon fine sea salt
- Oil, for greasing the bowl
- Semolina flour, for dusting
Instructions
Follow these detailed steps to bake your perfect loaf of Italian Filone sourdough. Precision and patience are key to achieving that signature crust and airy crumb.
-
In the bowl of a stand mixer fitted with the dough hook, combine the flour, water, and active sourdough starter. Mix these ingredients on the lowest speed for approximately 5 minutes until they start to come together. If mixing by hand, combine in a large bowl until you no longer see any dry bits of flour and the dough transitions from a shaggy, uneven mass into a slightly smoother, more cohesive one. This manual process can take anywhere from 5 to 15 minutes, requiring consistent mixing.
-
Once the dough has formed a loose, somewhat cohesive mass, use a spatula or bowl scraper to thoroughly scrape down the sides and bottom of the bowl, ensuring all floury bits are incorporated. Increase the mixer speed to medium and continue to mix for another 5 minutes, allowing the dough to develop further. For manual mixing, turn the dough out onto a lightly floured countertop and knead continuously for an additional 5 minutes to build gluten structure.
-
Carefully transfer the dough into a lightly oiled bowl, ensuring all surfaces of the dough are gently coated with oil to prevent sticking. Loosely cover the bowl with a clean kitchen towel and allow the dough to rest at a warm room temperature for 30 to 45 minutes. This resting period, known as autolyse (if no starter added initially) or bulk fermentation initiation, allows the flour to fully hydrate and gluten development to begin.
☞ TESTER TIP: If you are using a stand mixer, you may opt to leave the dough in the mixer bowl and simply cover it with a towel. However, it’s highly recommended to remove the dough hook at this stage, as dough has a tendency to harden onto any exposed surface it can find, making cleanup more challenging later.
-
After the initial resting period, return the dough to the stand mixer. Sprinkle the fine sea salt evenly over the dough. Mix on the lowest speed of the mixer for 1 to 2 minutes, or until you can no longer visibly see or feel any granules of salt. If mixing by hand, sprinkle the salt on top of the dough and use a bowl scraper to “cut” the salt into the dough. Then, knead the dough by hand for about 5 minutes until the salt is fully integrated and no longer detectable.
-
Remove the dough from the mixing bowl, gently shape it into a round, and place it back into a lightly oiled bowl. Cover the bowl loosely with a kitchen towel and place it in a draft-free, preferably warm, corner of your kitchen to proof. It’s important to note that the dough will NOT significantly double in size; instead, you are looking for approximately a 25% increase in volume. The dough should also feel noticeably “puffy” and “relaxed” when lightly touched, indicating sufficient fermentation, before proceeding to shaping. Depending on the ambient temperature of your kitchen, this crucial proofing stage can take anywhere from 3 to 6 hours.
-
Once adequately proofed, gently remove the dough from its bowl and place it onto a generously floured countertop. Carefully degas the dough by using your hands to pat it out gently, releasing any large air bubbles that have formed during fermentation. Now, shape the dough into a batard (an oval shape). Achieve this by folding the dough over onto itself, picking up the top edge, and pulling it just over the center of the dough. Then, using the heel of your hand, gently push the dough slightly away toward the top edge. Turn the dough counterclockwise by 90 degrees and repeat this folding and pushing process three more times. The goal is to create a smooth, taut oval shape. Finally, turn the dough over (seam-side down) and further tighten it by gently pulling the dough towards you on the countertop, allowing the slight friction between the dough and the surface to create additional tension, resulting in a firm and well-structured loaf. Turn the dough 180 degrees and repeat this final tightening step.
-
Place the shaped dough, with the seam-side facing up (which will become the top of the loaf after baking), into a proofing basket (banneton) or a shallow bowl that has been thoroughly coated with semolina flour. This semolina dusting is crucial to prevent the dough from sticking. Sprinkle a little more semolina over the top of the dough. Loosely cover the proofing basket with a kitchen towel and refrigerate for a long, cold proof, anywhere from 12 to 24 hours. This cold fermentation develops deeper flavors and improves the dough’s structure.
-
When you are ready to bake your Filone, preheat your oven to a high temperature of 450°F (232°C). Simultaneously, place an empty 5-quart (4.7-liter) Dutch oven, complete with its lid, into the oven to preheat thoroughly. A hot Dutch oven is essential for creating the perfect crisp crust and achieving excellent oven spring.
-
Once your oven and the Dutch oven have reached the desired preheated temperature, carefully remove the dough from the refrigerator. Gently invert it from the proofing basket directly into the scorching hot Dutch oven. Handle with care, as the pot will be extremely hot.
☞ TESTER TIP: For an easier and safer transfer of the delicate dough from the proofing bowl into the very hot Dutch oven, a helpful technique is to gently turn the dough out onto a sheet of parchment paper first. You can then use this parchment paper as a sling to carefully lift the dough and lower it precisely into the Dutch oven without directly touching the hot surface.
-
Using a very sharp paring knife or a specialized bread lame, score the top of the dough with any pattern you desire. Scoring allows for controlled expansion during baking and creates a beautiful aesthetic. Lightly spray the dough with a little water using a spray bottle. Promptly cover the Dutch oven with its lid and carefully place the entire vessel back into your preheated oven. Bake for the initial 20 minutes with the lid on, which traps steam and promotes an excellent crust.
-
After 20 minutes, carefully remove the lid from the Dutch oven. Continue to bake the bread uncovered for an additional 20 to 30 minutes, or until the crust develops a deep, rich golden brown color and sounds hollow when tapped on the bottom. This stage is crucial for achieving that characteristic crispness and depth of flavor in the crust.
-
Once baked to perfection, remove the bread from the Dutch oven and transfer it to a wire rack to cool completely. Resist the urge to slice into it while it’s still hot; cooling allows the internal structure to set and prevents a gummy texture, ensuring the best possible crumb and flavor.
Notes
Buckwheat Rye Filone Variation: A Heartier Alternative
For those seeking a loaf with a more pronounced earthy flavor and a denser texture, the buckwheat rye filone variation offers a delightful experience. This version introduces the nutty notes of buckwheat flour and the distinctive tang of rye, creating a bread with incredible character. While slightly stickier to work with, especially for new bakers, the resulting flavor is deeply satisfying. Simply replace the ingredients for the classic filone loaf with the following measurements and continue to follow the main recipe’s directions for mixing, proofing, and baking. The rye flour contributes to a more complex bitter tone in the crust, while buckwheat adds a unique, hearty dimension to the crumb.
- 11 ounces all-purpose flour (315 g) (2 1/8 cups)
- 10 1/2 ounces room temperature water (295 g)
- 9 1/2 ounces sourdough starter (270 g)
- 3 ounces rye flour (90 g) (3/4 cup plus 1 tablespoon)
- 2 ounces buckwheat flour (60 g) (1/2 cup)
- 1 tablespoon plus 1 teaspoon salt (15 g)
- Oil, for the bowl
- Semolina flour, for dusting
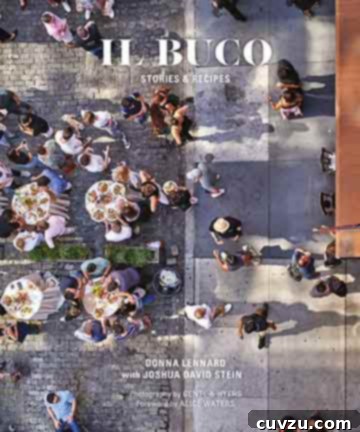
Adapted From
Il Buco
Buy On Amazon
Nutrition Information (Approximate Per Serving)
Serving: 1 portion
Calories: 338 kcal
Carbohydrates: 70 g
Protein: 9 g
Fat: 2 g
Saturated Fat: 0.2 g
Monounsaturated Fat: 0.5 g
Trans Fat: 0.003 g
Sodium: 1168 mg
Fiber: 2 g
Sugar: 0.2 g
Nutrition information is automatically calculated, so should only be used as an approximation and is provided for informational purposes only.
Tried this recipe? Share your culinary success!
Mention @leitesculinaria or tag #leitesculinaria on Instagram to show off your beautiful Filone!
Recipe Testers’ Reviews: Real Experiences from the Kitchen
The true test of any recipe lies in the hands of those who bake it, and our team of dedicated recipe testers has put this Filone bread through its paces. Their diverse experiences, insights, and valuable tips offer a comprehensive look at what you can expect when you embark on your own Filone baking journey.
Janet O.
Janet O. praised the Filone recipe as a remarkably easy sourdough loaf, yielding excellent texture with minimal hands-on effort, especially when utilizing a stand mixer. She noted that the initial kneading steps effectively replaced the traditional half-hourly folding method she usually employs for sourdough, yet still resulted in a beautiful loaf with a lovely, shiny crumb. Janet found the recipe exceptionally simple to follow, with descriptions so clear that it would be ideal for first-time bread bakers. While she enjoyed the plain loaf, she suggested that the rye variation might offer an added layer of complexity she felt was subtly missing from the all-purpose flour version, making her eager to try it next.
Patricia Scalione
Patricia Scalione embarked on a nostalgic journey, hoping to recreate the intoxicating Italian loaves of her childhood. She enthusiastically reported “Mission accomplished!” with this Filone recipe. Patricia lauded the recipe for producing a very tasty and truly versatile loaf, equally at home as a dinner accompaniment or sliced for sandwiches. She highlighted the satisfying crunchiness of the crust and its beautiful golden color, attributed to the semolina dusting. Notably, after 13 hours of refrigerated rest, she detected no sour notes, indicating the mild tang profile of this particular sourdough. While oven spring was modest and the crumb slightly tighter than some artisan loaves, it was still filled with lovely holes. Patricia observed that the bread was at its peak on day one and showed some drying by day two when stored cut-side down. She found the recipe a great addition to her bread-making repertoire and looks forward to trying the buckwheat rye variation. Patricia’s key learnings included the efficiency of a stand mixer and all-purpose flour for a terrific loaf with minimal effort, and the importance of an active starter and accounting for room temperature variations (her dough proofed in 5 hours at 72°F).
Jackie Gorman
Jackie Gorman expressed sheer delight, proclaiming “Oh my goodness!” at her first successful sourdough loaf. After previous attempts had failed, she was particularly thrilled to achieve this milestone, especially living in a region where sourdough tradition runs deep since the Gold Rush. Jackie found immense personal satisfaction in baking this bread herself, describing its deliciousness as truly remarkable. She recounted enjoying the bread warm with melting butter, toasted with butter, and even transforming it into flavorful croutons for a Caesar salad. Her review emphasizes the profound joy and reward that comes from mastering a challenging bake, even for experienced cooks.
Peter Quick
Peter Quick, who tried the buckwheat rye filone variation, assured readers that despite its seemingly elaborate description, the recipe is not overly arduous. He compared it to other sourdough loaves that require short bursts of activity spread over a longer period, ultimately leading to an excellent tasting bread. For Peter, this was a novel experience using buckwheat flour in bread, but one he thoroughly enjoyed and plans to repeat. He highlighted the “great taste with minimal effort,” making this variation an appealing option for those looking to expand their sourdough horizons without excessive labor.
Daniela Trapani
An experienced bread baker herself, Daniela Trapani confirmed that this Filone recipe is accessible enough for beginners. She tested both the white and the buckwheat-rye versions, advising newcomers to start with the white loaf as its dough is considerably easier to manage. She noted that the buckwheat-rye dough was “very sticky and more difficult to work with” and strongly recommended using a stand mixer if available to handle the laborious kneading. Flavor-wise, Daniela preferred the white Filone for its “nice open, shiny crumb” and “great crunchy texture,” finding it not sour at all. In contrast, the buckwheat-rye was denser, more sour, and seemed saltier. While this recipe won’t replace her personal go-to methods, she praised its clear instructions and guaranteed good results, encouraging new bakers to give it a try and learn what works for them, emphasizing patience and adherence to the steps.
Ilda Costa-Sarnicki
Ilda Costa-Sarnicki found the Filone loaf a “pleasure to make as it was to eat,” despite what she affectionately called the “drama” often inherent in sourdough baking. She lauded its “incredibly crisp crust and chewy, complex-flavoured crumb,” describing it as “A simple bread with a hefty attitude.” Ilda primarily used her stand mixer for efficiency, observing that while the dough became smoother after initial mixing, it remained quite sticky. She chose to leave the dough in the mixer bowl for the first rest to simplify cleanup. The salt incorporated easily, as specified in the recipe. Shaping the sticky dough proved challenging, but oiling the bowl helped. After 6 hours of proofing, her dough had expanded by the predicted 25% and felt “relaxed but was more huffy than puffy.” She found the shaping instructions clear and appreciated how semolina in her proofing basket helped manage the dough. Her crucial tip was using parchment paper as a sling to transfer the cold dough from the refrigerator into the hot Dutch oven, a practice she now consistently employs for its ease and precision, especially for scoring and managing excess flour. Her determination to “subordinate the sticky dough” with semolina ultimately worked, resulting in a successful bake.
The collective feedback from our testers paints a clear picture: this Filone recipe is a rewarding journey into sourdough baking. Whether you’re a beginner seeking a forgiving introduction or an experienced baker looking for a versatile and flavorful loaf, Filone delivers. The emphasis on clear instructions, manageable steps, and the option for a stand mixer makes this artisan bread accessible to all. The slight variations in dough consistency and proofing times highlight the organic nature of sourdough, reminding us that patience and observation are key ingredients in themselves. We hope these detailed insights inspire you to bake your own perfect Filone loaf and discover the joy of homemade Italian sourdough.