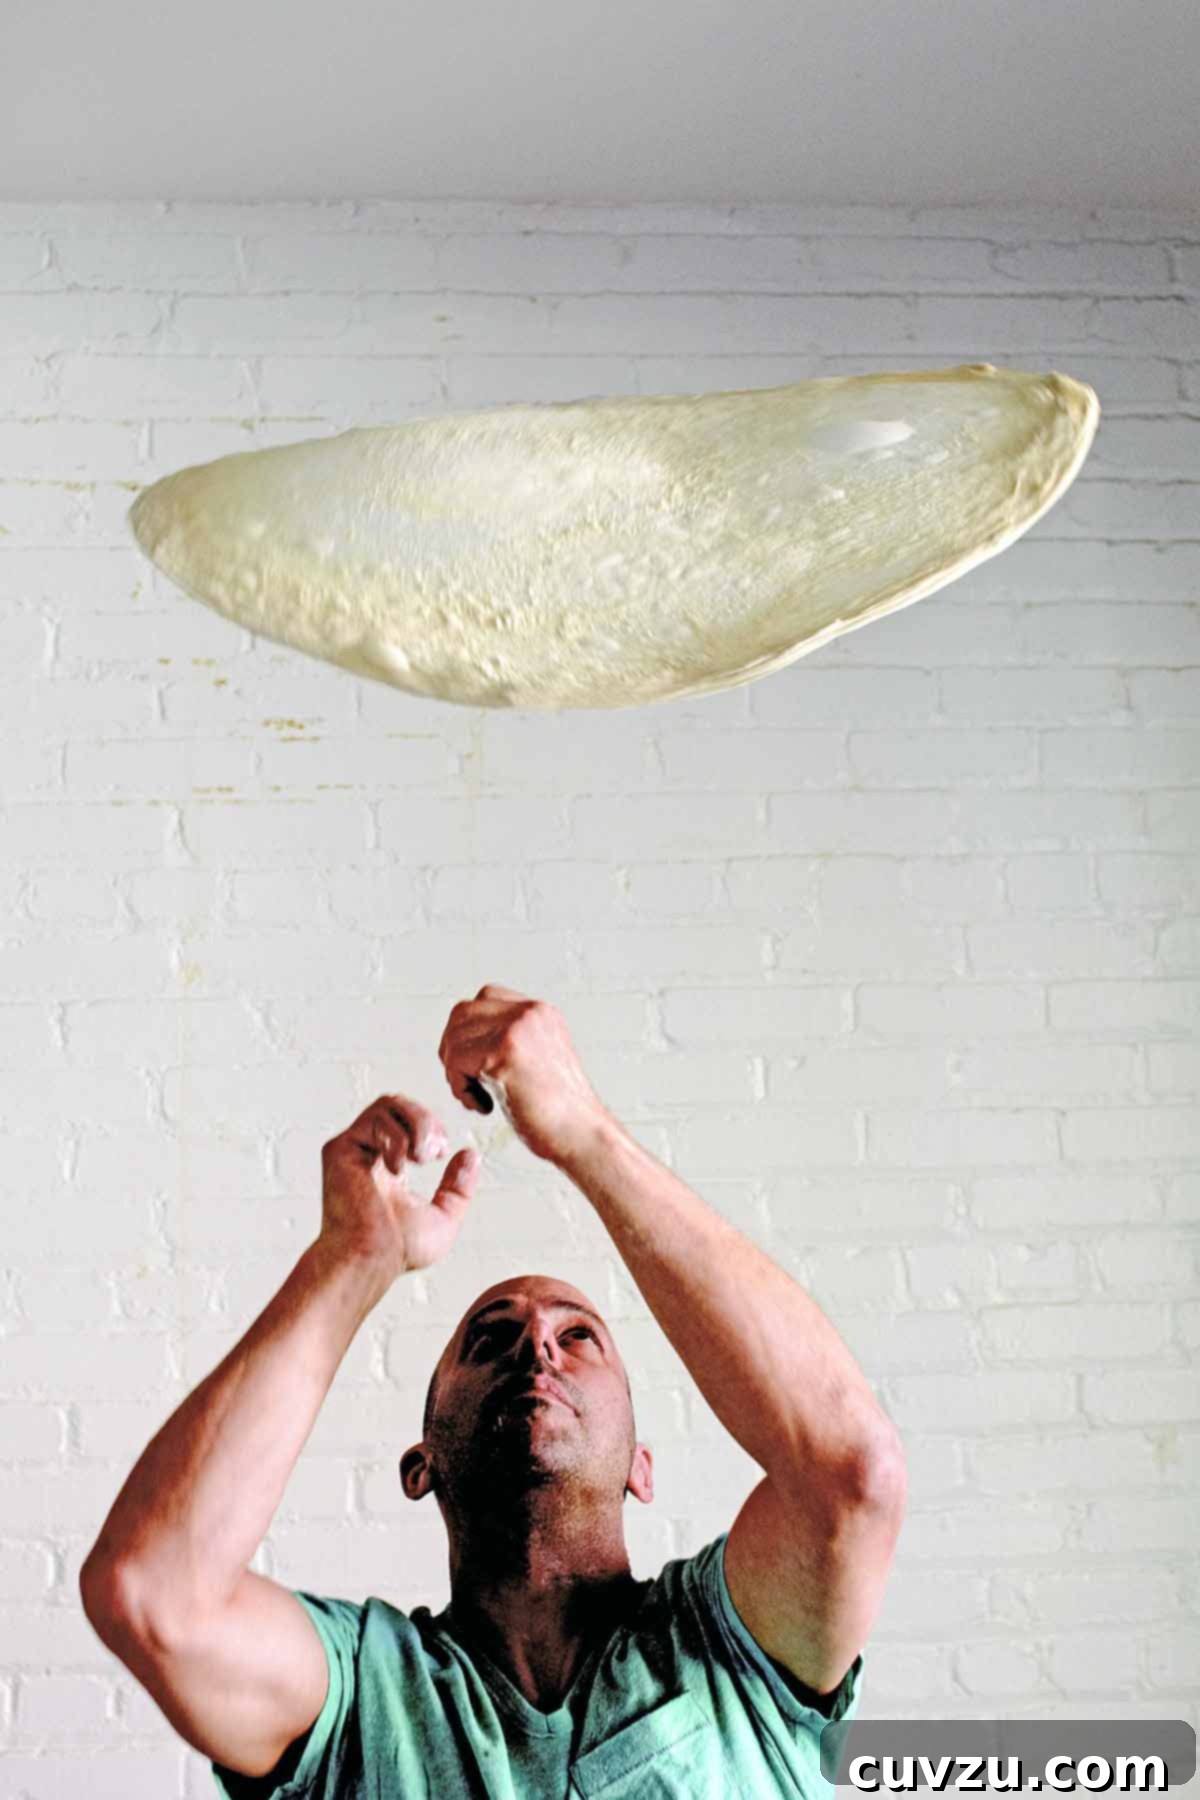
Jim Lahey’s No-Knead Pizza Dough: Crafting Bakery-Quality Crust at Home
Imagine biting into a pizza with a crust so perfectly crisp, airy, and flavorful that it rivals the finest pizzerias in Italy. With Jim Lahey’s revolutionary no-knead pizza dough recipe, that dream becomes a delicious reality right in your own kitchen. This isn’t just another pizza dough recipe; it’s a gateway to experiencing professional-grade crust with surprisingly little effort. Prepare to transform your homemade pizza nights and impress everyone with a crust that’s both deeply complex in flavor and wonderfully light in texture.
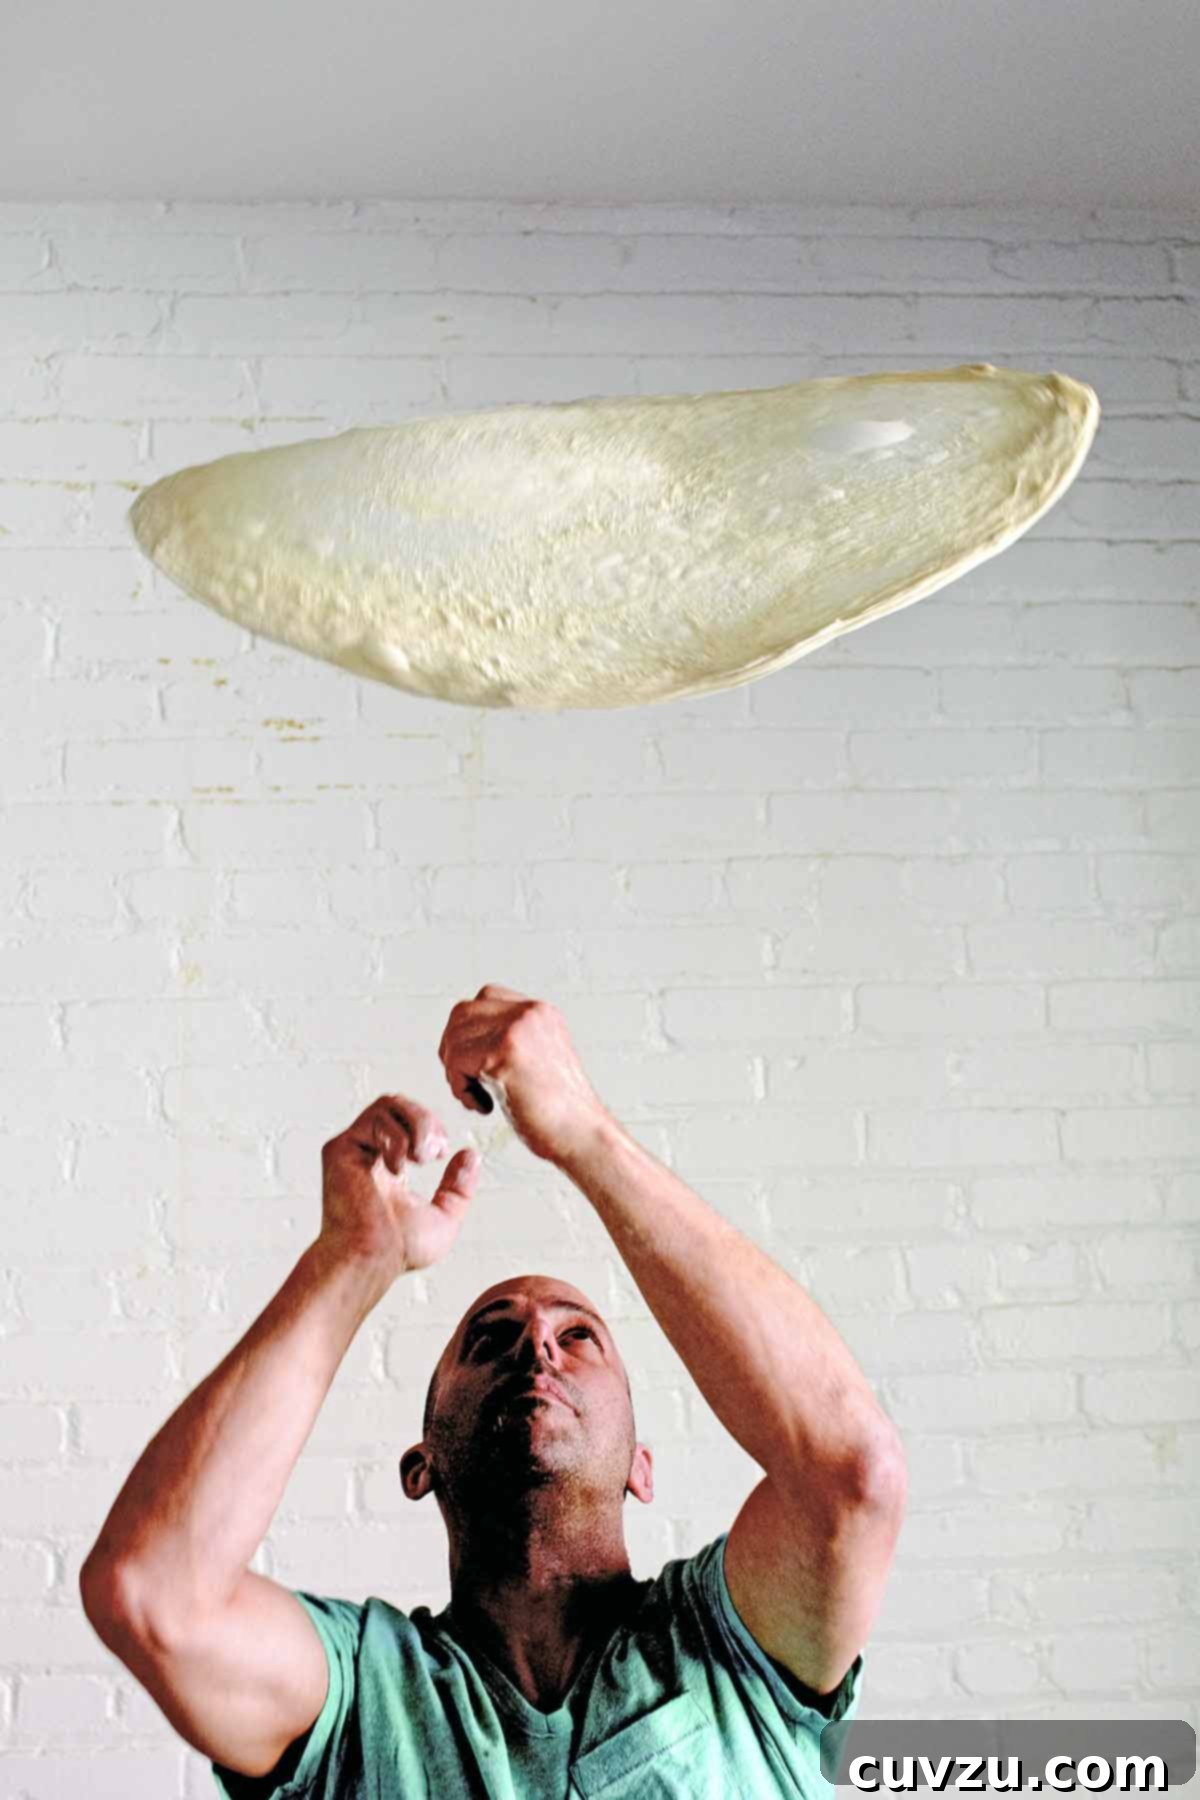
Many home cooks shy away from making pizza dough from scratch, intimidated by the kneading process or the pursuit of that elusive “perfect” crust. Jim Lahey, a renowned baker, demystifies this process with his brilliant no-knead method, allowing for a long, slow fermentation that develops incredible flavor and a superior texture without arduous labor. This recipe is designed to simplify your journey to exceptional homemade pizza, focusing on minimal intervention and maximum flavor development. While you might be tempted to try your hand at dough-flinging like a seasoned pizzaiolo, don’t worry if it feels awkward at first. Practice makes perfect, and we’ve included instructions for both the adventurous chef and those who prefer a more grounded approach to shaping their dough. Either way, the result will be a crust that elevates any topping to gourmet status. For a truly inspired experience, consider pairing this dough with Lahey’s white pizza recipe – a testament to the versatility and quality of this foundational dough.
Jim Lahey’s Pizza Dough
Discover the secret to creating extraordinary, bakery-quality pizza crust at home with Jim Lahey’s remarkably simple no-knead recipe. This method yields a deeply flavorful, airy, and crisp crust that’s easier to achieve than you might imagine, elevating your homemade pizza to gourmet levels.
By David Leite
Equipment
- Pizza stone and peel (highly recommended for best results)
- Large mixing bowl
- Plastic wrap
- Kitchen scale (for precise flour measurement)
Ingredients
- 17 1/2 ounces (about 3 3/4 cups) all-purpose flour, (do not use bleached flour, plus more for the work surface)
- 1/4 teaspoon active dry yeast
- 2 teaspoons fine sea salt
- 1 1/2 cups tepid water
Instructions
- Combine Dry Ingredients: In a medium-sized mixing bowl, thoroughly blend the all-purpose flour, active dry yeast, and fine sea salt. Whisking them together ensures even distribution, which is crucial for the dough’s structure and flavor development.
- Add Water and Mix: Pour the tepid water into the bowl with the dry ingredients. Using a sturdy wooden spoon or your hands, mix the ingredients thoroughly until a shaggy, somewhat sticky dough forms. There’s no need for intense kneading; simply ensure all the flour is incorporated and no dry spots remain. This minimal mixing initiates gluten development without the strenuous work.
- The Long Fermentation (First Rise): Cover the bowl tightly with plastic wrap to prevent the dough from drying out. Allow the dough to rise at room temperature (ideally around 72°F or 22°C) for a remarkable 18 hours, or until it has more than doubled in size and shows significant bubbling. This extended, slow fermentation is the heart of Lahey’s method, developing incredible depth of flavor and a beautiful open crumb structure without any kneading. If your room is cooler, the rise might take a bit longer; in a warmer room, it might be slightly faster. This patience is truly rewarded.
-
Divide and Shape Portions: Generously flour a clean work surface. Gently scrape the risen, bubbly dough out onto the floured surface. Avoid deflating it too much. Divide the dough into 4 equal portions. Working with one portion at a time, perform a simple folding technique: take the right side of the dough and fold it towards the center, then repeat with the left side, the top, and finally the bottom. This process, often called “stretching and folding,” helps to build strength in the dough. After folding, gently shape each portion into a neat, circular mound, turning it seam-side down. The dough will be somewhat sticky, but this is perfectly normal. Dust with a little more flour if it’s too sticky to handle. Place the shaped dough balls on the lightly floured surface and repeat with the remaining portions.
Storage Note: If you don’t plan to use all the dough immediately, wrap the individual dough balls tightly in plastic wrap and refrigerate for up to 3 days. When ready to use, remove them from the refrigerator 2 to 3 hours beforehand, cover with a damp cloth, and let them return to room temperature before shaping. Do not freeze the dough, as it can negatively impact the delicate texture achieved through fermentation.
-
Shape the Dough (Choose Your Adventure): Now for the fun part – shaping your pizza base!
Method 1: The Delicate Counter Stretch (No Flinging): Take one ball of dough and generously flour it, your hands, and your work surface. Gently press the dough down with your fingertips from the center outwards, then carefully stretch it to a 6 to 8-inch disk. Continue to delicately stretch and massage the dough into a roundish disk of 10 to 12 inches, using the palms of your hands and fingers. Handle it gently to retain as many gas bubbles as possible; this is key to an airy crust. The surface should look slightly blistered. Once shaped, carefully transfer the disk onto a well-floured pizza peel.
Method 2: The Bold Dough Fling (Like a Boss!): Take one floured dough ball and generously flour your hands and work surface. Press the dough down and gently stretch it to about 6 to 8 inches. Now, carefully lift the dough, supporting its outer edge with your knuckles. Begin to stretch the dough by rotating it gently on your knuckles, allowing gravity and your movements to gradually widen the disk to 10 to 12 inches in diameter. The key is gentle stretching and rotation, allowing the dough to thin out evenly. Once stretched, set the disk onto a well-floured pizza peel.
☞ TESTER TIP: Regardless of the method, treat the dough with care. Overworking it will deflate the precious air bubbles that contribute to the signature light and airy texture. A slightly bumpy, blistered surface is a sign of good dough handling.
- Preheat Oven and Stone: Place your pizza stone in the oven on the middle or upper-middle rack. Preheat the oven to its highest temperature (usually 500-550°F or 260-290°C) for at least 45 minutes to 1 hour. This ensures the stone is screaming hot, which is essential for a crispy crust. If your oven has a broiler, you may preheat with the broiler on high for the last 10 minutes to superheat the top of the oven as well, as suggested by some testers.
- Add Toppings and Bake: Once shaped and on the floured peel, quickly add your preferred sauce and toppings to the dough. Work efficiently to prevent the dough from sticking to the peel. Slide the topped pizza from the peel directly onto the preheated pizza stone in the oven. Bake for 8-15 minutes, or until the crust is golden brown, bubbly, and the cheese is melted and slightly caramelized. Baking times will vary depending on your oven and desired crispness. If using the broiler method, keep a close eye on the pizza as the crust can brown quickly.
- Cool and Serve: Carefully remove the pizza from the oven using the peel. Transfer it to a cutting board or wire rack and let it rest for a minute or two before slicing and serving. This brief rest helps the cheese set and makes for easier cutting.
Notes
Whole-Wheat Pizza Dough Variation
For those who enjoy a touch of whole-grain goodness, a whole-wheat variation is possible. Many find that too much whole wheat can result in a gritty crust. To achieve a balanced flavor and texture, use a ratio of 2/3 all-purpose white flour to 1/3 whole wheat flour. When making this adjustment, it’s also recommended to double the amount of active dry yeast to ensure a good rise, as whole wheat flour can be denser and inhibit yeast activity slightly.
Unbleached Flour is Key
As noted in the ingredients, always opt for unbleached all-purpose flour. Bleached flour tends to be weaker and can make the dough difficult to handle and stretch, often tearing when you try to work with it. Unbleached flour provides the necessary gluten strength for a resilient yet tender crust.

Adapted From
My Pizza by Jim Lahey
Buy On Amazon
Nutrition
Calories: 454 kcal
Carbohydrates: 95 g
Protein: 13 g
Fat: 1 g
Saturated Fat: 1 g
Monounsaturated Fat: 1 g
Sodium: 1170 mg
Fiber: 4 g
Sugar: 1 g
Nutrition information is automatically calculated, so should only be used as an approximation.
Why Jim Lahey’s No-Knead Method is a Game Changer
What truly sets Jim Lahey’s pizza dough apart is its elegant simplicity combined with exceptional results, largely due to the no-knead, long-fermentation process. Unlike traditional doughs that demand vigorous kneading to develop gluten, this recipe relies on time. The extended 18-hour rise allows the yeast to slowly break down the starches in the flour, naturally forming strong gluten strands and producing complex organic acids. This process not only creates a deep, nuanced flavor profile that you won’t find in quick-rise doughs but also results in an incredibly extensible and elastic dough that’s a joy to work with. The slow fermentation also contributes to that signature open, airy crumb and the beautiful blistering on the crust, delivering a taste and texture reminiscent of artisanal pizzerias.
Mastering Your Pizza Dough: Expert Tips and Techniques
Achieving a perfect pizza crust goes beyond just the recipe; it involves understanding a few key principles:
The Art of Gentle Dough Handling
Once your dough has completed its long rise, remember that those precious gas bubbles are the secret to an airy crust. When you divide and shape the dough, be gentle. Avoid aggressively pressing out all the air. The initial folds help organize the gluten structure, and then the final stretching, whether on the counter or in the air, should be a delicate dance. Aim for a slightly uneven texture with small blisters, as these will expand into wonderful pockets of air during baking, contributing to a rustic, authentic look and feel.
The Importance of a Blazing Hot Oven
A truly great pizza crust requires intense heat. Your home oven might not reach commercial pizzeria temperatures, but preheating your oven to its maximum setting (usually 500-550°F or 260-290°C) with a pizza stone inside for at least 45 minutes to an hour is non-negotiable. This superheats the stone, providing a burst of radiant heat to the bottom of the dough, creating a crispy base. Some home bakers even engage the broiler for the last 10 minutes of preheating to ensure the top of the oven is equally scorching, leading to a faster, more even cook and beautiful charring on the crust.
Troubleshooting Common Pizza Dough Issues
- Dough is too sticky: Don’t panic! This dough is naturally a bit wet. Generously flour your hands and work surface. If it’s still unmanageable, you can incorporate a tablespoon or two more flour during the initial mixing, but be careful not to make it too stiff.
- Dough isn’t rising: Ensure your yeast is active (check expiration date). The most common culprit is a room that’s too cold for the 18-hour rise. Find a warmer spot, like near a radiator or in a slightly warmed (but turned off) oven.
- Dough is tearing when shaping: This could mean it’s either too cold (let it warm up longer) or you’re handling it too roughly. Be gentle, and let the dough relax for a few minutes if it resists stretching.
- Crust isn’t crisp: Your oven and pizza stone likely weren’t hot enough. Extend the preheating time significantly. Using a pizza stone is highly recommended over a baking sheet for superior crispness.
Recipe Testers’ Reviews: Real Experiences, Real Results
The true measure of a recipe’s success often comes from those who try it in their home kitchens. Our team of recipe testers consistently praises Jim Lahey’s pizza dough for its ease and incredible outcome. Jackie Gorman, for instance, declared it the “pizza dough recipe I’ve been seeking,” highlighting its user-friendliness with just four ingredients and an overnight rest. She lauded its ability to be rolled thinly or stretched by hand, resulting in a finished product “so very much better than the prepared dough you can buy in stores.”
Larry Noak echoed the sentiment of great taste and simplicity, though he offered a crucial tip: avoid bleached all-purpose flour. He found it too weak for stretching and strongly recommends unbleached flour or bread flour for optimal performance. Larry also emphasized the importance of patience, noting that “rushing the process… will only serve to cheat yourself of the wonderful, complex flavor.” His advice on oven temperature and using a pizza stone further underlines the techniques for an outstanding crust.
Sita Krishnaswamy appreciated the dough’s versatility and convenience, especially the minimal yeast and the “mix it and forget about it for 18 hours” aspect. She noted the dough rose beautifully and was “quite bubbly,” allowing her to make two large pizzas. Her only minor caveat was the need for advance planning, indicating it’s not a recipe for instant pizza cravings, but well worth the wait.
Lori Widmeyer, a seasoned home baker who typically buys pizza dough, found herself converted. She made the dough on Saturday for Sunday pizza night, turning it into a fun family tradition where everyone chose their shaping method. Her family enjoyed experimenting with different topping combinations, concluding that “the dough worked great, and less toppings worked better than going heavy with them.” They even enjoyed the reheated leftovers, cementing this recipe as a new staple.
Sofia Reino’s family particularly loved the crust’s crispness and its ability to hold up when picked up by hand. They also appreciated its relatively neutral taste, which perfectly showcased the actual toppings. She highlighted the dough’s “beautifully elastic” quality, making it easy to roll and stretch, and received a direct request from her family to use this recipe for all future non-gluten-free pizzas. These collective experiences underscore the recipe’s reliability, superior flavor, and user satisfaction, making it a standout choice for home pizza makers.
Creative Pizza Topping Ideas
This versatile dough is a perfect canvas for countless pizza creations. Beyond the classic Margherita or pepperoni, consider these ideas:
- Mediterranean Delight: Feta, Kalamata olives, sun-dried tomatoes, spinach, and a drizzle of olive oil.
- BBQ Chicken: Shredded chicken tossed in BBQ sauce, red onion, smoked Gouda, and a sprinkle of cilantro.
- Breakfast Pizza: Scrambled eggs, crumbled sausage or bacon, cheddar cheese, and chives.
- Pear & Gorgonzola: Thinly sliced pears, crumbled Gorgonzola, caramelized onions, and walnuts.
- Spicy Shrimp: Sautéed shrimp, chili flakes, garlic, fresh mozzarella, and a squeeze of lemon after baking.
Don’t be afraid to experiment with seasonal ingredients and your favorite flavor combinations!
Jim Lahey’s no-knead pizza dough offers an unparalleled opportunity to bring authentic, high-quality pizza into your home. Its simplicity belies the profound depth of flavor and perfect texture it delivers, proving that sometimes, the best things truly do come to those who wait. Embrace the long fermentation, enjoy the tactile experience of shaping your dough, and savor the reward of a pizza crust that will forever change your perception of homemade Italian fare. Happy baking!
Tried this recipe?
Mention @leitesculinaria or tag #leitesculinaria!