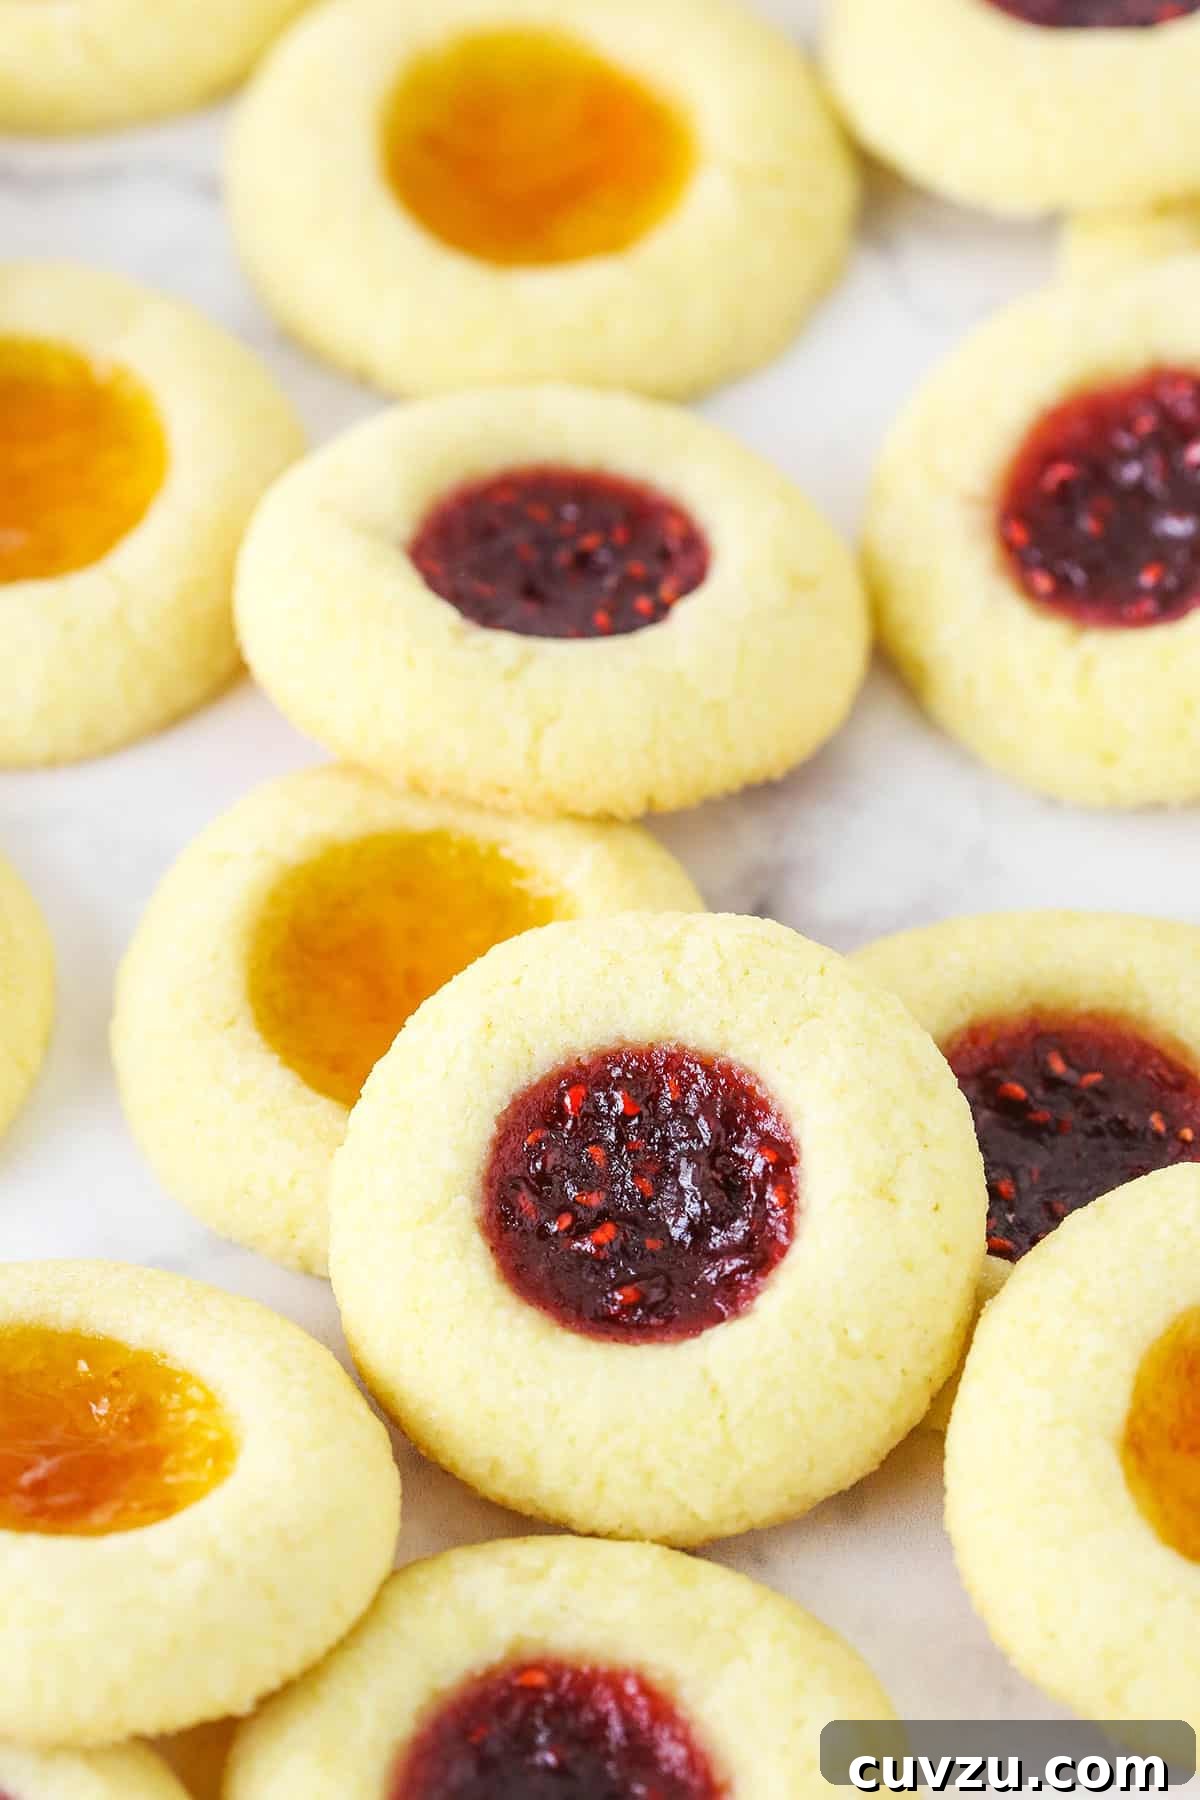
These classic thumbprint cookies are a timeless delight, bringing joy to any occasion, especially during the holiday season. Imagine soft, tender sugar cookies, lovingly baked to a golden perfection, each cradling a vibrant dollop of your favorite sweet jam. This incredibly easy cookie recipe requires just a handful of staple ingredients – typically seven – making it accessible for bakers of all skill levels. They are not merely a treat; they are a tradition, perfectly suited for festive Christmas cookie trays, bustling cookie exchanges, or simply a comforting snack with a warm cup of coffee or tea.
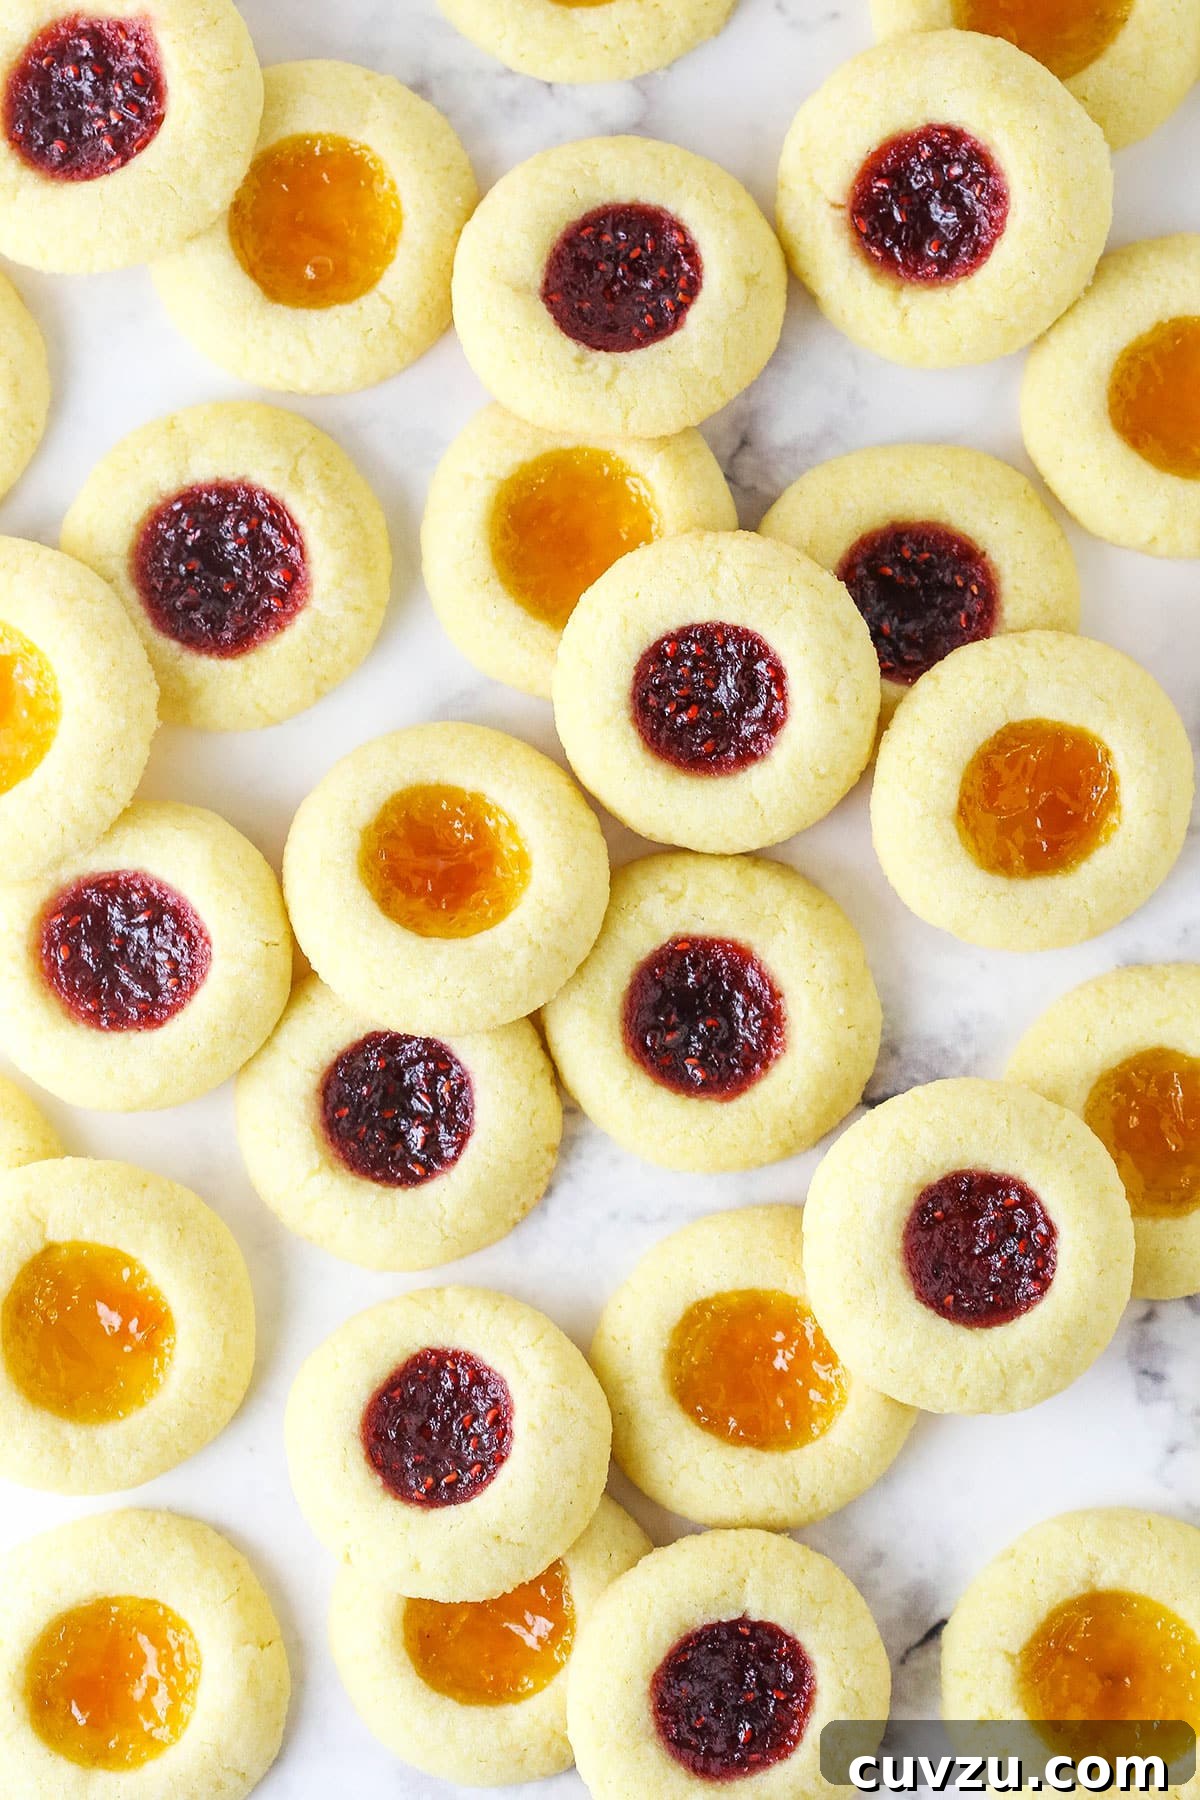
There’s an undeniable charm to these jam-filled cookies. They look stunning on any dessert platter, yet their preparation is surprisingly straightforward. Thumbprint cookies earn their name from the signature indentation, traditionally made with a thumb, that holds a generous spoonful of jam in the center. This distinctive feature makes them a beloved staple among classic Christmas cookie recipes. Our favorite rendition features a sweet, wonderfully chewy sugar cookie dough that reliably maintains its shape during baking, ensuring your cookies won’t spread excessively. While apricot jam and raspberry jam are popular choices, the beauty of thumbprint cookies lies in their versatility. You can fill the “thumbprints” with virtually any jam or fruit preserve you desire, or explore other delightful fillings like rich chocolate ganache, luscious caramel, or creamy frosting for an exciting twist.
Why These Classic Jam Thumbprint Cookies Are a Holiday Must-Have
Thumbprint cookies consistently make an appearance on our holiday cookie platters year after year, and they are always a cherished gift for friends and family during cookie exchanges. Here’s why this recipe will become a cherished tradition in your kitchen:
- Effortless Simplicity with Pantry Staples: You’ll rarely need a special trip to the grocery store for these cookies. Most of the ingredients – butter, sugar, flour, eggs, and vanilla – are likely already in your pantry or refrigerator, making spontaneous baking sessions a breeze.
- Remarkably Easy to Make: The process is as enjoyable as the result! The cookie dough mixes up quickly in a single bowl, followed by forming simple balls, indenting each, adding the filling, and baking. This makes thumbprint cookies an ideal project for holiday baking, and a fantastic, fun activity to involve children in the kitchen. Their small hands are perfect for making those adorable thumbprints!
- Limitless Customization and Flavor Possibilities: While jam is the traditional filling, the potential for variation is endless once you master this basic dough. Experiment with different fruit preserves like strawberry, blueberry, or orange marmalade. Beyond jam, consider creative alternatives such as rich chocolate ganache, creamy caramel, tangy lemon curd, or even festive peppermint frosting. This foundational dough recipe can inspire a wide array of delightful creations, from chocolate thumbprint cookies and turtle thumbprint cookies to vibrant peppermint thumbprint cookies, ensuring there’s a flavor profile for everyone.
- Perfect Texture Every Time: This recipe is specifically designed to produce cookies that are perfectly soft and chewy, never dry or crumbly. The careful balance of ingredients ensures a delightful melt-in-your-mouth experience with every bite.

Essential Ingredients for Perfect Thumbprint Cookies
Crafting these classic jam thumbprint cookies from scratch requires a selection of readily available ingredients. Understanding the role of each component will help you achieve the best results. For precise measurements and detailed step-by-step instructions, please refer to the printable recipe card below.
- Unsalted Butter: The foundation of our chewy cookie. Ensure your butter is at room temperature before you begin. This allows it to cream smoothly with the sugar, creating a light and airy base for the dough. If you’re short on time, you can soften it quickly by microwaving in 5-10 second intervals, being careful not to melt it completely.
- Granulated Sugar: Provides essential sweetness and contributes to the cookie’s tender texture. For a different flavor profile, consider using brown sugar as you would for easy brown sugar cookies, which would add a subtle molasses note and even more chewiness.
- Large Egg Yolks: This recipe specifically calls for egg yolks and omits the whites. The yolks are crucial for achieving that wonderfully rich and chewy texture that defines these thumbprint cookies. They also add moisture and help bind the dough without making it too cake-like. (Save those egg whites for another recipe, like meringues!)
- Pure Vanilla Extract: A key flavor enhancer that brings warmth and depth to the cookies. Always opt for pure vanilla extract or an equal amount of vanilla bean paste for the most authentic and robust flavor.
- All-Purpose Flour: The structural backbone of the cookie. Accurate measurement is paramount here. To avoid dry, crumbly cookies caused by over-measuring, always use a kitchen scale for precision. If you don’t have a scale, use the “spoon and level” method: spoon the flour into your measuring cup until it overflows, then level it off with a straight edge. Never pack flour into the cup.
- Salt: A small but mighty ingredient! Salt balances the sweetness of the sugar and jam, enhancing all the other flavors in the cookie dough, preventing them from tasting flat.
- Your Favorite Jam or Fruit Preserve: This is where the magic happens! We often use a delightful combination of apricot and raspberry jams, but the choice is entirely yours. Strawberry, blackberry, grape jelly, orange marmalade, or even a spiced apple butter would all be fantastic. Choose a jam that you love, as its flavor will shine through in every bite. Ensure it’s a good quality preserve for the best results.
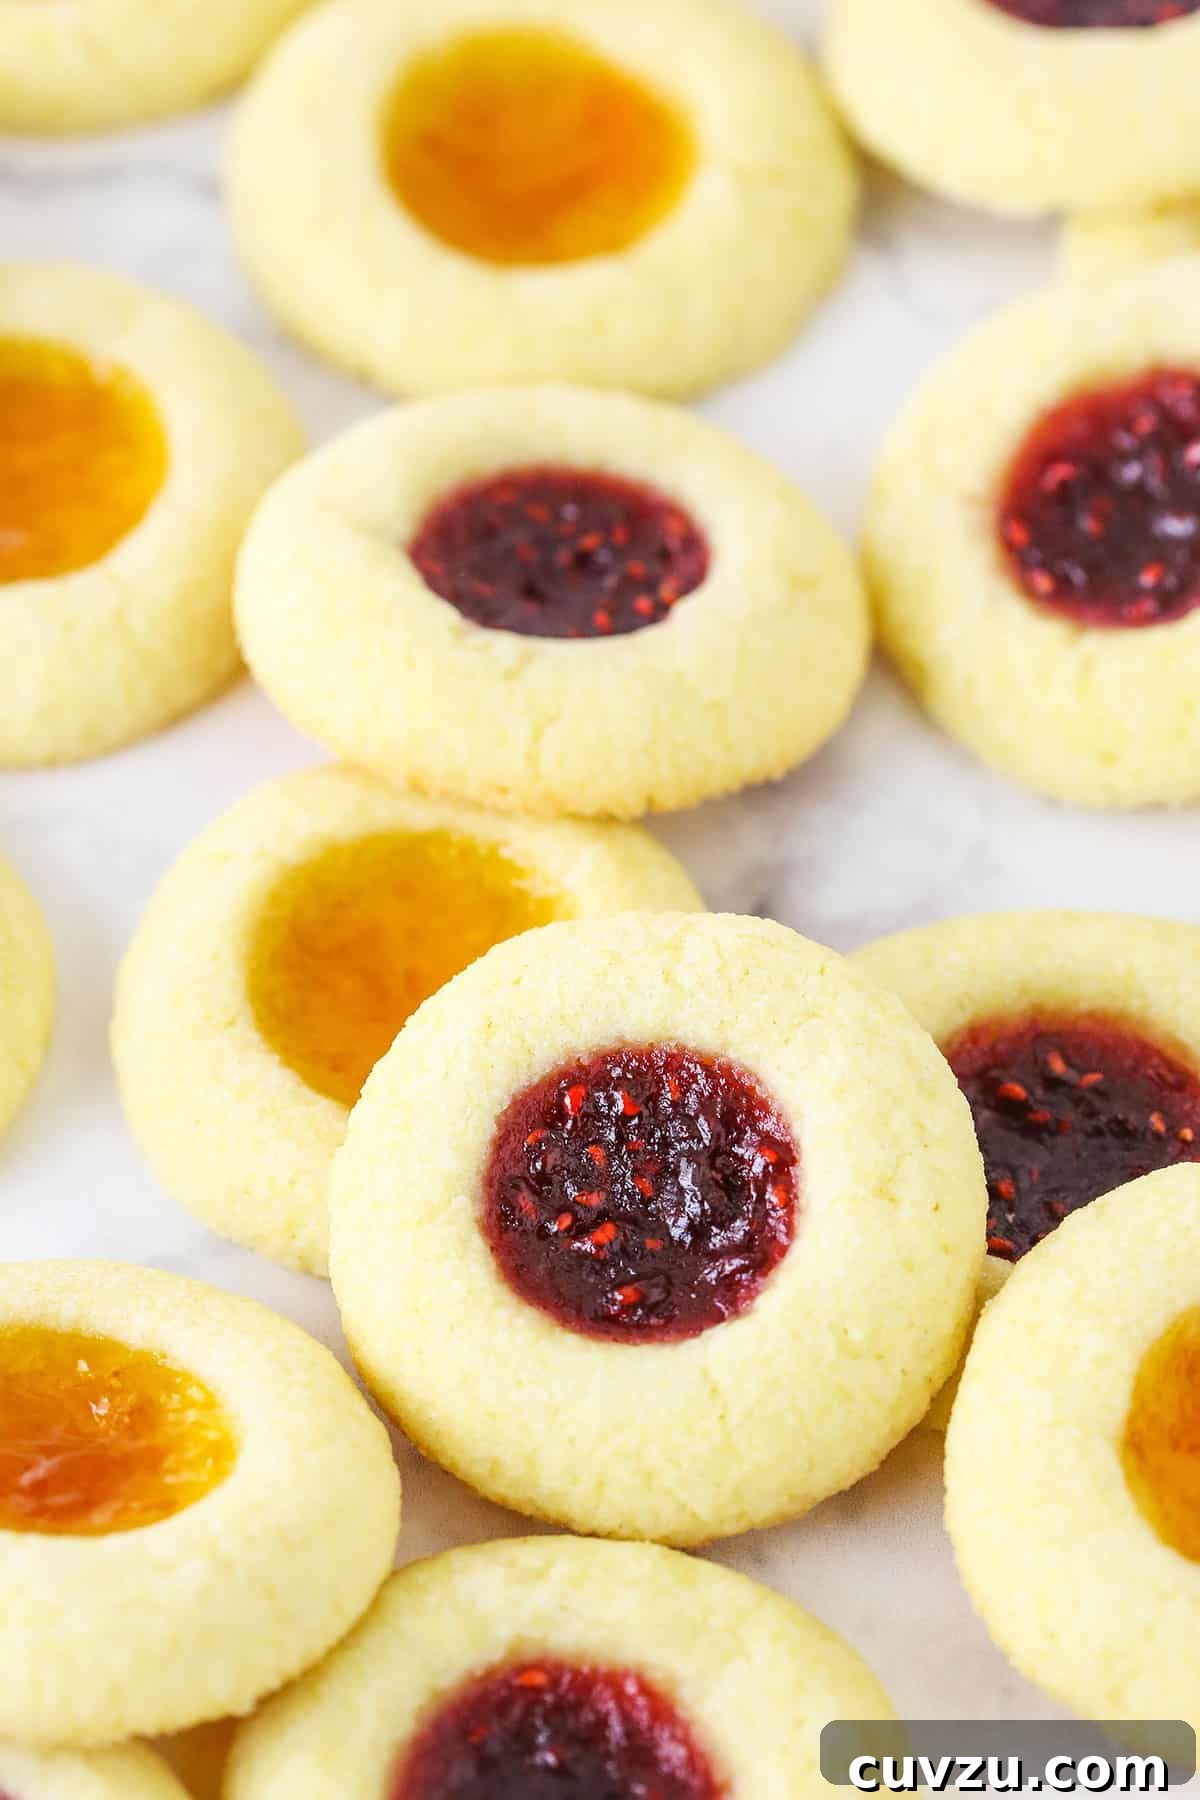
Step-by-Step Guide: How to Make Irresistible Thumbprint Cookies
While these cookies are famously named for a “thumbprint,” you don’t actually have to use your thumb to create the well in the center. The back of a measuring spoon, or even the handle of a wooden spoon, works perfectly and often creates a more uniform indentation!
- Preheat Oven and Prepare Baking Sheets: Begin by preheating your oven to 350°F (175°C). While the oven heats up, line your baking sheets with parchment paper or silicone baking mats. This crucial step prevents sticking and ensures even baking and easy removal of your delicate cookies.
- Cream Wet Ingredients to Perfection: In a large mixing bowl, using an electric mixer, cream together the room temperature unsalted butter and granulated sugar. Beat them on medium speed until the mixture becomes visibly light in color and fluffy in texture. This process incorporates air, contributing to the cookies’ light and tender crumb. Next, add the egg yolks one at a time, mixing thoroughly after each addition until fully incorporated. Finally, stir in the vanilla extract, mixing just until combined.
- Gently Incorporate Dry Ingredients: Reduce your mixer speed to low, or mix by hand. Gradually add the all-purpose flour and salt to the wet ingredients. Mix just until the dry ingredients are fully incorporated and the dough comes together. Be careful not to over-mix, as this can develop the gluten in the flour too much, resulting in tough, dry cookies.
- Form and Coat the Cookie Dough Balls: Scoop the cookie dough into uniform balls, each approximately 1 ½ tablespoons in size. Gently roll each portion of dough between your palms until smooth. If you desire an extra layer of crunch and sparkle, roll the dough balls in additional granulated sugar at this stage. Place the formed dough balls onto your prepared baking sheets, leaving about 2 inches between each to allow for slight spreading.
- Create the Signature Indentations: Immediately after rolling the dough balls, use the handle of a wooden spoon, your finger, or the back of a measuring spoon to gently press a well into the center of each cookie. Performing this step promptly after forming the balls helps prevent the edges of the dough from drying out and cracking during indentation.
- Fill with Your Chosen Jam: With the indentations made, it’s time for the delicious filling! Carefully spoon about ½ teaspoon of your preferred jam into the center of each cookie. Don’t overfill, as the jam can bubble over during baking.
- Bake to Golden Perfection: Place the baking sheets in the preheated oven and bake for 10-13 minutes. Keep a close eye on them; the cookies are ready when their edges just begin to turn a very light golden brown. It’s vital not to overbake them, as this can lead to dry, less chewy cookies. Once baked, remove the cookies from the oven and allow them to rest on the hot baking sheet for 5-10 minutes. This resting period helps them set and prevents them from breaking. After resting, carefully transfer the cookies to a wire rack to cool completely.
A Note on Different Fillings: When to Fill Your Cookies
For traditional jam thumbprint cookies, the jam is added before baking, allowing it to warm and set beautifully within the cookie. However, if you plan to use alternative fillings like chocolate ganache, creamy caramel, frosting, or even lemon curd, these must be added to the cookies *after* they are baked and completely cooled. Baking these types of fillings would cause them to melt, run out of the cookie, or burn. In such cases, simply press the thumbprints as directed in the recipe before baking, and then fill them once the cookies have reached room temperature.

Expert Tips for Baking the Best Thumbprint Cookies
- Precision with a Food Scale: For consistently perfect results, especially with dry ingredients like flour, I highly recommend using a digital food scale. Flour measurement is crucial in this recipe, as the dough is designed to be fairly thick to prevent excessive spreading. Over-measuring flour can lead to cookies that are dry, crumbly, and firm rather than soft and chewy.
- Press Indentations Immediately After Rolling: Timing is key here. As soon as you form the cookie dough balls (and roll them in sugar, if you choose), promptly press down the centers. If the dough sits for too long, the surface can begin to dry out, making it more prone to cracking when an indentation is made. Work efficiently to maintain the dough’s pliability.
- Select a Medium-Colored Baking Sheet: The color of your baking sheet significantly impacts how your cookies bake. Lighter-colored sheets reflect more heat, which can cause cookies to spread more and bake slower. Darker baking sheets absorb more heat, leading to less spreading but potentially over-browning on the bottom. A medium-colored, heavy-duty baking sheet offers the ideal balance, promoting even baking and perfect browning.
- Avoid Chilling the Dough: Unlike many cookie doughs, this specific thumbprint cookie dough does not require refrigeration. In fact, based on my experience, chilling the dough can sometimes lead to more spreading during baking. For optimal results and to save time, proceed directly with forming and baking the cookies after mixing the dough.
- Do Not Overcrowd the Baking Sheet: Give your cookies space to breathe! Arrange the dough balls on the baking sheet with at least 2 inches between them. Overcrowding can lead to uneven baking, and the cookies might merge into one another as they slightly expand.
- Use Good Quality Jam: Since the jam is a prominent flavor, choose a high-quality fruit preserve that you genuinely enjoy. A jam with good fruit content and natural flavors will significantly elevate the taste of your cookies.
- Allow Butter to Soften Naturally: While microwaving can speed up the process, allowing butter to come to room temperature naturally (usually 30-60 minutes on the counter) results in the best texture for creaming. It ensures the butter is evenly soft without any melted spots, which can affect the dough’s consistency.
Storage and Freezing Instructions for Freshness
To enjoy these delightful jam thumbprint cookies for as long as possible, proper storage is essential:
- Airtight Storage on the Counter: Once completely cooled, store your thumbprint cookies in an airtight container or a resealable bag at room temperature. They will maintain their fresh taste and soft texture for approximately 3 days.
- Refrigeration for Extended Freshness: If you wish to extend their shelf life, store the cookies in an airtight container in the refrigerator. This will keep them fresh and delicious for up to a week.
- Freezing for Long-Term Enjoyment: For long-term storage, these thumbprint cookies freeze beautifully. Place the cooled cookies in a single layer on a baking sheet and freeze until firm (about 1-2 hours). Once frozen, transfer them to a freezer-safe airtight container or heavy-duty freezer bag, separating layers with parchment paper to prevent sticking. They can be stored in the freezer for up to 3 months. When ready to serve, simply thaw the cookies at room temperature for a few hours before indulging.
More Easy Christmas Cookie Recipes to Explore
If you’ve fallen in love with these thumbprint cookies, you’ll surely enjoy exploring more of our festive and easy Christmas cookie recipes. Expand your holiday baking repertoire with these delightful treats:
- Classic Spritz Cookies
- Italian Ricotta Cookies
- Best Gingerbread Cookies
- Classic Chewy Snickerdoodles
- Peanut Butter Blossoms
- Perfect Cutout Sugar Cookies
Watch How To Make Them
Watch a video tutorial on how to make these delicious Jam Thumbprint Cookies here.
Read Transcript
Print

Jam Thumbprint Cookies
5 Stars 4 Stars 3 Stars 2 Stars 1 Star
4.8 from 32 reviews
Author: Lindsay
Prep Time: 10 minutes
Cook Time: 10 minutes
Total Time: 25 minutes
Yield: 25–30 cookies 1x
Category: Dessert
Method: Oven
Cuisine: American
Description
These classic thumbprint cookies are wonderfully soft and chewy, each bursting with the flavor of your favorite jam or preserves. This easy cookie recipe is truly perfect for all your Christmas baking needs, offering a delightful combination of simplicity and festive charm.
Ingredients
Scale
- 1 cup (224g) unsalted butter, room temperature
- 1/2 cup (104g) granulated sugar (plus 3-4 tablespoons for rolling, optional)
- 2 large egg yolks
- 1 teaspoon pure vanilla extract
- 2 cups (260g) all purpose flour
- 1/4 teaspoon salt
- 1/2 cup jam, any flavor (such as raspberry, apricot, or strawberry)
Instructions
- Preheat oven to 350°F (180°C). Line baking sheets with parchment paper or silicone baking mats to prevent sticking. Set aside.
- In a large mixer bowl, cream the room temperature butter and sugar together on medium speed until the mixture is light in color and fluffy. You should observe a noticeable change in texture and color, indicating it’s well aerated.
- Add the egg yolks one at a time, mixing well after each addition until fully incorporated into the butter mixture.
- Stir in the vanilla extract until it is evenly combined with the wet ingredients.
- Gradually add the all-purpose flour and salt. Mix on low speed, or by hand, until the dough is just combined. Avoid over-mixing to keep the cookies tender.
- Scoop the cookie dough into balls, each about 1 1/2 tablespoons in size. Gently roll each portion between your palms to form a smooth ball. If desired, roll the dough balls in extra granulated sugar for a sparkly, crunchy coating. Place the formed balls on the prepared baking sheets, ensuring adequate space between them.
- Immediately after rolling and placing the dough balls, use the end of a spatula, your thumb, or the bottom of a measuring spoon to gently press a well into the center of each cookie. This prompt action helps prevent the cookie edges from cracking.
- Carefully fill the centers of the indented cookies with your chosen jam. Approximately 1/2 teaspoon of jam per cookie is usually sufficient.
- Bake the cookies for 10-13 minutes, or until the edges just begin to show a very light golden brown. Be careful not to overbake, as this can result in dry cookies.
- Allow the baked cookies to cool on the baking sheet for 5-10 minutes. This helps them firm up and prevents breakage. After resting, gently transfer them to a wire rack to cool completely before serving or storing.
Nutrition
- Serving Size: 1 cookie
- Calories: 91
- Sugar: 4.1 g
- Sodium: 18 mg
- Fat: 5.6 g
- Carbohydrates: 10.1 g
- Protein: 1 g
- Cholesterol: 24.5 mg