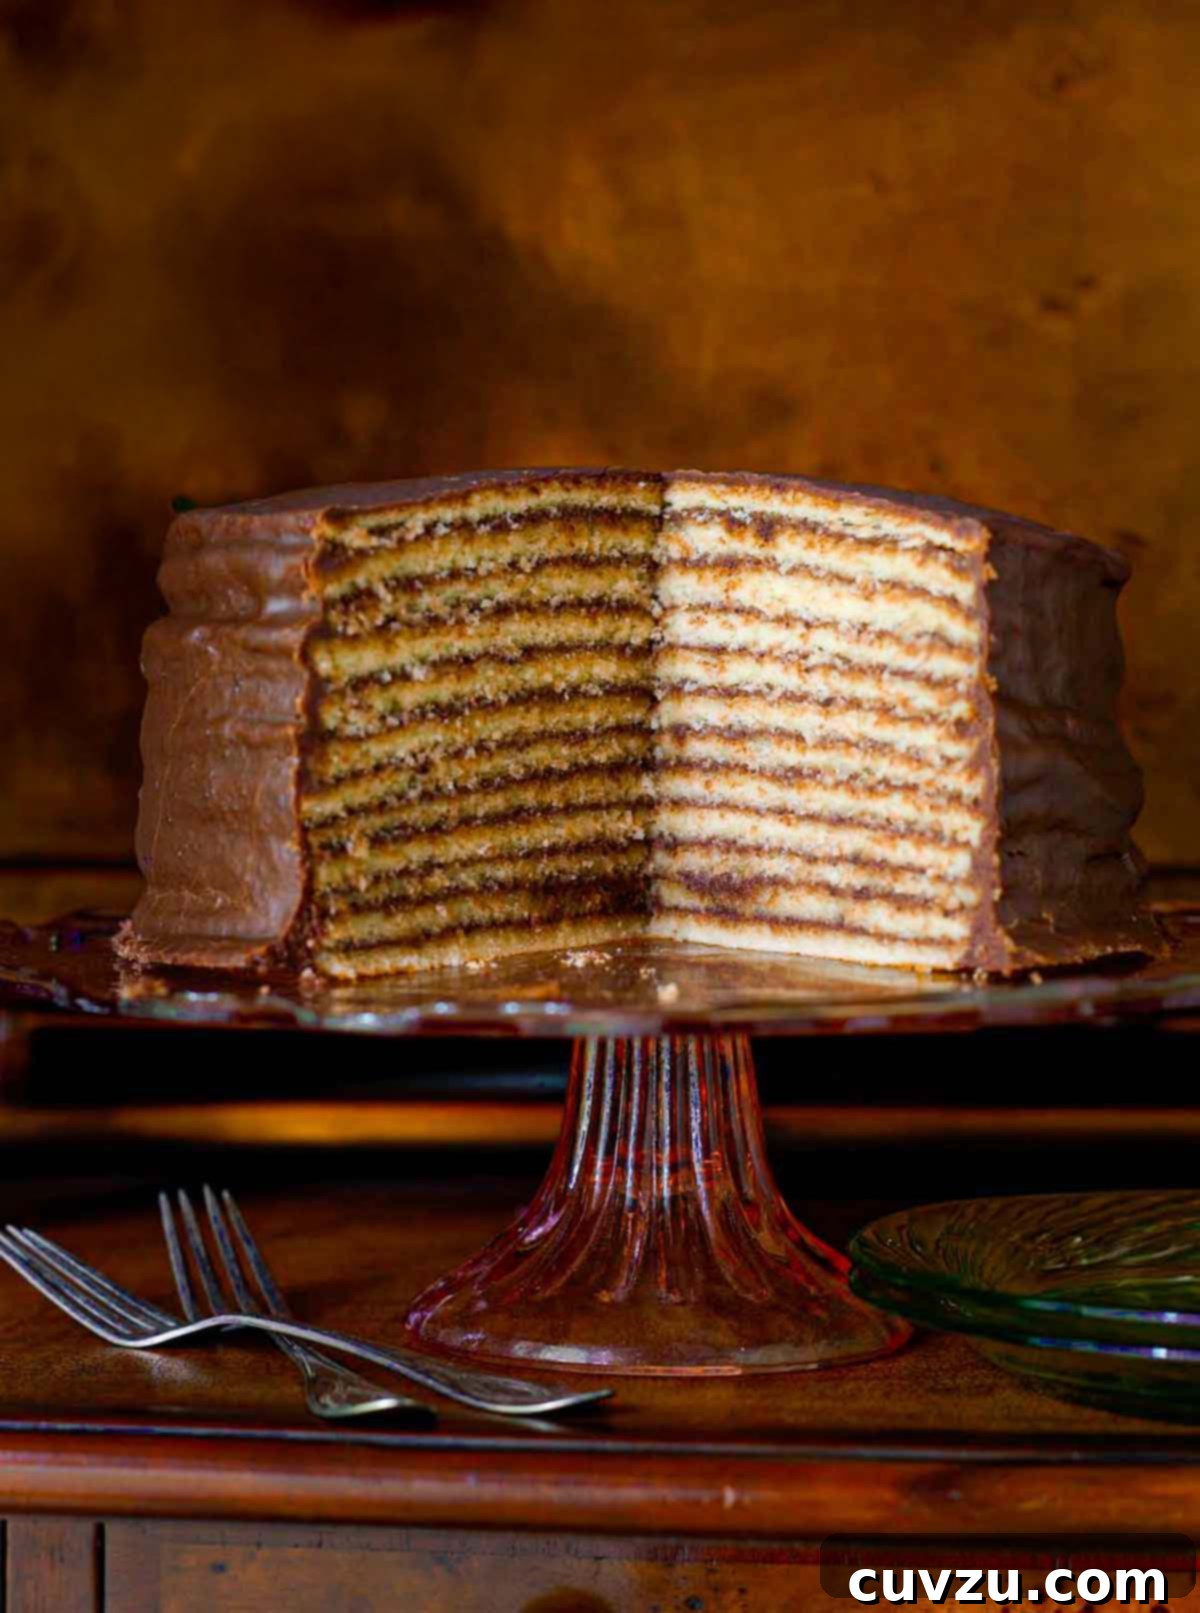
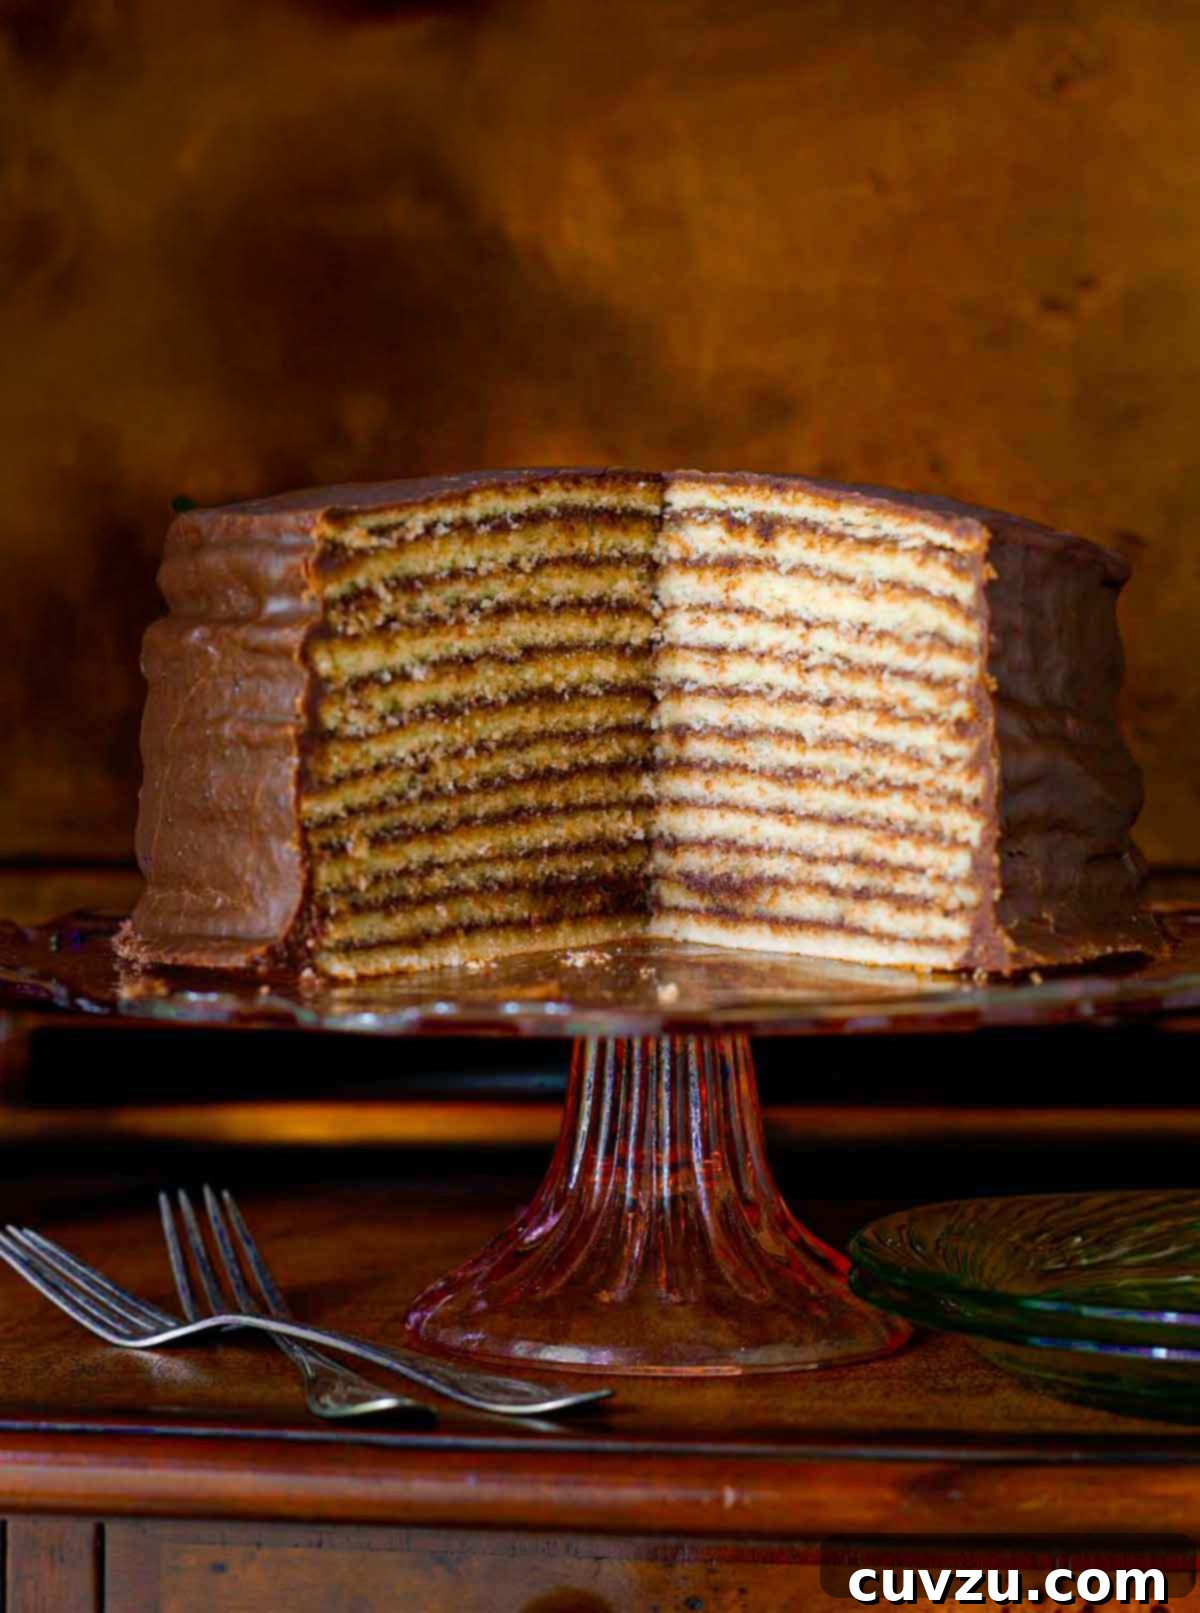
Trisha Yearwood’s Chocolate Torte isn’t just a dessert; it’s a culinary legend. This magnificent creation, essentially a vanilla cake boasting twelve exquisitely thin layers, is generously draped in a decadent, poured chocolate glaze that sets beautifully. It’s a sophisticated Southern dessert that, despite its impressive appearance, is surprisingly straightforward to master in your own kitchen.
Quick Overview: Trisha Yearwood’s Chocolate Torte
- What it is: A breathtaking 12-layer vanilla cake, meticulously stacked and covered with an old-fashioned, poured chocolate glaze that solidifies into a stunning, elegant Southern delicacy.
- Why you’ll adore it: The secret lies in the thin cake layers, which bake quickly to ensure maximum moisture, perfectly complementing the deep, complex flavors of the coffee-infused chocolate glaze. It’s pure, elevated Southern comfort, offering both visual grandeur and incredible taste.
- How to make it: Begin by preparing the luxurious cooked glaze. Next, swiftly bake and assemble the twelve exceptionally thin cake layers, generously coating each one immediately with the warm, glistening glaze. Finish by pouring any remaining glaze over the top for a flawless finish. Then, simply enjoy!
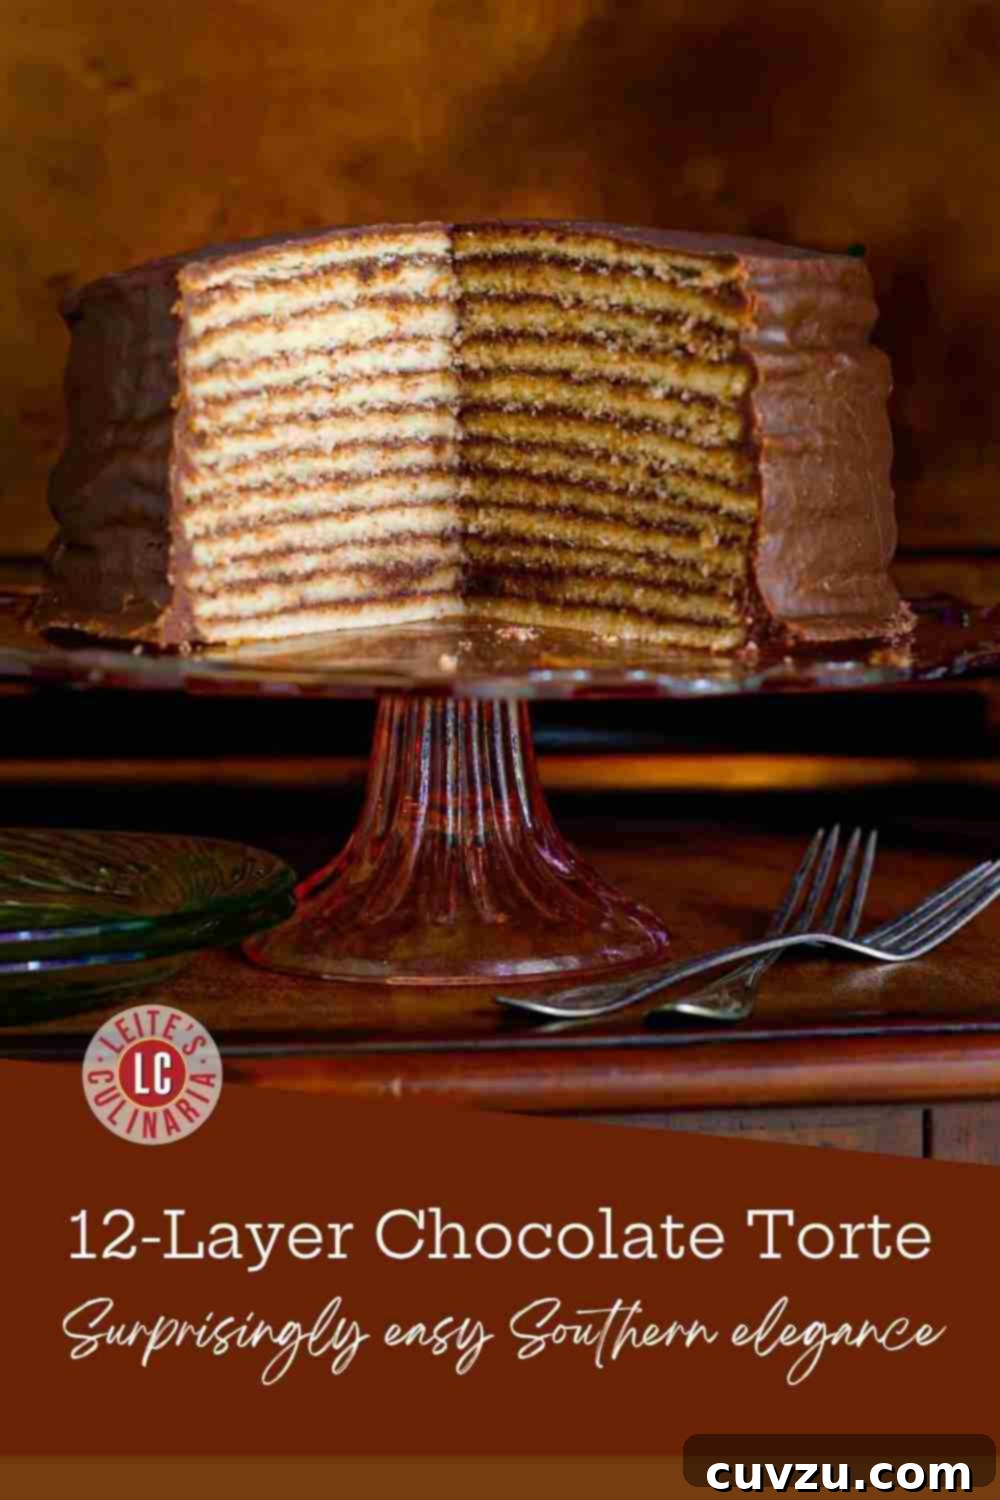
When you first gaze upon the intricate layers of Trisha Yearwood’s famous chocolate torte, it’s natural to feel a pang of intimidation. “Twelve layers? There’s no way I’m tackling that in my home kitchen!” you might think. But take it from someone who’s been there – this recipe is not only surprisingly easy but also incredibly clever in its execution. It’s a testament to simple techniques yielding spectacular results, designed to make even novice bakers feel like accomplished pastry chefs.
My Journey to Mastering the 12-Layer Torte
That initial thought was exactly mine when I first encountered this legendary cake. In an attempt to “hack” the process, I tried an ill-advised shortcut: baking two standard layer cakes and then attempting to slice each into six thin layers. The result? A catastrophic scene of crumbs scattered across my countertop, precarious, uneven layers, and my sanity hanging by a thread, just one emotional outburst away from abandoning the entire endeavor.
Defeated but determined, I returned to Trisha Yearwood’s original instructions. This time, I embraced the method: baking the twelve thin layers, three at a time, in multiple cake pans. To my astonishment, the process was swift and remarkably stress-free. The thin layers bake incredibly fast, meaning I was done with the baking stage in what felt like no time, and my composure – along with my kitchen – was fully restored. The invaluable lesson learned here is simple: **Do not** repeat my initial mistake. Trust Trisha’s wisdom; her method is the key to success and a truly enjoyable baking experience.
The Magic of Thin Layers and Warm Glaze
What makes Trisha’s torte truly stand out is the genius combination of super-thin vanilla cake layers and a rich, warm chocolate glaze. The thinness of the cake layers ensures that each bite is a perfect balance of moist cake and luscious glaze, preventing the cake from becoming overly dense or dry. Because they’re so thin, each layer bakes in a matter of minutes, cutting down on overall baking time significantly. The warm glaze, applied immediately after baking, melts slightly into the warm cake, creating an unparalleled bond and an incredibly moist, tender crumb. As the cake cools, the glaze sets into a beautiful, firm, yet yielding coating, providing a satisfying crackle with every slice.
This technique is a Southern tradition for a reason. It results in a cake that is visually dramatic and offers a delightful interplay of textures and flavors. The subtle vanilla notes of the cake provide a perfect canvas for the deep, robust chocolate glaze, which is elevated by a hint of instant coffee, intensifying the chocolate flavor without making the cake taste overtly like coffee.
How to Make This Torte as a Two-Layer Cake: A Simpler Approach
While I highly encourage you to experience the full glory of the 12-layer masterpiece, I completely understand if time or patience isn’t on your side for such an elaborate project. Modern life doesn’t always accommodate traditional, multi-layered endeavors, and sometimes, a delicious two-layer cake is exactly what you need. If the thought of a dozen layers still feels daunting, rest assured, you can absolutely adapt this recipe for a simpler, yet equally delightful, outcome.
To create a two-layer version, simply bake the entire batter in two standard 9-inch round cake pans. Ensure your pans are well-greased and floured to prevent sticking. Once baked and cooled, you can then stack and generously frost these two layers just as you would any traditional layer cake. The incredible flavor of the vanilla cake and the rich chocolate glaze will still shine through, offering a wonderfully satisfying dessert with much less fuss. You’ll still end up with a damn good day, filled with the comforting taste of homemade cake, without the multi-layer commitment.
More Irresistible Chocolate Cake Recipes
If your cravings for rich, indulgent chocolate cake haven’t been fully satisfied by Trisha Yearwood’s torte, or if you’re simply looking to expand your baking repertoire, explore these other fantastic chocolate cake recipes from our collection. Each offers a unique flavor profile and baking experience, promising to delight any chocolate lover.
German Chocolate Cake
4 hrs 45 mins
Chocolate Zucchini Cake
1 hr 35 mins
Chocolate Wacky Cake with Chocolate Frosting
1 hr 30 mins
Flourless Chocolate Chile Cake
1 hr 10 mins
Share Your Experience: Write a Review
We love hearing from our community! If you make this Trisha Yearwood Chocolate Torte recipe, or any other dish featured on Leite’s Culinaria, please consider leaving a review, a star rating, and even your best photo in the comments section below. Your feedback and culinary creations inspire us all. –David
Featured Review
I absolutely loved this recipe! I’ve been searching for a chocolate glaze that actually hardens after icing the cake, and this is the first one I’ve found that works perfectly. And not only does the glaze perform beautifully, but the entire cake is utterly delicious!
Jenson Bland
⛰ Baking at High Altitude? When baking above 3,500 feet, subtle adjustments to recipes often make all the difference for stunning results. If you reside in a high-altitude region, we highly recommend consulting our comprehensive guide to high-altitude baking before you begin, ensuring your Trisha Yearwood Chocolate Torte turns out perfectly!
Trisha Yearwood’s Chocolate Torte
David Leite
Ingredients
For the chocolate glaze
- 1 1/2 sticks (6 oz) butter
- 5 ounces unsweetened chocolate
- 4 1/2 cups granulated sugar
- 2 1/4 cups evaporated milk
- 2 teaspoons vanilla extract
- 1 tablespoon instant coffee granules, preferably French roast
For the cake
- 2 sticks (8 oz) butter, at room temperature, plus more for the pans
- 2 1/2 cups granulated sugar
- 6 large eggs, at room temperature
- 1 teaspoon vanilla extract
- 2 cups plus 1 tablespoon milk
- 4 cups self-rising flour, plus more for the pans
Instructions
Make the Glaze
-
**Editor’s Note: Ensure the glaze is prepared before you begin baking the cake layers.** In a sizable saucepan set over medium-low heat, gently melt the butter. Add the unsweetened chocolate and stir continuously until it has fully melted and the mixture is smooth.
-
Stir in the granulated sugar until it completely dissolves. Next, incorporate the evaporated milk, vanilla extract, and instant coffee granules. Increase the heat to medium-high and bring the mixture to a rolling boil, stirring frequently to prevent scorching.
-
Continue to cook, stirring constantly, for approximately 20 minutes, or until the mixture has noticeably thickened into a rich, pourable glaze consistency. This careful cooking process ensures the glaze sets beautifully on the cake.
-
Once the glaze has reached the desired thickness, remove it immediately from the heat. Keep it in a warm place or gently reheat it on low as needed during the cake assembly to maintain its pourable consistency.
Make the Cake
-
Preheat your oven to 350°F (176°C). Prepare at least four 9-inch round cake pans by thoroughly buttering and flouring them. This recipe yields twelve thin layers, so having multiple pans ready will significantly streamline the baking process.
-
In the bowl of a stand mixer fitted with the paddle attachment, or using a large bowl with an electric hand mixer, cream together the softened butter and granulated sugar until the mixture is light, fluffy, and smooth. Beat in the large eggs, adding them one at a time, ensuring each egg is just blended into the batter before adding the next. This creates a well-emulsified base for your cake.
-
In a separate small bowl, combine the vanilla extract with the milk. Gradually add the self-rising flour to the egg mixture, alternating with the milk mixture. Begin and end with the flour, mixing only until just combined after each addition. Be careful not to overmix, which can lead to a tough cake.
-
Pour a very thin layer of batter—approximately 7 tablespoons per pan—into each of your prepared cake pans. Gently shake the pans to ensure the batter spreads evenly to the edges. Bake these thin layers for a short duration of 11 to 13 minutes, until they are lightly golden and a toothpick inserted into the center comes out clean.
-
While your first batch of cake layers is baking, gently return your prepared chocolate glaze to very low heat. It is crucial for the glaze to remain warm and fluid to spread smoothly and effectively coat the cake layers. Stir occasionally to prevent it from seizing or forming a skin.
-
As soon as the cake layers are done baking, immediately remove them from their pans. Working swiftly, transfer each warm layer to a cake stand or serving platter and generously slather it with a portion of the warm chocolate glaze. The warmth of both the cake and glaze is key to achieving that seamless, melded texture.
-
Continue this process of baking, stacking, and glazing with all the remaining batter until you have accumulated 12 beautiful layers. You may need to bake in batches, rotating your pans. Reserve the very last of the glaze to gracefully dribble over the top layer of the assembled cake, creating a magnificent crown. Allow the torte to cool completely for the glaze to set before slicing and serving.
Adapted From
Home Cooking with Trisha Yearwood
Buy On Amazon
Explore More with AI
Substitutions
Scale
Summarize
Nutrition
Calories: 816 kcal
Carbohydrates: 126 g
Protein: 12 g
Fat: 32 g
Saturated Fat: 19 g
Monounsaturated Fat: 9 g
Trans Fat: 1 g
Cholesterol: 144 mg
Sodium: 90 mg
Fiber: 2 g
Sugar: 99 g
Nutrition information is automatically calculated and should be used as an approximation only. Individual results may vary based on exact ingredients and preparation methods.
Tried this recipe?Mention @leitesculinaria or tag #leitesculinaria!
Insights from Our Recipe Testers
Our dedicated team of recipe testers put Trisha Yearwood’s Chocolate Torte to the test, offering valuable insights and experiences:
Tamiko Lagerwaard’s Experience
Tamiko praised the torte as an “impressive cake,” highlighting how the thin layers of both cake and icing contributed to its visual appeal and deliciousness. She noted that the unique icing has a flavor reminiscent of brigadeiros (Brazilian chocolate fudge balls), with an almost caramel-like quality that perfectly complements the chocolate and coffee notes.
She found the recipe’s technique of layering the cake while still hot to be surprisingly effective. While acknowledging that it’s “labor-intensive,” she stressed that the time saved by baking thin layers (rather than painstakingly cutting standard cakes and dealing with crumbs) makes the process much more manageable and ultimately rewarding. Tamiko halved the recipe and achieved 8 beautiful layers, though she advised using a bit more icing than specified for optimal coverage. She also successfully adapted the cake to be gluten-free, proving its versatility. While very sweet, she noted the cake isn’t overly rich and might consider slightly reducing the sugar in future attempts, but otherwise found it a “wonderful dessert.”
Sofia Reino’s Take
Sofia initially felt “a bit overwhelmed” by the recipe, but was quickly “quite surprised at how easy this cake is to make and how beautiful and tasteful it is.” Her experience reinforces the idea that the seemingly complex instructions are actually quite straightforward to follow.
As a gluten-free baker, Sofia successfully substituted the self-rising flour with an equal amount of all-purpose GF flour (Bob’s Red Mill) and followed guidelines from the Art of Gluten-Free Baking for adding baking powder and salt. The adaptation worked “beautifully.” She managed to divide her batter into three pans, then carefully cut each cake into two layers, resulting in 6 layers total. She felt confident she “could have cut each into 3 layers,” but opted for caution. This cake was an “absolutely HUGE success” when served to friends for dinner, underscoring its impressive nature and crowd-pleasing taste.
Frequently Asked Questions About Trisha Yearwood’s Chocolate Torte
Can I make this torte ahead of time?
Yes, this chocolate torte can be made 1-2 days in advance. Once assembled and completely cooled, cover it loosely with plastic wrap or a cake dome and store at room temperature. The glaze will set beautifully, and the cake layers will remain moist.
How should I store leftover torte?
Store any leftover torte covered at room temperature for up to 3 days. For longer storage, refrigerate for up to a week, but be sure to bring it back to room temperature before serving for the best texture and flavor. The glaze may soften slightly in the refrigerator.
Can I freeze the Trisha Yearwood Chocolate Torte?
Absolutely! This torte freezes remarkably well. Wrap individual slices or the entire cake (once fully cooled and set) tightly in plastic wrap, then a layer of aluminum foil. Freeze for up to 1 month. Thaw in the refrigerator overnight, then bring to room temperature before serving.
What if my glaze is too thin or too thick?
If your glaze is too thin after cooking for 20 minutes, return it to low heat and continue stirring until it thickens further. If it becomes too thick or seizes, add a tablespoon or two of evaporated milk (or regular milk) and whisk gently over low heat until it reaches a pourable consistency. Remember, keeping the glaze warm throughout the assembly process is key.
What kind of chocolate should I use for the glaze?
The recipe calls for unsweetened chocolate. Using a high-quality unsweetened chocolate will yield the best depth of flavor. Avoid using semi-sweet or milk chocolate as they will alter the sugar balance and the glaze’s final consistency.
Serving and Garnish Suggestions
Trisha Yearwood’s Chocolate Torte is a showstopper on its own, but a few simple additions can elevate the experience even further. Consider serving slices with a dollop of freshly whipped cream, a scoop of vanilla bean ice cream, or a dusting of cocoa powder. A sprinkle of flaky sea salt can beautifully contrast the sweetness of the glaze, enhancing the chocolate notes. For a festive touch, garnish with fresh berries like raspberries or strawberries, or a sprig of fresh mint.