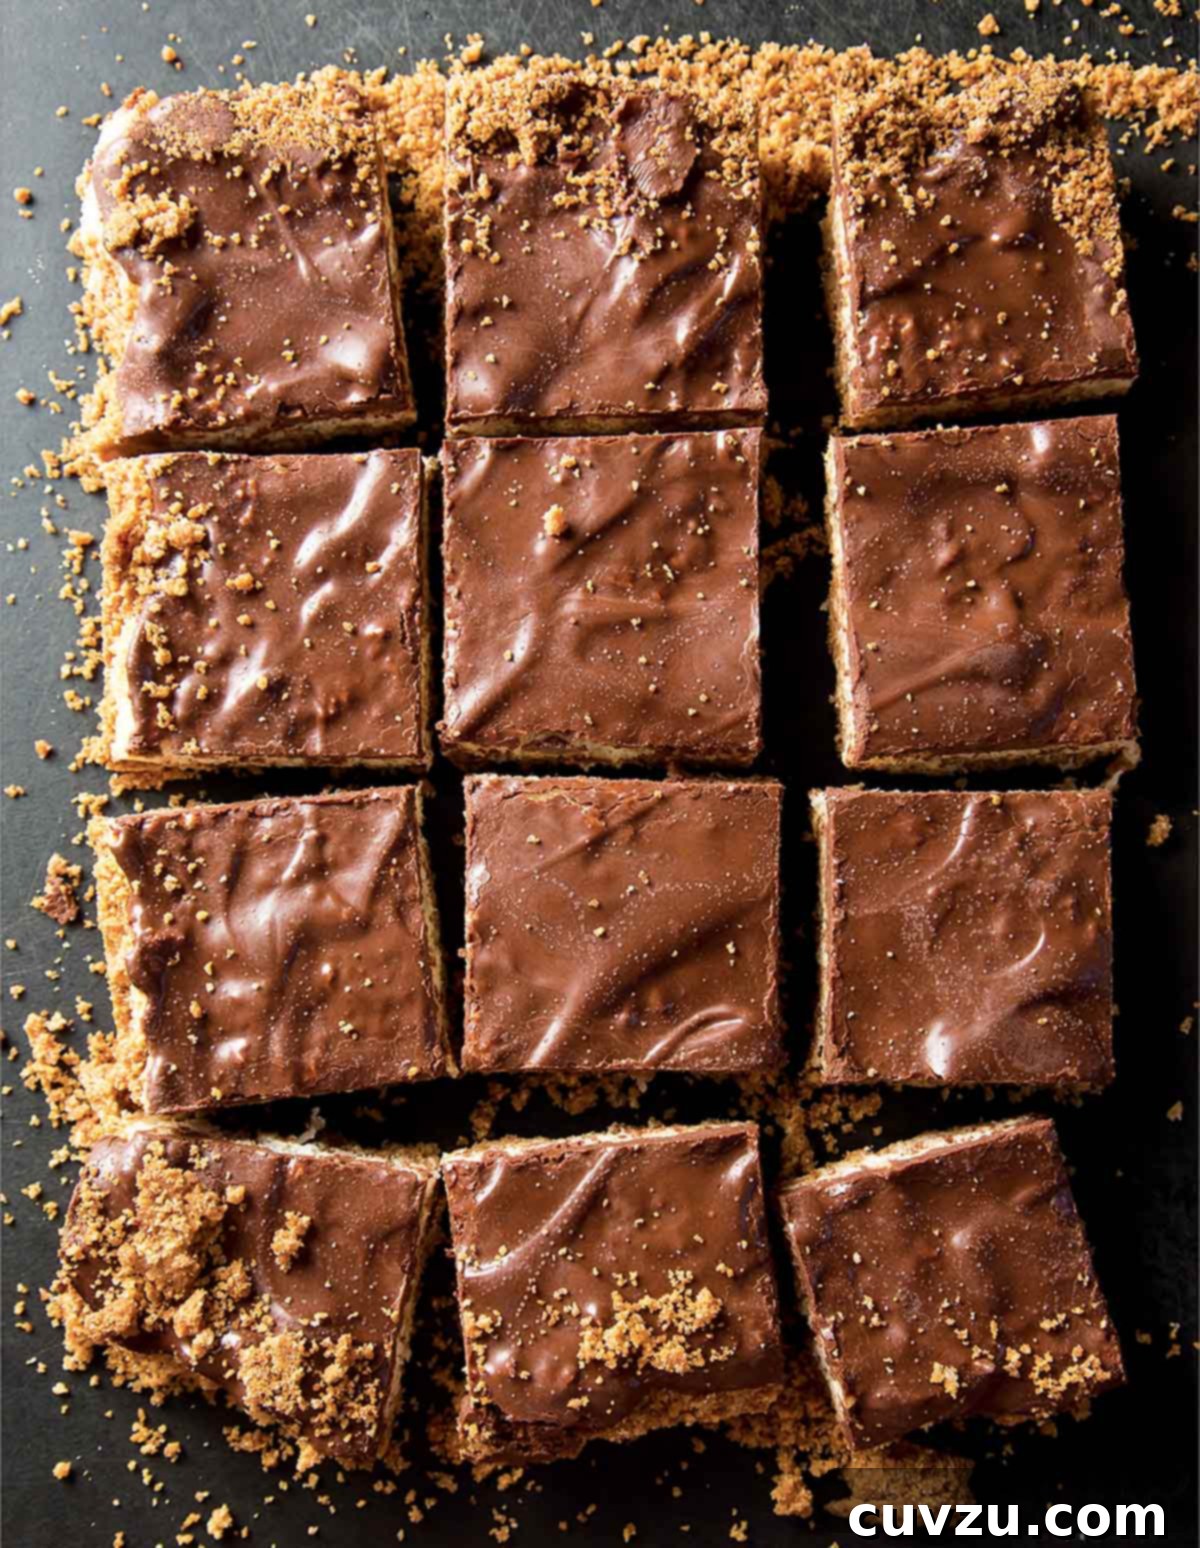
Irresistible Homemade Coconut Candy Bars: A Mounds Bar Inspired Treat
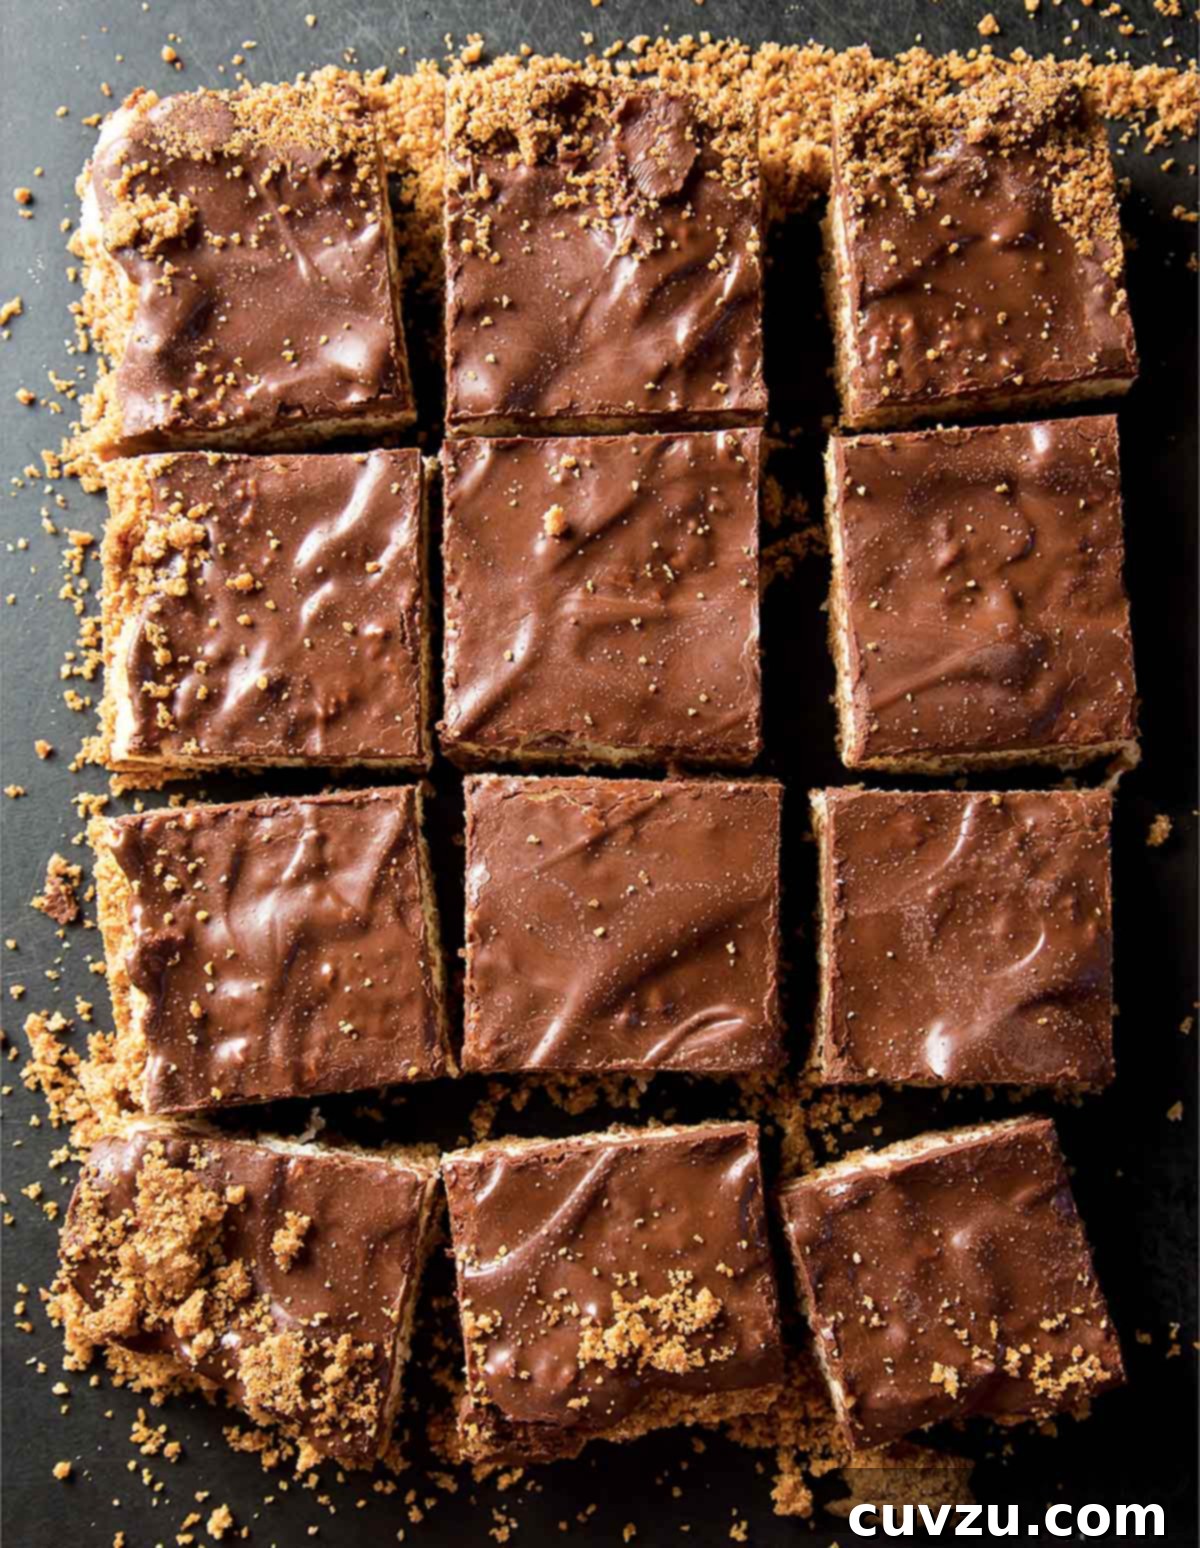
These delightful coconut candy bars offer a taste reminiscent of your favorite classic Mounds bars, but with an added layer of homemade charm and a unique twist. Imagine a buttery graham cracker crust, a luscious and perfectly sweetened coconut filling, and a rich chocolate topping that melts in your mouth – all coming together in an easy-to-make dessert that’s perfect for any occasion. This recipe proves that indulgence doesn’t have to be complicated or expensive, delivering a profoundly satisfying treat that evokes nostalgia with every bite.
Classic Coconut Candy Bars
David Leite
PIN
Print Recipe
Ingredients
For the Graham Cracker Crust:
- 2 cups graham cracker crumbs (approximately 15 full graham cracker sheets)
- 1 stick (4 oz) unsalted butter, melted
- 1/2 cup granulated sugar
For the Coconut Layer:
- 2 cups sweetened shredded coconut
- One (14-ounce) can sweetened condensed milk
For the Chocolate Topping:
- 1 cup semisweet chocolate chips
- 2 tablespoons vegetable shortening (such as Crisco, helps with spreadability and shine)
- 1 tablespoon creamy peanut butter (optional, but adds a delightful depth of flavor)
Instructions
-
Preheat your oven to 350°F (180°C). Prepare a 9-by-13-inch baking dish by lightly greasing it or lining it with parchment paper, leaving an overhang on the sides to easily lift the bars out later.
-
In a medium-sized bowl, combine the graham cracker crumbs, melted butter, and granulated sugar. Stir these ingredients thoroughly until the crumbs are evenly moistened. Spread this mixture across the bottom of your prepared baking dish. Use your fingertips or the back of a spoon to gently press the crust into an even, compact layer. Avoid pressing too hard, as this can make the crust difficult to cut later.
-
Bake the graham cracker crust in the preheated oven for 10 to 12 minutes, or until the edges are just beginning to turn a light golden brown. This initial bake helps to set the crust and adds a lovely toasted flavor. Remove from the oven and allow it to cool slightly while you prepare the next layer.
-
In the same medium bowl used for the crust (a clever trick for easier cleanup!), combine the sweetened shredded coconut and the entire can of sweetened condensed milk. Stir well until the coconut is thoroughly coated and sticky. Spread this coconut mixture evenly over the warm graham cracker crust in your baking pan. Return the pan to the oven and bake for another 15 to 17 minutes, or until the coconut layer is golden brown around the edges and slightly set. Let the bars cool completely at room temperature. This cooling step is crucial for the layers to set properly and ensure clean cuts later on.
-
Once the coconut layer has cooled completely, it’s time for the chocolate topping. In a medium saucepan, combine the semisweet chocolate chips, vegetable shortening, and creamy peanut butter (if using). Place the pan over medium-low heat and stir constantly. Continue stirring until the chocolate mixture is completely smooth, glossy, and fully melted, which typically takes about 2 to 4 minutes. Be careful not to overheat the chocolate, as it can seize.
-
Pour the warm, melted chocolate mixture evenly over the cooled coconut layer. Use a spatula to spread it gently into a thin, uniform layer, making sure to cover all the edges. Allow the chocolate layer to cool and set completely. For a quicker set, you can carefully place the pan in the refrigerator for about 30-60 minutes, ensuring the chocolate is firm.
-
Once the chocolate is fully set, use a sharp knife (heated slightly under warm water and wiped clean for cleaner cuts) to cut the large slab into 24 even squares. Serve immediately and enjoy these delightful homemade candy bars. Leftover bars can be stored in an airtight container, layered between sheets of wax paper, and refrigerated for up to 2 weeks. For the best texture, let refrigerated bars sit at room temperature for a few minutes before slicing and serving.
Adapted From
Best Cookies
Buy On Amazon
Why You’ll Fall in Love with These Coconut Candy Bars
These homemade coconut candy bars are more than just a dessert; they’re an experience waiting to happen. Here’s why this recipe will become a treasured favorite:
- Nostalgic Flavor: Perfectly capturing the essence of Mounds bars, they deliver that classic chocolate and coconut pairing that many adore. The subtle hint of peanut butter in the topping adds an unexpected, delightful depth that elevates the flavor profile.
- Incredibly Easy to Make: With straightforward ingredients and simple steps, this recipe is accessible for bakers of all skill levels. There’s no complex machinery or intricate techniques required, making it ideal for a spontaneous baking session.
- Perfect for Sharing: Yielding 24 generous squares, these bars are fantastic for potlucks, parties, office treats, or simply enjoying with family. They’re universally loved and always disappear quickly!
- Satisfyingly Rich: Each bite offers a harmonious balance of textures and flavors – the crunchy graham cracker crust, the chewy, sweet coconut, and the smooth, decadent chocolate topping. They’re rich enough that just one or two squares satisfy any sweet craving.
- Economical Indulgence: Made with common pantry staples, these bars offer a gourmet-quality dessert without breaking the bank. It’s a testament to how simple ingredients can create something truly special.
Tips for Perfect Coconut Candy Bars Every Time
Achieving bakery-perfect coconut candy bars at home is simple with a few helpful tips:
- Crust Consistency: When pressing the graham cracker crust, aim for a firm but not overly compressed layer. Over-compressing can make the crust too hard, leading to difficult slicing later. A gentle, even press is key.
- Parchment Paper is Your Friend: Lining your baking pan with parchment paper, leaving a slight overhang on the sides, makes removing the cooled bars incredibly easy. This ensures a clean lift and minimal mess.
- Don’t Skimp on Cooling: Patience is paramount! Allowing each layer, especially the coconut layer and the final chocolate topping, to cool and set completely is crucial for clean, sharp cuts. Rushing this step can result in messy, crumbly bars. If time is short, a stint in the refrigerator can speed up the cooling process.
- Gentle Chocolate Melting: When melting the chocolate, use low heat and constant stirring to prevent scorching. The addition of vegetable shortening helps achieve a smooth, pourable consistency and a beautiful sheen, while the optional peanut butter adds a lovely creaminess and flavor complexity.
- Even Spreading: For both the crust and the coconut layer, aim for an even thickness across the pan. This ensures uniform baking and a balanced flavor and texture in every bar.
- Sharp Knife for Slicing: Once fully set, use a large, sharp knife to cut the bars. For extra clean cuts, you can run the knife under hot water and wipe it dry before each slice.
Variations to Customize Your Treat
While the classic recipe is divine, these coconut candy bars are wonderfully adaptable. Feel free to experiment with these variations to suit your taste or occasion:
- Different Crusts: Instead of graham cracker crumbs, consider using crushed chocolate cookies (like Oreos) for a double chocolate effect, or vanilla wafer crumbs for a lighter, buttery base.
- Chocolate Choices: Experiment with different types of chocolate for the topping. Dark chocolate chips will yield a richer, less sweet bar, while milk chocolate chips will create a creamier, sweeter topping. White chocolate can also be used for a distinct flavor.
- Nut-Free Option: If you have nut allergies or prefer a purely coconut flavor, simply omit the peanut butter from the chocolate topping. The shortening alone will still ensure a smooth, spreadable consistency.
- Flavor Add-ins: For an extra layer of flavor in the coconut mixture, consider adding a teaspoon of vanilla extract, almond extract, or even a touch of rum extract for a tropical twist.
- Topping Enhancements: Before the chocolate topping sets, sprinkle flaky sea salt for a sweet and salty contrast, or colorful sprinkles for a festive touch. Chopped nuts (almonds, pecans) can also be added for extra crunch.
- Mini Bars: For smaller, bite-sized treats, cut the cooled bars into smaller squares or even triangles. Adjust the serving size accordingly.
Storage and Serving Suggestions
These coconut candy bars are not only delicious but also convenient to prepare ahead of time. Here’s how to best store and serve them:
- Storing: Once cooled and cut, store the bars in an airtight container in the refrigerator for up to 2 weeks. Layer them between sheets of wax paper or parchment paper to prevent sticking. They also freeze beautifully for up to 2-3 months. Thaw in the refrigerator overnight before serving.
- Serving Temperature: For optimal texture and flavor, allow refrigerated bars to come to room temperature for about 15-20 minutes before serving. This softens the chocolate and makes the coconut layer perfectly chewy.
- Presentation: Arrange the squares on a pretty platter for a dessert table, or package them individually in small bags with ribbons as edible gifts.
- Pairing: These rich and sweet bars pair wonderfully with a hot cup of coffee, a glass of cold milk, or a scoop of vanilla ice cream. They make a perfect ending to any meal or a delightful afternoon snack.
Nutrition
Calories: 227 kcal
Carbohydrates: 26 g
Protein: 3 g
Fat: 13 g
Saturated Fat: 8 g
Monounsaturated Fat: 3 g
Trans Fat: 1 g
Cholesterol: 16 mg
Sodium: 91 mg
Fiber: 1 g
Sugar: 21 g
Nutrition information is automatically calculated and should only be used as an approximation. For precise dietary needs, please consult a qualified nutritionist.
Tried this recipe?
Mention @leitesculinaria or tag #leitesculinaria!
Recipe Testers’ Reviews
Mary Kate K.
These delicious coconut candy bars were the perfect little chewy bites of goodness! I found them to be perfectly balanced, not overly sweet, with just the tiniest hint of peanut butter and the right amount of chocolate to satisfy. In fact, these delightful squares maintained enough sweetness to truly hit the spot after dinner. I’d almost consider this treat more of a cookie than a candy, but either way, it was really delicious and immensely satisfying. This recipe was a real crowd-pleaser in my home, and my family was more than happy to eagerly devour the final product.
For the crust, I used 15 full graham crackers to achieve the required 2 cups of processed crumbs. I would also suggest that the baking pan could benefit from a light coating of cooking spray, as the coconut mixture became a bit sticky after baking, making the bars slightly challenging to get out of the pan cleanly. I must have also pressed my graham cracker crust a little too much, because while the candy was hard to cut, it certainly wasn’t difficult to eat! The slight resistance only added to the satisfying chewiness.
I’ll definitely be keeping this recipe handy for future gatherings – it was a big family hit and earned rave reviews from everyone who tried it!
Sandy Owen
These bars are remarkably quick and easy to prepare, which is a huge plus. I happened to have all the ingredients readily available in my pantry, so I decided to give them a try right away. It was a delightful decision!
I opted for boxed graham cracker crumbs, which made measuring super easy – no crushing crackers required! After combining the melted butter, sugar, and graham cracker crumbs, the mixture spread effortlessly into my 9-by-13-inch baking dish. The total bake time for my crust was about 12 minutes, resulting in perfectly golden edges. For an easy cleanup, I ingeniously used the same bowl for mixing the sweetened condensed milk and coconut as I did for the crumb mixture. It saved me a dish!
Spreading the coconut mixture proved to be a little more challenging due to its sticky nature, but I took my time and it worked out fine, forming an even layer. The coconut mixture baked on the crust for precisely 17 minutes, giving the edges of the coconut layer a beautiful, inviting golden-brown hue. When it came to the chocolate topping, I carefully poured it over the slightly cooled coconut layer and spread it all over, ensuring all the edges were covered. The chocolate seemed a little runny at first, but it was very easy to spread. I then placed the pan on a cooling rack until it was cool to the touch, which took about 40 minutes. Since the chocolate was still quite liquid, I popped it into the fridge for a few hours, and it firmed up beautifully. I cut mine into smaller squares, yielding closer to three dozen little pieces, making them perfect for portion control.
These treats are wonderfully super sweet and rich, so a small square or two is the perfect snack. They’re excellent for taking to the office or bringing to a casual gathering like a Super Bowl party!
Adrienne Lee
This coconut candy bars recipe was an undeniable hit with my extended family. I particularly enjoyed the overall flavor profile. Initially, I found the addition of peanut butter to be a bit odd, and I’m still not entirely sure it’s strictly needed for the recipe’s success, as the chocolate and coconut flavors are so strong on their own. However, it certainly didn’t detract from the deliciousness.
I also questioned whether the bars needed to be absolutely and completely cool before spreading the chocolate topping. In my experience, a slightly warm (but not hot) coconut layer might even help the chocolate spread more easily and adhere better, though complete cooling is safer for clean layers. My batch yielded a generous 30 squares, which was perfect for a large family gathering. To speed up the cooling process for faster enjoyment, I found that sticking the pan of bars in the fridge after applying the chocolate topping worked wonders, firming everything up beautifully for slicing.