The Ultimate Smashed Bacon Swiss Burger: Crispy Crust, Juicy Interior, Grilled Perfection
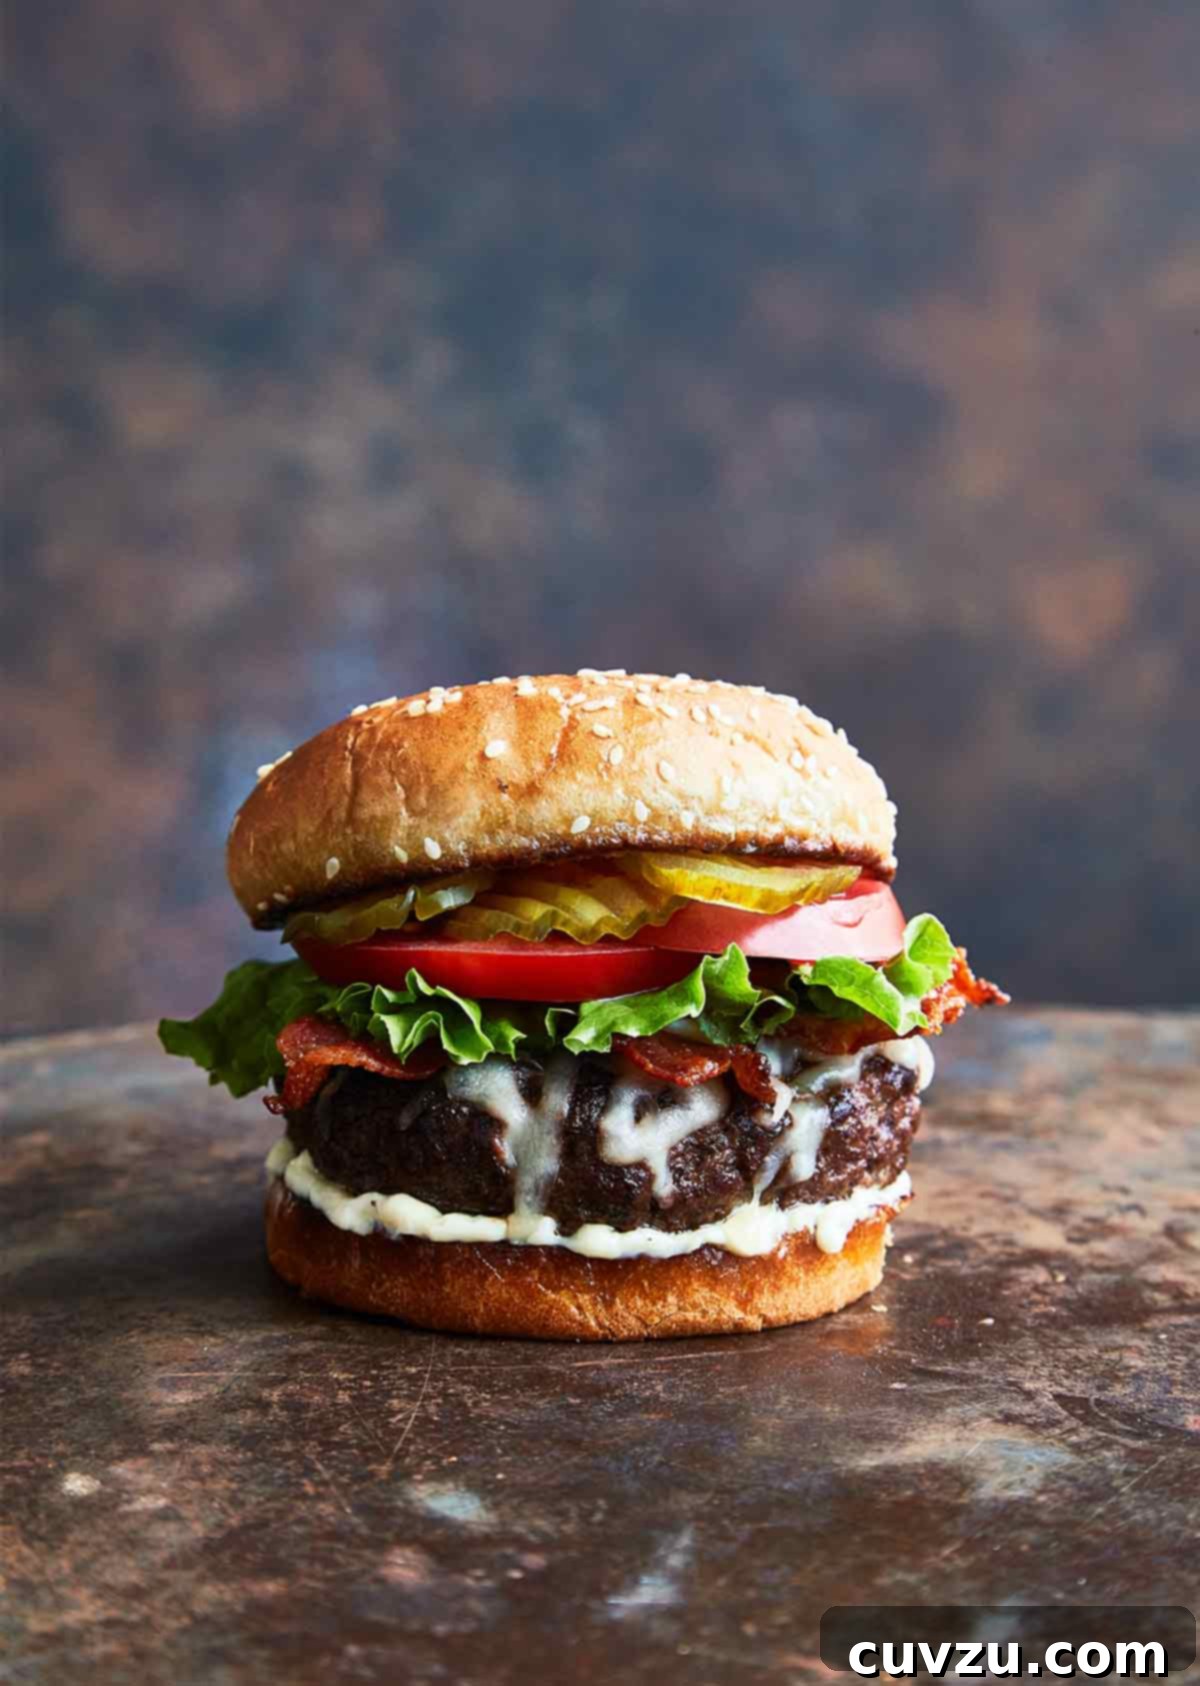
Prepare for an extraordinary burger experience that transcends the ordinary. This Bacon Swiss Burger isn’t just a meal; it’s a culinary triumph, meticulously crafted to deliver that elusive combination of a shatteringly crispy crust and an incredibly juicy interior. Our secret? The smash burger technique, executed to perfection in a scorching hot cast-iron skillet, ideally over the intense heat of your grill. Each bite promises a symphony of flavors, crowned with savory bacon, creamy melted Swiss cheese, and all your favorite toppings. This isn’t just a recipe; it’s your new go-to for the ultimate homemade burger.
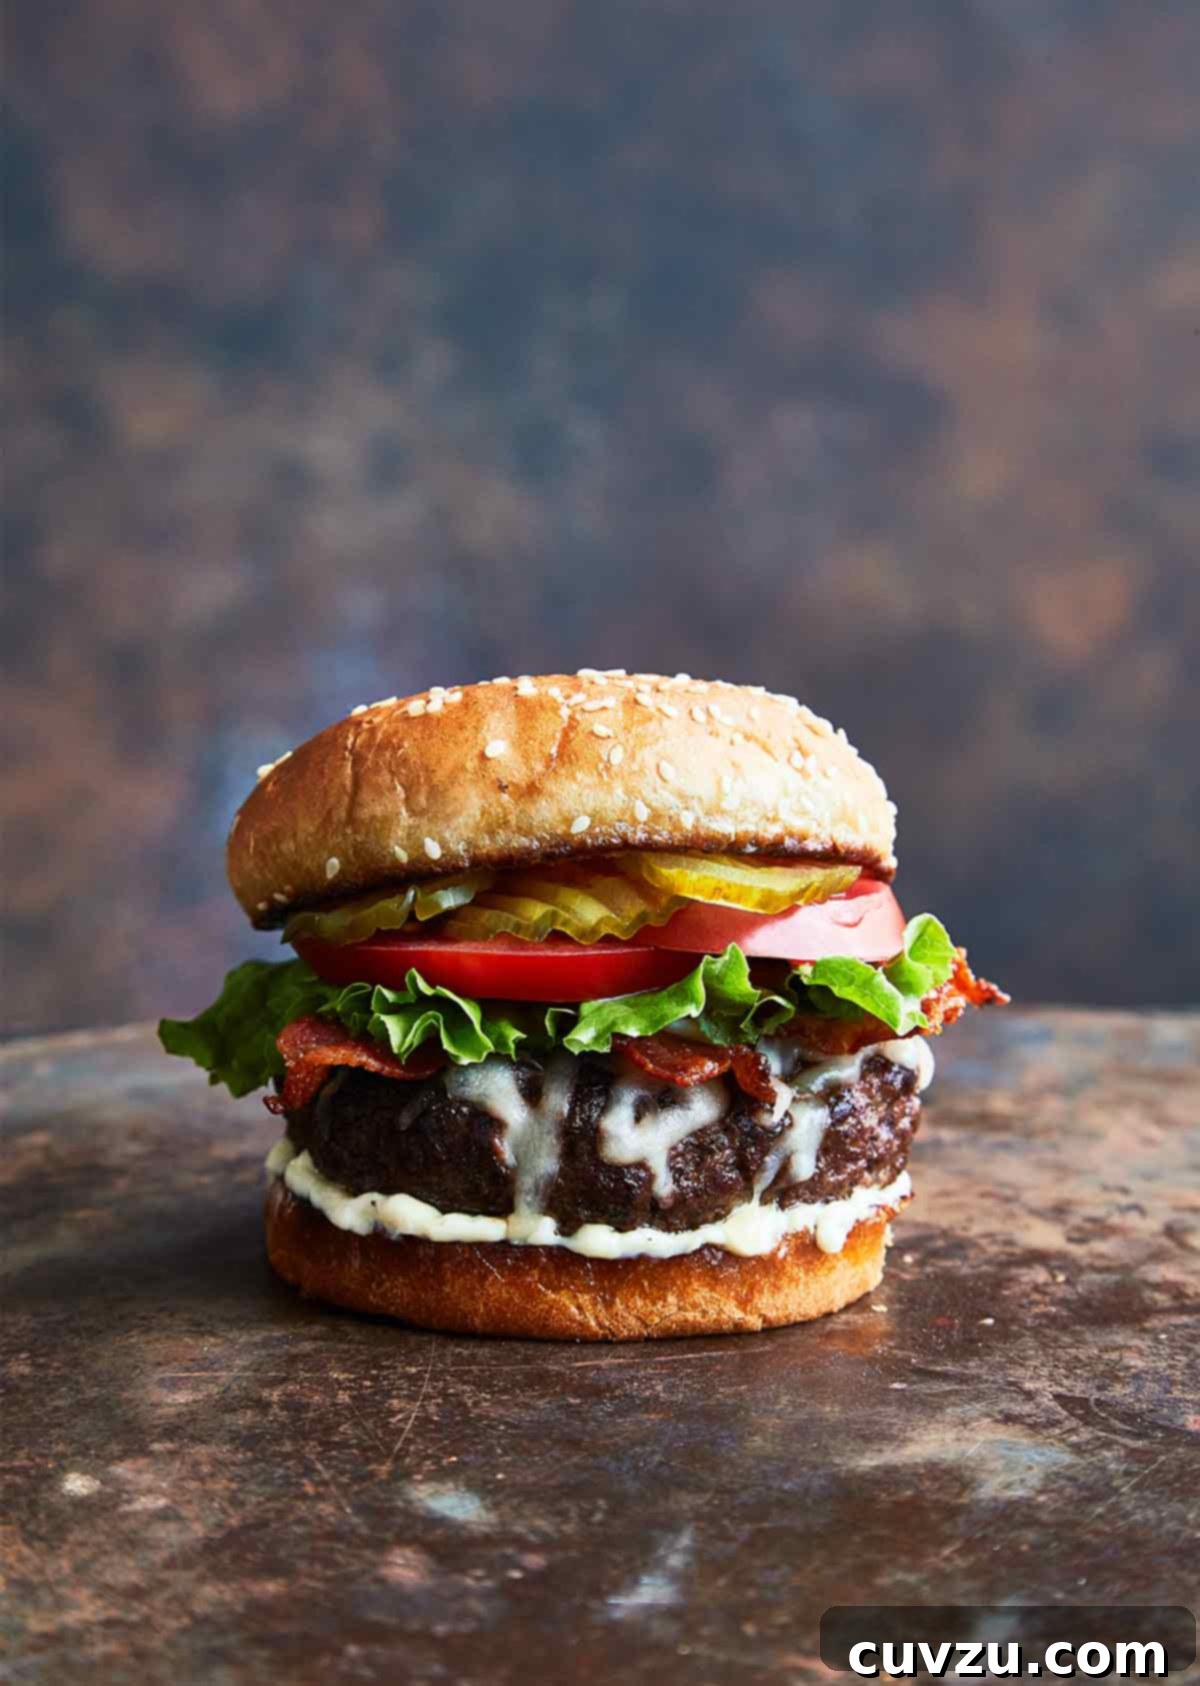
Inspired by Nashville chef Matt Moore, this recipe promises that satisfying sizzle as the beef kisses the hot cast-iron, guaranteeing an irresistible caramelized crust. The gentle “smash” locks in the precious juices, ensuring every burger remains astoundingly tender and moist. Forget heating up your kitchen during warmer months; this burger is designed for the grill, letting you savor the outdoor ambiance while achieving gourmet results. The robust flavor of premium ground beef is magnificently complemented by the smoky crunch of bacon, the nutty melt of Swiss cheese, and your chosen medley of fresh toppings.
Why the Smash Burger Technique Is King
The smash burger isn’t just a trend; it’s a proven method for creating burgers with unparalleled texture and flavor. By firmly pressing the patty onto a blazing hot surface, you achieve maximum contact, which leads to the Maillard reaction – the scientific process responsible for that deep, complex, savory crust and flavor. This high-heat searing caramelizes the meat’s exterior, forming a delicious, crispy shell while simultaneously trapping the natural juices inside, resulting in an incredibly moist and flavorful burger. The irregular edges created by smashing also mean more surface area for that delightful crispiness, making every bite an explosion of texture and taste. It’s fast, efficient, and delivers a superior burger experience every time.
Ingredient Spotlight: Crafting Your Perfect Burger
- Ground Beef: The Foundation of Flavor
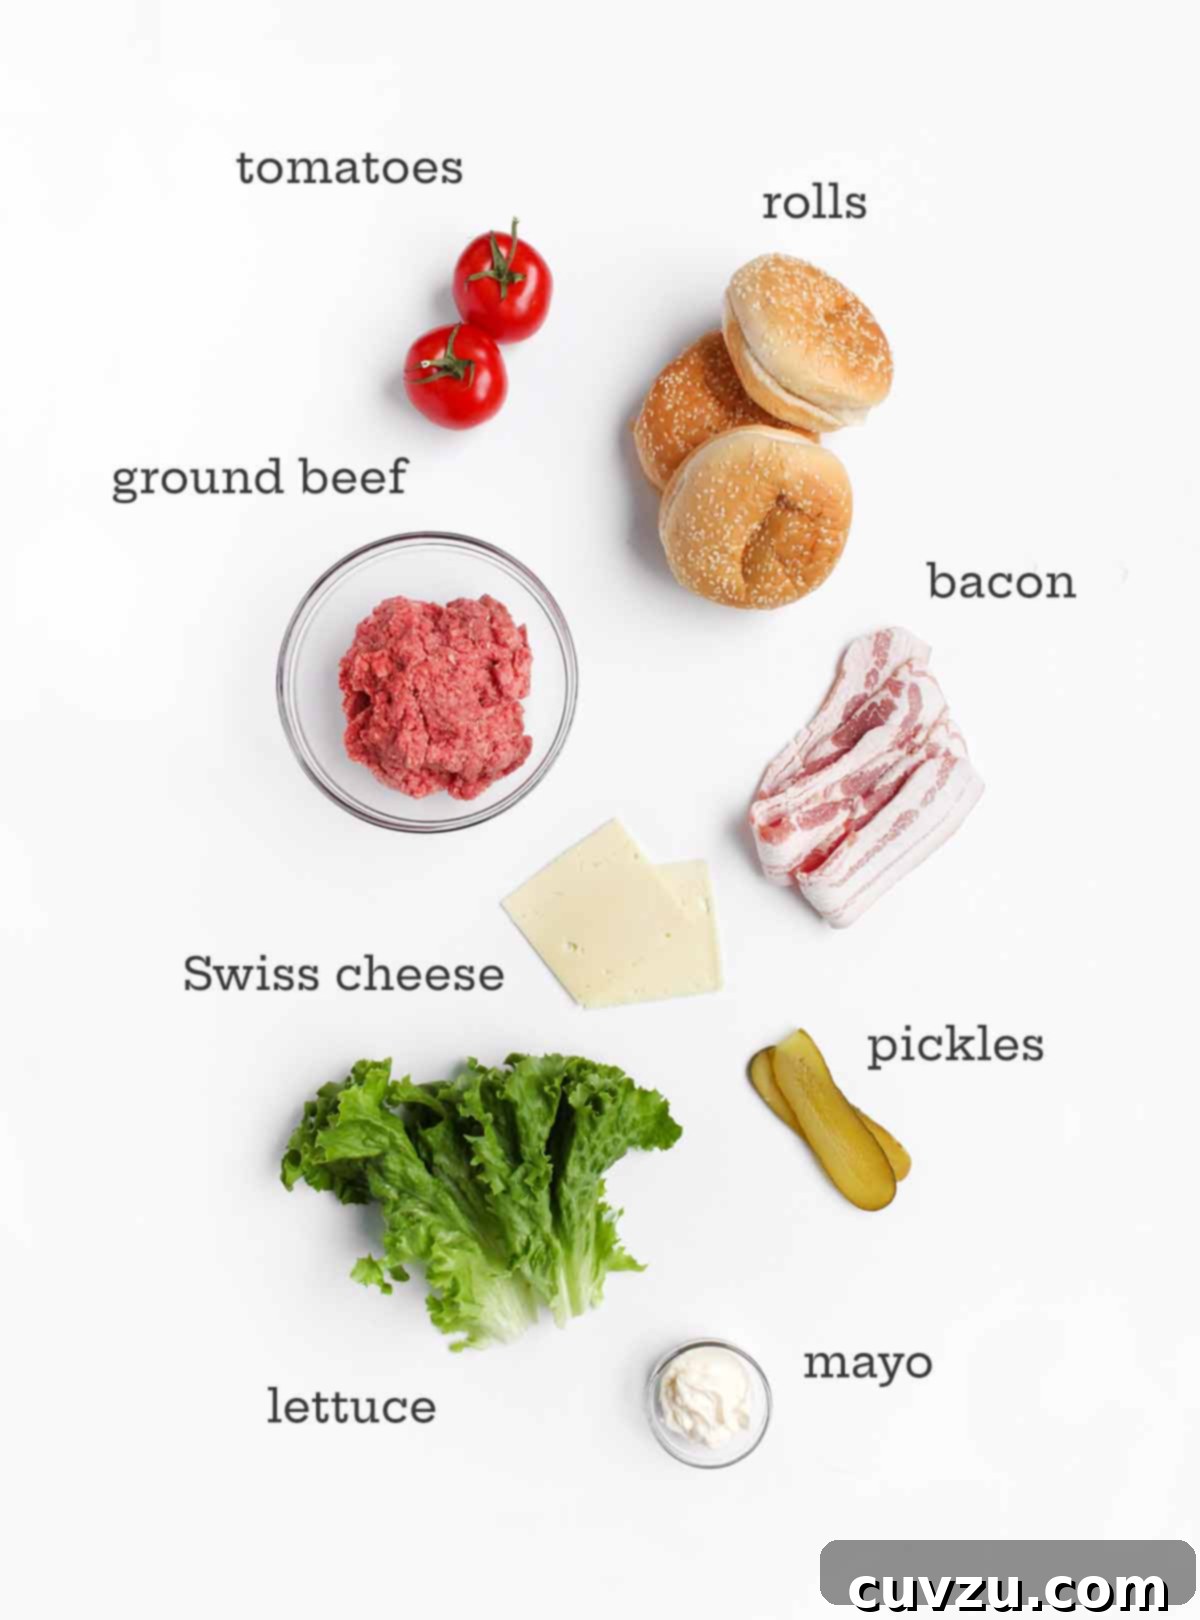
For the absolute juiciest and most flavorful burger, we highly recommend using 80/20 ground beef (80% lean, 20% fat). The fat content is crucial here; it renders during cooking, keeping the burger moist and contributing immensely to the rich taste that defines a truly great burger. Avoid leaner grinds, as they tend to dry out quickly on the high heat required for smashing. When forming your patties, remember to keep them loosely packed to prevent a dense, hockey-puck texture. - Bacon: The Crispy, Salty Counterpoint
Bacon adds a layer of smoky, salty crunch that perfectly complements the rich beef and creamy Swiss. Whether you prefer thick-cut or thin-sliced bacon is entirely up to your personal taste. Cook it until it’s wonderfully crisp – this texture is key for contrast. You can even cook your bacon in advance to save time on burger day. - Swiss Cheese: The Melty, Nutty Embrace
Swiss cheese brings a distinctive nutty, slightly sweet flavor and a fantastic melt to these burgers. Its creamy texture becomes irresistibly gooey when heated, enveloping the patty and bacon. While Swiss is our top choice for its unique profile, feel free to experiment! American cheese offers a classic melt, Gruyère provides a more intense nuttiness, or a blend of shredded cheeses could create a custom flavor. The key is to use a cheese that melts beautifully. - Hamburger Buns: The Perfect Vessel
A great burger deserves a great bun. Choose soft, fresh hamburger buns that can hold up to the juicy patty and toppings without falling apart. Brioche buns offer a rich, slightly sweet touch, while classic sesame seed buns provide a familiar, comforting texture. Don’t forget to toast them for added texture and to prevent sogginess! - Classic Toppings: Personalize Your Masterpiece
No burger is complete without its supporting cast of fresh toppings. Creamy mayonnaise adds moisture and tang, crisp leaf lettuce provides a refreshing crunch, ripe tomato slices offer a burst of freshness, and tangy dill pickle slices cut through the richness. These classic fixings create a balanced and satisfying bite, but feel free to customize with your favorites like onions, mustard, or even a special sauce.
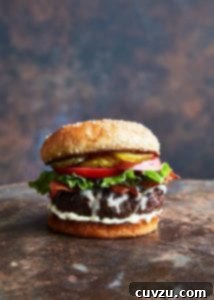
Bacon Swiss Smash Burger
David Leite
Mains
American
6 servings
765 kcal
30
30
1
Video: How to Make Matt Moore’s Bacon Swiss Burger
Watch this helpful video demonstration by chef Matt Moore, author of “Serial Griller,” to see the smash burger technique in action and learn how to cook these juicy, bacon-Swiss burgers in a cast-iron skillet on the grill.
Ingredients
For the Burgers
- 2 pounds 80/20 lean ground beef (for optimal juiciness and flavor)
- Kosher salt and freshly ground black pepper (to taste, for seasoning patties generously)
- 12 strips bacon, cooked crisp and drained (about 2 strips per burger)
- 6 slices Swiss or American cheese (or a blend of your favorite melting cheeses)
- 6 store-bought or homemade hamburger buns (fresh and soft, ideally toasted)
For the Toppings and Assembly
- Mayonnaise (or your favorite burger sauce)
- Leaf lettuce (crisp and fresh)
- Tomato slices (ripe and thinly sliced)
- Dill pickle slices (for a tangy crunch)
Instructions: Master the Smash Burger
Step 1: Prepare Your Grill and Patties
-
For Charcoal Grills: Fully open the bottom vent. Fill a charcoal chimney starter with charcoal and light it. Once the coals are covered in a uniform gray ash, carefully pour them onto the bottom grate of your grill. Adjust the vents as needed to achieve and maintain an internal temperature of 400°F (204°C).
For Gas Grills: Preheat your gas grill to medium-high heat, targeting an internal temperature of 400°F (204°C).
☞ TESTER TIP: No grill? No problem! These incredible burgers can be perfectly executed indoors. Simply use a cast-iron skillet over medium-high heat on your stovetop for equally delicious results.
-
While your grill is heating, divide the ground beef into six equal portions. Gently and loosely form each portion into a patty, approximately 1-inch (25-mm) thick. Avoid overworking the meat, as this can lead to tough burgers. Season each patty generously on both sides with kosher salt and freshly ground black pepper.
Step 2: The Smash and Sear
-
Once your grill reaches the target temperature of 400°F (204°C), place a large, well-seasoned cast-iron skillet directly onto the grill grate over the direct heat zone. Allow the skillet to preheat for at least 2 minutes until it is smoking hot. This extreme heat is crucial for the smash burger technique.
☞ TESTER TIP: If you’re cooking for a crowd and have a larger grill surface, consider using two cast-iron skillets or a flat-top griddle directly on the grill to cook all burgers simultaneously.
-
Carefully place 3 of the seasoned patties into the hot skillet. Immediately, using a sturdy metal spatula, gently but firmly smash each patty down once. You should hear an immediate, satisfying sizzle – this is the sound of flavor developing! Cook the burgers undisturbed and uncovered for 3 to 3 1/2 minutes, or until a deep, crispy brown crust has formed. The exact timing will depend on your preferred level of doneness.
-
Using your spatula, carefully flip the patties. Cook on the second side to your desired doneness. For a perfect medium-rare, aim for another 2 to 3 1/2 minutes. Keep in mind that smash burgers cook very quickly due to their thinness and the high heat.
-
Once flipped, quickly distribute half of the cooked bacon strips and Swiss cheese slices evenly over the patties. Close the grill lid to allow the cheese to melt quickly and thoroughly, typically 30 to 45 seconds. As soon as the cheese is beautifully melted, transfer these burgers to a plate and keep them warm while you repeat the smashing, cooking, and melting process with the remaining patties, bacon, and cheese.
-
For an extra layer of flavor and texture, toast your hamburger buns. If desired, add the buns, cut-sides down, to the same hot skillet where the burgers were cooked. Work in batches if necessary, and toast them in the delicious pan drippings until they are lightly golden brown, usually about 1 minute. This adds incredible flavor and prevents soggy buns.
Step 3: Assemble and Serve Your Masterpiece
-
To assemble your ultimate Bacon Swiss Burger, generously spread a layer of mayonnaise (or your preferred sauce) on the cut sides of each toasted bun. Place a cheesy, bacon-topped burger patty on the bottom bun. Layer with fresh leaf lettuce, ripe tomato slices, and tangy dill pickle slices. Crown with the top bun, sandwich ’em up, and serve immediately for the best experience!

Adapted From
This phenomenal recipe is adapted from “Serial Griller,” a fantastic cookbook by the talented Matt Moore. Explore more of his grilling expertise!
Buy On Amazon
Nutrition Information
Serving: 1 burger
Calories: 765 kcal
Carbohydrates: 23 g
Protein: 40 g
Fat: 56 g
Saturated Fat: 22 g
Monounsaturated Fat: 23 g
Trans Fat: 2 g
Cholesterol: 157 mg
Sodium: 958 mg
Fiber: 1 g
Sugar: 3 g
Nutrition information is automatically calculated and should be used only as an approximation.
Tried this recipe?
Share your delicious creation with us! Mention @leitesculinaria or tag #leitesculinaria on Instagram. We love seeing what you cook!
Insights from Our Recipe Testers
Our dedicated team of recipe testers put this Bacon Swiss Smash Burger to the test, offering invaluable insights and tips. Here’s what they loved and learned:
Nekayah Snider
Nekayah raved about the incredible juiciness achieved with the cast-iron skillet technique. She utilized a bacon press for both frying bacon and smashing burgers, noting the satisfying sizzle. For enhanced flavor, she suggested adding garlic powder and a touch of Worcestershire sauce to the meat. Following the recipe’s timing precisely (3 1/2 minutes per side), her Swiss cheese melted perfectly. She served her restaurant-quality burgers with sweet potato fries and Brie mac and cheese, highlighting the recipe’s ease and impressive outcome.
Amy Kaufman
Amy was excited to try the smash burger technique, opting to use her steel griddle on the grill. She praised the trademark sizzle and sear, which produced a crispy brown crust. A key takeaway was how the technique kept juices and rendered fat on the griddle, intensifying the beef flavor. She layered her burgers with bacon and American cheese, toasting sesame seed buns in the savory juices. Amy found the beef and toppings perfectly proportionate, a welcome change from thicker patties. Her family enjoyed the burgers with red onion, tomato, and romaine, though her husband still preferred a traditional grilled burger. She noted that prepping the bacon and thawing beef were the most time-consuming steps.
Susan Hall
Susan and her taste tester absolutely loved these juicy burgers, cooked to a perfect medium doneness. She enhanced her patties with powdered Worcestershire, onion powder, and garlic powder, in addition to salt and pepper. She observed the first side took about 6 minutes, and after flipping, the second side cooked in 3 1/2 minutes with increased heat. Susan combined Swiss and American cheese slices for extra flavor, melting them under a closed lid. She highly recommended toasting buns in the skillet drippings for an “added little extra oomph.” Her burgers were adorned with mayo, lettuce, tomato, pickles, and two slices of applewood smoked bacon per burger, creating a “flavor explosion.” She even made her own homemade burger buns. A major benefit for Susan was cooking outdoors, avoiding stovetop grease splatters, and enjoying the summertime grilling experience.
Ilda Costa-Sarnicki
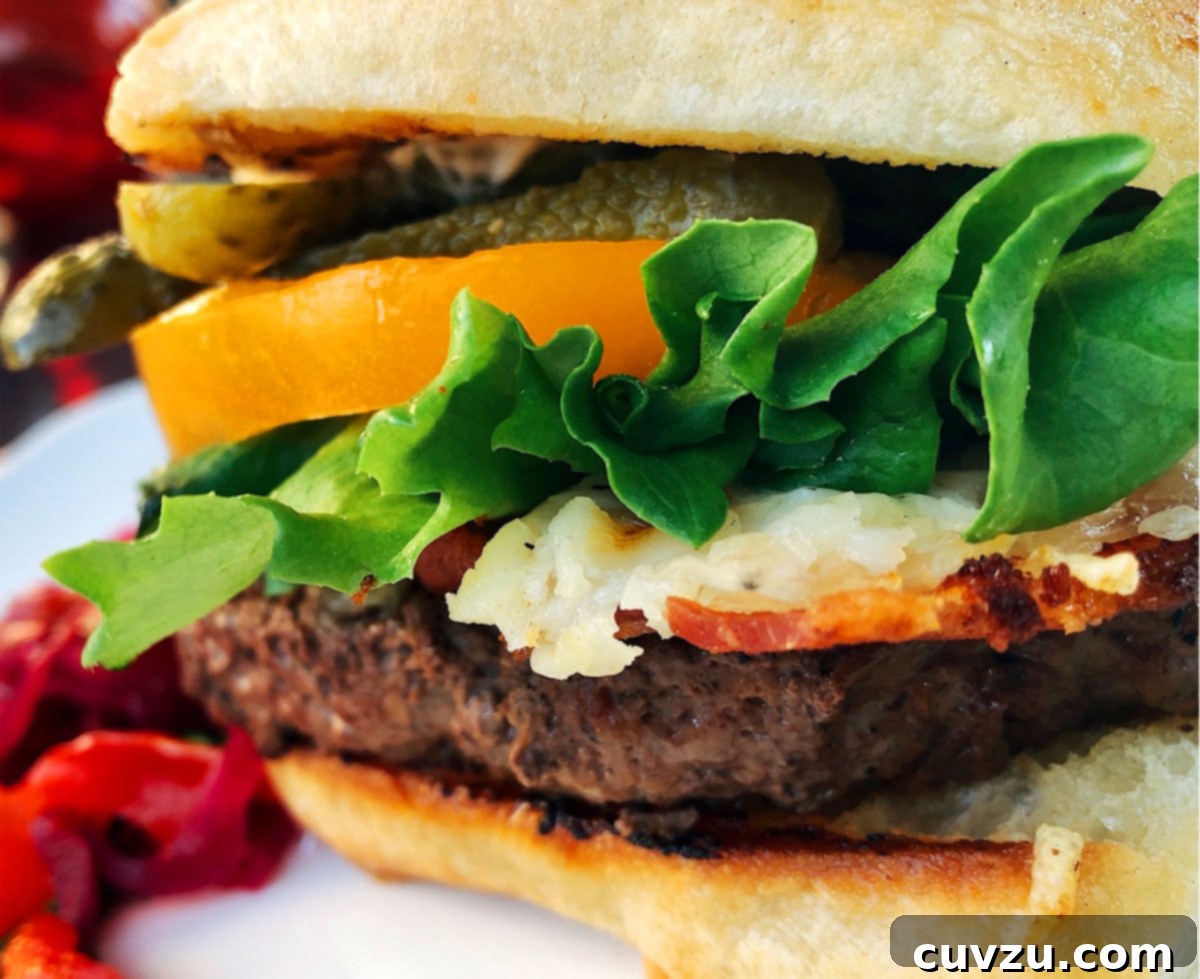
Ilda was drawn to the burger’s juiciness in the photo and was not disappointed. She confirmed the immediate sizzle and juice reabsorption during cooking. She seasoned the second side before flipping, observing a tantalizing sear after 3 1/2 minutes. To prevent overcooking while melting the cheese, she moved the patties to a parchment-lined upper grate on her gas grill, using a mix of Gruyère and Comté cheeses. She also toasted her buns in the caramelizing griddle. Ilda praised the burger’s tenderness and juiciness, noting the absence of flare-ups common with direct grilling. She garnished her burgers with cornichons, fresh dill, leaf lettuce, yellow heirloom tomato, and mayo. Her husband and daughter had no suggestions for improvement, a high compliment! Ilda creatively used square ciabatta rolls and shaped her burgers accordingly, serving them with garden greens and fermented peppers.
Joel Jenkins
Joel preheated his gas grill and cast iron skillet, starting with thick, 4-inch patties ready for smashing. He observed the initial smash flattened the patty and subsequent smashing released juices, creating a bubbly edge and an appealing, irregular crispy char. He recommended adjusting cooking times for medium-rare: 3 minutes on the first side and 2 to 2 1/2 minutes on the flip, as his ended up slightly over medium. Joel used sliced Swiss and American cheese, which melted quickly, and thick-cut hickory smoked bacon, which he folded into a “V” shape for better fit. He opted for toasted Hawaiian Sweet Roll Hamburger buns, but chose not to toast them in the pan due to dark, burnt bits. His garnishes included mayonnaise, ketchup, red leaf lettuce, tomatoes, and dill pickles.
Nadine Bonda
Nadine appreciated the advantage of grilling on a cast iron pan, combining outdoor cooking with the benefits of skillet searing. She seasoned her burgers simply with salt and pepper, noting the immediate sizzle. For her preference of medium-rare, she found 3 1/2 minutes on the first side to be too long, as her burger reached 120°F internally upon flipping. She immediately added bacon and cheese (both grated and sliced), noting that sliced cheese melted quicker and stayed on the burger better than grated. However, by the time her cheese melted, her burgers were overdone for her taste. She garnished with mayo, lettuce, and tomato, concluding that with an adjusted cooking time, this would make a truly great burger.