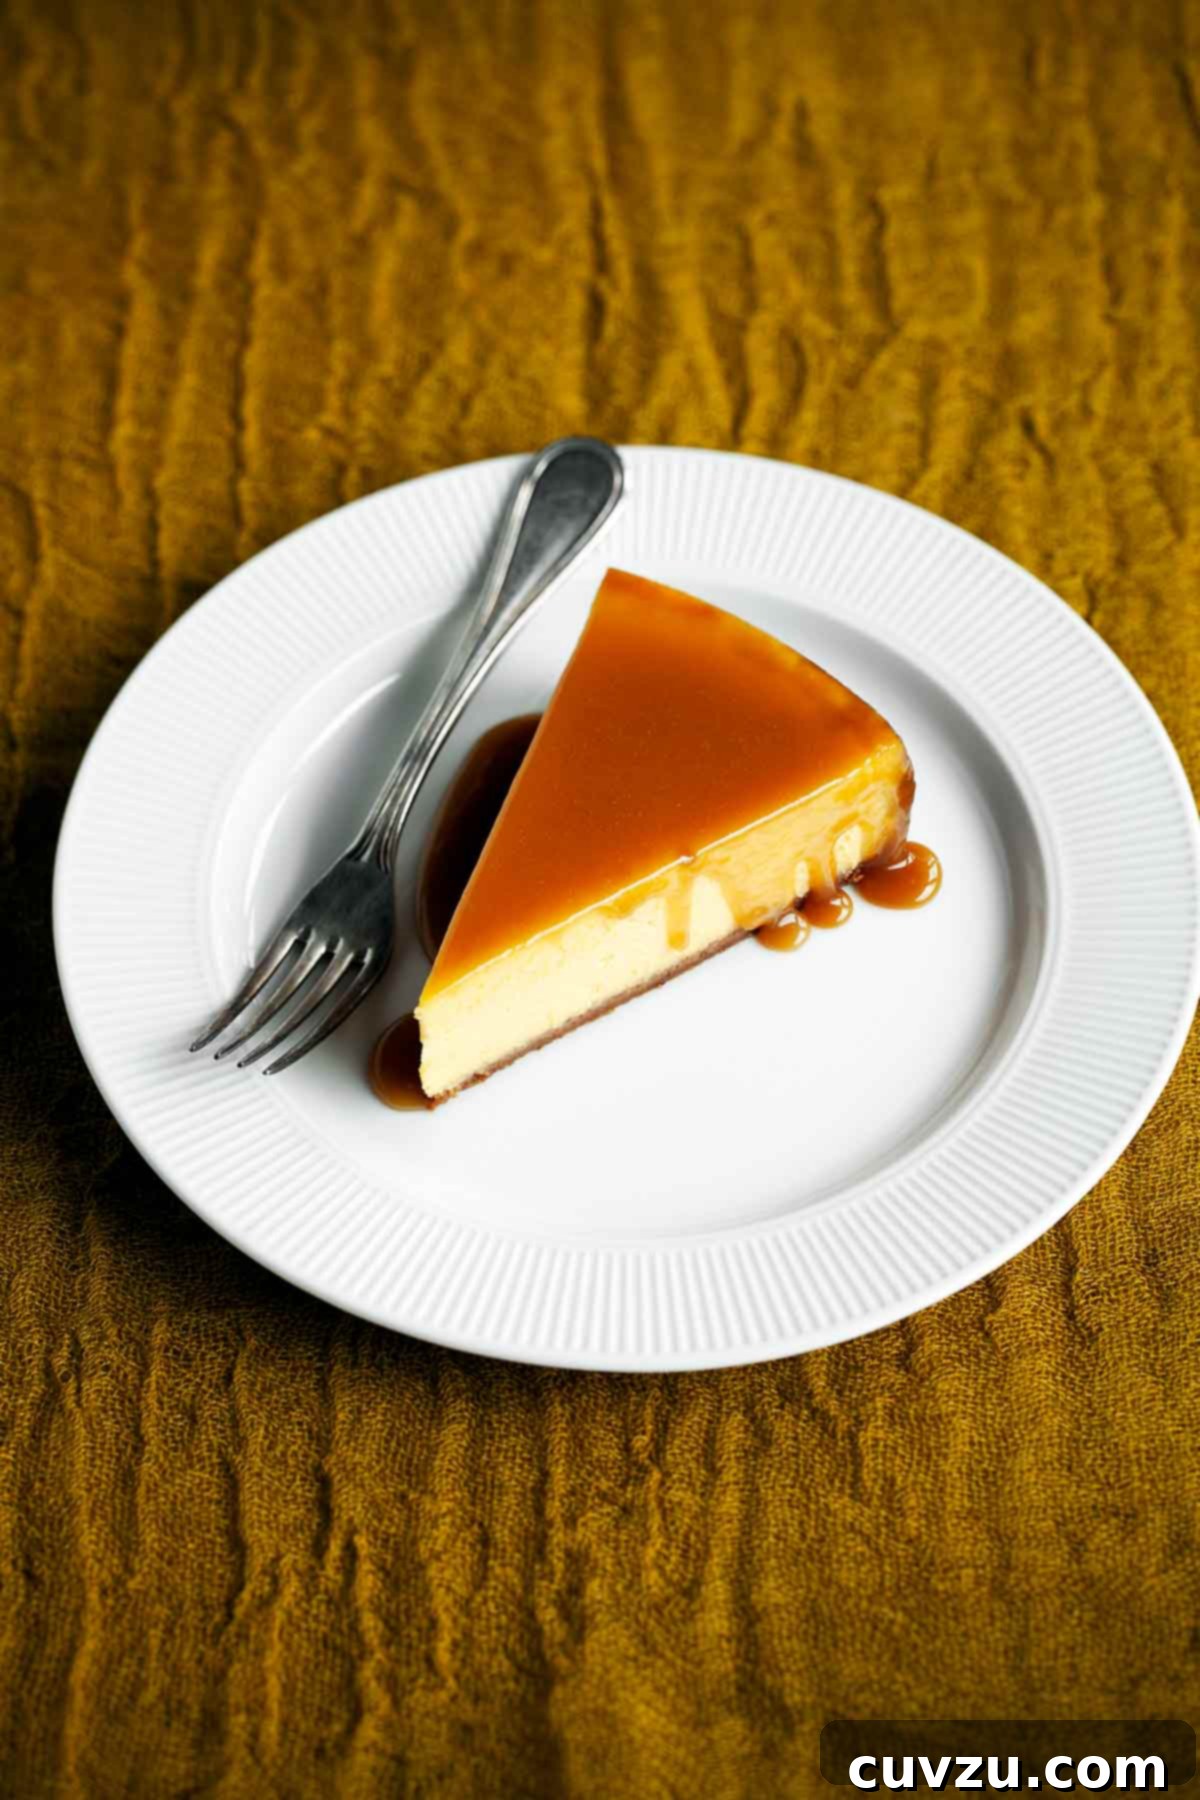
The Ultimate Pure Pumpkin Cheesecake: A Decadent Fall Tradition
Prepare to elevate your dessert game this season with our Pure Pumpkin Cheesecake. This isn’t just any cheesecake; it’s a harmonious blend of velvety creaminess and the distinct, earthy essence of pumpkin, subtly accented by the warm, spicy notes of a gingersnap-pecan crust and crowned with a luscious caramel glaze. Forget your usual pumpkin pie; this show-stopping dessert is poised to become your new Thanksgiving, or indeed, any fall gathering, tradition.
Unveiling the Pure Pumpkin Cheesecake Experience
For those seeking a quick overview before diving into the full recipe, here’s a snapshot of what makes this Pure Pumpkin Cheesecake truly special:
- What it is: A sumptuously creamy cheesecake filling that celebrates the true flavor of pumpkin, delicately spiced without overpowering the rich cream cheese. It rests upon a delightful gingersnap-pecan crust, offering a satisfying crunch and a hint of nutty warmth.
- Why you’ll love it: This dessert offers a sophisticated twist on classic fall flavors. It’s an ideal choice for Thanksgiving or any autumn celebration, providing a luxurious, decadent texture that stands apart from traditional pies. The visually stunning caramel glaze adds an irresistible touch, making it a true centerpiece. Its “rizz” factor, as some might say, is off the charts!
- How to make it: The process involves toasting pecans for the robust gingersnap crust, meticulously preparing the pumpkin and cream cheese filling, baking it gently in a water bath to ensure a perfectly smooth texture, chilling it overnight for optimal setting and flavor development, and finally, crowning it with a homemade, glistening caramel glaze.
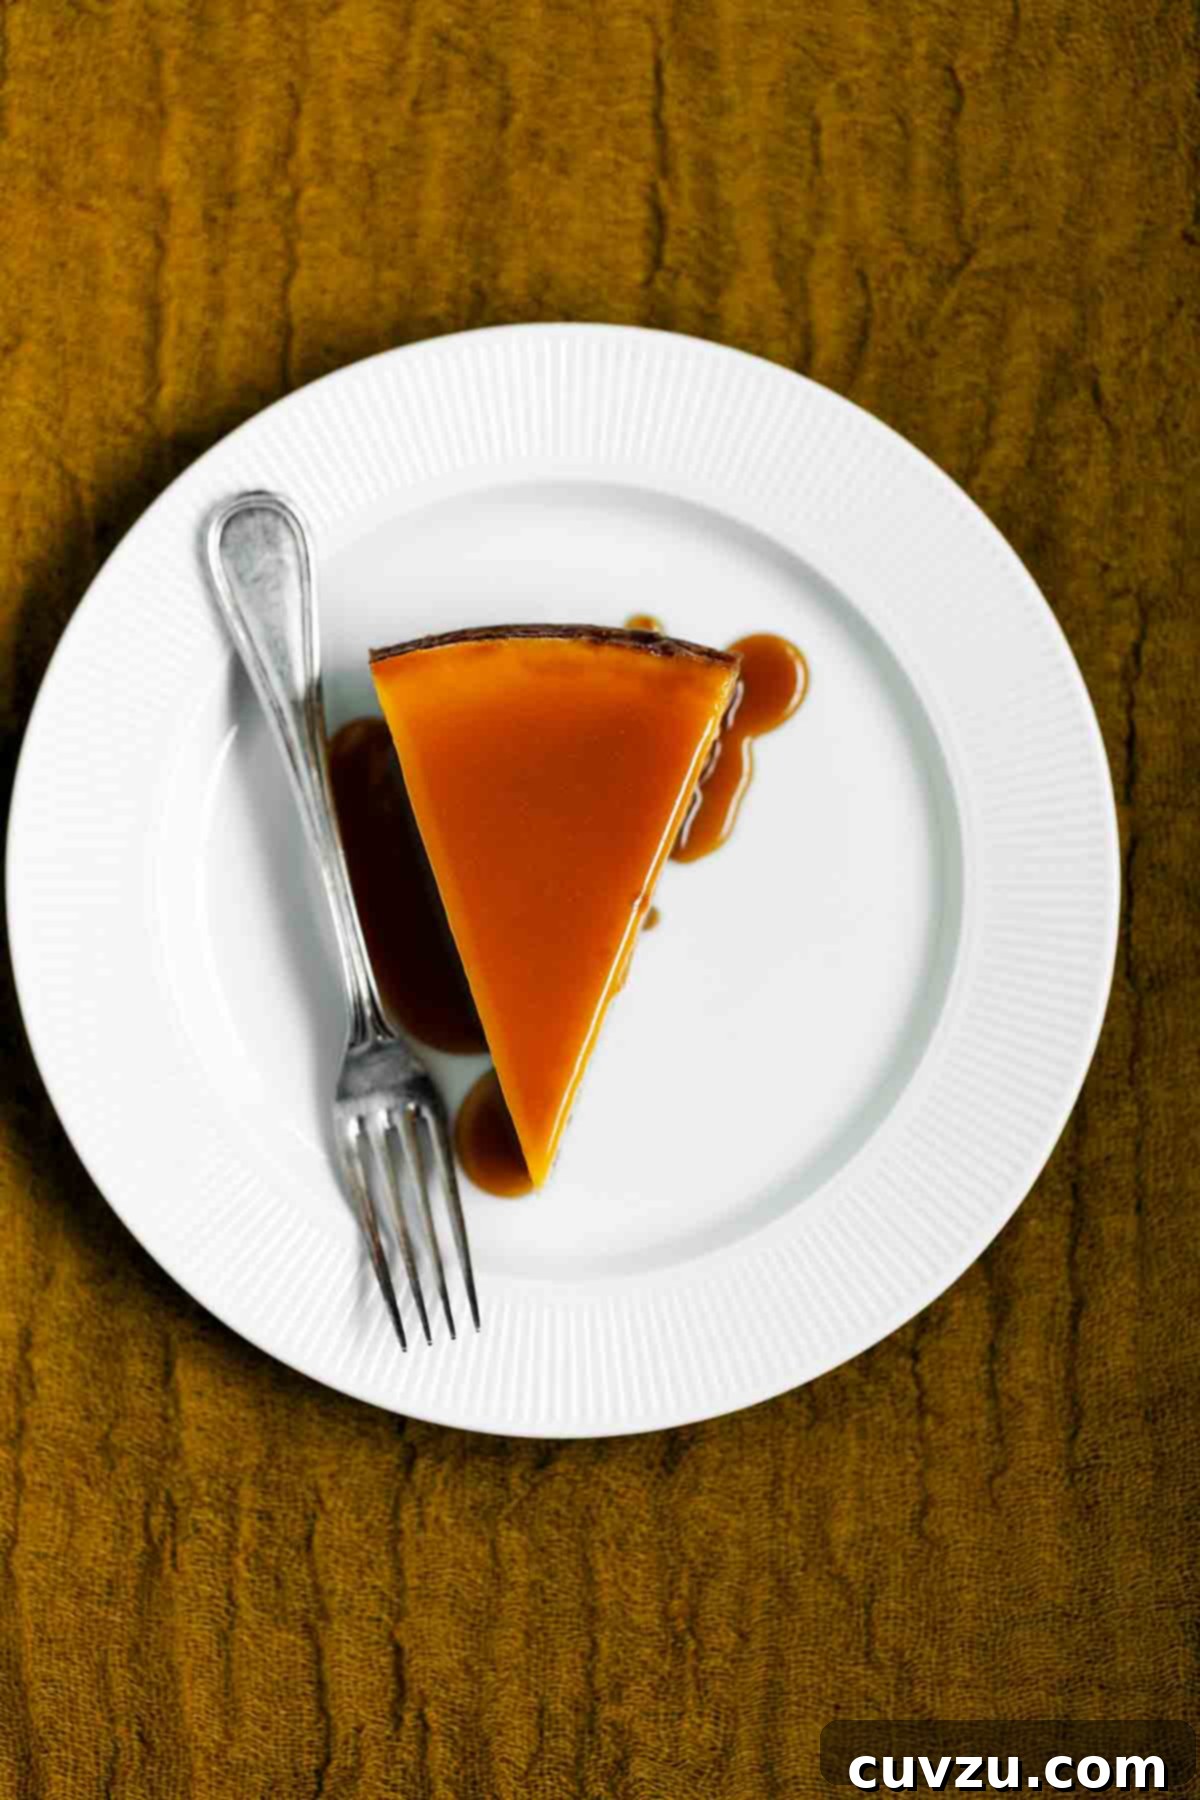
Culinary legend Rose Levy Beranbaum, whose expertise in baking is unparalleled, once shared her initial apprehension about creating a pumpkin cheesecake. She feared that the bold spices typically found in pumpkin desserts would clash with the delicate tang of cream cheese. However, through her brilliant experimentation, she discovered that by omitting strong spices and instead using turbinado sugar—with its subtle molasses notes—the authentic, pure flavor of pumpkin could truly shine. The masterpiece was then completed with the addition of a luxurious caramel glaze, a stroke of genius that harmonizes all the flavors into an unforgettable symphony. This creation quickly became one of her most cherished cheesecakes, and it’s easy to see why it has captivated so many palates. This recipe, adapted from her esteemed collection, brings her innovative vision directly to your kitchen, inviting you to experience the true essence of pumpkin in a wholly new and remarkable form.
Pure Pumpkin vs. Pumpkin Pie Mix: Understanding the Essential Difference
When embarking on a pumpkin-based dessert adventure, it’s crucial to understand the distinction between “pure pumpkin” and “pumpkin pie mix.” This seemingly minor detail can significantly impact the outcome of your recipe, especially for a delicate creation like this cheesecake.
Canned “pure pumpkin,” as its label explicitly states, contains only one ingredient: pumpkin. It’s a blank canvas, offering the natural, unadulterated flavor and texture of pumpkin puree. This allows you, the baker, complete control over the seasoning and sweetness, ensuring your dessert tastes precisely as intended. For our Pure Pumpkin Cheesecake, using pure pumpkin is paramount, as it allows the subtle sweetness of turbinado sugar and the natural earthiness of the pumpkin to be the stars, rather than being overshadowed by pre-mixed spices.
On the other hand, “canned pumpkin pie mix” is a convenient shortcut that includes added spices (like cinnamon, nutmeg, ginger, and cloves) and sugar. While it might seem appealing for its ease, using pumpkin pie mix in recipes not designed for it can throw off the delicate balance of flavors and sweetness. Recipes formulated for pumpkin pie mix will have adjusted ingredient ratios to account for its pre-seasoned and sweetened nature. Substituting one for the other without careful modifications to the rest of your ingredients will almost certainly lead to an unbalanced flavor profile, potentially resulting in a dessert that is either overly sweet, aggressively spiced, or lacking the nuanced pumpkin flavor we aim to achieve in this recipe.
Therefore, to achieve the authentic, pure pumpkin taste that defines this exceptional cheesecake, always reach for the can labeled “pure pumpkin.” It’s a foundational step that ensures the integrity and success of your baking endeavor, allowing you to build layers of flavor with precision and intention.
More Irresistible Pumpkin Dessert Recipes
If your love for pumpkin extends beyond cheesecake, you’re in luck! Here are more delightful pumpkin-infused desserts to explore, perfect for any fall occasion or simply to satisfy a sweet craving. Each recipe offers a unique way to enjoy the beloved flavors of autumn.
Pumpkin Custard (Pots de Crème)
Total Time: 4 hrs 30 mins
Indulge in the silky smoothness of pumpkin pots de crème, a sophisticated and elegant custard dessert that’s surprisingly simple to make. Each spoonful offers a delicate balance of creamy pumpkin flavor, perfect for a light yet satisfying end to any meal.
Spiced Pumpkin Ice Cream
Total Time: 4 hrs 30 mins
Cool down with the rich, autumnal flavors of spiced pumpkin ice cream. This creamy frozen treat perfectly captures the essence of fall, with a hint of warm spices that will transport you to crisp autumn days.
Pumpkin Pie Babka
Total Time: 3 hrs 30 mins
Experience the best of both worlds with this Pumpkin Pie Babka. Fluffy, sweet yeast bread swirled with a rich pumpkin pie filling, it’s a wonderfully aromatic and comforting bake, perfect for breakfast or dessert.
Pumpkin Swirl Brownies
Total Time: 1 hr 10 mins
Combine the irresistible richness of chocolate brownies with a creamy pumpkin swirl. These Pumpkin Swirl Brownies offer a delightful textural contrast and a fusion of flavors that will please any crowd.
Share Your Baking Success! Write a Review
If you’ve whipped up this delightful Pure Pumpkin Cheesecake, or any other recipe from Leite’s Culinaria, we’d love to hear about your experience! Please consider sharing your thoughts, a star rating, and even your best photo in the comments section below. Your feedback and culinary creations truly inspire us. –David
Pure Pumpkin Cheesecake
Recipe by David Leite
Equipment
-
One 9-inch springform pan with sides 2 1/2- to 3-inches deep
-
Large roasting pan or 12×2-inch round cake pan for water bath
-
Food processor
-
Small, heavy saucepan
-
Medium heavy saucepan (preferably nonstick)
-
Heatproof glass measure (1-cup capacity)
-
Silicone spatula or wooden spoon
-
Wire rack
Ingredients
For the Gingersnap Crust
- Nonstick cooking spray
- 1/2 cup pecan halves
- 1 cup lightly packed gingersnap crumbs, preferably a Swedish brand for authentic flavor
- 1 tablespoon granulated sugar
- 2 pinches salt
- 4 tablespoons (2 oz) unsalted butter, melted
For the Pumpkin Cheesecake Filling
- 1 cup canned unsweetened pure pumpkin (see “What’s the difference between pure pumpkin and pumpkin pie mix?” above for crucial details)
- 1 cup turbinado sugar, for its subtle molasses undertones
- 2 cups heavy cream, kept cold
- 1 pound cream cheese, cut into several chunks and brought to room temperature [65°F to 70°F (19°C to 21°C)]
- 2 large eggs, at room temperature
- 2 large egg yolks, at room temperature
For the Caramel Glaze
- 1/2 cup granulated sugar
- 1/2 tablespoon corn syrup
- 2 tablespoons water
- 1/4 cup heavy cream, heated gently
- 1 tablespoon (1/2 oz) unsalted butter, at room temperature [65°F to 70°F (19°C to 21°C)]
- 1/2 teaspoon vanilla extract
Instructions
Prepare the Oven and Pan with Precision
-
Begin by preparing your baking vessel, ensuring a smooth release for your exquisite cheesecake. Generously coat a 9-inch (23-cm) springform pan, ideally one with sides 2 1/2 to 3 inches (7 to 8 cm) deep, with a nonstick cooking spray. This crucial step prevents sticking and ensures a pristine presentation. To create a watertight seal and protect your cheesecake during its water bath, meticulously wrap the exterior of the pan with a double layer of heavy-duty aluminum foil. Ensure the foil extends up the sides to prevent any water seepage. Additionally, make sure you have a larger baking vessel ready – either a 12-by-2-inch (30-by-5-cm) round cake pan or a sizeable roasting pan – which will serve as your water bath.
Craft the Flavorful Gingersnap Crust
-
Preheat your oven to a steady 350°F (175°C). While the oven preheats, position an oven rack in the lower third, preparing the ideal environment for your cheesecake to bake evenly.
-
Spread the pecan halves in a single layer on a rimmed baking sheet. Toast them in the preheated oven for approximately 7 minutes, stirring once or twice throughout the baking process to ensure they achieve an even, golden brown hue and release their fragrant oils. Immediately after toasting, transfer the warm pecans to a plate and allow them to cool completely before proceeding; this prevents them from becoming oily or developing a bitter taste when processed.
-
In the bowl of a food processor, combine the gingersnap crumbs, the now-cooled toasted pecans, granulated sugar, and salt. Pulse the mixture until it transforms into fine, uniform crumbs, which should take about 20 seconds. Next, pour in the melted unsalted butter. Pulse just until the butter is fully incorporated into the crumb mixture, typically around 10 pulses. Be careful not to over-process, as this can make the crust tough.
-
Carefully transfer the crumb mixture into the prepared springform pan. Using your fingers or the back of a spoon, press the mixture firmly and evenly into the bottom of the pan and approximately 1 1/2 inches (4 cm) up the sides. For a perfectly smooth and compact crust, use a flat-bottomed, straight-sided measuring cup or a 6-inch (15-cm) round cake pan to gently press and level the crumbs.
☞ TESTER TIP: For a pristine finish and to prevent the crumbs from sticking to your fingers, place a sheet of plastic wrap directly over the crumb mixture before pressing it into the pan. This technique ensures a smooth, even crust with minimal fuss.
Prepare the Velvety Pumpkin Filling
-
In a small, heavy saucepan set over medium heat, combine the pure pumpkin and turbinado sugar. Stir this mixture constantly to prevent scorching and ensure even heating, bringing it to a sputtering simmer. Once simmering, reduce the heat to low and continue to cook, stirring without interruption, until the pumpkin mixture thickens noticeably and takes on a glossy, rich sheen. This process typically takes between 3 to 5 minutes and concentrates the pumpkin’s flavor.
-
Using a silicone spatula, meticulously scrape the hot pumpkin mixture into a large food processor. Process for 1 minute with the feed tube open to allow steam to escape and to further smooth the puree. With the motor still running, gradually add the cold heavy cream through the feed tube. Next, introduce the room-temperature cream cheese, adding it in several chunks. Process for about 30 seconds, or until the mixture becomes luxuriously smooth and completely uniform. During this step, remember to pause and scrape down the sides of the bowl 2 or 3 times to ensure everything is thoroughly incorporated. Finally, add the eggs and egg yolks, processing just until they are fully incorporated, which should only take about 5 seconds. Be careful not to overmix, as excessive air can lead to cracks in your cheesecake.
-
Gently pour the perfectly smooth pumpkin filling into the prepared springform pan, using your silicone spatula to ensure every last bit is transferred. Smooth the surface evenly with a small offset spatula for a beautiful finish. Carefully place the springform pan into the larger cake pan or roasting pan you prepared earlier. Now, pour enough very hot water into the larger pan to reach a depth of 1 inch (25 mm) around the cheesecake pan. This water bath (bain-marie) is essential for a slow, even bake, preventing cracks and ensuring an incredibly creamy texture.
-
Carefully transfer the roasting pan with the cheesecake and water bath to your preheated oven. Bake the pumpkin cheesecake for 45 minutes, making sure to gently turn the pan halfway through the baking time (after the first 25 minutes) to promote even cooking. After 45 minutes, turn off the oven completely. Resist the urge to open the oven door or peek inside, as sudden temperature changes can cause the cheesecake to crack. Allow the cheesecake to cool slowly in the oven for an additional 1 hour. This gradual cooling process is key to preventing surface cracks and maintaining a silky texture.
-
Once the oven cooling period is complete, carefully remove the pan from the oven. Place the cheesecake on a wire rack and allow it to cool completely to room temperature, which will take approximately 1 hour. Once cooled, cover the cheesecake with a large overturned bowl or plastic wrap, ensuring it doesn’t touch the surface of the cheesecake. Refrigerate the cheesecake overnight. This extended chilling period is crucial for the cheesecake to fully set, firm up, and allow its flavors to meld beautifully, resulting in a perfectly sliceable and intensely flavorful dessert.
Craft the Luxurious Caramel Glaze
-
Have ready a 1-cup heatproof glass measure, lightly coated with nonstick cooking spray. This will be where you transfer your finished caramel.
-
In a medium, heavy saucepan (a nonstick pan is highly recommended for easier cleanup), combine the granulated sugar, corn syrup, and water. Stir thoroughly until all the sugar is completely moistened and the mixture forms a thick paste. Place the saucepan over medium heat, continuing to stir constantly until all the sugar crystals dissolve and the syrup begins to bubble vigorously. Once bubbling, cease stirring completely. Allow the mixture to boil, undisturbed, until it transforms into a deep, rich amber color. This usually occurs around 360°F (180°C). Keep a close watch, as the caramel can go from perfect to burnt very quickly. Note that the temperature will continue to rise slightly even after removed from heat.
-
As soon as the caramel reaches the desired deep amber color, immediately remove the pan from the heat. With extreme caution, but without delay, slowly and carefully pour the heated heavy cream into the hot caramel. The mixture will bubble up furiously and steam, so be mindful of the heat. Use a heatproof silicone spatula or a wooden spoon to gently stir the mixture, ensuring to scrape the thicker, more concentrated caramel that tends to settle on the bottom of the pan, until everything is well combined.
-
Return the saucepan to very low heat. Continue to stir gently for approximately 1 minute, allowing the mixture to achieve a uniform color and ensuring any remaining caramelized sugar crystals are fully dissolved. Remove the pan from the heat once more, and gently stir in the room-temperature unsalted butter until it is completely incorporated, lending a beautiful richness and sheen to your caramel. The mixture may appear slightly streaky at first, but it will become perfectly uniform in color and texture once it cools and is stirred again.
-
Pour the finished caramel into the prepared heatproof glass measure. Allow it to cool for about 3 minutes. Then, gently stir in the vanilla extract, which enhances the caramel’s depth of flavor. Continue to let the caramel cool until it is no longer warm to the touch, stirring gently 3 or 4 times throughout this cooling process to maintain its smooth consistency. This caramel glaze is wonderfully versatile; it can be stored, covered, for up to 3 days at room temperature, or refrigerated for up to 3 months. To reheat, simply place the caramel in a heatproof glass container (if not already in one) within a pan of simmering water for about 7 minutes until warm and pourable, or microwave it on high for 1 minute, stirring twice, until it reaches the desired consistency.
Assemble and Serve Your Masterpiece
-
To gracefully unmold your chilled cheesecake, gently wipe the sides of the springform pan with a dish towel that has been thoroughly run under hot water and then tightly wrung out. The warmth from the towel will help release the cheesecake from the pan’s edges. Carefully unclip and remove the side of the pan, revealing your perfectly formed dessert.
-
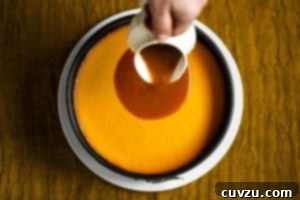
With the cheesecake now unveiled, it’s time for the crowning glory: the caramel glaze. You can either pour the cooled caramel glaze directly over the entire pumpkin cheesecake from the glass measure for a generous, rustic look, or for greater precision and an artistic touch, use a pastry bag fitted with a small decorating tip. Alternatively, a resealable plastic bag with a very small semicircle snipped from one corner works perfectly for drizzling intricate patterns. Once glazed, slice and serve this exquisite Pure Pumpkin Cheesecake. Prepare yourself for an chorus of “oohs” and “aahs” as your guests savor each delightful bite of this truly special dessert.

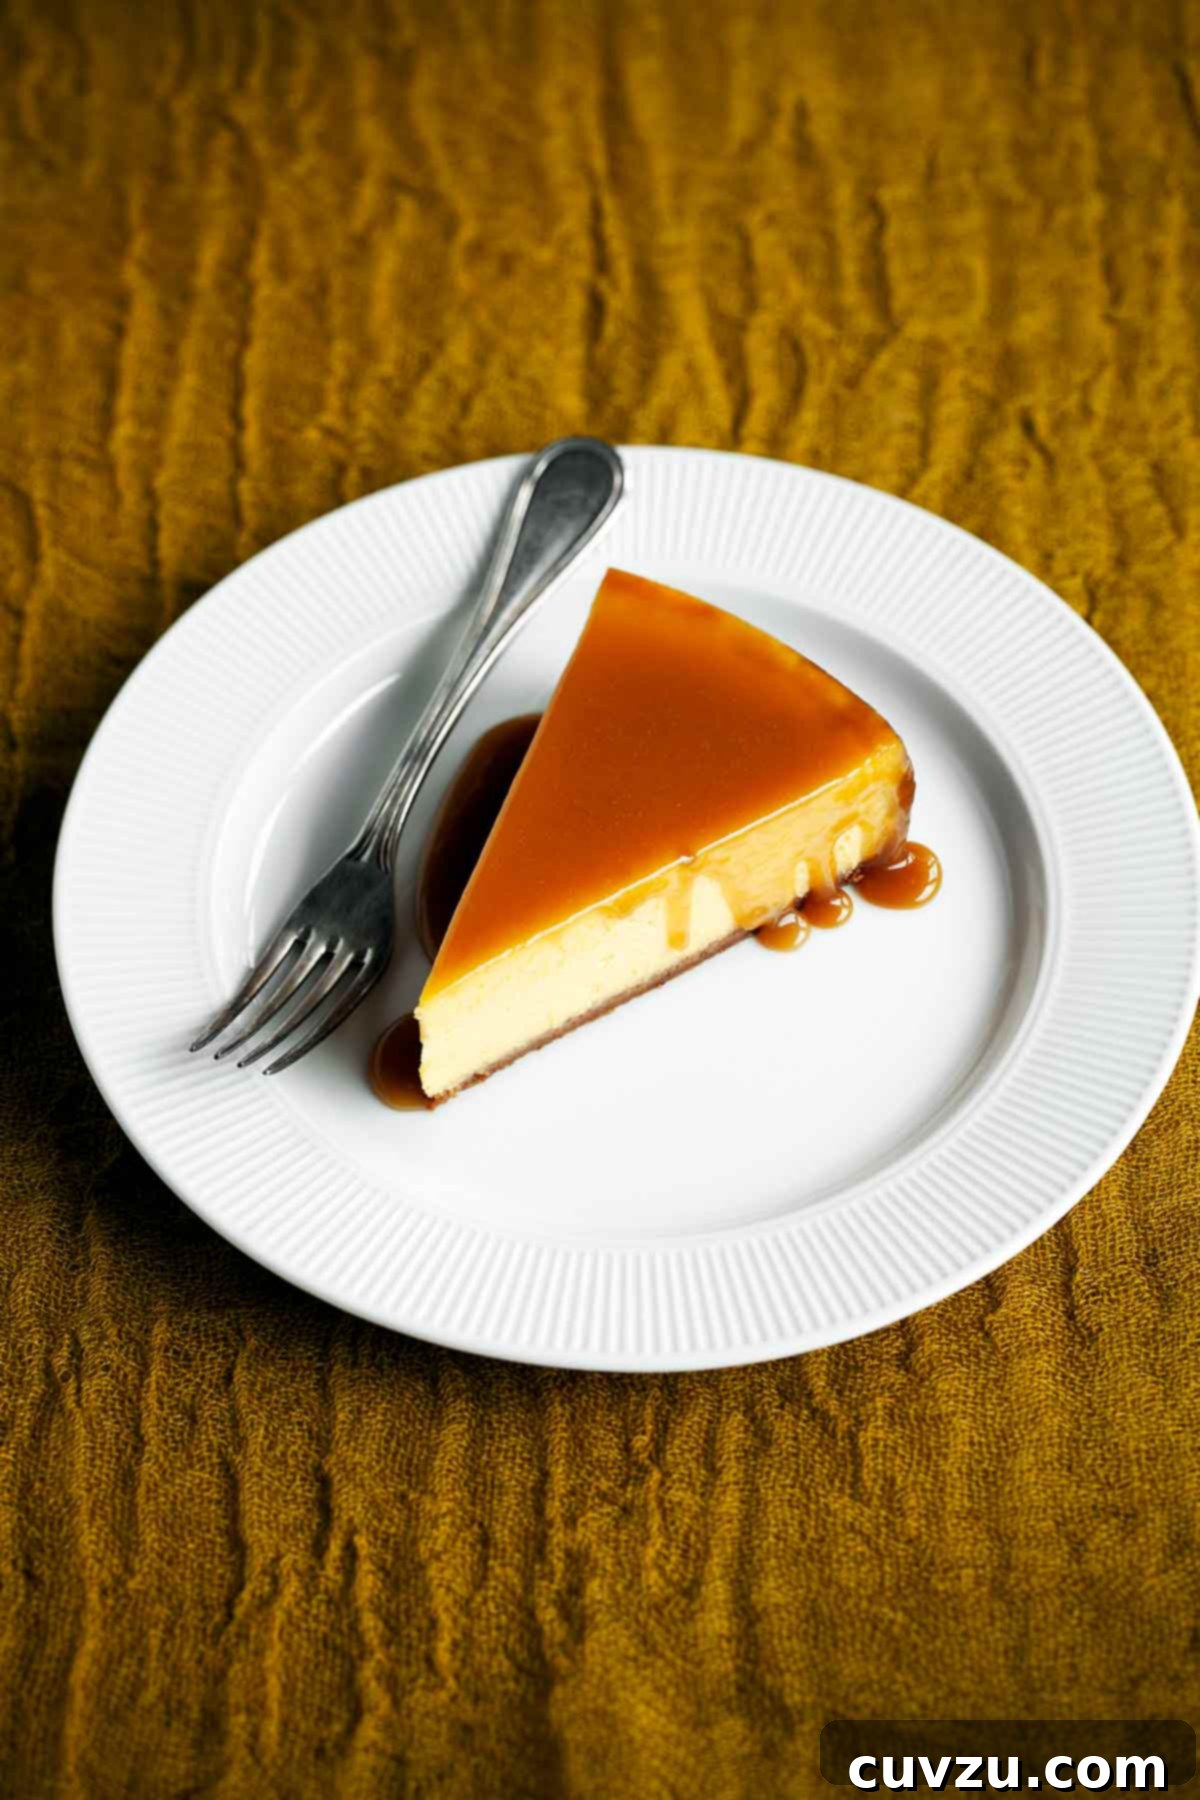
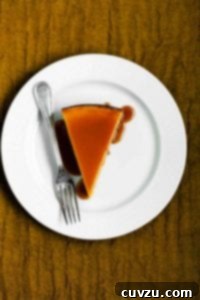
The finished Pure Pumpkin Cheesecake, beautifully glazed and ready to impress.
Notes
Achieving the Perfect Caramel: Tips for Maximum Flavor and Safety
Renowned baker Rose Levy Beranbaum is known for her preference for deeply flavored caramel, often recommending heating the ingredients to 360°F (180°C) to unlock its full potential. However, reaching such high temperatures carries the risk of burning if your thermometer isn’t absolutely accurate or if you’re not experienced with caramel making. A viable and safer alternative, as Rose suggests, is to use a light-colored or transparent silicone spatula during the cooking process. This allows you to visually monitor the caramel’s color as it darkens, providing a reliable indicator of doneness without solely relying on a thermometer.
Furthermore, to prevent excessive splattering and ensure a smooth, even incorporation, it’s highly recommended to have your heavy cream heated and your butter at room temperature before adding them to the hot caramel. Cold cream, while still usable, will cause more vigorous bubbling and rapid cooling of the caramel, potentially leading to a more challenging mixing process. If you are pressed for time and must use cold cream, add it very slowly and carefully to mitigate sputtering. Always prioritize safety when working with hot caramel, as it can cause severe burns.
Adapted From
This recipe is an adaptation from the incredible culinary work of Rose Levy Beranbaum, specifically from her highly acclaimed book, “Rose’s Heavenly Cakes.” Her dedication to precise techniques and exceptional flavor shines through in every page.
Buy On Amazon
Nutrition Facts
Calories: 629 kcal
Carbohydrates: 46 g
Protein: 7 g
Fat: 48 g
Saturated Fat: 26 g
Monounsaturated Fat: 15 g
Trans Fat: 1 g
Cholesterol: 213 mg
Sodium: 318 mg
Fiber: 1 g
Sugar: 36 g
Nutrition information provided is an approximation, automatically calculated, and should be used as a general guide.
Tried this recipe?
We’d love to see your creations! Mention @leitesculinaria or tag #leitesculinaria on Instagram!
What Our Recipe Testers Are Saying
Our team of dedicated recipe testers put this Pure Pumpkin Cheesecake through its paces, and the verdict is in! Read on to discover their honest insights, tips, and why this dessert earned rave reviews in their kitchens.
Sandy Hill
This pumpkin cheesecake is truly a sophisticated dessert, guaranteed to impress any guest. My husband’s reaction perfectly summed it up: “Move over, pumpkin pie!” With its elegant appearance and utterly irresistible flavor, this may very well be his new favorite pumpkin dessert. The gingersnap crust was absolutely perfect, even though I opted for readily available grocery-store gingersnaps for the crumbs. I particularly appreciated not having to prebake the crust, saving a valuable step in the process.
While the instructions might appear a bit lengthy due to their thoroughness, they are remarkably easy for anyone to follow, ensuring a successful bake. The filling itself was incredibly rich and exquisitely creamy, a true testament to the recipe’s balance. It’s crucial to factor in the resting times: allowing the cheesecake to cool in the oven for an hour, then to room temperature, and finally refrigerating it overnight. This makes it an ideal make-ahead dessert, perfect for busy holiday preparations.
Caramel making always requires careful attention, but this recipe’s glaze can also be prepared in advance. I actually doubled the caramel recipe, ensuring I had plenty to generously drizzle over each slice and, of course, to sneak a spoonful or two when it cooled! I prepared the caramel in two separate batches for ease. This cheesecake is an absolute winner in our household, and I highly recommend it!
Megan M.
Without a doubt, this is the smoothest, creamiest, and most utterly delicious pumpkin cheesecake I have ever had the pleasure of tasting. I’ve actually returned to this particular cheesecake recipe multiple times over the years, ever since it was first published in Fine Cooking magazine. Each and every time I’ve made it, I’ve been met with an outpouring of rave reviews, and people consistently go back for second helpings, which is always a good sign!
While the cheesecake itself is absolutely fantastic and very satisfying on its own, the caramel sauce truly elevates it to another level, adding a sophisticated touch and an extra layer of sweetness and depth. I recently experimented with a slight modification: in my last baking session, I substituted full-fat Greek yogurt for half of the heavy cream in the filling. To my delight, the texture remained wonderfully creamy and decadent, proving the versatility of this incredible recipe. This cheesecake is a consistent crowd-pleaser and a guaranteed success for any occasion.