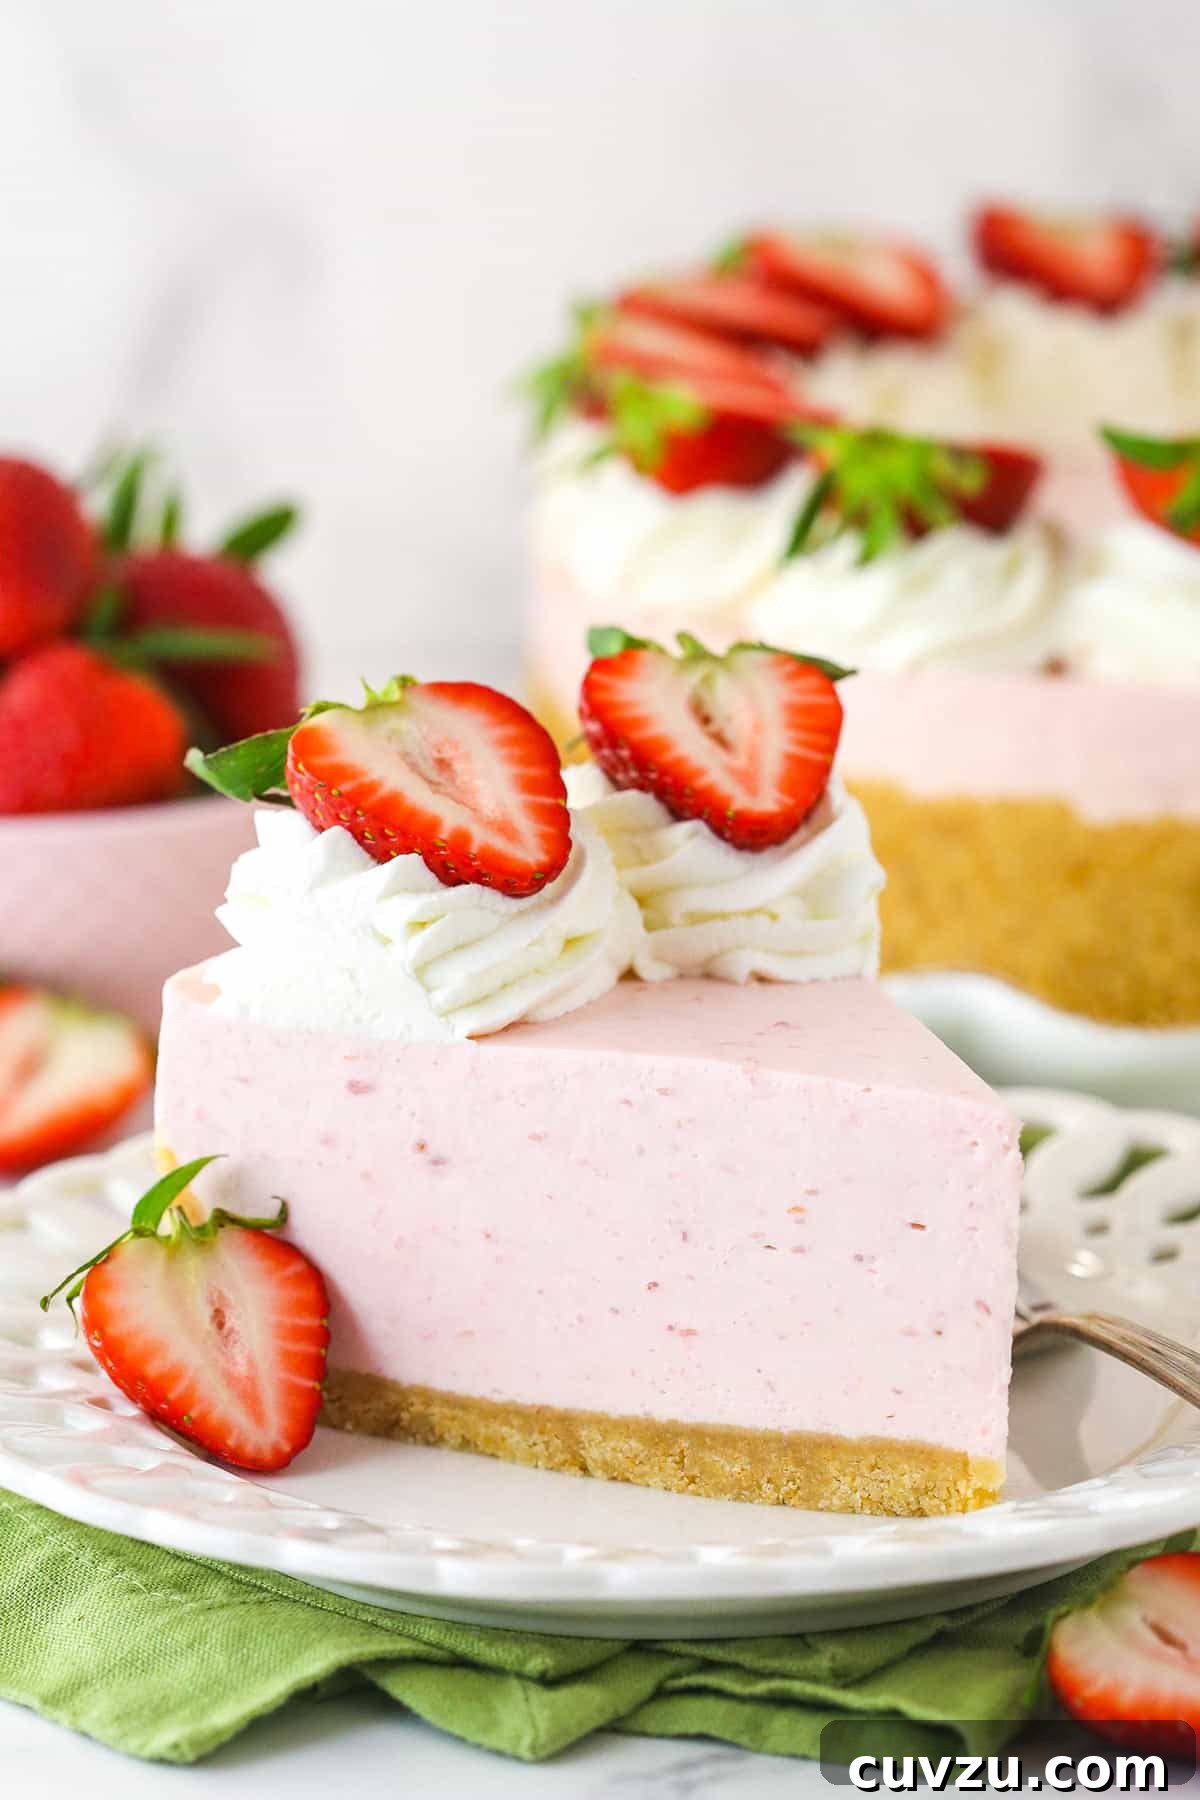
Irresistibly Easy No-Bake Strawberry Cheesecake: Your Ultimate Summer Dessert
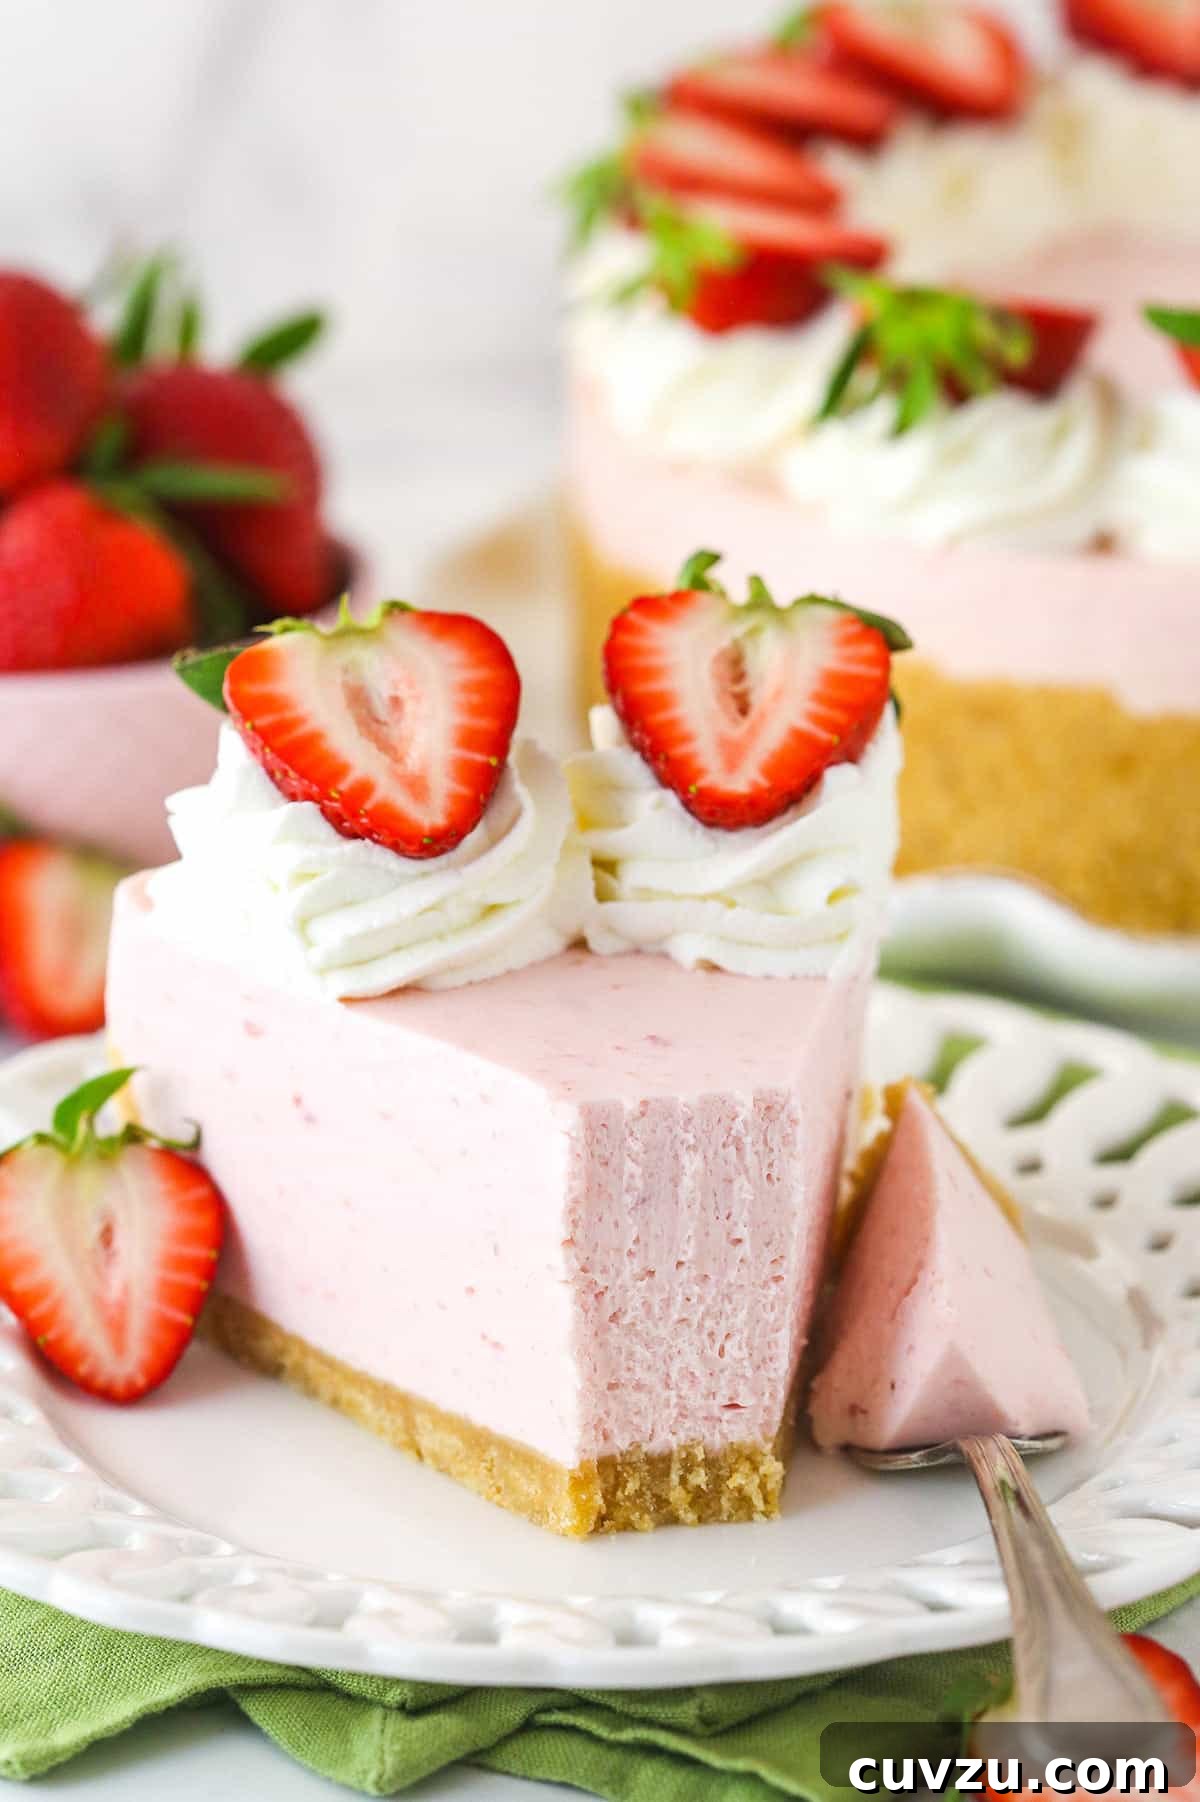
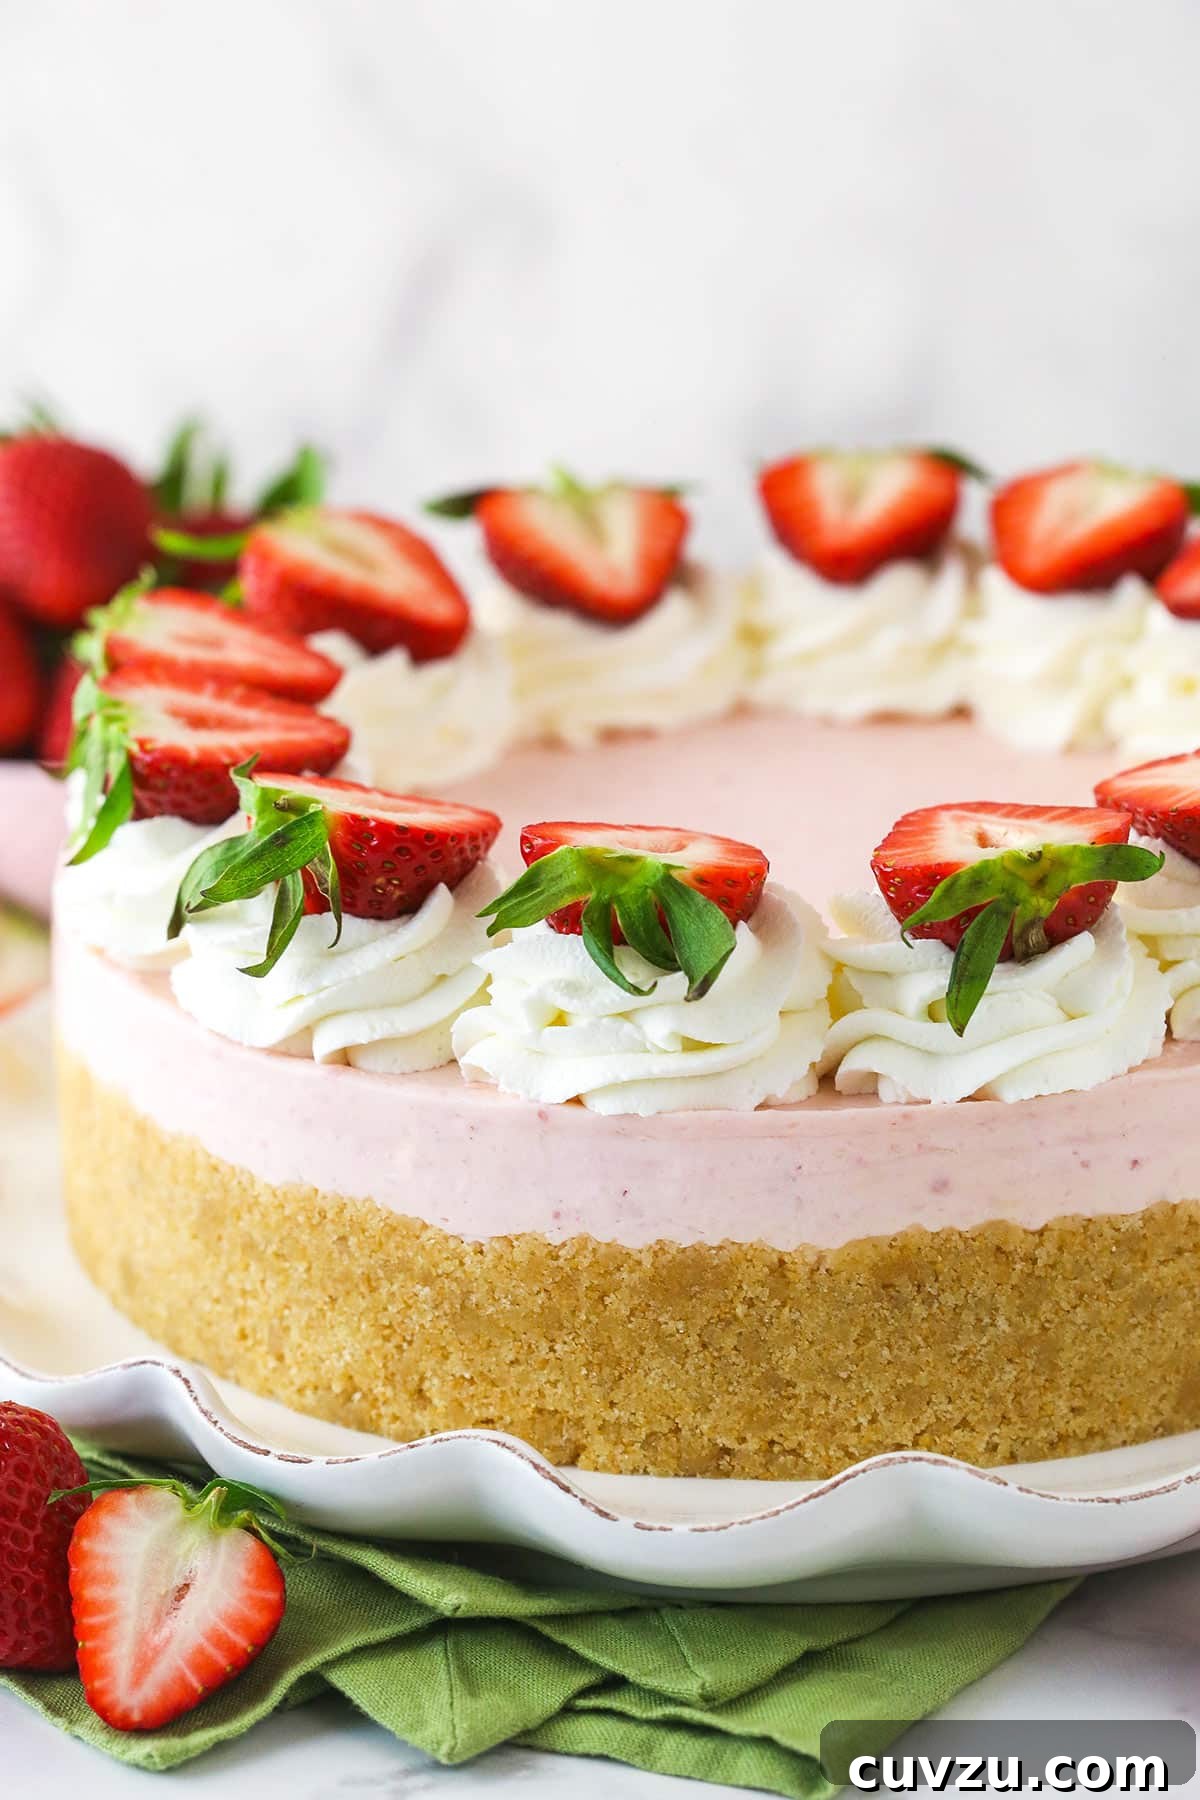
Prepare to fall in love with the ultimate summer dessert: this incredibly easy no-bake strawberry cheesecake. Forget turning on your oven during those sweltering months; this recipe delivers pure indulgence without the heat. Crafted with a delightful buttery vanilla wafer crust and a luxuriously creamy, real strawberry filling, every bite is a burst of fresh, vibrant berry flavor. It’s the perfect treat for picnics, potlucks, or simply satisfying your sweet tooth on a warm day.
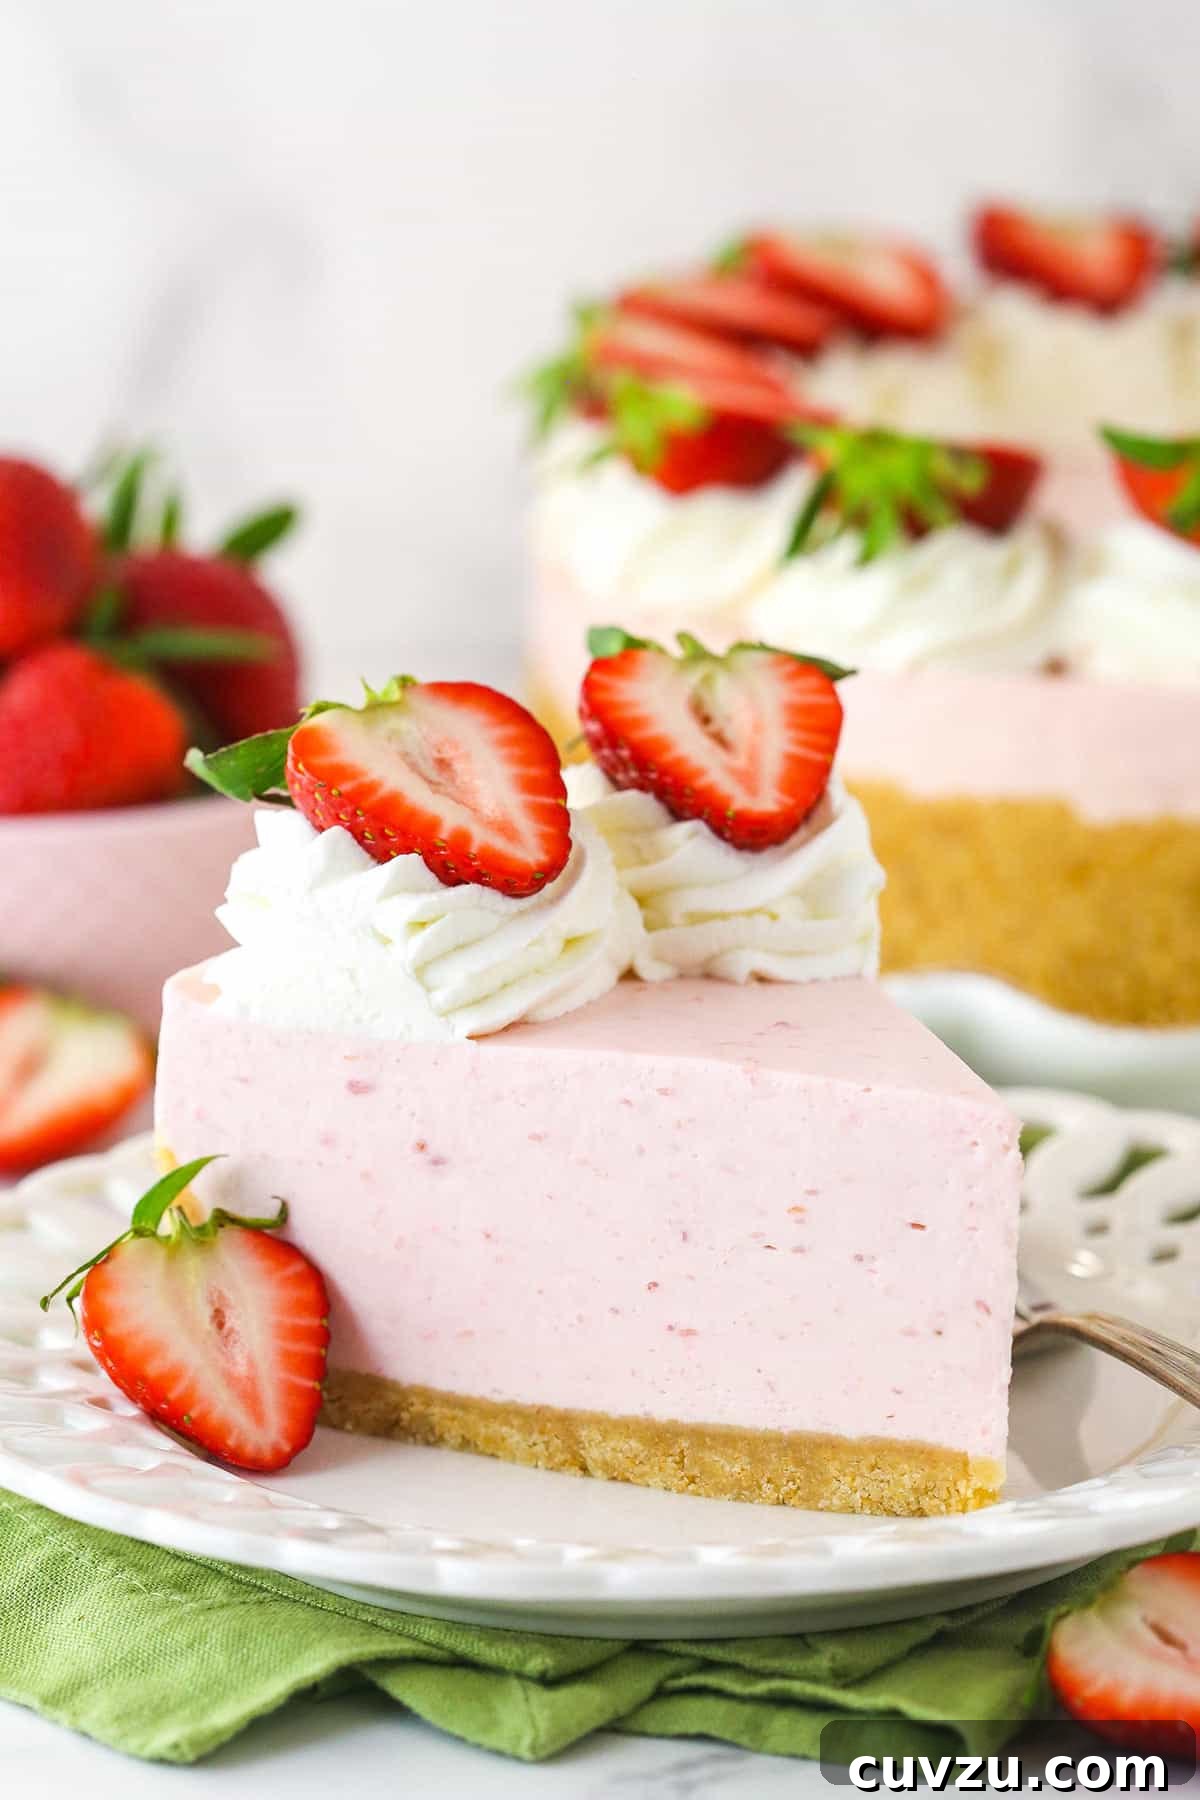
Why This No-Bake Strawberry Cheesecake Will Become Your Favorite
With summer in full swing, there’s nothing quite like a refreshing, fruit-packed dessert to brighten your day. This strawberry cheesecake isn’t just loaded with authentic strawberry flavor; it’s also remarkably simpler and less daunting to prepare than traditional baked cheesecakes. Here are several compelling reasons why this recipe will quickly earn a permanent spot in your dessert repertoire:
- Velvety Smooth and Wonderfully Thick Texture: The texture of this no-bake marvel is truly something special. We achieve a wonderfully thick and creamy consistency thanks to generous amounts of rich cream cheese. This is perfectly balanced by airy, homemade whipped cream gently folded into the mixture, adding an irresistible lightness. A touch of gelatin also plays a crucial role, helping to stabilize the filling and ensure it holds its shape beautifully, allowing you to infuse it with abundant strawberry flavor without compromising its luscious mouthfeel.
- Explosive Real Strawberry Flavor: Every ounce of delightful strawberry taste in this dessert comes purely from fresh, ripe strawberries. We don’t rely on artificial extracts here. The berries are gently cooked down and slightly thickened, a process that intensifies their natural sweetness and concentrates their summery essence. This vibrant strawberry puree permeates the entire filling, creating a naturally delicious and authentic berry experience that truly shines.
- Effortless Elegance: Quick, Easy, and No Oven Required: While classic cheesecakes can be intimidating with their water baths and crack-prevention tactics, this no-bake version is refreshingly accessible. You’ll spend significantly less time and effort on this dessert compared to its baked counterparts, making it perfect for busy schedules or when you simply want a stress-free baking experience. The best part? Despite its simplicity, it’s every bit as delicious and impressive, offering a flawless dessert that’s ideal for warm weather gatherings.
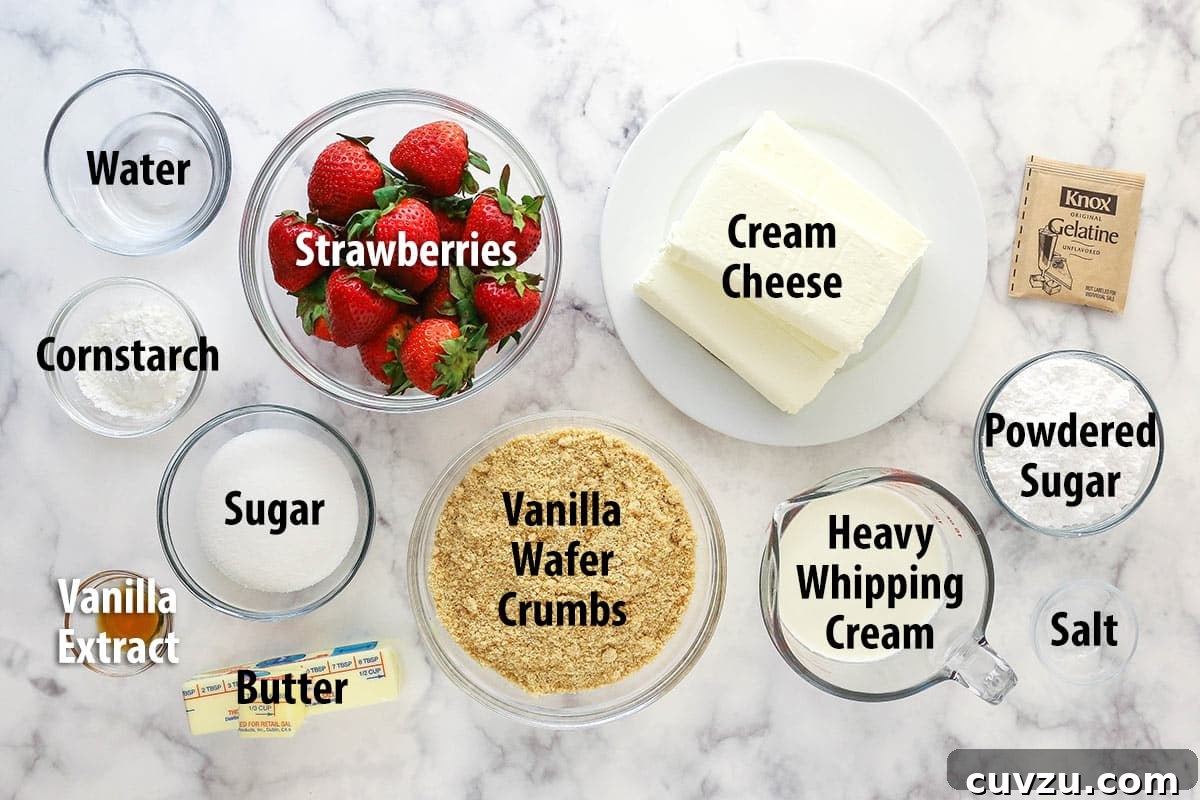
Essential Ingredients for Your Summer Strawberry Delight
Crafting this summery no-bake strawberry cheesecake requires a few key ingredients, each playing a vital role in achieving its perfect flavor and texture. For precise measurements, be sure to consult the detailed recipe card at the end of this article. Here’s a breakdown of what you’ll need:
For the Irresistible Crust
- Vanilla Wafer Crumbs: These form the base of our cheesecake, offering a delicate vanilla flavor and satisfying crunch. For a slight variation and a more traditional cheesecake base, you could easily substitute these with graham cracker crumbs, creating a classic graham cracker crust.
- Granulated Sugar: A touch of sugar is added to the crust to provide a subtle sweetness that complements the filling.
- Salt: Just a pinch of salt helps to enhance the flavors of the crust, balancing the sweetness and adding depth.
- Unsalted Butter: Melted unsalted butter is the binding agent that holds all the crust ingredients together, creating a firm and flavorful foundation.
For the Luscious Cheesecake Filling
- Fresh Strawberries: The star of the show! High-quality, sweet, and ripe fresh strawberries are absolutely essential, as they are entirely responsible for the intense, natural strawberry flavor in the filling. Pick the best you can find!
- Cornstarch: This acts as a thickener for our strawberry puree, ensuring a robust and well-bodied fruit base that contributes to the cheesecake’s firm yet creamy texture.
- Cold Water: Used to “bloom” the unflavored gelatin, ensuring it dissolves smoothly and activates correctly.
- Unflavored Gelatin: A key ingredient for achieving the perfect no-bake consistency. It helps to set and stabilize the cheesecake filling, giving it structure without the need for baking.
- Cream Cheese: For the smoothest, most lump-free filling, make sure your cream cheese is at room temperature. Always opt for brick-style, full-fat cream cheese; reduced-fat varieties can be softer and may not set as firmly.
- Granulated Sugar: Sweetens the cream cheese base, balancing the tanginess and enhancing the overall dessert flavor.
- Heavy Whipping Cream (Cold): It is crucial that your heavy whipping cream is well-chilled. Cold cream whips up much more effectively, creating the light and airy volume necessary for a perfect filling that won’t fall flat.
- Powdered Sugar: Added to the whipped cream portion of the filling, powdered sugar helps to stabilize it, preventing it from weeping or losing its volume.
- Vanilla Extract: A splash of vanilla extract deepens the flavor profile of the filling, adding a warm, aromatic note that complements the strawberries beautifully.
For the Fluffy Whipped Cream Topping & Garnish
- Heavy Whipping Cream (Cold): Just like for the filling, ensuring your heavy whipping cream for the topping is thoroughly chilled is vital. This guarantees it whips up easily into firm peaks, providing a beautiful and stable garnish.
- Powdered Sugar: This fine sugar not only sweetens the topping but also helps to stabilize the whipped cream, ensuring it holds its piped shape and doesn’t wilt prematurely.
- Vanilla Extract: A touch of vanilla enhances the creamy sweetness of the topping.
- Fresh Strawberries: Sliced or whole, fresh strawberries are the ideal garnish, adding a pop of color, texture, and an extra layer of fresh fruit flavor to your finished cheesecake.
Step-by-Step Guide: Crafting Your No-Bake Strawberry Cheesecake
Creating this delightful no-bake strawberry cheesecake is a straightforward process when you follow these clear steps. For detailed instructions and measurements, remember to refer to the recipe card below.
Phase 1: Preparing the Buttery Crust
- Preparation is Key: Begin by lining the bottom of a 9-inch springform pan with a circle of parchment paper. This will ensure easy removal later. Lightly grease the sides of the pan to prevent sticking.
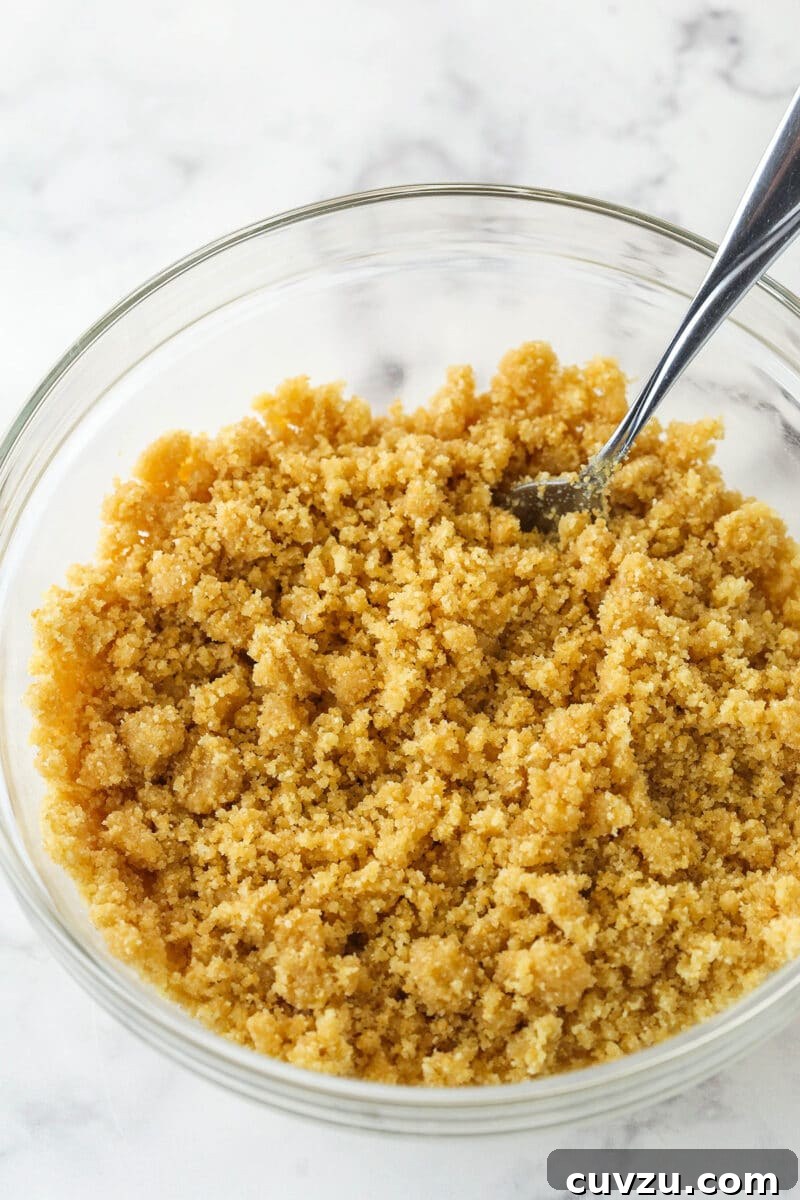
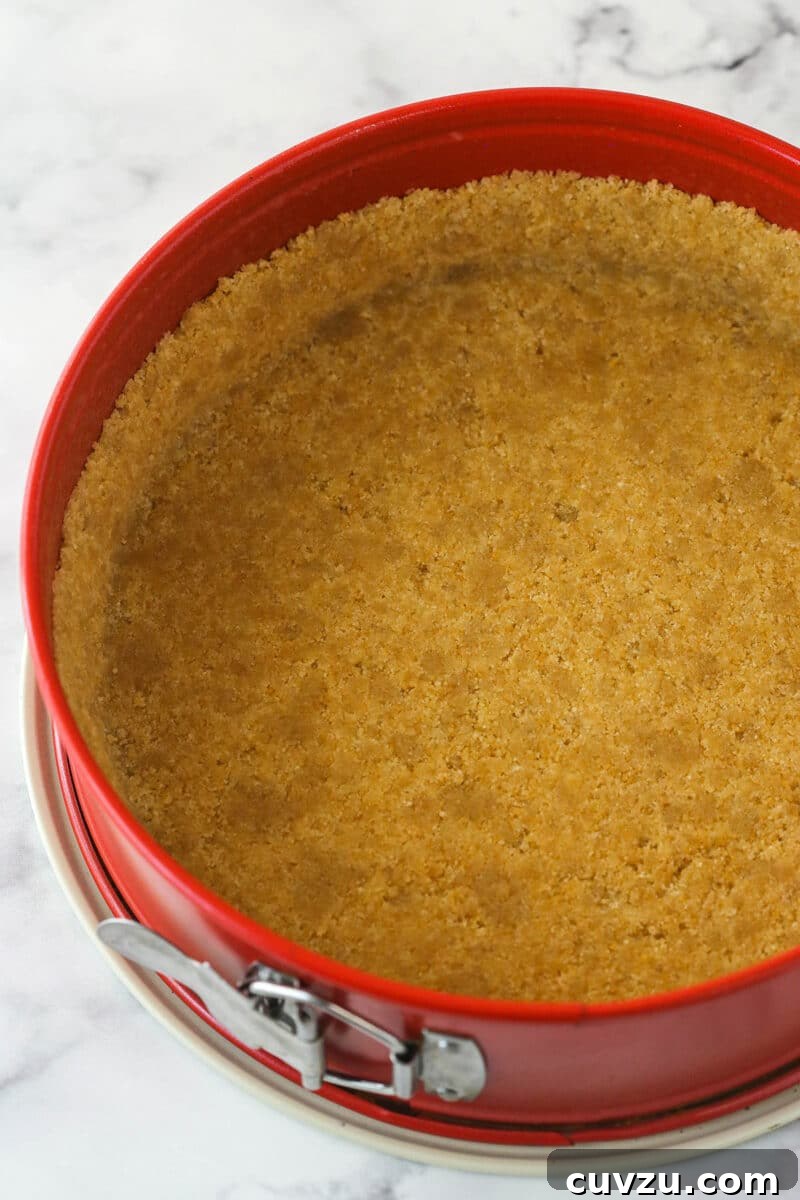
- Combine and Press: In a medium bowl, thoroughly mix your vanilla wafer crumbs, sugar, and salt. Pour in the melted unsalted butter and stir until all the crumbs are evenly moistened. Press this mixture firmly and evenly into the bottom and slightly up the sides of your prepared springform pan. Use the flat bottom of a glass or your knuckles to compact it well.
- Chill to Set: Place the crust in the refrigerator to chill while you prepare the luscious filling. This step helps the butter solidify, creating a sturdy base.
Phase 2: Crafting the Creamy Strawberry Filling
- Puree the Strawberries: Wash and hull your fresh strawberries, then place them into a food processor or blender. Process until you achieve a completely smooth puree.
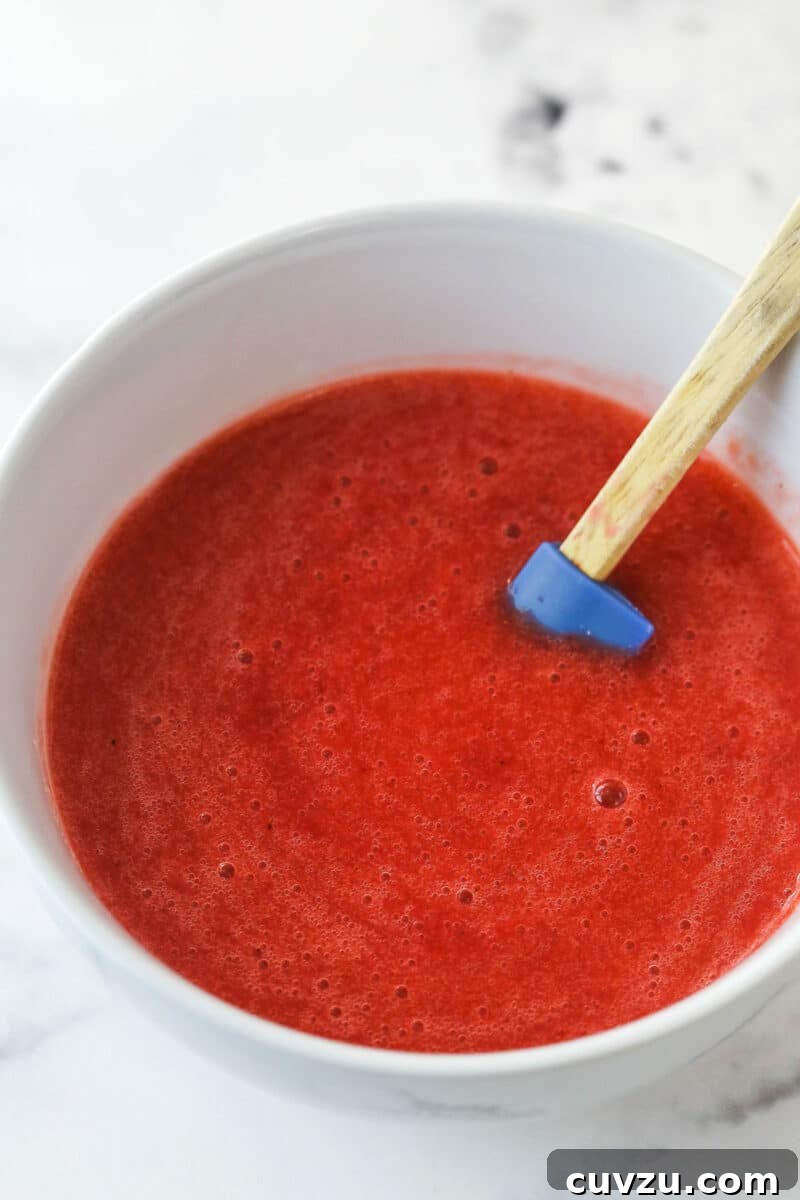
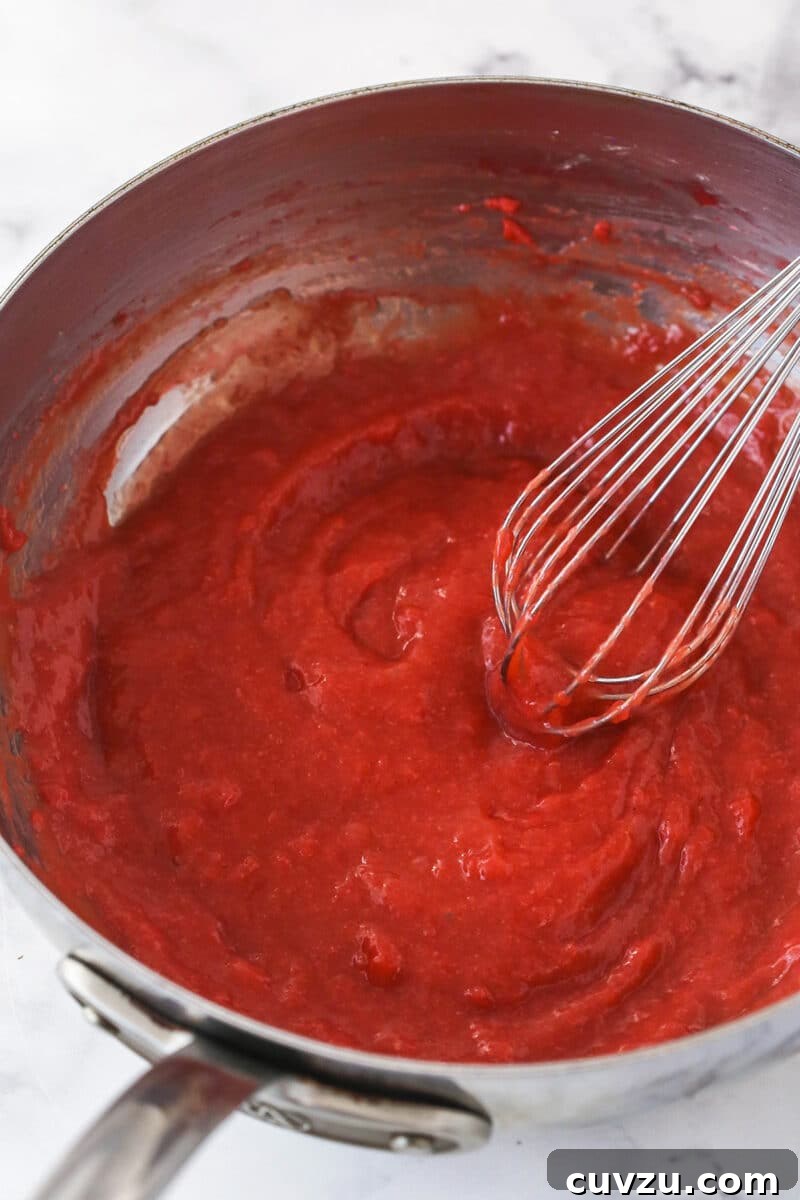
- Cook and Thicken: Transfer the strawberry puree to a medium to large saucepan. Stir in the cornstarch until well combined. Cook this mixture over medium heat, stirring continuously with a whisk or rubber spatula. Continue stirring until the mixture begins to thicken and bubble, which should take approximately 5 to 10 minutes. Reduce the heat to medium-low and allow the strawberry mixture to gently simmer for 1-2 minutes longer. This step deepens the strawberry flavor and ensures proper thickening. Remove from heat, pour into a clean bowl, and set aside to cool slightly at room temperature.
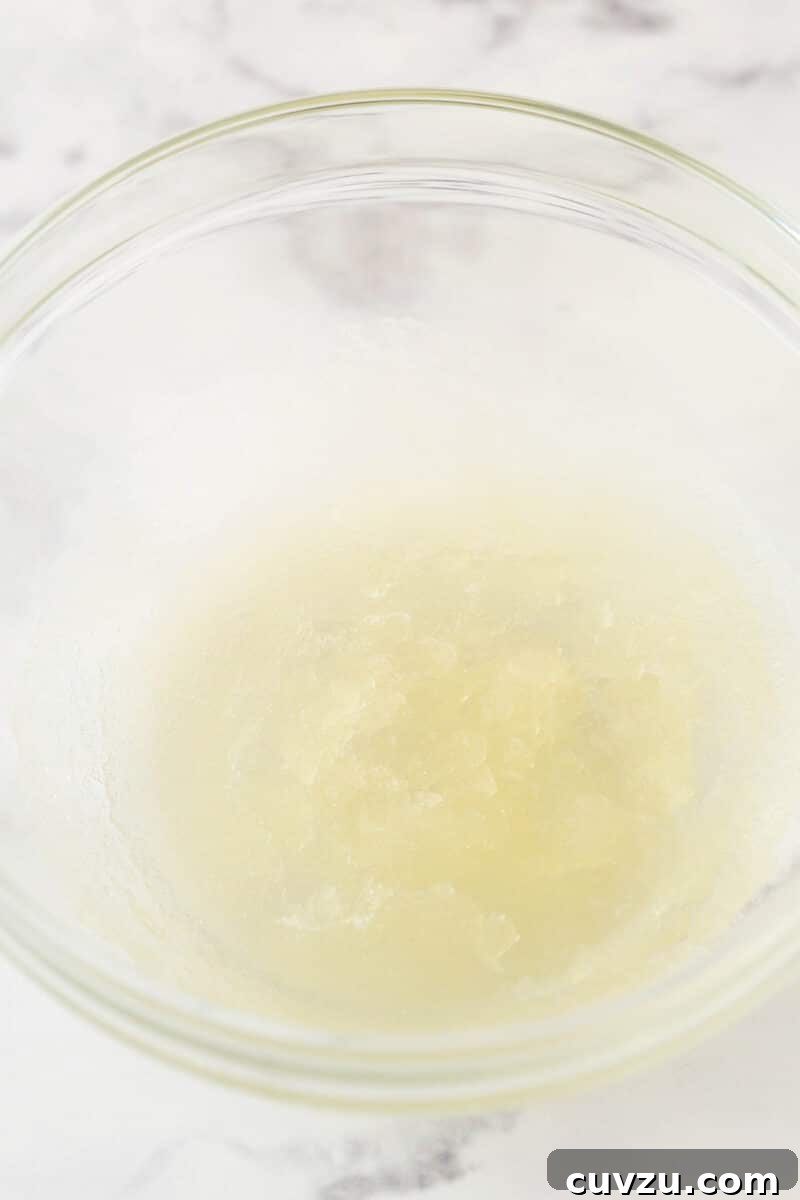
- Activate the Gelatin: In a separate small bowl, pour the cold water and then evenly sprinkle the unflavored powdered gelatin over the surface. Allow it to sit undisturbed for about 5 minutes; this is called “blooming” and allows the gelatin to soften. Once bloomed, microwave the gelatin mixture in 10-second increments, stirring thoroughly after each interval, until the gelatin is completely melted and smooth with no granules remaining.
- Combine Strawberry and Gelatin: Pour the melted gelatin mixture into the still-warm strawberry puree and stir vigorously until fully incorporated. Set this enhanced strawberry mixture aside to cool further while you prepare the cream cheese base. It needs to be cool, but not entirely set, before adding to the cream cheese.
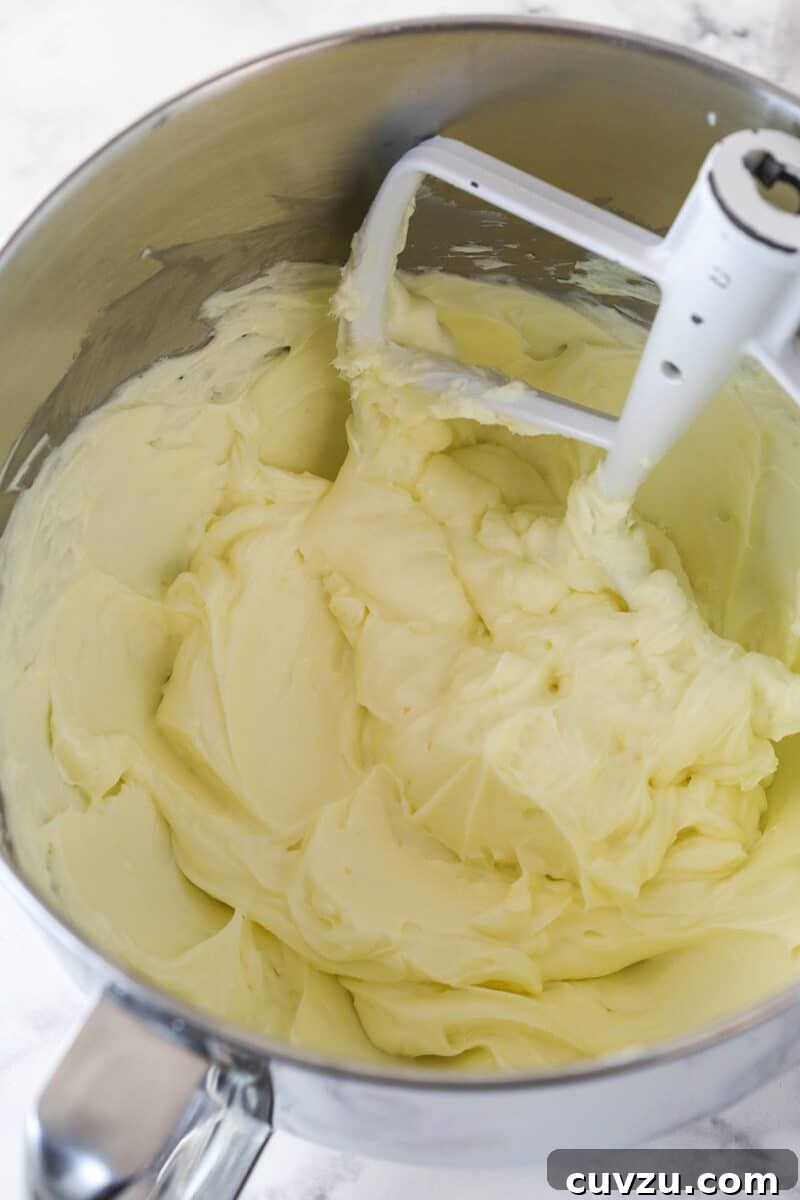
- Create the Cream Cheese Base: In a large mixing bowl, using an electric mixer, beat the room temperature cream cheese and sugar together until the mixture is perfectly smooth and free of lumps. This is crucial for a silky cheesecake.
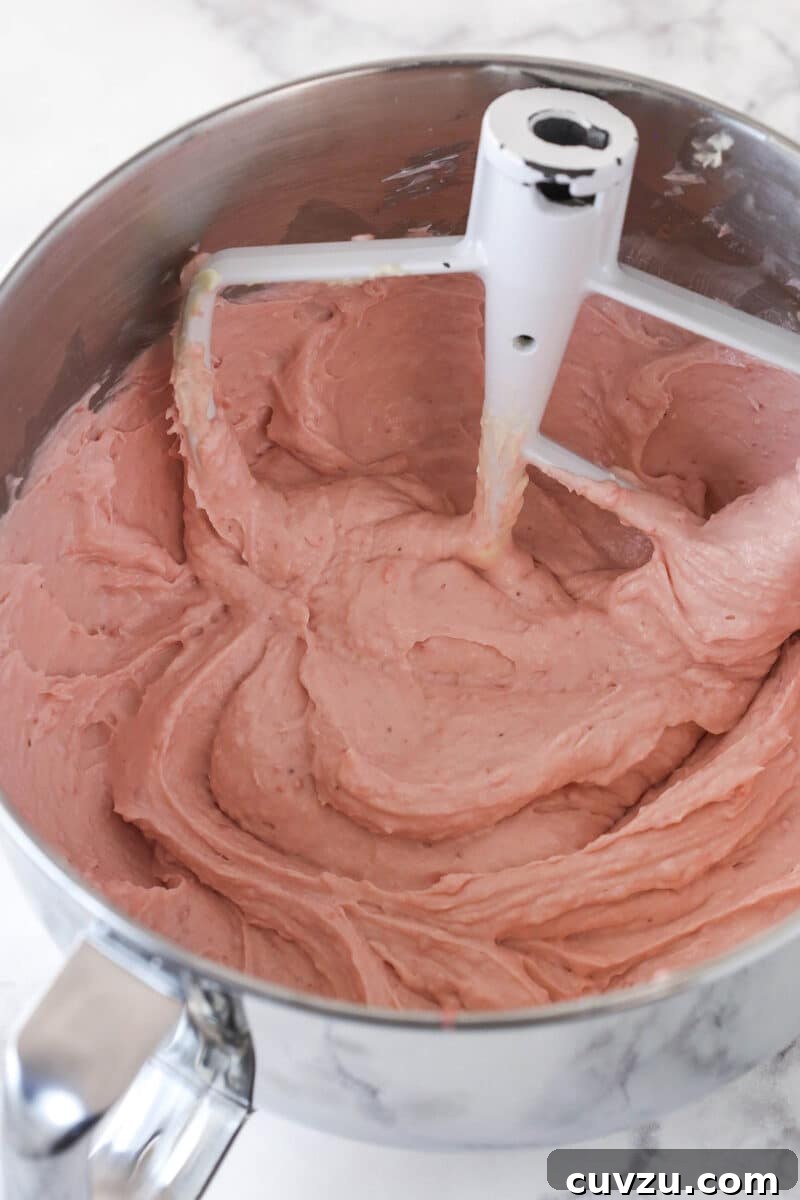
- Gradually Incorporate Strawberry: Add about one-third of the cooled strawberry-gelatin mixture to the cream cheese mixture and beat until thoroughly combined and smooth. Repeat this process two more times, adding the remaining strawberry mixture in thirds, beating well after each addition. Incorporating the strawberry mixture in parts ensures it fully integrates without any lumps, resulting in a beautifully uniform pink filling.
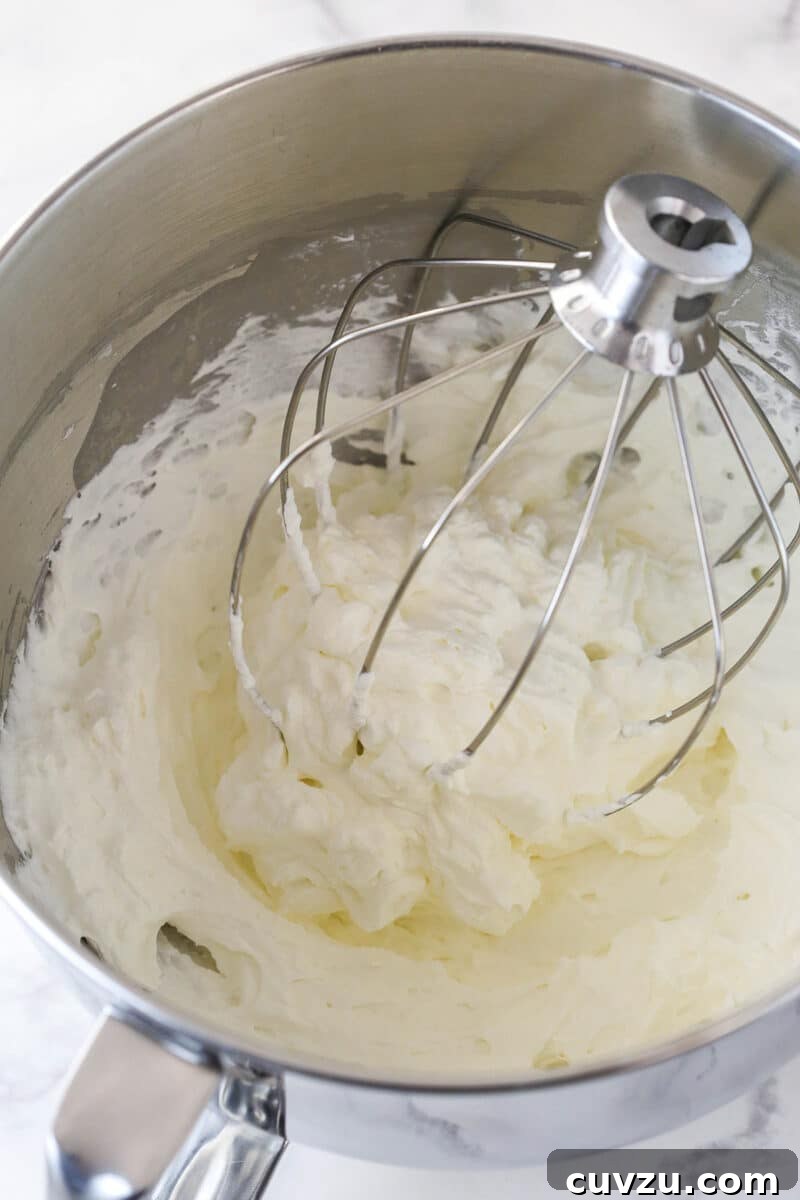
- Whip the Cream: In a separate, clean large mixer bowl, add the very cold heavy whipping cream, powdered sugar, and vanilla extract. Whip on high speed until stiff peaks form. The cream should be thick and hold its shape.
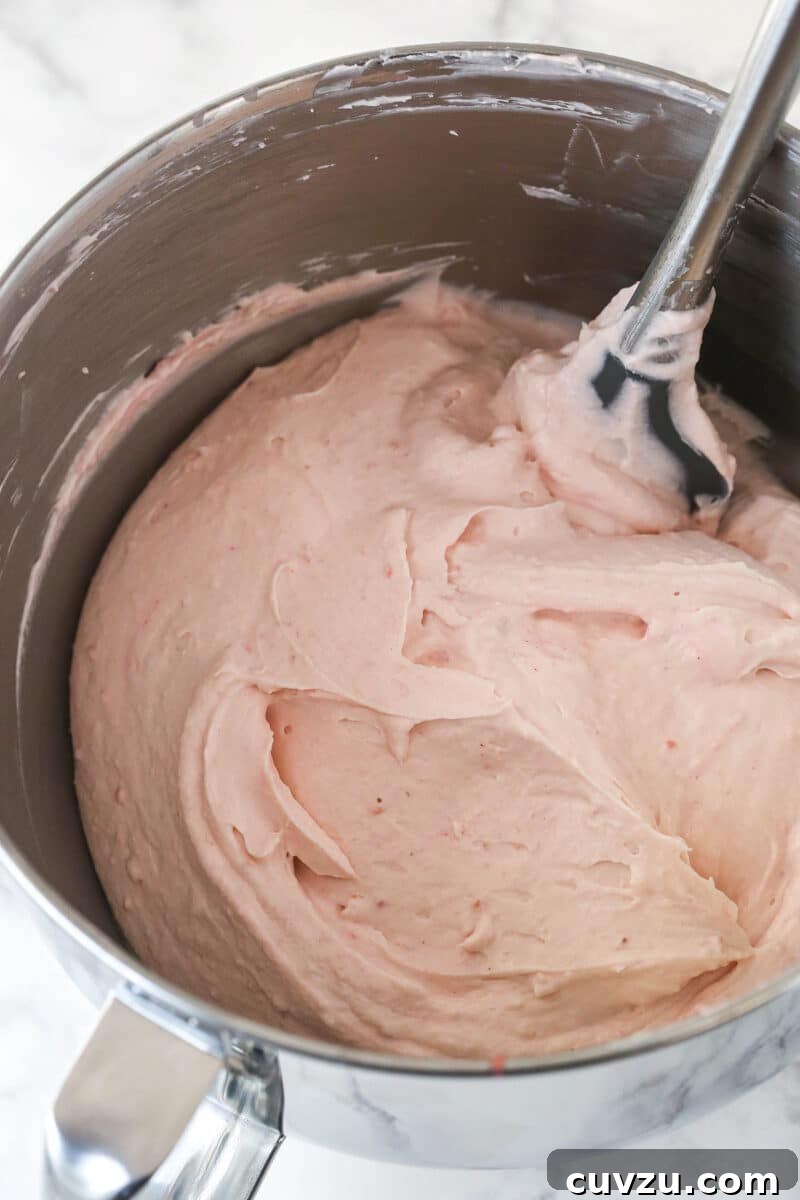
- Gently Fold: With a rubber spatula, carefully fold the whipped cream into the cream cheese and strawberry mixture in two stages. Be gentle but thorough, aiming to incorporate the whipped cream without deflating it. This step is vital for achieving the airy lightness of the cheesecake.
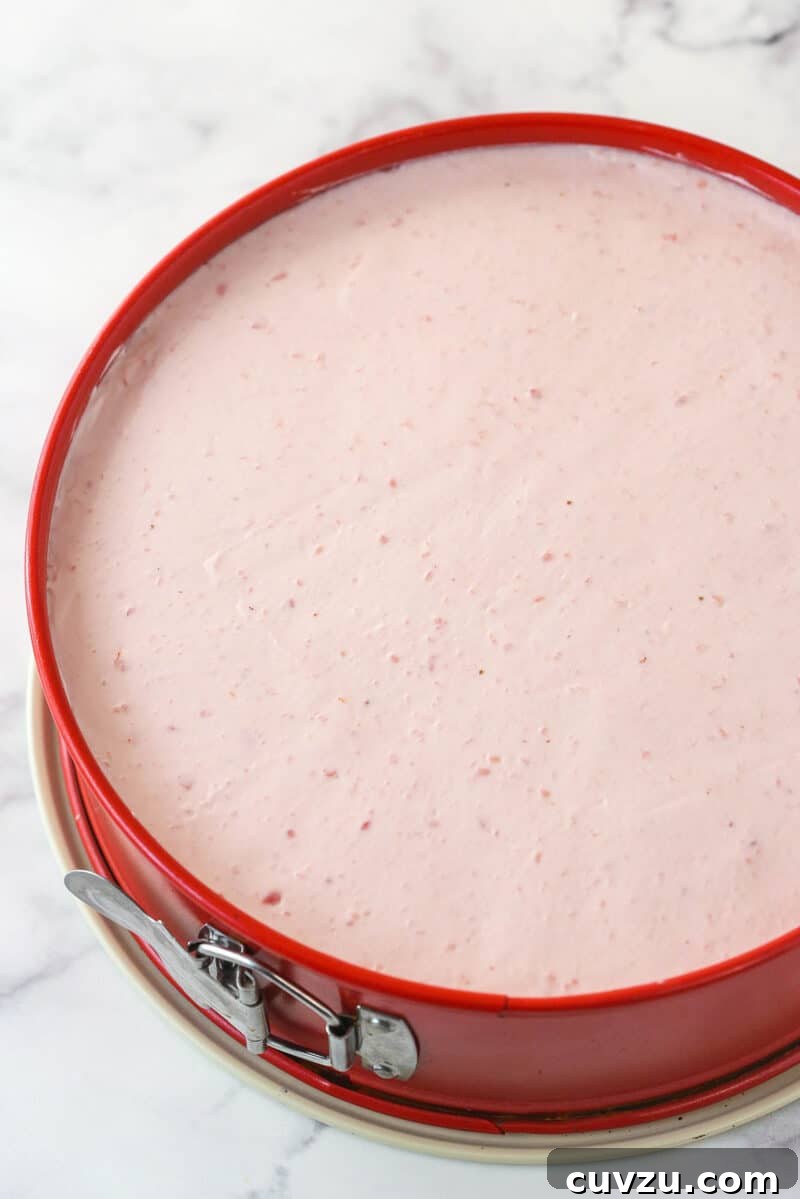
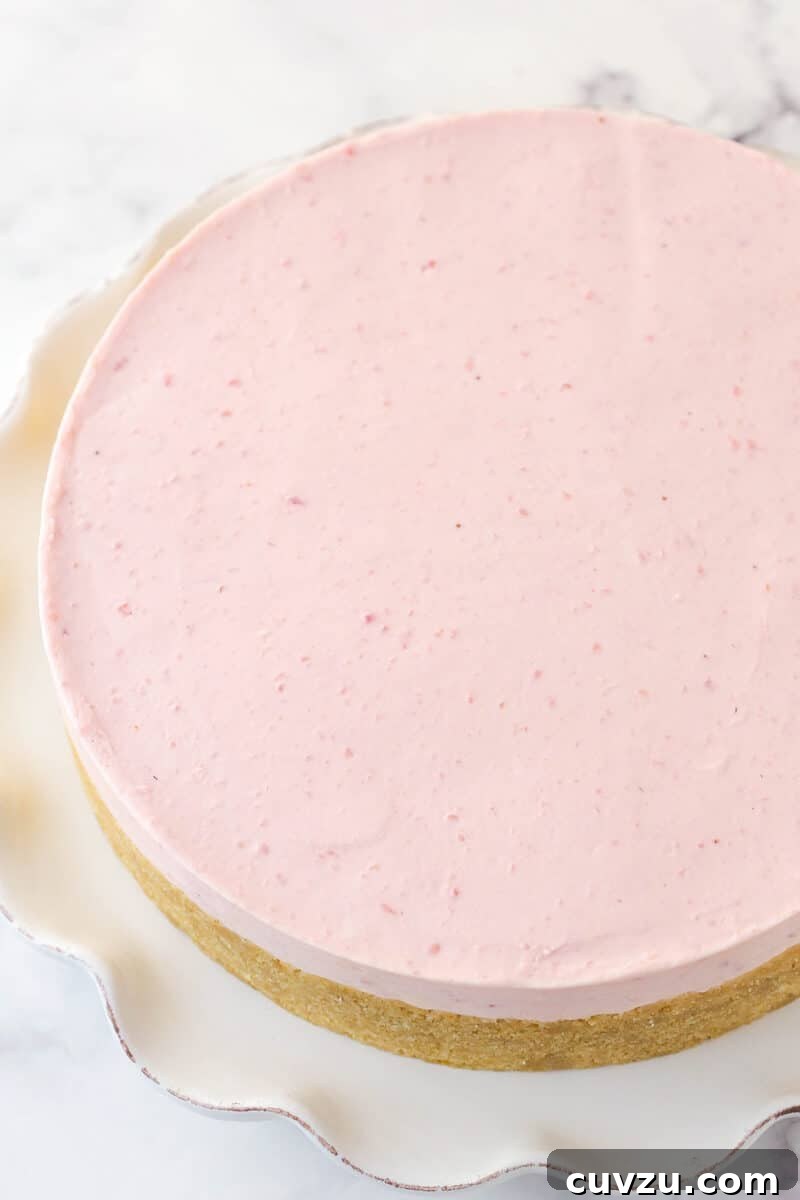
- Chill for Perfection: Carefully spread the prepared filling evenly over the chilled crust in the springform pan. Cover the cheesecake loosely with plastic wrap and refrigerate for a minimum of 5 hours, or ideally, overnight. This chilling time is essential for the cheesecake to firm up completely and achieve its stable, sliceable consistency.
Phase 3: Whipped Cream Topping and Final Assembly
- Unmold and Transfer: Once the cheesecake is thoroughly chilled and firm, carefully run a thin knife around the edge of the pan before releasing the springform. Transfer the cheesecake to your chosen serving platter.
- Prepare the Topping: In a large mixer bowl, combine the additional cold heavy whipping cream, powdered sugar, and vanilla extract designated for the topping. Whip on high speed until stiff peaks form.
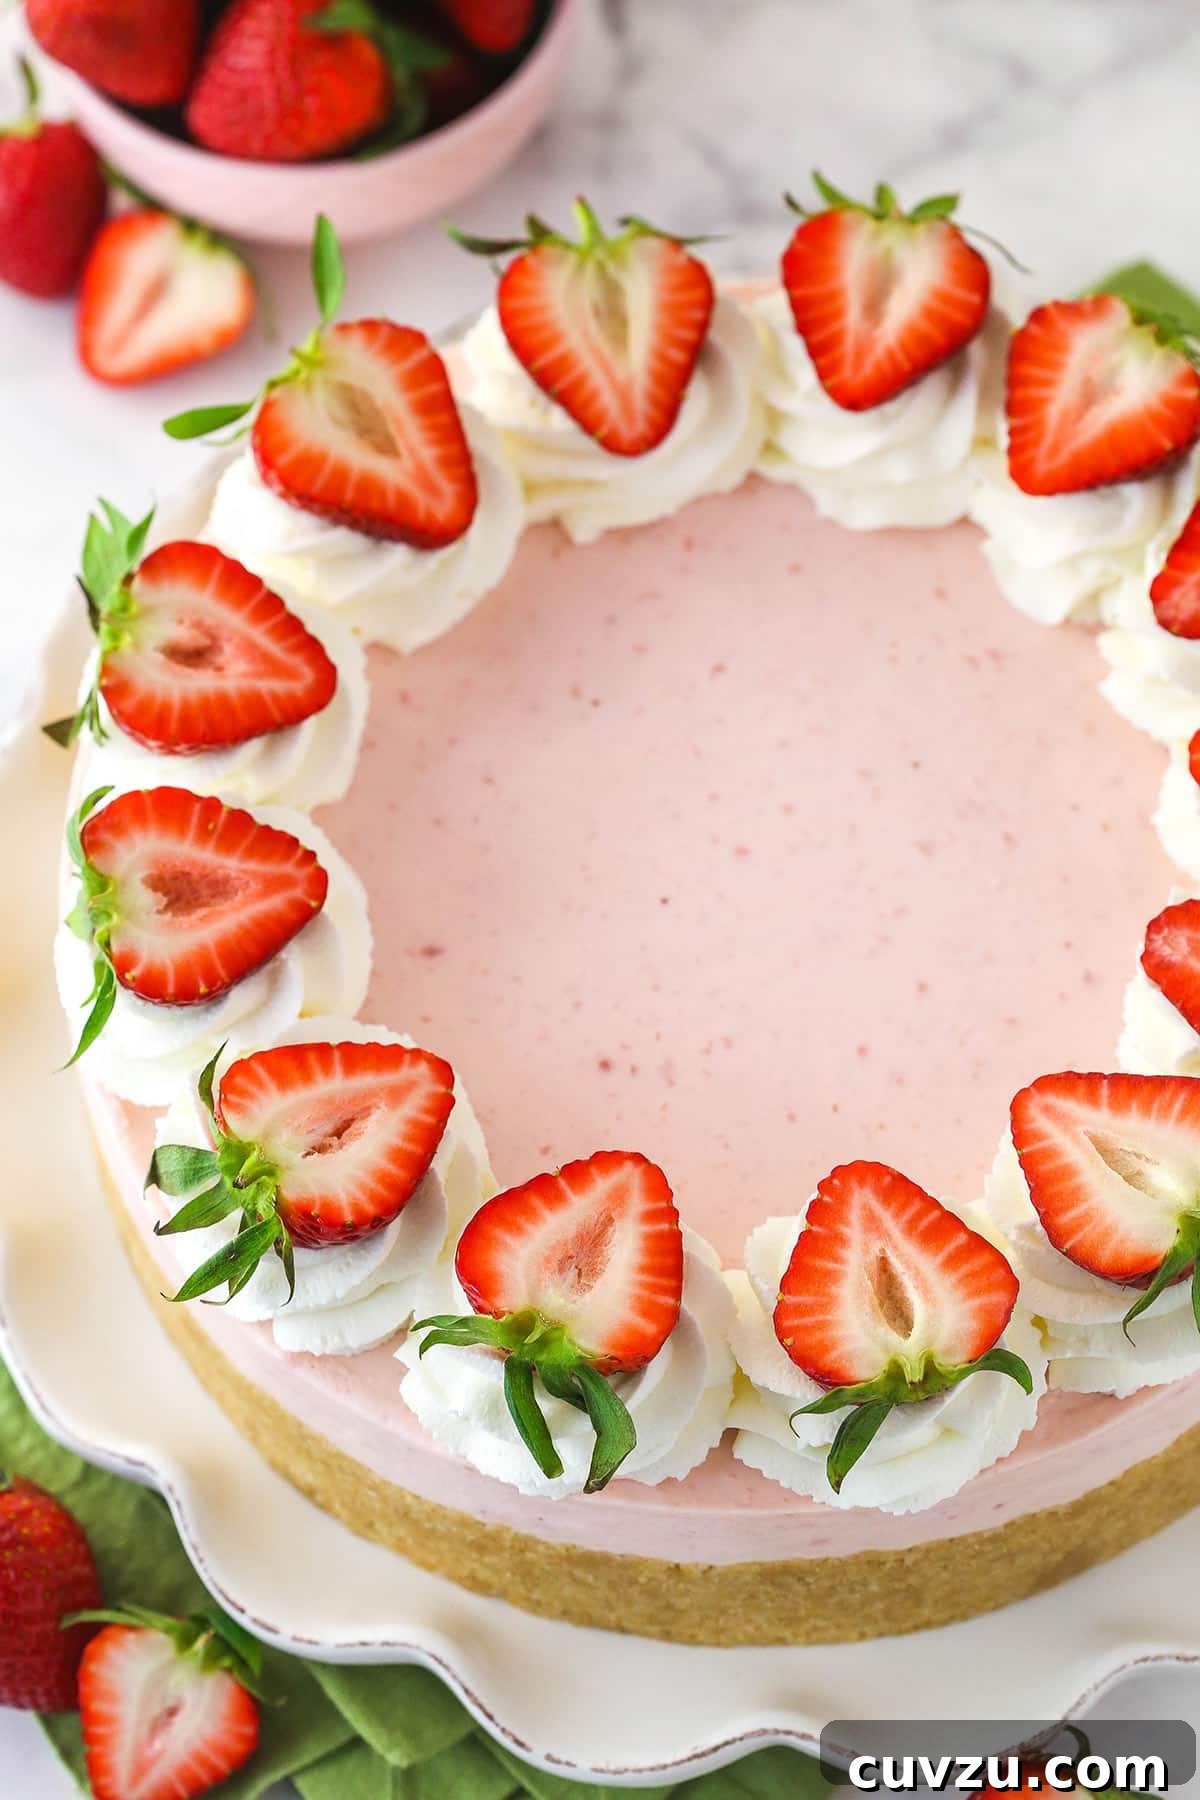
- Decorate with Flair: Using a piping bag fitted with your favorite decorative tip (or simply a spoon), pipe beautiful swirls of whipped cream around the edge of the cheesecake. For a truly irresistible finish, top the cheesecake generously with freshly sliced strawberries.
- Final Chill: Refrigerate the decorated cheesecake until you are ready to serve it. This keeps the topping fresh and the cheesecake perfectly chilled for optimal enjoyment.
Planning Ahead: Can This No-Bake Cheesecake Be Prepared in Advance?
Absolutely! This no-bake strawberry cheesecake is an excellent candidate for make-ahead preparations, which makes it an ideal dessert for entertaining or busy weeks. Cheesecakes, especially no-bake varieties, tend to keep very well in the refrigerator. You can assemble the entire cake – with the exception of the fresh strawberries for the top garnish – and store it securely in the refrigerator for up to 4 days before you plan to serve it. The ample chilling time actually enhances the flavors and ensures a perfectly set texture.
There’s no need to worry about the whipped cream topping collapsing or losing its charm by the time you’re ready to serve. Our recipe is designed to produce a very stable whipped cream that holds up beautifully in the refrigerator. Just before serving, add your fresh strawberries for that vibrant pop of color and freshness. For more detailed instructions on how to best preserve your cheesecake, refer to the “How to Store” section below.
Mastering Your No-Bake Cheesecake: Expert Tips for Success
Before you embark on making this delightful strawberry cheesecake, take a moment to review these handy tips and tricks. They’ll help you navigate the process like a seasoned pro, ensuring your no-bake cheesecake is nothing short of spectacular.
- Be Discerning with Your Strawberries: The heart of this dessert’s incredible flavor lies entirely in the quality of your strawberries. Since we’re relying purely on real fruit and no artificial extracts, selecting the best berries is paramount. Look for strawberries that are bright, uniformly red, and emit a sweet, fragrant aroma. These indicate ripeness and will deliver the most intense and authentic strawberry taste to your cheesecake.
- Temperature Control is Crucial (Hot and Cold): Getting the ingredient temperatures right is one of the most important secrets to a flawless no-bake cheesecake. Ensure that both the heavy cream for the filling and the topping are thoroughly chilled; cold cream whips up faster and holds its volume much better, which is essential for a light and airy texture. Conversely, the cream cheese should be at perfect room temperature. This allows it to beat smoothly with the sugar, preventing lumps and ensuring it incorporates easily with the other ingredients. Correct temperatures will significantly contribute to a silky-smooth, lump-free filling and help prevent over-mixing.
- Slow and Steady Wins the Race (Folding Technique): When it comes to incorporating the strawberry mixture into the cream cheese base, patience is a virtue. Add the strawberry puree in small parts (thirds, as instructed) and beat well after each addition. This might take a little longer, but it guarantees that the vibrant strawberry flavor is fully and evenly distributed throughout the cream cheese, leaving no unmixed pockets or lumps. This meticulous approach ensures a consistently delicious cheesecake.
- The Golden Rule: Don’t Over-Mix: Once you begin folding the whipped cream into the cream cheese/strawberry mixture, it’s vital to do so gently and avoid over-mixing. The goal is to incorporate the whipped cream while preserving its airy volume. Over-mixing will deflate the whipped cream, leading to a denser, less appealing cheesecake filling that might fall flat or become too soft. Fold just until no streaks of white whipped cream remain.
- Smart Shortcuts for Busy Days: If you find yourself short on time or simply prefer convenience, feel free to use a store-bought whipped topping like Cool Whip instead of making homemade whipped cream. For the filling and topping sections requiring heavy cream, powdered sugar, and vanilla extract, you can replace them with a total of 8 ounces of thawed Cool Whip. This substitution offers a quick and easy alternative without sacrificing too much on the delicious factor.
Storage Solutions: Keeping Your No-Bake Strawberry Cheesecake Fresh
Once your no-bake strawberry cheesecake has fully firmed up in the refrigerator, proper storage is key to maintaining its freshness and delightful texture. For the best results, transfer the entire cake to an airtight cake carrier. If a cake carrier isn’t available, wrap the cheesecake in a double layer of plastic wrap. A useful tip when using plastic wrap over a decorated cake is to insert a few toothpicks into the whipped cream swirls to create a tent, preventing the plastic from sticking to and damaging your beautiful topping. Alternatively, if you’ve already sliced the cake, arrange the slices in a single layer within an airtight container, separating layers with parchment paper if stacking. Regardless of your chosen method, a properly stored no-bake strawberry cheesecake will remain fresh and delicious in the refrigerator for up to 4-5 days.
Freezing for Later: Enjoying Your Cheesecake Long-Term
Yes, you can absolutely freeze this no-bake strawberry cheesecake to enjoy at a later date! For optimal results, I highly recommend freezing it before you add the whipped cream topping and fresh strawberries. Adding these garnishes later ensures they remain fresh, vibrant, and that the berries don’t become mushy upon thawing. To freeze, place the undecorated cheesecake (still in its springform pan or on a solid base) into the freezer for a couple of hours until it’s completely solid. Once firm, remove it from the pan and wrap it tightly in a double layer of plastic wrap, followed by a layer of aluminum foil for extra protection against freezer burn. If you’ve already sliced it, arrange the individual slices in a single layer in an airtight freezer-safe container, using parchment paper between slices if necessary. Your cheesecake can be stored in the freezer for up to 3 months.
When you’re ready to indulge, simply transfer the frozen cheesecake (or individual slices) to the refrigerator and allow it to thaw completely overnight. Once thawed, you can then proceed with making the fresh whipped cream topping, piping elegant swirls, and garnishing with fresh sliced strawberries for a dessert that looks and tastes freshly made.
Explore More No-Bake Cheesecake Delights
Lately, I’ve been completely captivated by the simplicity and deliciousness of no-bake cheesecakes. They offer all the creamy indulgence of a traditional cheesecake with none of the oven fuss. If you’ve enjoyed this strawberry version, I highly recommend trying some of my other favorite no-bake recipes. Happy dessert making!
- No-Bake Oreo Cheesecake
- Perfect No-Bake Cheesecake
- No Bake Nutella Cheesecake
- No Bake Blueberry Cheesecake
- No Bake Cherry Almond Cheesecake
- No Bake Mini Oreo Cheesecakes
Visual Guide: Watch How to Make This Cheesecake
Read Transcript
No-Bake Strawberry Cheesecake Recipe Card
This easy No-Bake Strawberry Cheesecake recipe is bursting with real strawberry flavor! Thanks to a combination of gelatin and a cooked strawberry mixture, it boasts an incredibly thick and creamy texture that makes it utterly irresistible. It’s the quintessential strawberry dessert for spring and summer gatherings.
- Author: Lindsay Conchar
- Prep Time: 2 hours 15 minutes
- Chill Time: 6 hours
- Total Time: 8 hours 15 minutes
- Yield: 12–14 slices
- Category: Dessert
- Method: No Bake
- Cuisine: American
Ingredients
For the Crust:
- 2 1/4 cups (302g) vanilla wafer or graham cracker crumbs
- 2 tbsp (26g) granulated sugar
- Pinch of salt
- 10 tbsp (140g) unsalted butter, melted
For the Cheesecake Filling:
- 1 lb fresh strawberries, washed and hulled
- 2 1/2 tbsp (19g) cornstarch
- 2 tbsp cold water
- 2 1/4 tsp | 0.25 oz package unflavored gelatin
- 24 oz (678g) cream cheese, room temperature (full-fat, brick-style recommended)
- 1/2 cup (104g) granulated sugar
- 1 1/4 cups (300ml) heavy whipping cream, cold
- 3/4 cup (86g) powdered sugar
- 1/2 tsp vanilla extract
For the Whipped Cream Topping & Garnish:
- 1 cup (240ml) heavy whipping cream, cold
- 1/2 cup (58g) powdered sugar
- 3/4 tsp vanilla extract
- Fresh strawberries, sliced (for decorating)
Instructions
For the Crust:
- Line a 9-inch (23cm) springform pan with parchment paper on the bottom and lightly grease the sides.
- In a small bowl, combine the vanilla wafer crumbs, 2 tbsp sugar, salt, and melted butter. Mix until all crumbs are moistened.
- Press the mixture firmly and evenly into the bottom and slightly up the sides of the prepared springform pan.
- Place the crust in the refrigerator to chill while you prepare the filling.
For the Filling:
- Add the washed and hulled strawberries to a food processor or blender and puree until completely smooth.
- Transfer the strawberry puree and cornstarch to a medium to large saucepan. Cook over medium heat, stirring constantly, until the mixture begins to thicken and bubble (about 5-10 minutes).
- Reduce heat to medium-low and let the strawberry mixture simmer, bubbling gently for 1-2 minutes. Remove from heat, pour into a bowl, and set aside to cool slightly on the counter.
- In a small bowl, add the cold water and sprinkle the powdered gelatin evenly over the surface. Let it sit for about 5 minutes to bloom.
- Heat the bloomed gelatin in the microwave in 10-second increments, stirring between each, until it is fully melted and smooth. Pour the melted gelatin into the warm strawberry mixture and stir very well to combine. Set aside to cool further.
- In a large mixer bowl, beat the room temperature cream cheese and 1/2 cup granulated sugar together until well combined and smooth, with no lumps.
- Add about 1/3 of the cooled strawberry-gelatin mixture to the cream cheese mixture and beat until thoroughly combined and smooth. Repeat with the second third, and then the final third, ensuring each addition is fully incorporated before adding more.
- In a separate large mixer bowl, combine the 1 1/4 cups cold heavy whipping cream, 3/4 cup powdered sugar, and 1/2 tsp vanilla extract. Whip on high speed until stiff peaks form.
- Carefully fold the whipped cream into the strawberry cream cheese mixture in two parts, gently incorporating it until well combined and no white streaks remain. Avoid over-mixing.
- Pour the filling over the chilled crust in the springform pan and spread into an even layer. Refrigerate the cheesecake for at least 5-6 hours, or preferably overnight, until firm.
For the Whipped Cream Topping and Assembly:
- Once the cheesecake is firm, remove it from the springform pan and carefully transfer it to a serving plate or platter.
- In a large mixer bowl, add the 1 cup cold heavy whipping cream, 1/2 cup powdered sugar, and 3/4 tsp vanilla extract for the topping. Whip on high speed until stiff peaks form.
- Pipe swirls of whipped cream around the edge of the cheesecake using a piping bag, or dollop it on with a spoon.
- Top the cheesecake with freshly sliced strawberries, as desired.
- Refrigerate the cheesecake until ready to serve. It is best enjoyed within 4-5 days.
Chef’s Notes
Cool Whip Alternative: If you prefer to use Cool Whip for convenience, replace the heavy whipping cream, powdered sugar, and vanilla extract (for both the filling and topping) with a total of 8 ounces of thawed Cool Whip.
Nutrition Information (Approximate)
- Serving Size: 1 Slice
- Calories: 445
- Sugar: 28 g
- Sodium: 393.9 mg
- Fat: 31.5 g
- Carbohydrates: 36.1 g
- Protein: 6.3 g
- Cholesterol: 93.5 mg