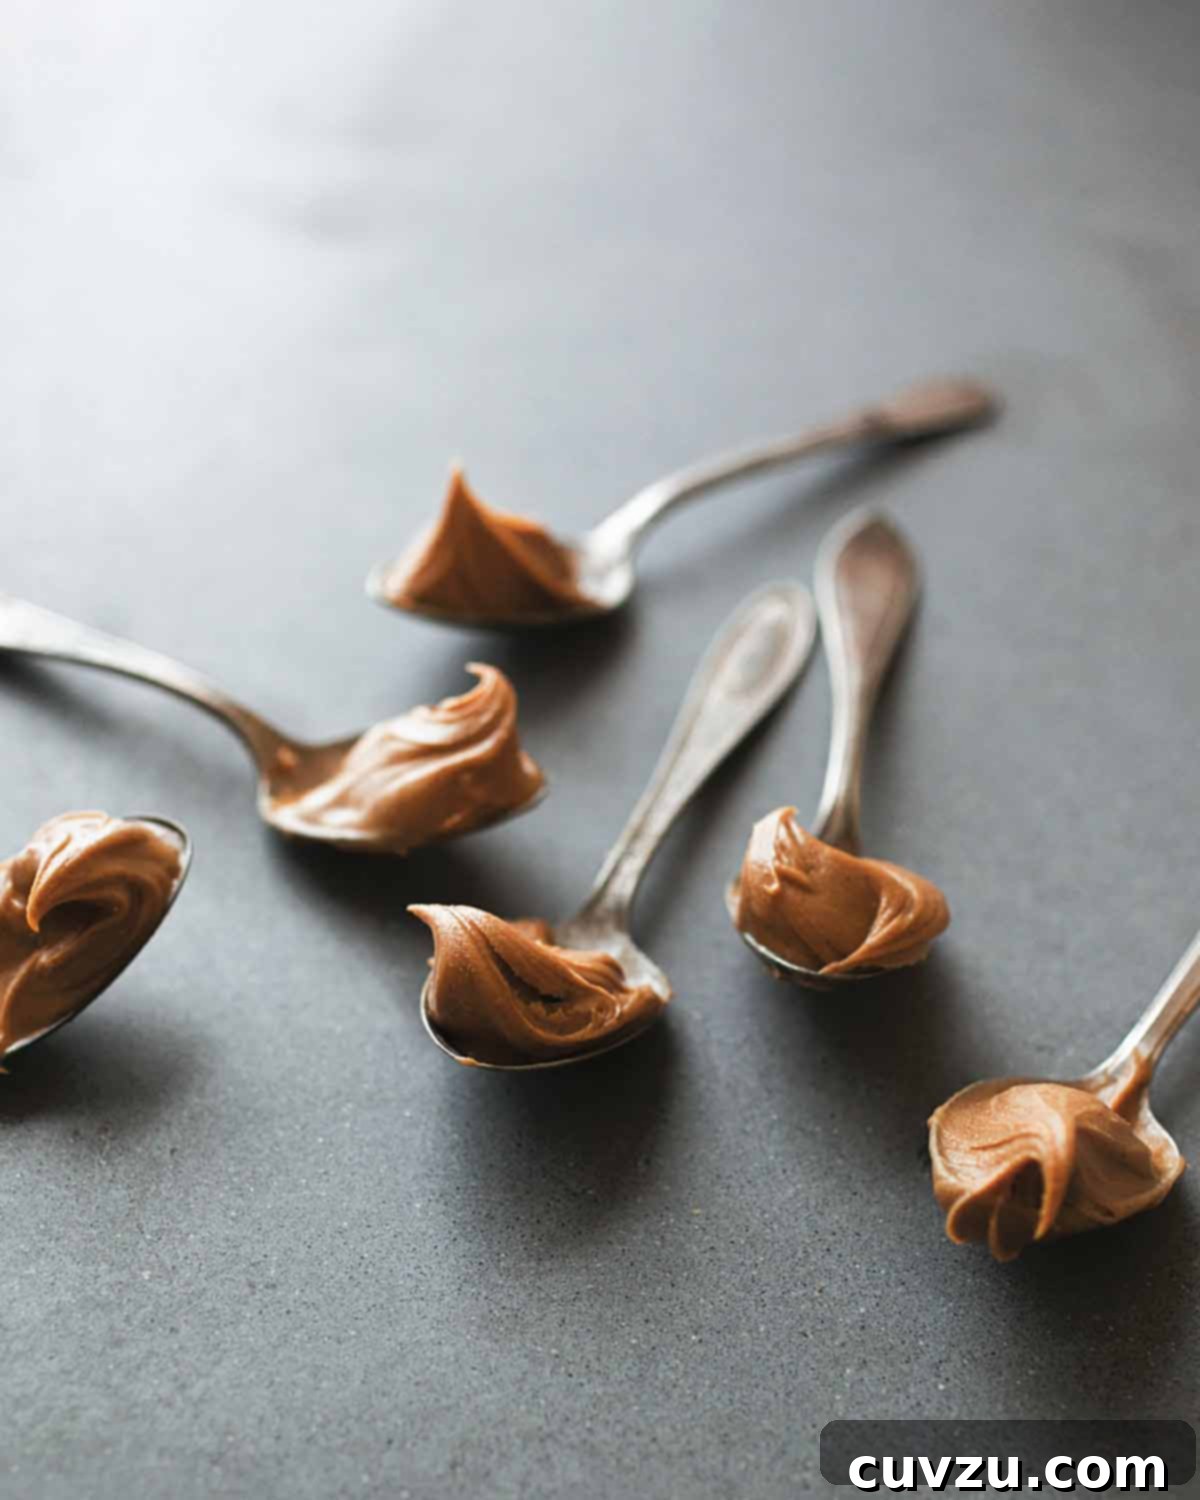
How to Make Homemade Peanut Butter: Your Guide to Wholesome, Delicious Spreads
Tired of store-bought peanut butter filled with unpronounceable ingredients, excessive sugar, and unhealthy oils? Imagine a world where your peanut butter is not only incredibly fresh and delicious but also made with ingredients you can trust. This comprehensive guide will show you how to create your own creamy, healthy, and exceptionally tasty homemade peanut butter with remarkable ease, using just a few simple ingredients and a food processor.
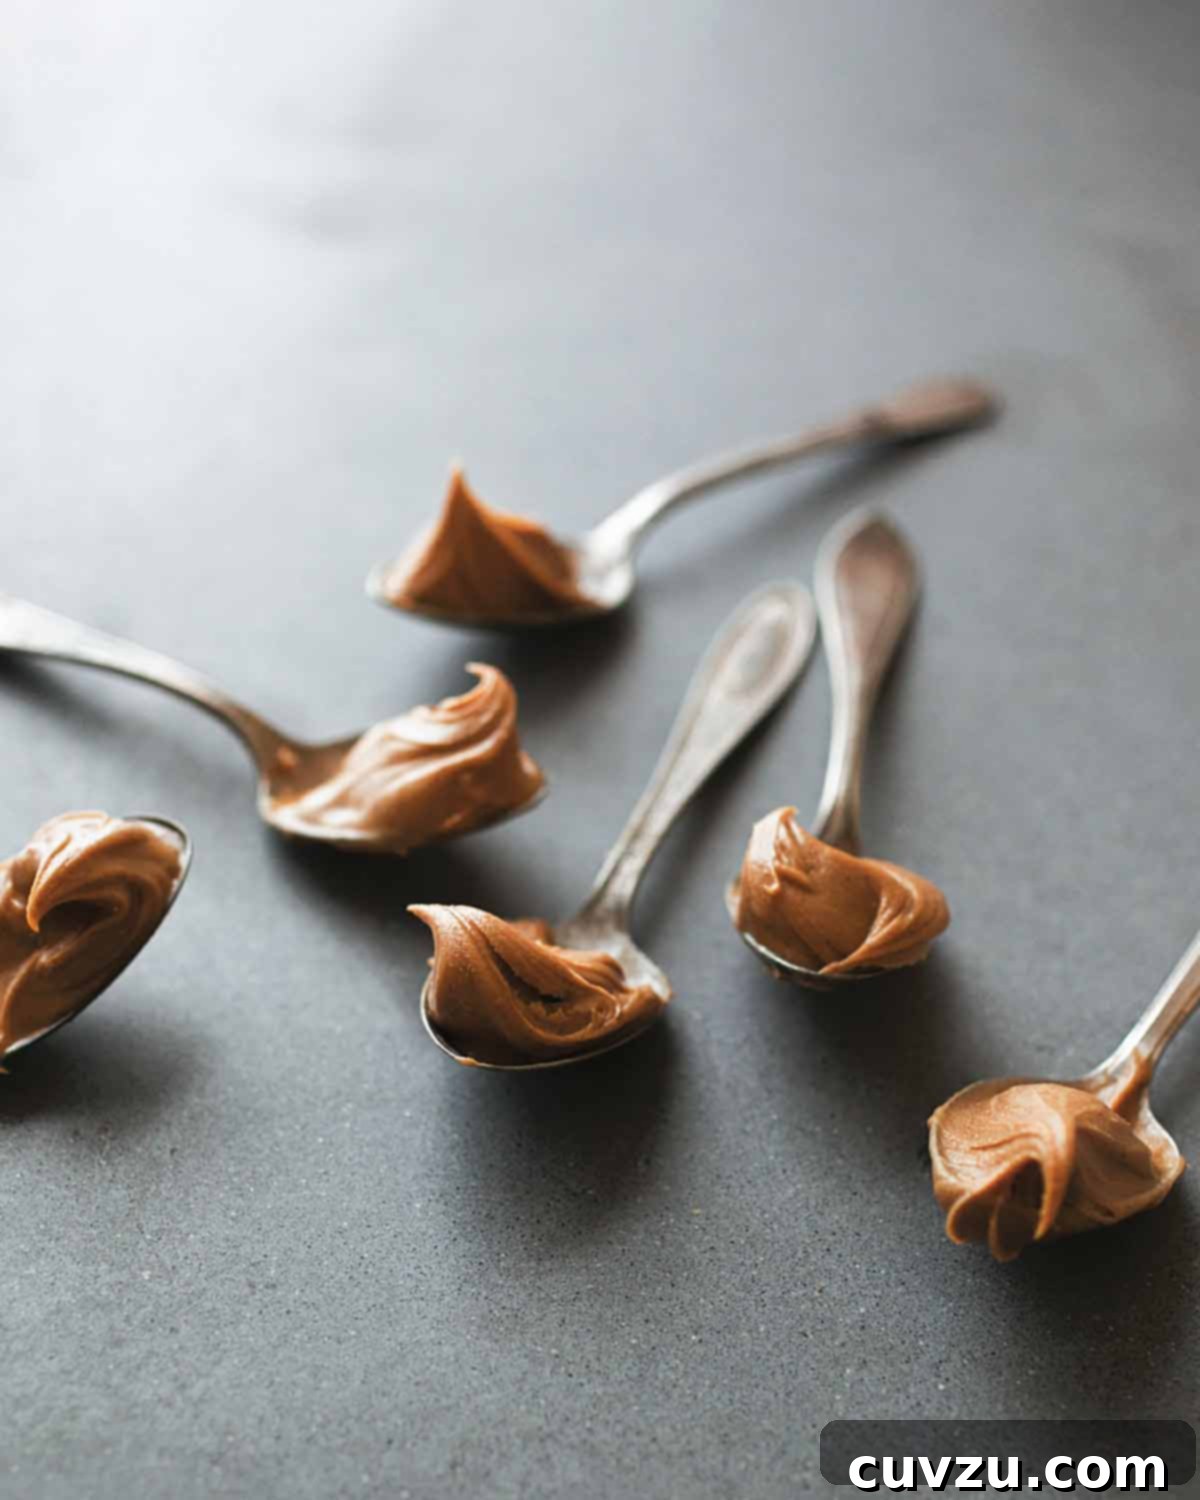
Making peanut butter at home puts you in complete control. You dictate what goes in – no strange fillers, unnecessary sweeteners, or artificial preservatives. Just the pure, unadulterated goodness of peanuts transformed into a luxurious spread. While this recipe yields a wonderfully natural peanut butter that might differ from the super-smooth, intensely sweet varieties found on grocery shelves, we believe its superior flavor and health benefits will make it a new staple in your pantry. As David Leite, the original creator of this ingenious method, emphasizes, it’s about wholesome peanut butter goodness you can feel good about.
Why Go Homemade? The Unbeatable Benefits of DIY Peanut Butter
The allure of homemade peanut butter extends far beyond the satisfaction of a DIY project. It offers a multitude of benefits that elevate it above its store-bought counterparts:
- Ingredient Control: This is arguably the biggest advantage. Commercial peanut butter often contains hydrogenated oils, high-fructose corn syrup, and other additives that compromise nutritional value. When you make it at home, you choose only the best, natural ingredients.
- Superior Freshness and Flavor: Freshly ground peanuts release their aromatic oils, resulting in a flavor profile that is far more vibrant and complex than anything that has sat on a shelf for months. The natural sweetness and nuttiness truly shine through.
- Healthier Choice: By skipping added sugars and unhealthy fats, you create a spread rich in healthy monounsaturated fats, protein, and fiber – a genuine powerhouse food.
- Cost-Effective: Buying peanuts in bulk can often be more economical than purchasing premium natural peanut butter.
- Customization: From super-chunky to silky-smooth, with a hint of sweetness or a touch of spice, homemade peanut butter can be tailored precisely to your preferences.
Essential Equipment: The Mighty Food Processor
To embark on your homemade peanut butter journey, one piece of equipment is absolutely indispensable: a powerful food processor. While blenders *can* work, a food processor with a strong motor and sharp blades is designed to handle the continuous processing required to transform nuts into a smooth butter efficiently. Look for a model with at least a 7-cup capacity for optimal results when processing 4 cups of peanuts. A high-quality machine will make the process faster and yield a consistently smoother product.
The Transformation: Understanding the Stages of Nut Butter Making
If you’re new to making nut butter, you might be surprised by the various stages the peanuts go through in the food processor. Patience is key! Don’t be alarmed if your mixture seems to “ball up” or look crumbly; this is a completely normal part of the process. Much like the distinct stages of life, as David Leite wisely notes, making homemade peanut butter involves a fascinating evolution. Here’s what to expect:
- Chopped Nuts: Initially, the peanuts will simply be chopped into coarse pieces. This stage is quick and mainly breaks down the whole nuts.
- A Crumbly Mass: As you continue processing, the peanuts will break down further, forming a dry, crumbly, almost sand-like texture. At this point, it might seem like it will never turn into butter, but trust the process.
- A Ball: The most common point of concern for beginners is when the mixture gathers into a sticky ball. This happens as the oils start to release, but not enough to create a fluid consistency. Your food processor might sound like it’s struggling. Keep going! It’s a crucial step before smoothness.
- Thick Paste: Gradually, the ball will begin to break down, transforming into a thick, pasty consistency. It will start to look more like traditional peanut butter, just much denser.
- Smooth and Creamy Butter: Finally, with continued processing, the peanuts will release all their natural oils, yielding a luxuriously smooth, pourable, and utterly irresistible nut butter. This entire process typically takes 5-10 minutes, depending on your food processor’s power and the type of peanuts.
Just keep going, scraping down the sides as needed. You’ll get there. The reward of perfectly creamy, fresh peanut butter is well worth the wait.
Homemade Peanut Butter Recipe
Make your own homemade peanut butter thanks to this nifty, easy technique that turns out creamy, healthy, tasty nut butter every time. This recipe yields approximately 2 cups of peanut butter, perfect for personal use or sharing.
Author: David Leite
Course: Condiments
Cuisine: American
Yields: 28 servings (approx. 2 cups)
Prep Time: 10 minutes
Total Time: 10 minutes
Calories: 135 kcal per 2 tablespoons serving
Ingredients
- 4 cups roasted, unsalted Virginia peanuts
- 2 to 3 tablespoons mild vegetable, olive, or peanut oil
- 1 teaspoon kosher salt
- 1 teaspoon granulated sugar, optional
Instructions
- Prepare the Food Processor: Put the roasted, unsalted peanuts into the bowl of a food processor fitted with the steel blade attachment. Drizzle 2 tablespoons of your chosen mild oil over the top.
- Initial Blending & Seasoning: Pulse to break up the peanuts into a coarse crumb. Then, add the kosher salt and the optional granulated sugar.
- Continuous Processing for Creaminess: Blend continuously, allowing the peanuts to go through their various stages: from crumbly, to a sticky ball, then a thick paste, and finally, a wonderfully smooth butter. You will need to stop periodically to scrape down the sides of the food processor bowl with a spatula to ensure even processing.
- Adjust Consistency (Optional): If the mixture appears too dry or thick, or your food processor is struggling to achieve a smooth consistency, drizzle in the remaining oil, one teaspoon at a time, until your desired texture is reached. For chunky peanut butter, stop processing once the peanuts reach your preferred level of coarseness and before they become fully smooth.
- Store: Transfer the freshly made peanut butter to an airtight container. It will keep well in the refrigerator for up to 2 months. Note that natural oil separation may occur; simply stir it well to recombine before each use.
Chef’s Notes & Variations
Homemade Honey-Roasted Peanut Butter Variation
For a delightful honey-roasted flavor, add 2 teaspoons of honey to the food processor after the initial pulsing of the peanuts (when they are still in coarse pieces) and just before adding the salt. This will infuse a subtle sweetness and aromatic depth into your spread.
Make it Chunky or Super Smooth
The beauty of homemade peanut butter is in its versatility. For a chunky texture, simply process the peanuts until they reach your desired level of coarseness, then remove about half a cup of the mixture. Continue processing the remaining peanuts until smooth, then stir back in the reserved chunky bits. For extra smooth peanut butter, process for an additional minute or two beyond what seems “done,” allowing the machine to work its magic until it reaches a satiny consistency.
Spice it Up!
Consider adding a pinch of cinnamon, nutmeg, or even a tiny dash of cayenne pepper for a unique flavor twist. A teaspoon of vanilla extract can also enhance the overall aroma and taste.
Adapted From
Nuts
Buy On Amazon
Nutrition Information (Approximate)
Serving: 2 tablespoons
Calories: 135 kcal
Carbohydrates: 5 g
Protein: 5 g
Fat: 12 g
Saturated Fat: 2 g
Sodium: 229 mg
Fiber: 2 g
Sugar: 1 g
Nutrition information is automatically calculated and should only be used as an approximation.
Understanding Ingredients: The Building Blocks of Perfect Peanut Butter
While the recipe itself is simple, a deeper understanding of each ingredient can help you fine-tune your homemade peanut butter to perfection.
The Peanuts
The choice of peanuts significantly impacts the final taste and texture. Roasted peanuts are crucial for developing that rich, characteristic peanut flavor. While you can roast raw peanuts yourself for maximum freshness, store-bought roasted, unsalted peanuts (like Virginia peanuts, known for their large size and rich flavor) work perfectly and save time. Ensure they are unsalted so you can precisely control the seasoning. If your peanuts are already salted, simply omit or significantly reduce the added kosher salt in the recipe. Different types of peanuts, such as Runner or Spanish peanuts, can also be used and may offer slight variations in flavor and oil content.
The Oil (Optional but Recommended)
While peanuts naturally release their oils during processing, a small amount of additional mild-flavored oil can aid in achieving a super creamy, spreadable consistency. This is especially true if your peanuts are on the drier side, your food processor isn’t exceptionally powerful, or you simply prefer a very smooth texture. Options include:
- Vegetable Oil: A neutral choice that won’t interfere with the natural peanut flavor.
- Peanut Oil: Enhances the peanut flavor even further, creating a more intense taste.
- Mild Olive Oil: If opting for olive oil, choose a very light, mild variety to avoid an overpowering or bitter olive taste in your peanut butter.
Always start with the minimum recommended amount of oil and add more only if needed, one teaspoon at a time, until you reach your desired smoothness. Too much oil too early can result in a thinner, runnier butter.
Salt and Sweetener
A pinch of kosher salt is vital for balancing the flavors and bringing out the natural sweetness of the peanuts. Don’t skip it, even if you’re making an unsweetened version, as salt acts as a flavor enhancer. Granulated sugar is optional, catering to those who prefer a slightly sweeter spread, akin to many commercial brands. Other natural sweeteners like maple syrup or honey can also be used, but be mindful that liquid sweeteners can alter the texture slightly, making the butter thicker. If using honey, remember to follow the honey-roasted variation instruction provided in the recipe notes for best results.
Storage and Shelf Life
Your homemade peanut butter is freshest immediately after making, but it stores remarkably well. To maintain its quality and extend its shelf life, transfer it to a clean, airtight container, such as a glass jar with a tight-fitting lid. Store it in the refrigerator for up to 2 months. Because it contains no artificial stabilizers or emulsifiers, natural oil separation is common. Don’t worry! This is a sign of a truly natural product. Simply give it a good stir with a spoon or knife to reincorporate the oils before each use. If you notice any unusual smells or mold, it’s best to discard it, though this is rare with proper storage.
Serving Suggestions: Beyond the Sandwich
Homemade peanut butter is incredibly versatile and can elevate countless dishes. While it’s perfect for classic peanut butter and jelly sandwiches, consider these other delightful ways to enjoy it:
- Spread generously on toast, bagels, or rice cakes for a quick and satisfying breakfast.
- A wholesome dip for fresh fruit like apple slices, banana, or pear, or crunchy vegetable sticks such as celery or carrots.
- Stirred into hot oatmeal or yogurt for a delicious protein boost and added creaminess.
- As a key ingredient for homemade energy bites, granola bars, or no-bake cookies.
- Used to create flavorful dressings for salads, spring rolls, or Asian-inspired noodle dishes.
- Incorporated into smoothies for a thicker texture, nutty flavor, and extra protein.
- A decadent topping for ice cream, pancakes, waffles, or even sweet potatoes.
- Used in baking, replacing commercial peanut butter in cookies, brownies, or cakes for a purer flavor.
Frequently Asked Questions About Homemade Peanut Butter
- Can I use raw peanuts?
- Yes, you can, but you’ll need to roast them first to develop their full flavor and make them easier to process. Raw peanuts won’t yield the same rich taste or smooth texture. To roast, spread them on a baking sheet and roast at 350°F (175°C) for 10-15 minutes, stirring occasionally, until lightly golden and fragrant. Let them cool completely before proceeding with the recipe.
- My peanut butter is too thick/thin. What can I do?
- If it’s too thick, add a bit more oil (1 teaspoon at a time) and continue processing until your desired consistency is achieved. If it’s too thin, it usually means too much oil was added. Unfortunately, it’s harder to correct this. You could try adding a handful of fresh peanuts and reprocessing to thicken it, or simply accept a thinner consistency for sauces or smoothies.
- How do I make organic peanut butter?
- Simply use organic roasted, unsalted peanuts and organic oil, salt, and sweetener (if using). The process remains exactly the same, ensuring an entirely organic product.
- Can I make other nut butters with this method?
- Absolutely! This method works exceptionally well for most nuts. Almond butter, cashew butter, and mixed nut butters can all be made using similar steps and equipment. Be aware that processing times and the amount of added oil may vary slightly depending on the nut’s natural oil content and hardness.
- How long does it take to make peanut butter?
- With a powerful food processor, the actual processing time is quite quick, usually between 5-10 minutes from whole peanuts to creamy butter. Including prep and scraping, the total time is generally under 15 minutes.
- Do I need to peel the peanuts?
- No, it’s not necessary. Most roasted peanuts (especially Virginia type) come with their skins already removed or loosely attached, which will mostly disappear during processing. If you roast raw peanuts with skins on, the skins are perfectly fine to blend in and add extra fiber, though they might give a slightly darker color to the butter.
Embrace the simplicity and satisfaction of crafting your own homemade peanut butter. It’s a small effort for a significant upgrade to your pantry, offering a purer, tastier, and healthier alternative that you’ll be proud to share (or keep all to yourself!). Enjoy the unparalleled freshness and customize it to your heart’s content!
Tried this recipe?
We’d love to see your creations! Mention @leitesculinaria or tag #leitesculinaria on Instagram!