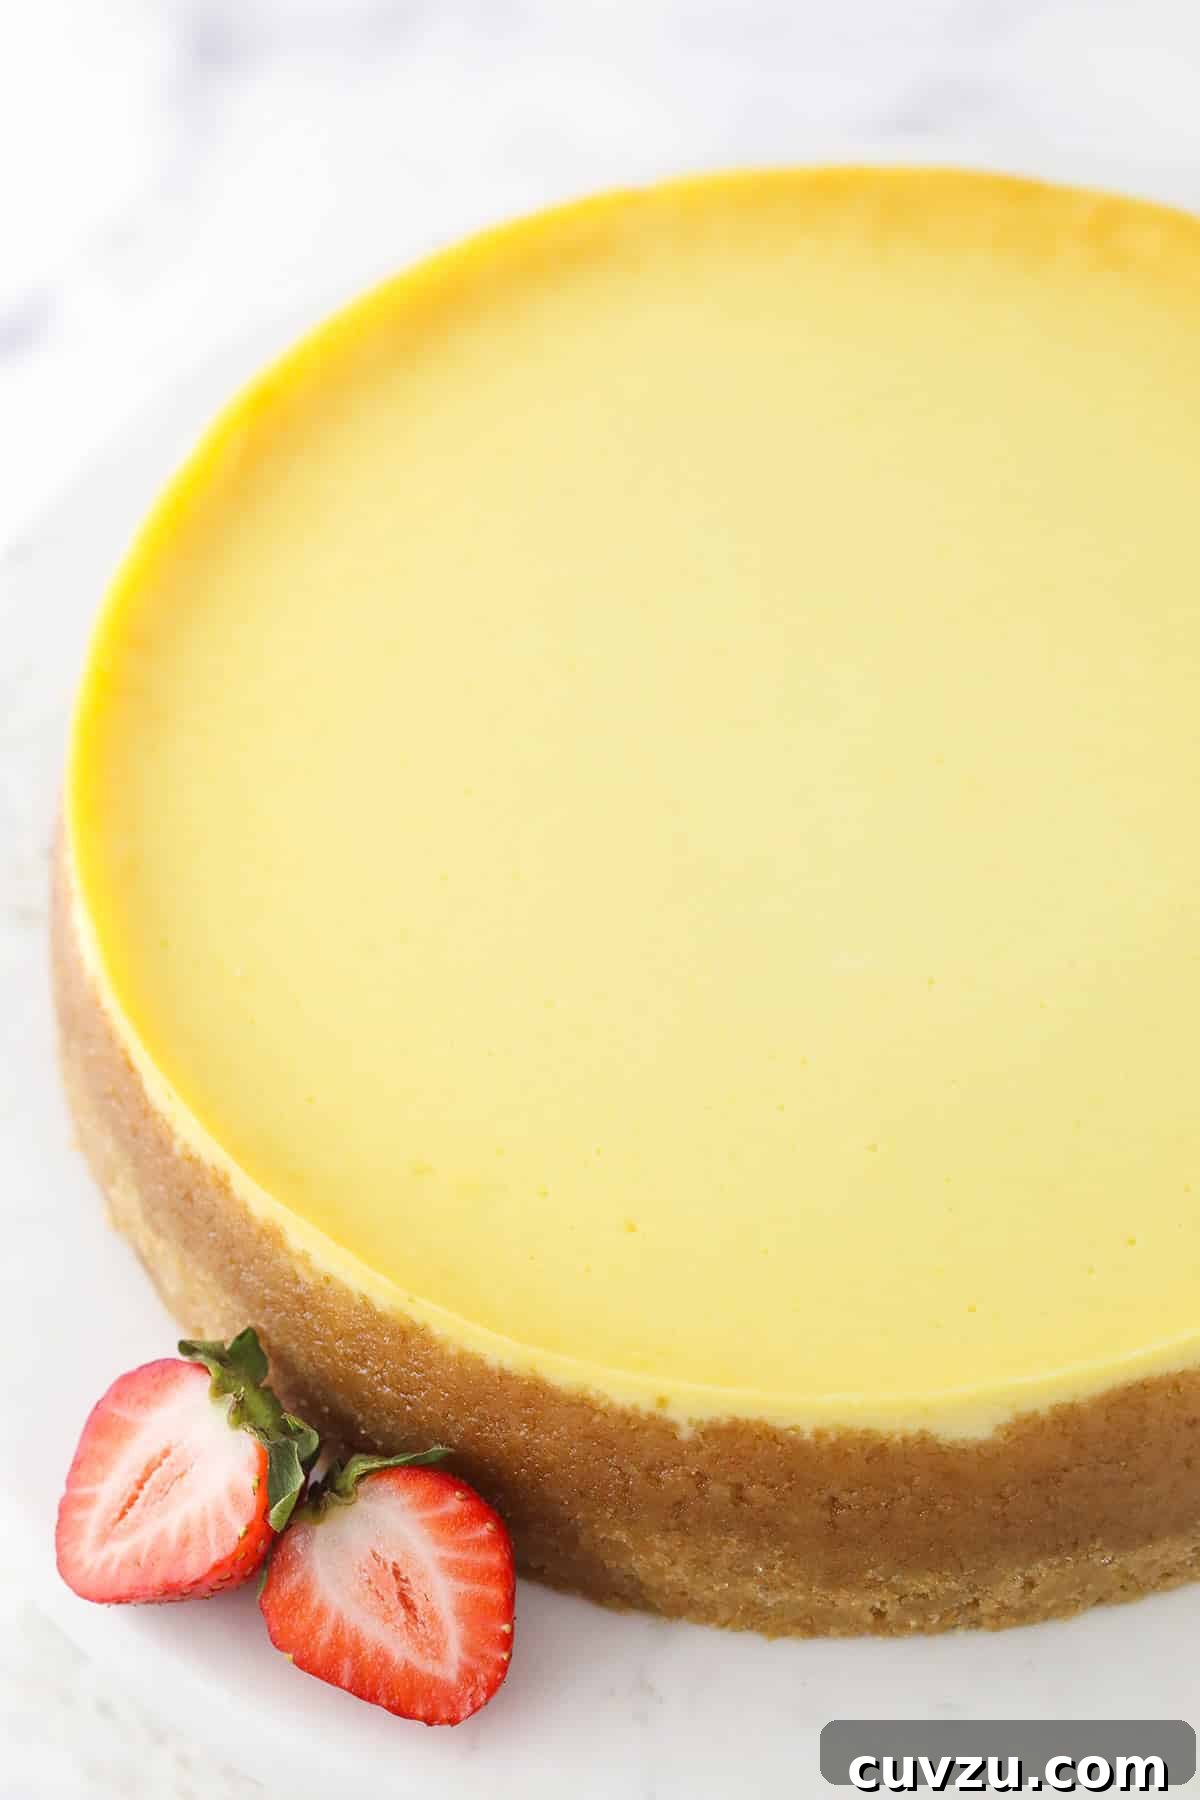
Baking a perfect cheesecake is a culinary triumph, yielding a dessert that is rich, creamy, and utterly delightful. While the process itself isn’t overly complicated, one of the most common challenges home bakers face is knowing precisely when their cheesecake is done. This crucial moment dictates the final texture and appearance of your masterpiece. An underbaked cheesecake can be a wobbly, unset mess in the middle, while an overbaked one risks becoming dry, firm, and prone to unsightly cracks. Achieving that sweet spot—a perfectly set, yet still lusciously creamy interior—requires a keen eye and a bit of practical knowledge. This comprehensive guide will walk you through the most reliable methods to determine cheesecake doneness, ensuring you achieve that enviable, perfectly baked result every single time.
Why Cheesecake Doneness is So Critical
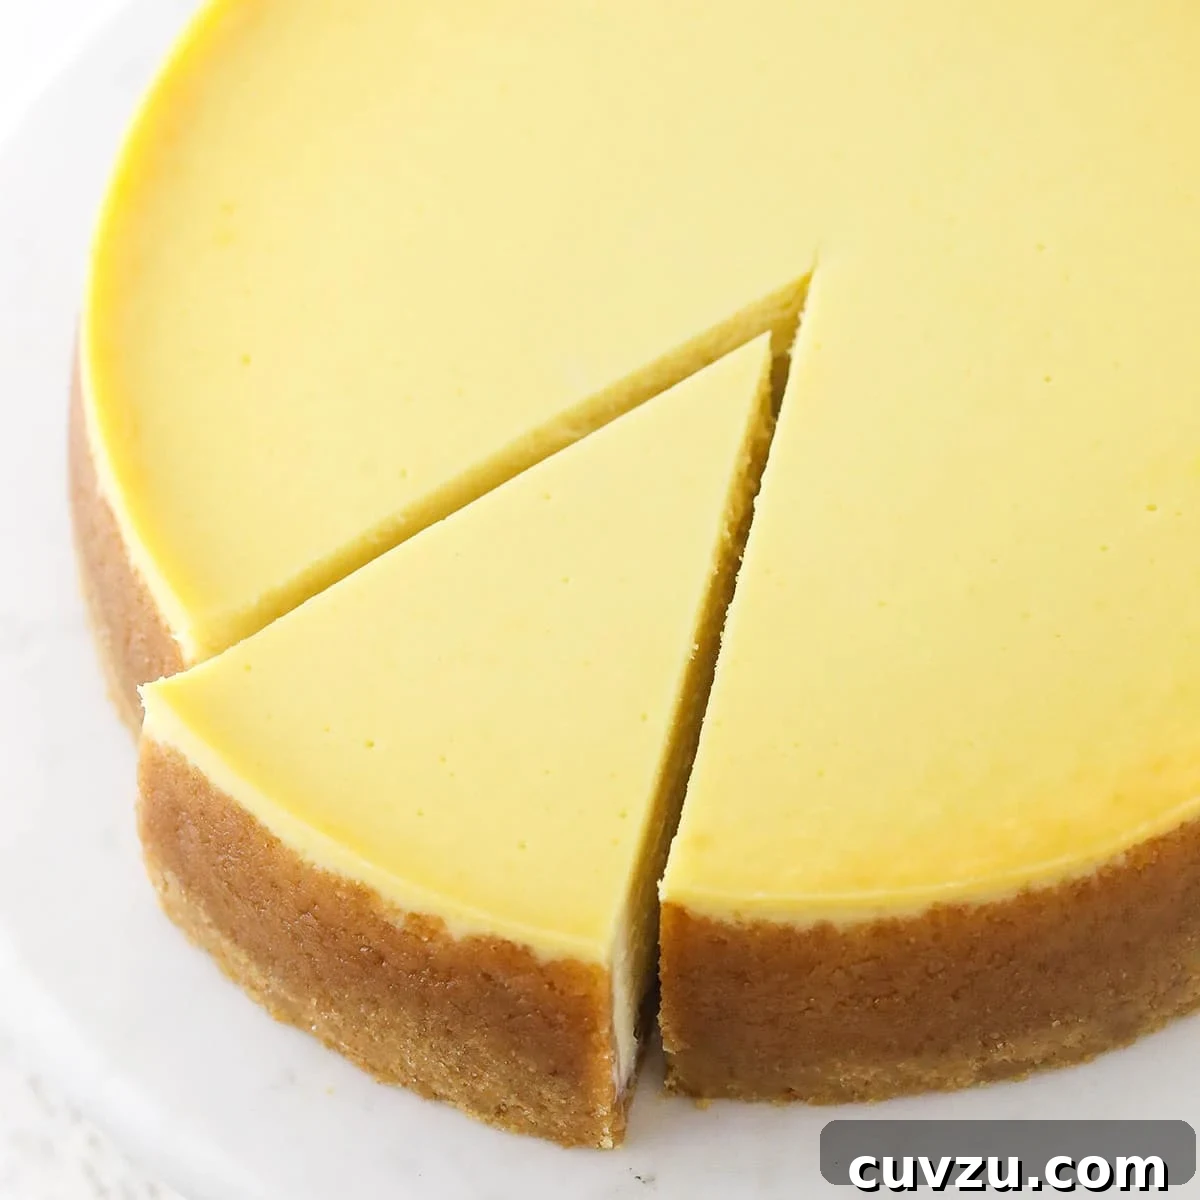
Understanding when your cheesecake is perfectly baked goes beyond just aesthetics; it significantly impacts the texture, taste, and even the structural integrity of your dessert. Unlike traditional cakes that rely on a fluffy crumb, cheesecakes are custard-based, meaning they firm up as they cool. The goal is to set the custard just enough in the oven so that residual heat and the subsequent cooling process complete the cooking without overdoing it. Overbaking breaks down the delicate dairy proteins, leading to a tough, rubbery texture and the almost inevitable cracking on the surface. Conversely, underbaking results in a cheesecake with a liquidy, unstable center that simply won’t set, no matter how long it chills. Mastering the doneness test is the secret to a smooth, velvety, and irresistible cheesecake experience.
Essential Methods to Determine Cheesecake Doneness
While some baking tests, like the toothpick test for traditional cakes, are widely known, they aren’t suitable for cheesecakes due to their unique custard-like composition. Instead, we rely on methods that respect the delicate nature of cheesecake while providing clear indicators of its readiness. My preferred approach is the “jiggle test,” which preserves the pristine surface of your cheesecake. However, another reliable method involves using a thermometer, particularly useful if you prioritize precision and plan to adorn your cheesecake with toppings that will conceal any small puncture marks.
Method 1: The Jiggle or Wobble Test (The Gold Standard)
This is arguably the most effective and least intrusive way to assess whether your cheesecake has reached its ideal state of doneness. It requires a gentle touch and a bit of practice to interpret correctly, but once mastered, it becomes an invaluable skill for any cheesecake enthusiast. The beauty of this method lies in its ability to gauge the setting process without marring the cheesecake’s surface, ensuring a flawless presentation.
How to Perform the Jiggle Test:
When the baking time specified in your recipe is nearing its end, gently open your oven door. With gloved hands (or using oven mitts) and a steady hand, very carefully grasp the sides of the cheesecake pan. Gently, but firmly, give the pan a slight shake or wobble. The goal is not to aggressively jiggle it, but rather to induce a subtle movement that reveals the cheesecake’s internal consistency.
What to Look For:
The key to interpreting the jiggle test lies in observing the contrasting movements between the outer edges and the very center of the cheesecake. You want to see the outer 2 to 3 inches of the cheesecake appear firm and set, with minimal to no jiggle. The edges should look relatively stable, perhaps even slightly puffed or golden brown. However, the magical indicator of doneness is a small, contained “jiggle” or “wobble” right in the center, typically a circle about 2-3 inches in diameter. This central wobble should resemble a very firm jelly or gelatin – it should quiver gently, but not look liquid, sloshy, or wave-like. If the entire cheesecake still shimmies like a liquid, or if the central part seems to slosh around without resistance, it needs more baking time.
The Importance of Carryover Cooking:
It’s crucial to understand that a cheesecake is technically “done” when it still exhibits this slight central jiggle. This might seem counterintuitive, but it accounts for “carryover cooking.” Once you’ve confirmed the appropriate jiggle, turn off your oven. Do not remove the cheesecake immediately. Instead, leave the cheesecake inside the oven with the door slightly ajar (you can prop it open with a wooden spoon) for approximately 30 to 60 minutes. This slow, gradual cooling process allows the residual heat in the oven to gently finish setting the center of the cheesecake while preventing a sudden temperature shock that often leads to cracks. This step is indispensable for achieving both a creamy texture and a perfectly smooth, unblemished surface.
Method 2: The Temperature Test (For Precision Enthusiasts)
For those who prefer a more scientific approach or simply want absolute certainty, the temperature test provides a definitive answer regarding doneness. While it does involve creating a small hole in the top of your cheesecake, this can easily be concealed with a delicious topping, making it a viable option for many bakers.
How to Perform the Temperature Test:
Carefully insert an instant-read thermometer into the very center of the cheesecake, making sure it reaches the middle without touching the bottom of the pan. It’s important to use an instant-read thermometer for accuracy and to minimize the time the oven door is open.
What to Look For:
The ideal internal temperature for a perfectly baked cheesecake is typically between 145°F and 150°F (63°C to 66°C). Some chefs advocate for a range between 150°F and 155°F, but aiming for 150°F is generally considered safe and yields the creamiest texture. If your thermometer reads within this range, your cheesecake is done. If it’s significantly lower, continue baking and retest after 5-10 minute intervals. The reason this method works so well is that it directly measures the setting point of the custard, ensuring food safety and optimal texture.
Concealing the Hole:
If the small puncture mark from the thermometer is a concern, plan ahead! This method is ideal when you intend to add a fruit compote, chocolate ganache, whipped cream, or any other delicious topping to your cheesecake. The topping will beautifully hide the hole, and your guests will be none the wiser.
Other Visual Cues and Indicators
Beyond the primary tests, there are several visual cues that can offer additional hints about your cheesecake’s progress in the oven. While not as definitive as the jiggle or temperature tests, these indicators can help you anticipate when your cheesecake might be ready for testing:
- Edges Pulling Away: As the cheesecake bakes and sets, the edges may slightly pull away from the sides of the springform pan. This is a good sign that the outer portion is firming up.
- Slightly Puffed Surface: The top of the cheesecake might appear slightly puffed during baking, especially towards the end. It will typically settle and flatten as it cools.
- Golden Brown Spots (Optional): Depending on your recipe and desired aesthetic, some cheesecakes might develop very light golden-brown spots on the surface. Be careful not to let it brown too much, as this can indicate overbaking.
- Lack of Wet Shine: A raw or underbaked cheesecake will often have a distinctly wet and shiny appearance in the center. As it bakes, this wetness will diminish, replaced by a more opaque, matte finish, even with a slight jiggle.
The Crucial Cooling Process for a Flawless Cheesecake
Determining doneness is only half the battle; the cooling process is equally vital for achieving a perfectly smooth, crack-free, and creamy cheesecake. Rushing this stage is a common mistake that can undo all your careful baking efforts.
Step-by-Step Cooling:
- Oven Rest (Post-Bake): As mentioned with the jiggle test, once your cheesecake is “done” (with the slight central wobble or at the ideal internal temperature), turn off the oven. Leave the cheesecake inside with the oven door propped open about an inch or two (using a wooden spoon is effective). Let it rest in this gradually cooling environment for at least 30 minutes, or even up to an hour. This slow temperature descent prevents thermal shock, which is a leading cause of cracks.
- Room Temperature Cool Down: After the oven rest, carefully remove the cheesecake from the oven. Place it on a wire rack to cool completely at room temperature. Do not be tempted to move it directly to the refrigerator. This step can take anywhere from 2 to 4 hours, depending on the ambient temperature. The cheesecake will continue to set as it cools, and allowing it to reach room temperature before chilling further prevents cracks.
- Refrigeration: Once the cheesecake is fully cooled to room temperature, cover it loosely with plastic wrap (avoid direct contact with the surface to prevent condensation) and transfer it to the refrigerator. Chill for a minimum of 6 to 8 hours, but preferably overnight. This extended chilling period is essential for the cheesecake to firm up completely, allowing its flavors to meld and its texture to become dense and creamy. Rushing this step will result in a soft, unset, and often disappointing cheesecake.
Troubleshooting Common Cheesecake Issues
Even with the best techniques, sometimes things don’t go exactly as planned. Here’s how to address some common cheesecake dilemmas related to doneness:
- Cracked Surface: Most often a sign of overbaking or rapid cooling. Ensure you’re not baking too long, and always follow the slow cooling steps (oven rest, then room temperature, then refrigeration). A water bath can also help regulate oven temperature and humidity, further reducing cracking.
- Liquid/Unset Center After Chilling: This is a clear indicator of underbaking. Unfortunately, once a cheesecake has cooled and chilled, it’s very difficult to salvage an unset center. It might be salvageable for a trifle or parfaits, but not as a standalone slice. This highlights the importance of accurate doneness testing in the oven.
- Dry/Crumbly Texture: This is almost always a result of overbaking. The custard has cooked too long, losing its moisture and delicate structure. Use the jiggle test to pull it out when it’s just set, allowing carryover cooking to finish the job.
- Edges Burnt/Overcooked, Center Raw: This can happen if your oven temperature is uneven or too high, or if your pan isn’t properly insulated. Using a water bath (bain-marie) is excellent for even heat distribution and preventing the edges from cooking too quickly. Wrapping the pan with aluminum foil can also protect the edges.
Test Out Your Newfound Cheesecake Knowledge!
Armed with these comprehensive tips and techniques, you’re now ready to confidently bake cheesecakes that are perfectly done, irresistibly creamy, and visually stunning. The best way to master these methods is through practice. Don’t be afraid to experiment and trust your senses!
Here are some fantastic cheesecake recipes to put your skills to the test:
- Classic Vanilla Cheesecake
- Decadent Chocolate Lover’s Cheesecake
- Authentic New York Style Cheesecake
- The Ultimate Oreo Cheesecake
- Rich Salted Caramel Cheesecake
For an even wider selection of delightful recipes, be sure to explore my extensive cheesecake archives!