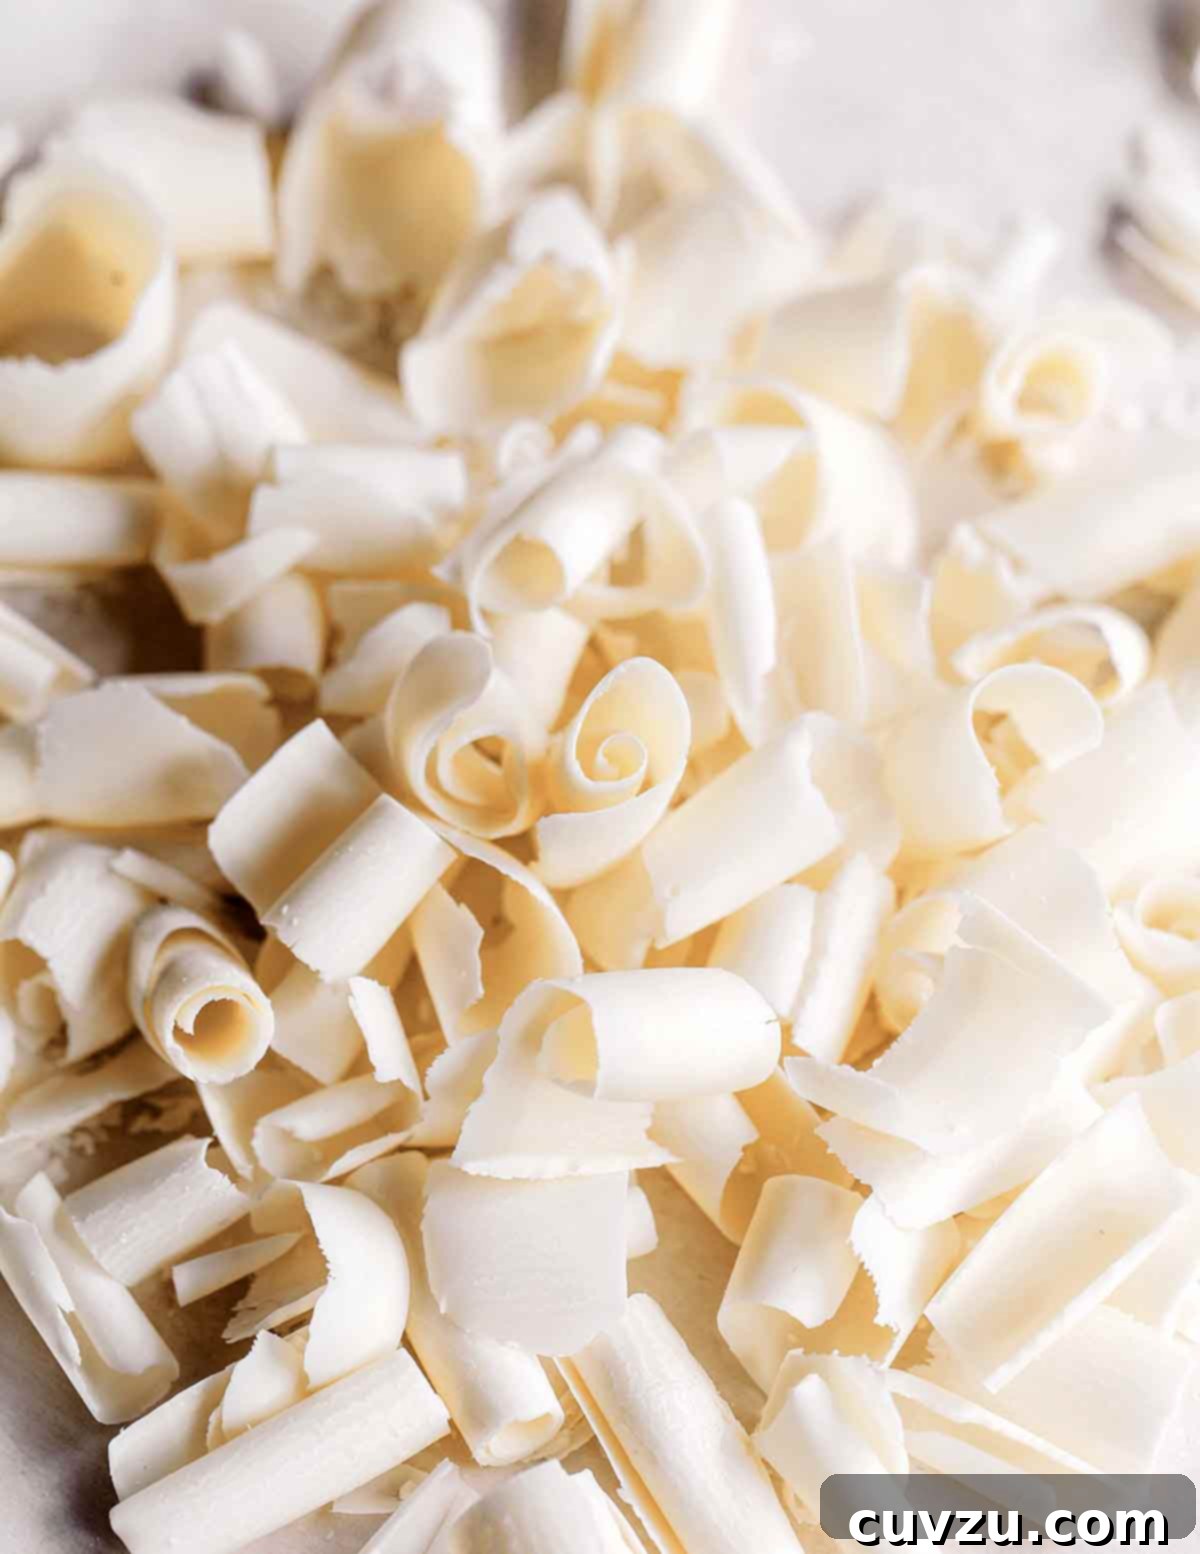
Elevate your homemade desserts from charming to absolutely extraordinary with a simple, elegant touch: stunning chocolate curls. Imagine topping your moist chocolate cakes, delicate vanilla cupcakes, tangy fruit tarts, or rich pies with airy, whimsical ribbons of chocolate that promise a professional finish without needing a pastry chef’s expertise. This comprehensive guide will reveal the secrets to crafting perfect chocolate curls and exquisite shavings right in your own kitchen, using nothing more than a trusty vegetable peeler and a quality chocolate bar.
TL;DR (Quick-Answer Box)
- What it is: A surprisingly simple method that uses a common vegetable peeler and a block of chocolate to produce elegant, airy, ribbon-like garnishes.
- Why you’ll love it: This clever hack instantly elevates any dessert, transforming ordinary baked goods into professional, bakery-quality treats with minimal effort and maximum visual appeal.
- How to make it: Gently soften a chocolate block in the microwave (or at room temperature), then scrape a vegetable peeler down a long, smooth side, allowing the delicate curls to fall. Use a toothpick or small spatula to carefully place them as desired.
Featured Review
Wow, this recipe works amazingly! I’ve tried so many different ways to make chocolate curls and they always fail. This worked perfect!
Anna
Admit it. You’ve likely paused, captivated, by the exquisite chocolate garnishes adorning decadent pastries in bakery windows or gracing the pages of gourmet cookbooks. Those delicate, sculptural wisps of chocolate have a way of elevating any dessert, making it look incredibly sophisticated and inviting. For years, you might have wondered how such beautiful decorations are made, assuming they required specialized tools or advanced culinary skills. Well, wonder no more! We’re here to unveil the surprisingly simple secret to creating perfect chocolate curls at home. Forget complex techniques or expensive gadgets; all you need are a common vegetable peeler, a good quality block of chocolate, and a microwave. With these basic items, you’ll be creating show-stopping garnishes in minutes. Let’s dive in and master this effortless yet impressive skill.
The Magic of Chocolate Curls: Transforming Your Desserts
Chocolate curls aren’t just a garnish; they’re a statement. They add texture, visual interest, and an undeniable touch of elegance to any sweet creation. Imagine a simple vanilla cake suddenly adorned with rich, dark chocolate ribbons, or a vibrant berry tart topped with delicate white chocolate spirals. This small detail can make a huge difference, transforming everyday treats into something truly special, perfect for dinner parties, celebrations, or simply indulging your own dessert cravings. Best of all, making them at home means you control the quality of the chocolate, ensuring fresh, delicious results every time.
Understanding Your Chocolate: The Foundation of Perfect Curls
The type of chocolate you choose plays a crucial role in the success and appearance of your curls. While most solid blocks of chocolate will work, here’s what to consider:
- Quality Matters: Opt for a good quality baking chocolate bar or block, rather than chocolate chips, which often contain stabilizers that prevent them from melting smoothly or curling correctly.
- Dark, Milk, or White: All varieties can be used. Dark chocolate tends to be a bit firmer and can produce beautiful, structured curls. Milk chocolate is softer and might require slightly less microwave time. White chocolate, while beautiful, can be a bit more temperamental due to its higher fat content, but with careful temperature control, it yields stunning results.
- Shape and Size: A rectangular or square block of chocolate is ideal as it provides a long, flat surface for the peeler to glide across. Thicker blocks often allow for larger, more substantial curls, while thinner bars might produce finer shavings.
- Temperature is Key: The chocolate should not be rock hard from the refrigerator, nor should it be completely melted. Room temperature chocolate, with a slight give, is usually a good starting point, but a quick zap in the microwave often gets it to the perfect pliable consistency.
Essential Tools for Crafting Chocolate Curls
The beauty of this technique lies in its simplicity. You won’t need a professional chocolatier’s toolkit, just a few everyday kitchen items:
- Vegetable Peeler: This is your primary tool. A standard Y-peeler or a swivel peeler with a sharp blade works best. The sharper the blade, the cleaner and more uniform your curls will be. A dull peeler can drag and break the chocolate.
- Chocolate Bar or Block: As discussed above, a good quality, solid block of your preferred chocolate (dark, milk, or white).
- Microwave: Essential for gently softening the chocolate to the ideal curling consistency. If you don’t have one, a warm water bath can be an alternative, though it requires more careful monitoring.
- Parchment Paper: Crucial for collecting the delicate curls as they fall and for easy, mess-free handling. It prevents the curls from sticking to your countertop and makes transfer effortless.
- Toothpicks or Small Spatula: For gently lifting and placing the finished curls onto your dessert without melting them with your fingers.
More Wonderful White Chocolate Recipes
White Chocolate Cupcakes
⏰ 1 hr
White Chocolate Cream Cheese Frosting
⏰ 15 mins
White Chocolate Whisper Cake
⏰ 55 mins
Espresso Cupcakes with White Chocolate Frosting
⏰ 1 hr 30 mins
Write a Review
If you make this recipe, or any dish on LC, consider leaving a review, a star rating, and your best photo in the comments below. I love hearing from you.–David
How to Make Chocolate Curls
David Leite
- PIN
Dessert
American
1
serving
144
kcal
5 minutes
5 minutes
Ingredients
-
1 bar or block chocolate, whether dark, milk, or white (the exact amount depends on how many curls you need), room temperature -
Parchment paper
Instructions
-
1. Prepare Your Chocolate for Optimum Curling: Unless you’re in a warm, humid environment, your chocolate bar will likely be too firm to curl directly. The goal is to soften it just enough to be pliable without melting. Place the chocolate block in a microwave and heat it on medium power for no more than 20 seconds initially. The exact time will vary based on your microwave’s wattage and the type of chocolate. After 20 seconds, carefully touch the chocolate. It should feel slightly yielding to the touch, but not warm or gooey. If it’s still too hard, proceed to the next step.
-
2. The Gentle Scrape for Perfect Curls: Lay a piece of parchment paper on your work surface to catch the curls. Hold the chocolate block firmly but gently over the parchment paper. It’s helpful to hold the chocolate with another piece of parchment or a clean kitchen towel to prevent the heat from your hands from melting it prematurely. With a vegetable peeler, apply gentle but firm pressure as you scrape it down a long, smooth side of the chocolate block. The chocolate should begin to peel off in delicate, continuous ribbons or curls, falling directly onto the parchment paper.
☞ TESTER TIP: For best results, use a sharp vegetable peeler. A dull blade can cause the chocolate to crumble instead of curl. Experiment with the angle of your peeler and the pressure you apply to create different sizes and thicknesses of curls.
-
3. Adjusting Chocolate Consistency for Success: Observe the chocolate as you peel. If the chocolate curls beautifully without shattering or breaking into small bits, its temperature is perfect. If, however, the chocolate doesn’t curl easily and instead shatters or flakes, it means it’s still too cold and needs more softening. Return it to the microwave and heat it again on medium power in very short intervals (e.g., 5 seconds at a time). Check after each interval. The total microwave time may reach around 35 seconds, depending on your appliance. Conversely, if the chocolate becomes too soft and turns into a paste or smears rather than curls, it means it’s too warm. If this happens, simply place the chocolate block in the refrigerator for a few minutes to firm up slightly before trying again. Precision in temperature is key to elegant curls.
-
4. Continue Curling and Reheating as Needed: Keep scraping the chocolate with your vegetable peeler, allowing the freshly formed curls and shavings to fall onto the parchment paper. As you work, the chocolate block will naturally cool down and harden. Don’t hesitate to reheat it in short bursts (5-10 seconds) in the microwave whenever it becomes too firm to curl easily. Maintain that ideal pliable consistency to ensure a continuous supply of beautiful garnishes.
-
5. Handling and Setting Your Delicate Curls: Once you have a sufficient amount of chocolate curls, allow them to set. These delicate creations are sensitive to heat, so handle them minimally. Use a toothpick, a small offset spatula, or even the tip of a knife to gently transfer them from the parchment paper to your prepared dessert. If you’re not using the curls immediately, carefully transfer the entire piece of parchment paper, with the curls on it, to the refrigerator. Chilling them will help them firm up and maintain their shape until you’re ready to use them. Store them in an airtight container in the fridge for up to a week.
-
6. Creative Application and Serving: With your beautiful chocolate curls now ready, it’s time to adorn your culinary creations. Gently scatter them atop frosted cakes, swirl them onto whipped cream-topped cupcakes, sprinkle them over rich chocolate tarts, or add a delightful flourish to hot cocoa and ice cream. Wherever a touch of chocolate loveliness is desired, these homemade curls will provide an instant upgrade, impressing everyone with their effortless charm and professional look.
Adapted From
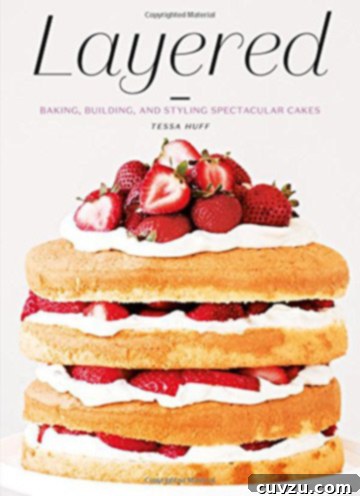
Layered
Buy On Amazon
Explore More with AI
Substitutions
Scale
Summarize
Nutrition
Serving:
1
oz
Calories:
144
kcal
Carbohydrates:
17
g
Protein:
1
g
Fat:
10
g
Saturated Fat:
6
g
Monounsaturated Fat:
3
g
Sodium:
5
mg
Fiber:
2
g
Sugar:
15
g
Nutrition information is automatically calculated, so should only be used as an approximation.
Tried this recipe?
Mention @leitesculinaria or tag #leitesculinaria!