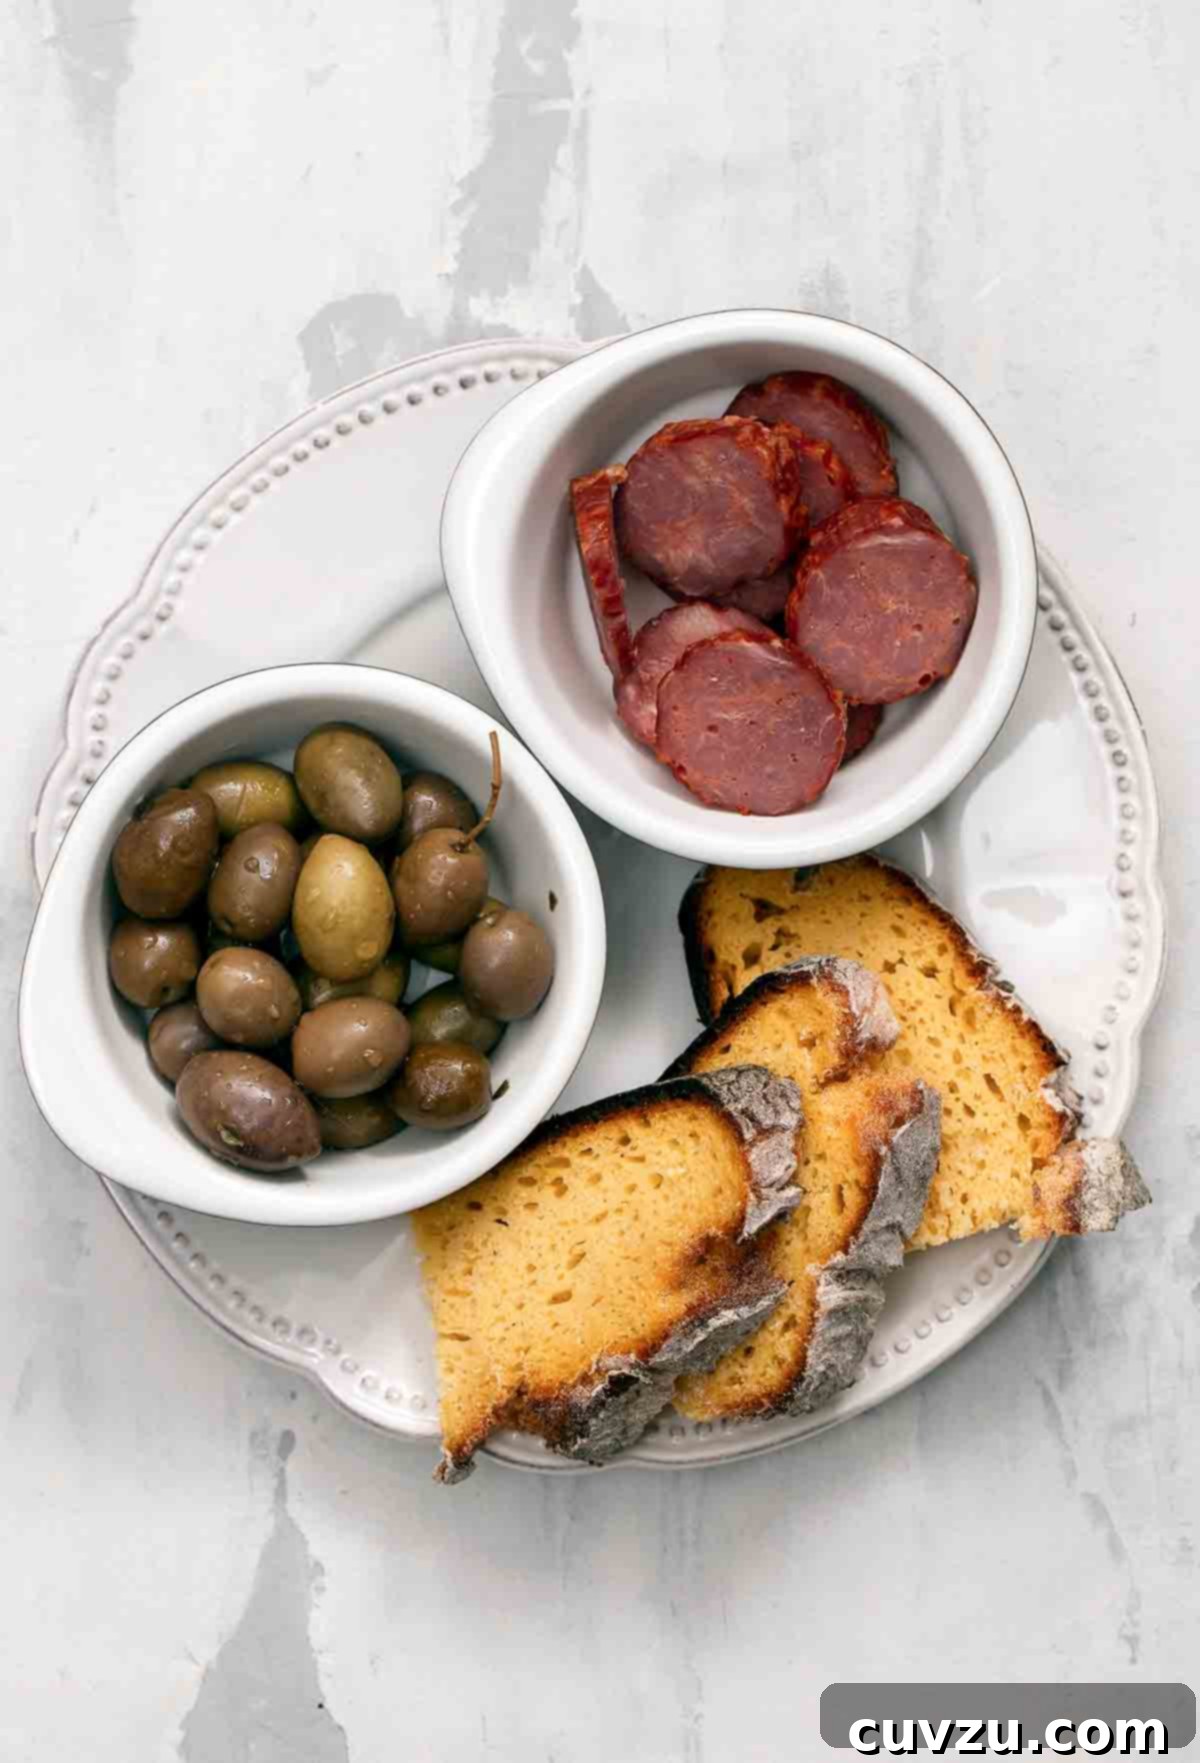
Broa: The Soulful Portuguese Corn Bread You Need to Bake
Broa is more than just bread; it’s a cornerstone of Portuguese culinary tradition. This yeast-leavened corn bread is renowned for its hearty, substantial texture, distinct from the crumbly cornbreads found in other cuisines, particularly in the United States. Its robust nature makes it an ideal companion for soaking up rich soups, stews, and sauces, embodying comfort and tradition in every slice. If you’re looking to explore the depth of Portuguese baking, mastering Broa is a delightful journey. Here’s how you can bring this authentic taste into your home kitchen.
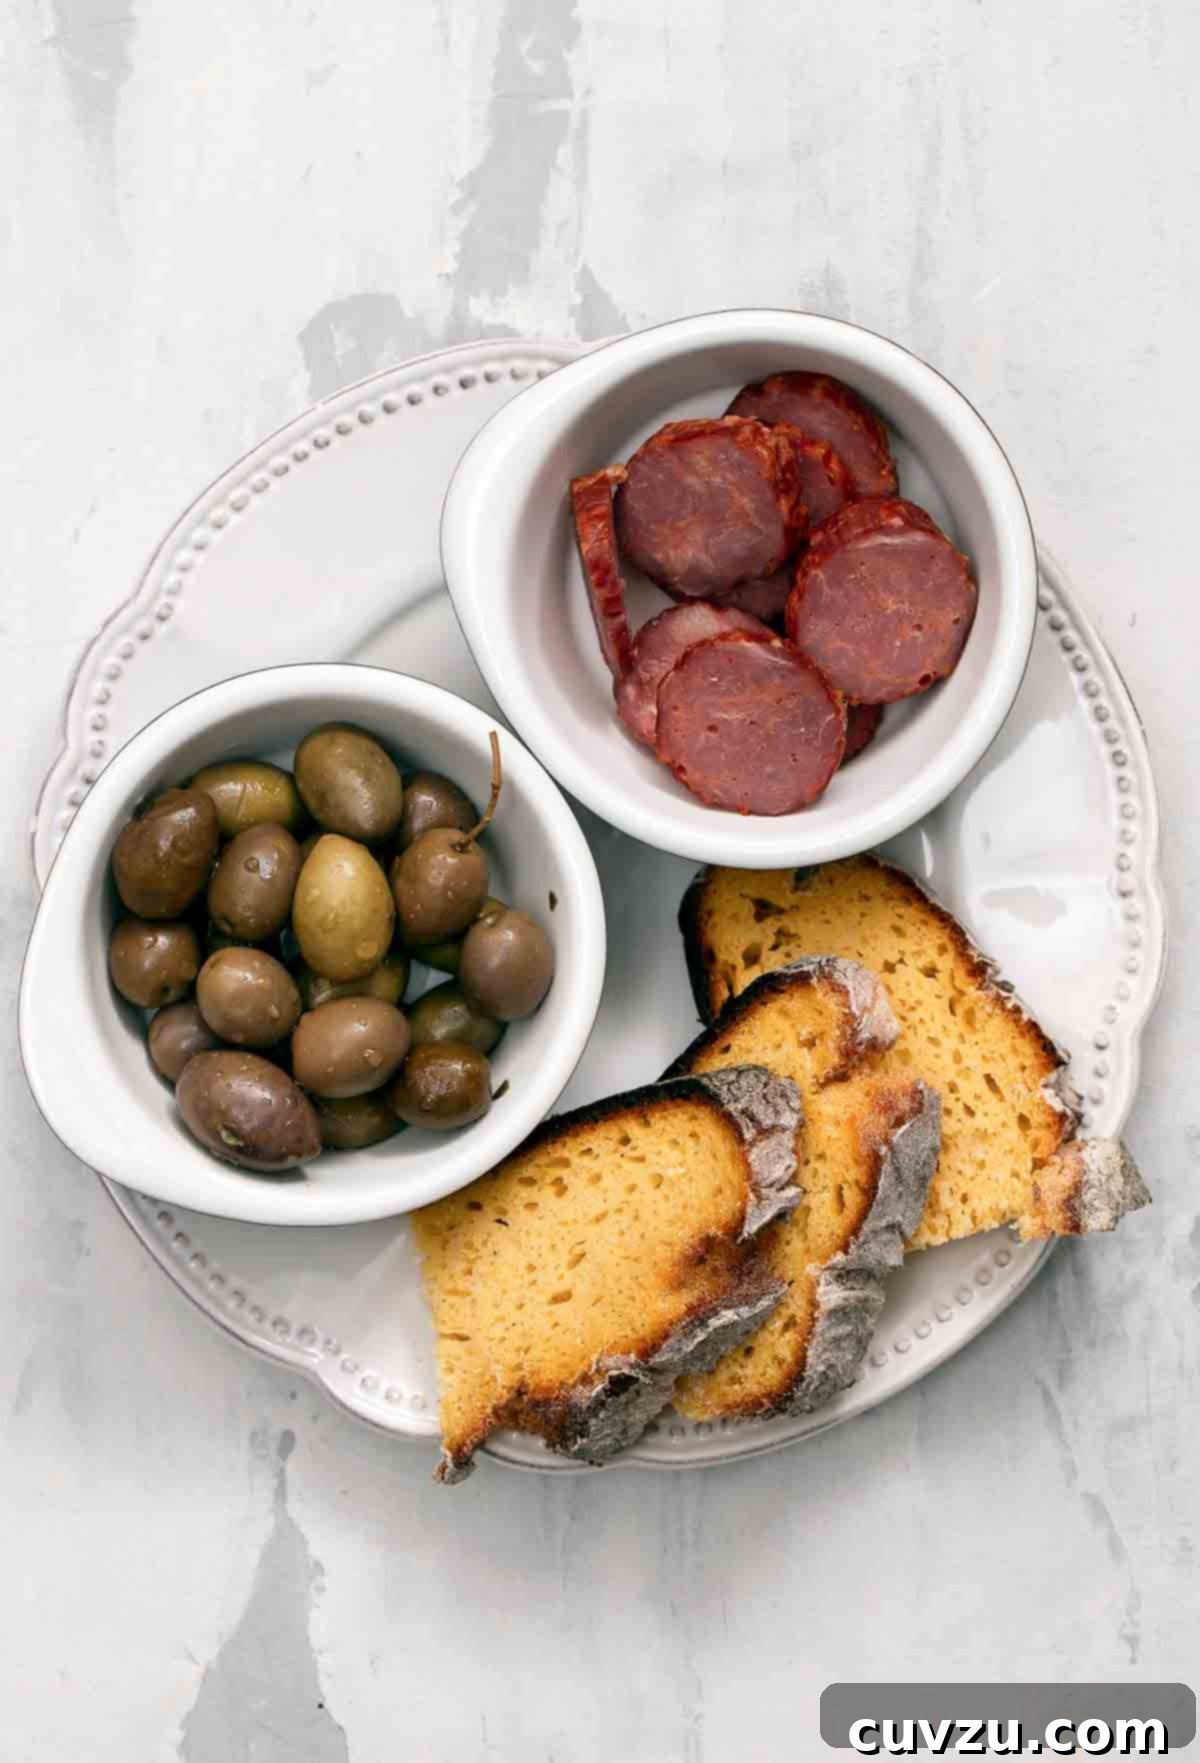
Discovering Broa: A Portuguese Culinary Treasure
Originating from the mountainous, often poorer regions of Portugal, Broa has long been the daily sustenance, a staple grain food for communities where traditional agriculture and semi-wild pig farming (for the prized ibérico breed) historically thrived. This bread is a testament to resilience and resourcefulness, utilizing corn—a hardy grain introduced from the New World that proved incredibly beneficial to upland farmers.
A true Broa is immediately recognizable by its distinctive whitish, often beautifully cracked crust, which offers a delightful contrast to the warm, golden-brown crumb within. The texture is neither light nor airy; instead, it offers a satisfying chewiness and a density that speaks to its rustic origins. It’s a bread designed to provide energy and absorb flavors, making it an indispensable part of many Portuguese meals. The varying proportions of cornmeal and wheat flour contribute to the final texture; the higher the wheat content, the lighter the loaf. While some Broa recipes feature a higher cornmeal ratio, this version offers a delightful balance, proving that even with a more refined touch, Broa never loses its satisfying character.
The Rich History and Cultural Significance of Broa
The history of Broa is deeply intertwined with the agricultural landscape of Portugal, particularly after the Age of Discovery brought corn (maize) from the Americas to Europe. Corn thrived in regions where wheat struggled, making it an accessible and economical grain for many families. Over centuries, Portuguese bakers refined techniques to incorporate cornmeal into their bread, resulting in the unique Broa we know today. This adoption of corn was a boon to upland farmers, transforming their diets and culinary practices.
More than just a food item, Broa represents a connection to the land and a way of life. It’s a symbol of sustenance, community, and the simple, robust flavors of Portuguese regional cuisine. It’s often baked in communal ovens in villages, with families bringing their dough to be transformed into large, comforting loaves. This tradition highlights its role not just as food, but as a cultural anchor, bringing people together around a shared heritage. Elisabeth Luard, a notable culinary writer, perfectly captures its essence as the daily grain food of these regions, reinforcing its fundamental role in Portuguese gastronomy.
What Makes Broa Unique? Texture, Flavor, and Appearance
Broa’s unique characteristics stem from its primary ingredients: yellow or white cornmeal combined with wheat flour. The exact proportions can vary, but the presence of cornmeal is key to its distinctive texture and flavor. While our recipe utilizes a generous 2:1 ratio of wheat to cornmeal by weight—a proportion that yields a slightly lighter loaf than some purely traditional versions—Broa never sacrifices its characteristic heartiness. It remains a substantial bread, far from dainty, yet incredibly satisfying, making it an excellent keeper that tastes even better over time.
The flavor profile is earthy and subtly sweet from the corn, complemented by the savory depth of the wheat. When baked, the crust develops a wonderful crispness, often cracking beautifully to reveal the moist, chewy interior. This texture contrast—a crisp exterior yielding to a dense, yet tender crumb—is one of Broa’s most appealing qualities. It’s a bread that holds its own, whether served simply or alongside rich, flavorful dishes, providing a comforting and fulfilling experience.
Why Bake Broa at Home?
Baking Broa at home is a rewarding experience that offers a taste of authentic Portuguese tradition. Beyond the satisfaction of creating something delicious from scratch, homemade Broa guarantees freshness and allows you to tailor the bread to your preference. The aroma of freshly baked Broa filling your kitchen is an experience in itself, promising a hearty and flavorful addition to your table. Plus, its excellent keeping qualities mean you can enjoy it over several days, or even freeze it for later, without compromising its charm. The process, while requiring a bit of patience for rising, is straightforward and yields impressive results that are far superior to store-bought alternatives.
Serving Your Homemade Broa
Broa truly shines when paired with the right accompaniments. Its robust flavor and sturdy texture make it perfect for:
- Cheeses: A spoonful of ripe, runny Queijo da Serra (a beloved Portuguese mountain cheese, firmer and more pungent later in the year) is a classic pairing. Other firm, aged cheeses, like a sharp cheddar or a robust Manchego, also work wonderfully.
- Cured Meats: A few slivers of the region’s magnificent salt-cured hams and sausages, like chouriço or presunto, complement Broa’s rustic character beautifully, offering a perfect balance of salty and savory.
- Soups and Stews: Broa is exceptional for sopping up the last drops of flavorful broths and hearty stews. It’s an integral component of traditional dishes like Açorda, a Portuguese bread and shrimp soup, demonstrating its versatility and importance in various culinary contexts.
- Simple Pleasure: Don’t underestimate the joy of a fresh slice of Broa with just a smear of good butter or a drizzle of high-quality olive oil. Its inherent flavor is satisfying enough on its own for a simple breakfast or snack.
Broa | Traditional Portuguese Corn Bread
Broa is a deeply satisfying traditional Portuguese corn bread. It’s a hearty, yeast-leavened bread with a robust texture, perfect for complementing rich soups, stews, or simply enjoying with cheese and cured meats.
Recipe by David Leite
Sides, Bread
Portuguese
32 servings
157 kcal per serving
30 minutes
3 hours 45 minutes
4 hours 15 minutes
Essential Ingredients for Authentic Broa
Gathering the right ingredients is the first step to a successful Broa. Quality flour and cornmeal are key to achieving the desired texture and flavor. Ensure your ingredients are fresh for the best results.
- 2 pounds (approx. 7 cups) white unbleached bread flour
- 1 pound (3 cups) fine-ground cornmeal, (often labeled as polenta or corn flour for a finer grind)
- 1 teaspoon fine sea salt
- Two (2/3-ounce) fresh yeast cakes (Alternatively, use 2 1/4 teaspoons or 1 packet of active dry yeast per 2/3 ounce fresh yeast, ensuring it’s properly bloomed in warm water.)
- About 5 cups warm water (approximately 105-115°F or 40-46°C – ideal for activating yeast without killing it)
For finishing
- Flour, for generously dusting your work surface and the dough
- Oil or lard, for thoroughly greasing the baking sheet
Detailed Preparation Instructions
Follow these steps carefully to achieve a rustic and delicious Broa, paying close attention to the dough’s consistency and rising times:
- Combine Dry Ingredients: In a generously sized, warm mixing bowl, combine the bread flour, fine-ground cornmeal, and sea salt. Use a whisk or your hands to ensure they are thoroughly mixed. A warm bowl helps create a conducive environment for the yeast.
- Activate the Yeast: In a separate small bowl, gently dissolve the fresh yeast cakes in 1 cup of the warm water. Sprinkle a spoonful of the dry flour mixture over this liquid. Allow the yeast mixture to rest undisturbed for 5 to 10 minutes, or until it becomes noticeably bubbly and foamy on the surface. This crucial step confirms the yeast is active and ready to work.
- Form the Dough and First Rise: Gradually incorporate the activated yeasty liquid into the dry flour mixture. Begin adding the remaining warm water incrementally, mixing until a soft, sticky, and rather wet dough forms. This dough will be significantly stickier than typical bread doughs, so don’t be alarmed; embrace its wetness. Knead the dough by gently pushing, tugging, and turning it. If the dough proves unmanageably sticky, you may add a very small amount of additional flour, but avoid adding too much, as this will result in a denser bread. Once the dough comes together, form it into a loose ball and lightly dust its surface with a little more flour. Place the dough back into the warm bowl, cover it with a damp cloth, and let it rise in a warm, draft-free place until it has more than doubled in size. This crucial first rise will likely take a couple of hours. Resist the urge to rush this process; a well-risen dough with ample, large bubbles is essential for a crisp, light crust.
- Shape the Loaves: Once the dough has completed its first rise, lightly dust your hands and a clean work surface with flour. Gently scoop the dough out of the bowl and roughly punch it down with your fists to evenly redistribute the air within. Divide the dough in half. Work each piece into a rounded ball, then generously dust each dough ball with flour. The generous dusting helps prevent sticking and contributes to Broa’s characteristic rustic crust.
- Second Rise (Proofing): Prepare your baking sheet by slicking it thoroughly with oil or lard. Carefully place the two dough balls onto the prepared baking sheet, leaving ample space between them. Cover the dough again with a cloth and allow it to undergo a second rise (proofing) in a warm kitchen for approximately 30 minutes. This final proof will contribute significantly to the bread’s volume and achieve that distinctive light texture despite its density.
- Preheat Oven: While the bread is undergoing its second rise, preheat your oven to 400°F (200°C). Ensure the oven is fully preheated for even baking.
- Bake to Perfection: Bake the bread for approximately 1 hour, or until the loaves are well-risen, golden brown, and produce a hollow sound when tapped firmly on the bottom. It is critical not to undercook the loaves, as this can result in a heavy, gummy interior. The surface of the Broa will likely appear whitish from the flour dusting and may develop natural cracks; this is entirely normal and characteristic of traditional Broa, adding to its authentic charm.
- Cool and Serve: Once baked, remove the Broa from the oven and immediately transfer it to a wire rack to cool completely before slicing and serving. This allows the internal structure to set, the moisture to redistribute, and the flavors to fully develop, ensuring the best possible texture and taste.
Pro Tips for the Perfect Broa
- Warmth is Key: Ensure your mixing bowl and rising environment are warm (around 75-80°F or 24-27°C) to encourage optimal yeast activity and a vigorous rise.
- Embrace the Stickiness: Broa dough is inherently wet. Avoid the temptation to add excessive flour during kneading, as this can lead to a dense, dry bread. A light dusting on hands and work surface is usually sufficient for handling.
- Don’t Rush the Rise: Patience during the rising stages is crucial for developing the bread’s airy structure and characteristic crisp crust. Rushing it will compromise the final texture.
- Tap Test for Doneness: The hollow sound when tapping the bottom of the loaf is a reliable indicator of doneness. An internal temperature of 200-210°F (93-99°C) is also a good benchmark for fully cooked bread.
- Cornmeal Choice: Fine-ground cornmeal (like polenta, not coarse grits) is essential for the smooth, yet hearty crumb of Broa.
Notes on Storage and Longevity
One of the remarkable qualities of traditional home-baked bread like Broa is its excellent keeping ability. When stored properly in a cotton bag and hung in a current of air (or simply stored in a breathable bread box at room temperature), it tends to dry out rather than succumbing to mold and spoilage. In its dried form, this sturdy bread provides the foundational element for dozens of different soaked-bread dishes, serving a function in Portuguese cuisine much like dried pasta does in Italian cooking. For longer storage, Broa freezes exceptionally well when wrapped tightly in parchment paper and then aluminum foil, preserving its freshness for weeks.
Adapted From
This recipe is lovingly adapted from the culinary masterpiece, The Food of Spain and Portugal by Elisabeth Luard, a revered authority on regional Iberian cuisine, known for her detailed and authentic culinary explorations.
Buy On Amazon
Nutrition Information (Approximate)
Calories: 157 kcal
Carbohydrates: 31 g
Protein: 5 g
Fat: 1 g
Saturated Fat: 0.2 g
Monounsaturated Fat: 0.3 g
Sodium: 76 mg
Fiber: 2 g
Sugar: 0.3 g
Nutrition information is automatically calculated and should be used only as an approximation. Individual results may vary based on exact ingredients and preparation methods.
Tried this traditional recipe? We’d love to see your beautiful Broa! Mention @leitesculinaria or tag #leitesculinaria on Instagram to share your creation with our community!
Insights from Our Recipe Testers
Our dedicated team of recipe testers put this Broa recipe to the test, offering valuable insights and tips from their home kitchens. Their experiences highlight the nuances of making this traditional bread and reinforce its beloved status, providing practical advice for aspiring bakers.
Ilda Costa-Sarnicki
Ilda, a tester with a discerning palate, shared her enthusiasm for Broa: “Sometimes I crave airy, squishy bread; other times I crave a hearty and dense bread. Broa is definitively for those hearty and dense bread cravings. This is another of those Portuguese breads that I usually have to travel outside of my local community to purchase. Making it at home both satisfies the immediacy of this hearty reward and fuels my obsession with baking bread. In just over 4 hours, with only about 30 minutes of hands-on time, I was rewarded with two hefty boules of Broa.” This testimony underscores the efficiency and rewarding nature of the recipe.
Ilda followed the recipe precisely, with a minor adjustment to her baking surface, offering a useful tip for others: “As described, the dough for this bread is quite sticky and wet. From prior learned lessons, the easiest way for me to handle this type of dough is on my silicone mats, so that’s what I used instead of a greased baking sheet. This helps immensely with managing the dough’s stickiness.” She also offered valuable advice on checking yeast viability: “I warmed a glass bowl for 1 minute on high in the microwave to create a warm environment, and though I was initially unsure about my fresh yeast cake (it had dry cracks), I used only the smooth interior pieces. It dissolved well and bubbled in the warm water, confirming its activity—a crucial step for a good rise.”
Regarding the dough’s consistency, Ilda noted, “The dough was soft, very sticky, and wet. I needed an extra 50g of all-purpose flour to help form it into a ball, and another 50g for shaping. The recipe advised dusting generously, and while I might have done so a bit too much, it gave the outside crust that rustic, crackled top characteristic of Broa.” She also mentioned the cornmeal type: “I happened to have white corn flour (very fine cornmeal), which resulted in quite white breads. Yellow cornmeal would look great too, without changing the flavor, just the visual.”
For baking, Ilda emphasized thoroughness to avoid common pitfalls: “My bread was perfectly baked in 1 hour, indicated by its rise, hollow sound when tapping the bottom, and an internal temperature of 206°F. I’ve experienced undercooked Broa before – it turns mushy and yeasty, spoiling rapidly – so I was determined to avoid that and ensure a perfectly cooked interior.” Her personal enjoyment after baking was immediate and vivid: “While my hollow-sounding, yet hearty bread rested, I couldn’t resist thawing and quick-roasting a Portuguese blood sausage. I enjoyed it smeared on a slice of my freshly baked Broa with extra slices of fresh paprika pepper. A true treat that perfectly showcased the bread’s ability to complement robust flavors!”
For storage, Ilda provided practical advice for maintaining freshness: “I stored my second Broa in the freezer, wrapped in parchment paper and aluminum foil. To thaw, I moved it directly from the freezer to a preheated oven at 375°F (190°C) in the same wrapping. It was as fresh as if just initially baked after 25 minutes in the oven.” She concluded, “The Broa crusts were quite crunchy, possibly due to my generous flour dusting, but the crumb was exactly what I expect from Broa—airy, chewy, hearty, and absolutely delicious!” Her experience confirms the recipe’s success and the bread’s versatility.
Deb Lynch
Deb Lynch, another valued tester, appreciated the bread’s versatility and ease of preparation: “This bread is decisively rustic, chewy, and a fantastic accompaniment to any hearty soup or stew. It comes together easily, whether you use a stand mixer (which isn’t strictly called for in the recipe but works well for this soft, wet dough) or prefer to mix by hand.” This highlights the flexibility of the recipe for different baking styles.
Deb also offered a convenient substitution for yeast, making the recipe more accessible: “To simplify preparation, I opted for instant yeast instead of fresh yeast cakes. I successfully converted 2/3 ounce of fresh yeast to 2 1/4 teaspoons, or 1 packet of active dry yeast, which worked perfectly and saved a trip to a specialty store.” Her verdict on the freshly baked Broa was enthusiastic: “I allowed the Broa to cool for about 30 minutes, but my patience wore thin, so I cut a slice and slathered it with butter. The crust was wonderfully crisp, and the taste was delicious—a testament to its inherent flavor and texture!”
She concluded with a new appreciation for the bread and a desire to explore further: “I’d never had or made Broa before, but I’m now a convert and will definitely make this again! Having successfully made this recipe, I’m eager to try David Leite’s recipe in his ‘New Portuguese Table’ book, which features a boiling water technique for Broa. This recipe has truly opened my eyes to the delights of Portuguese baking.” Deb’s experience confirms the broad appeal and satisfying nature of homemade Broa.