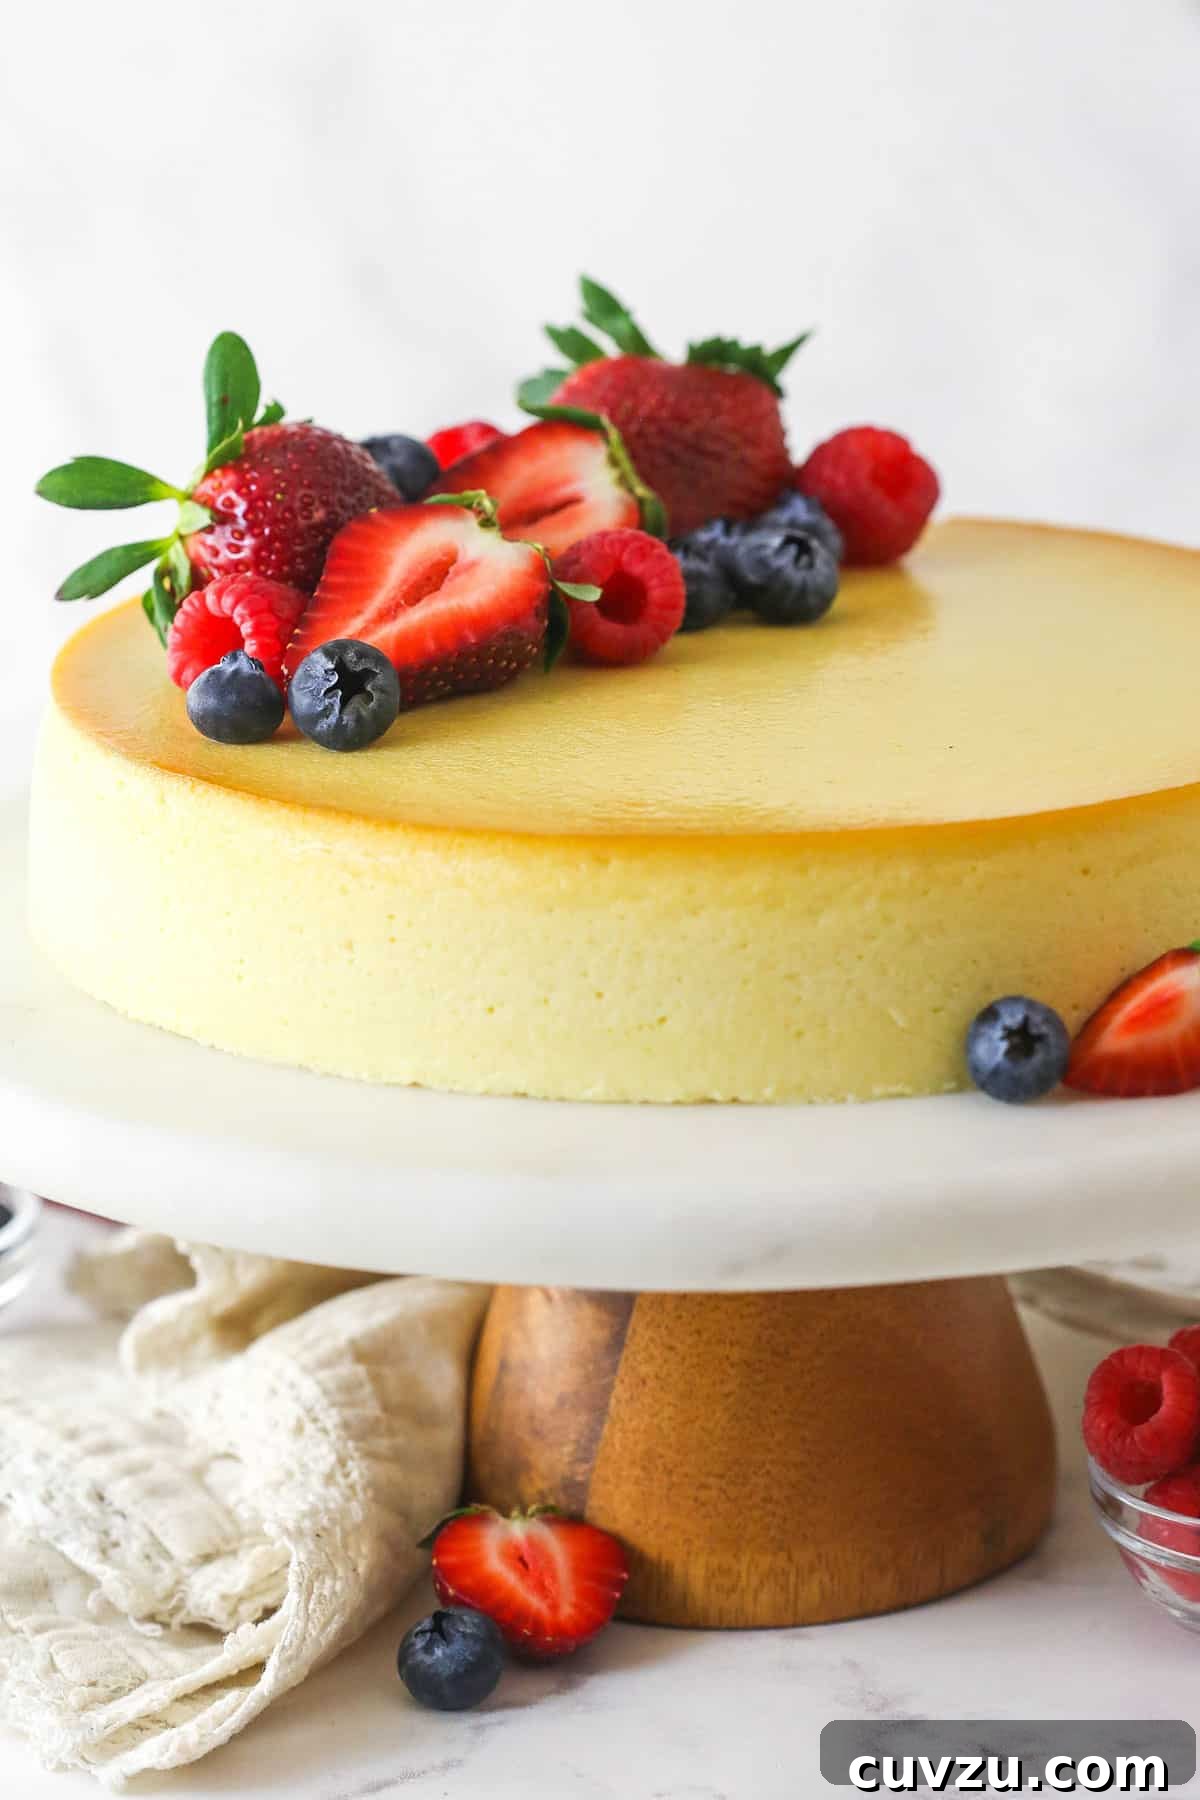
Discover the delightful simplicity of homemade ricotta cheesecake, a dessert that promises a light, creamy, and uniquely textured experience. Crafted with just five essential ingredients, this recipe masterfully highlights the subtle, sweet flavor of ricotta cheese, complemented by a delicate hint of fresh lemon. Unlike its denser cream cheese counterparts, this crustless rendition offers a rustic charm and a distinctively airy profile that is both easy to prepare and utterly delicious.
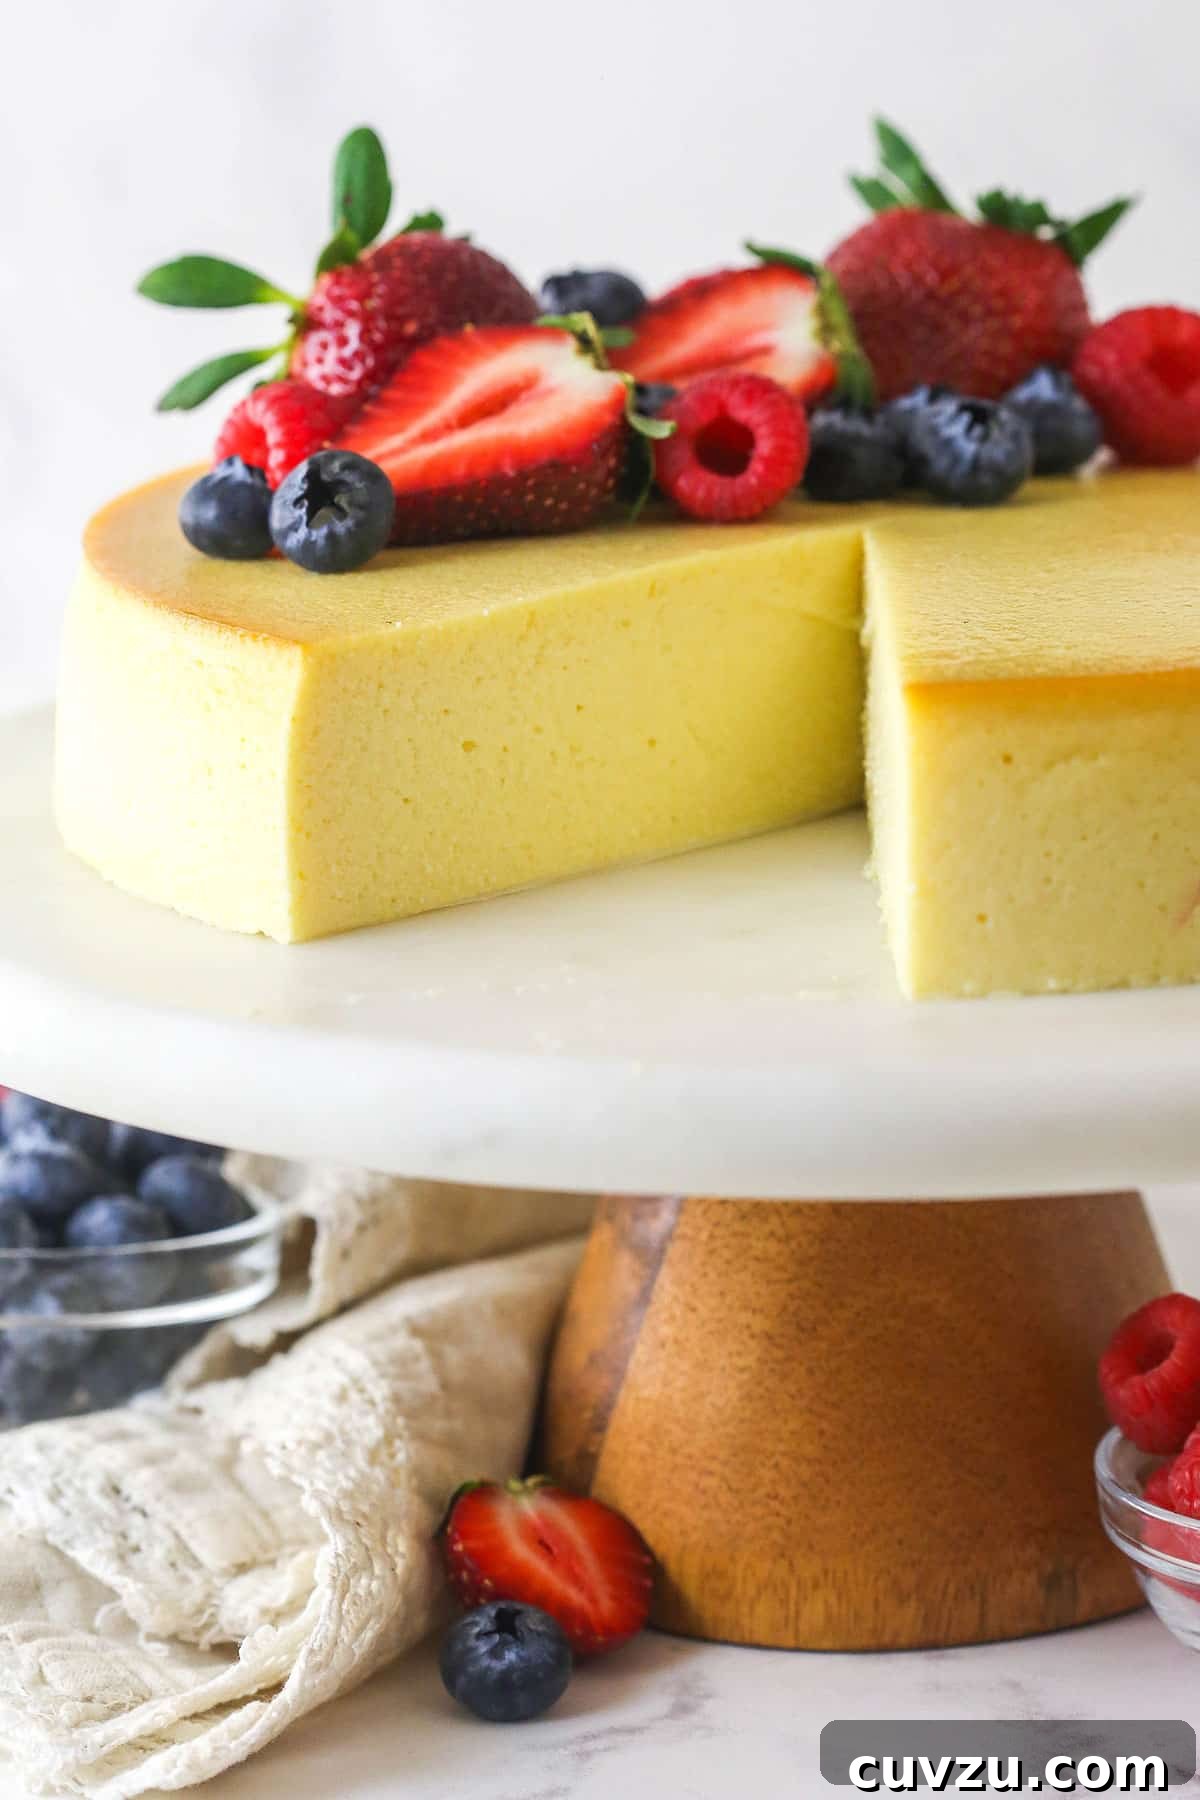
While my heart often yearns for the rich, tangy indulgence of a classic New York-style cheesecake or the effortless charm of a no-bake cheesecake, there’s an undeniable joy in exploring novel variations. This ricotta cheesecake stands out as a truly unique and refreshing deviation from the traditional. Its distinct texture, much lighter and softer than a standard vanilla cheesecake, is precisely what makes it so captivating and a delightful adventure for your palate.
The beauty of this particular recipe lies in its unwavering commitment to ricotta. Instead of attempting to mimic a conventional cream cheese cheesecake by adding cream cheese for density, this recipe fully embraces ricotta, allowing its natural qualities to shine. It’s crucial to approach this dessert with an open mind, as it’s not meant to replicate the dense, tangy experience of a typical cream cheese cheesecake. Expect a more delicate, subtly textured filling that is inherently softer, with a nuanced flavor profile that speaks of its star ingredient.
Through extensive testing, I found that even a small addition of cream cheese – as little as 8 ounces replacing a portion of the ricotta – fundamentally altered the cheesecake’s character. Cream cheese possesses a robust, assertive tang that effortlessly overwhelms ricotta’s more delicate notes. The essence of this recipe is to celebrate ricotta, and compromising its presence with cream cheese would diminish the very flavor we aim to highlight. If you’re going to make a ricotta cheesecake, it should genuinely taste like ricotta.
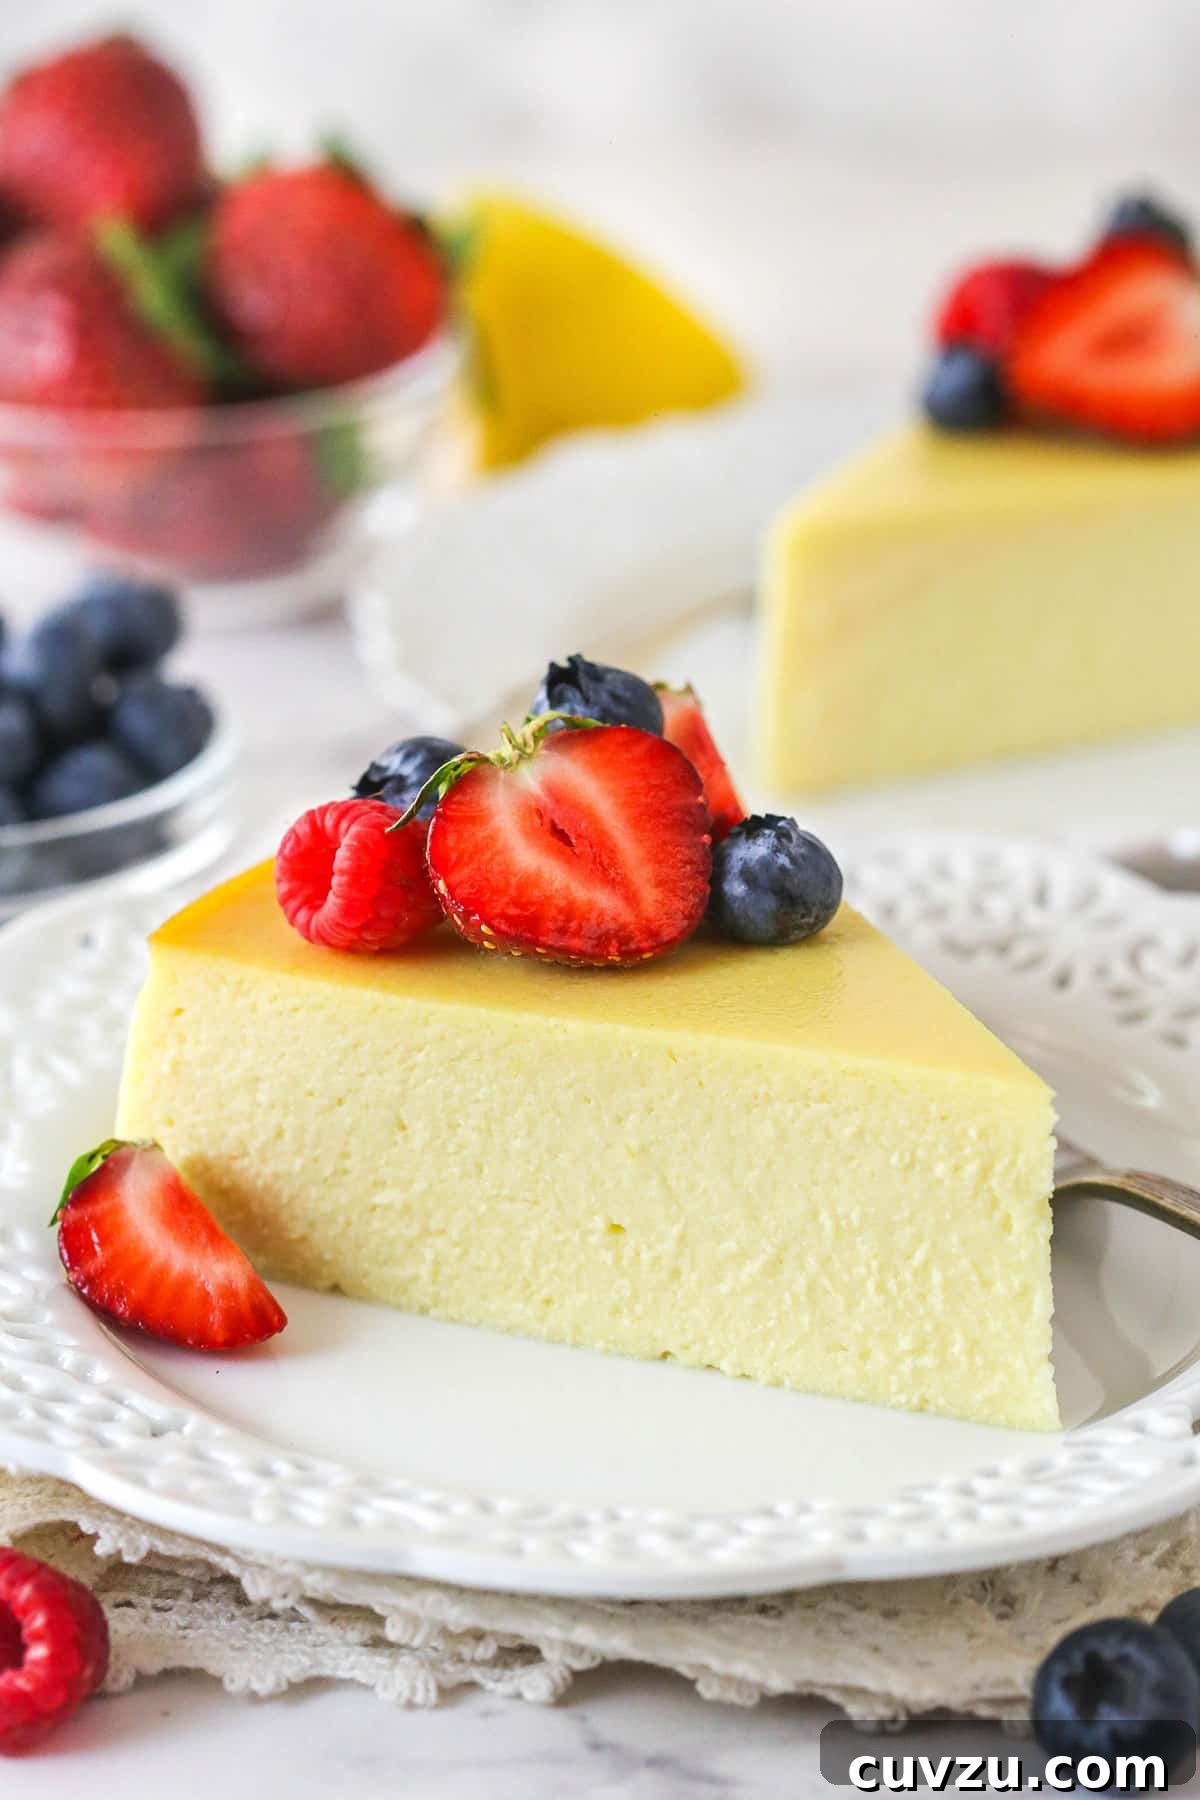

Why Choose Ricotta Cheese for Cheesecake?
- Subtle Flavor Profile: The primary reason to opt for ricotta in your cheesecake is its uniquely delicate and mild flavor. Unlike the sharp tang of cream cheese, ricotta offers a nuanced sweetness that allows other complementary flavors, like a hint of lemon, to beautifully emerge without being overshadowed. This cheesecake truly celebrates the star ingredient, letting the ricotta’s natural goodness take center stage, resulting in a sophisticated yet approachable dessert.
- Simple & Rustic Elegance: Much like the increasingly popular Basque cheesecake, this ricotta version embraces a rustic, crustless design. Eliminating the crust means fewer steps and allows the rich, creamy filling to be the sole focus. There are no distracting elements or “bells and whistles” needed; just the pure, unadulterated pleasure of a smooth, flavorful ricotta filling. This simplicity makes it a fantastic choice for those who appreciate understated elegance in their baking.
- Light, Velvety Filling: Ricotta cheese delivers a textural experience distinctly different from cream cheese. Its inherent lightness creates a cheesecake that is remarkably airy and soft, yet undeniably creamy. To achieve the absolute best, most velvety consistency, a crucial step involves straining the ricotta thoroughly to remove excess moisture, followed by processing it until it reaches a silky-smooth texture. This ensures a sublime melt-in-your-mouth experience with every bite.
- Minimalist Ingredient List: With just five core ingredients, this ricotta cheesecake is incredibly accessible and straightforward. Beyond the star ingredient, ricotta cheese, you’ll only need pantry staples like sugar for sweetness, vanilla for depth of flavor, eggs for binding and structure, and fresh lemon zest to brighten the entire dessert. This pared-down list means less shopping, less fuss, and a quicker path to a magnificent homemade treat.
Key Ingredients for a Perfect Ricotta Cheesecake
The beauty and accessibility of this recipe stem from its remarkably short ingredient list. Each component plays a vital role in creating the cheesecake’s signature flavor and texture. For precise measurements, please refer to the detailed recipe card provided below.
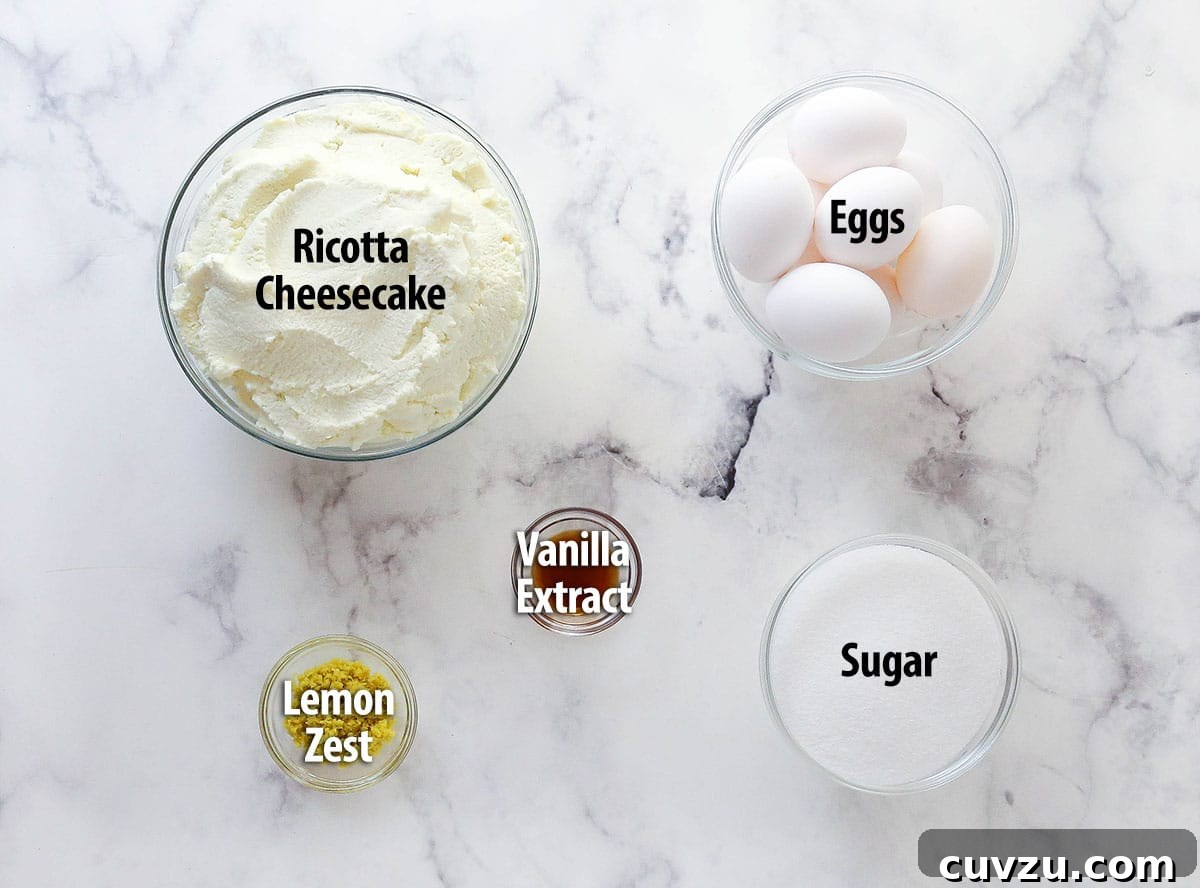
- Whole Milk Ricotta Cheese: This is the absolute star of our cheesecake, and quality truly matters here. Always opt for whole milk ricotta, as its higher fat content contributes significantly to the creamy texture and rich flavor. Investing in a good quality brand, such as Galbani, Bel Giosio, or Polly-O, will elevate your cheesecake from good to exceptional. The quality of your ricotta directly impacts the final taste and consistency.
- Granulated Sugar: Beyond simply adding sweetness, sugar plays a critical role in the cheesecake’s structure and caramelization during baking. It balances the tanginess and enhances the overall flavor profile of the ricotta, ensuring a perfectly sweet and harmonious dessert.
- Pure Vanilla Extract: A touch of high-quality vanilla extract is essential for balancing and rounding out the flavors. It adds a warm, aromatic depth that complements the subtle notes of ricotta and lemon, creating a more complex and inviting taste.
- Fresh Lemon Zest: The zest from approximately three lemons provides a vibrant, light lemon flavor throughout the cheesecake without introducing excess liquid. Lemon juice would thin the batter too much, altering the texture, whereas zest delivers concentrated citrus oil, imparting a bright and refreshing aroma that perfectly highlights the ricotta.
- Large Eggs (Divided): This recipe calls for more eggs than a typical cream cheese cheesecake. This is because ricotta is inherently softer and less stable than cream cheese, and the additional eggs are crucial for providing the necessary structure and ensuring the cheesecake sets beautifully, preventing it from being too loose or runny.
How To Master the Art of Ricotta Cheesecake
Crafting this ricotta cheesecake is a surprisingly straightforward process, though it does require a bit of planning, particularly for the crucial straining step. Taking the time to properly prepare your ricotta in advance is key to achieving the perfect set and creamy texture. Below, you’ll find a detailed breakdown of each step, with more comprehensive instructions available in the recipe card at the end of this article.
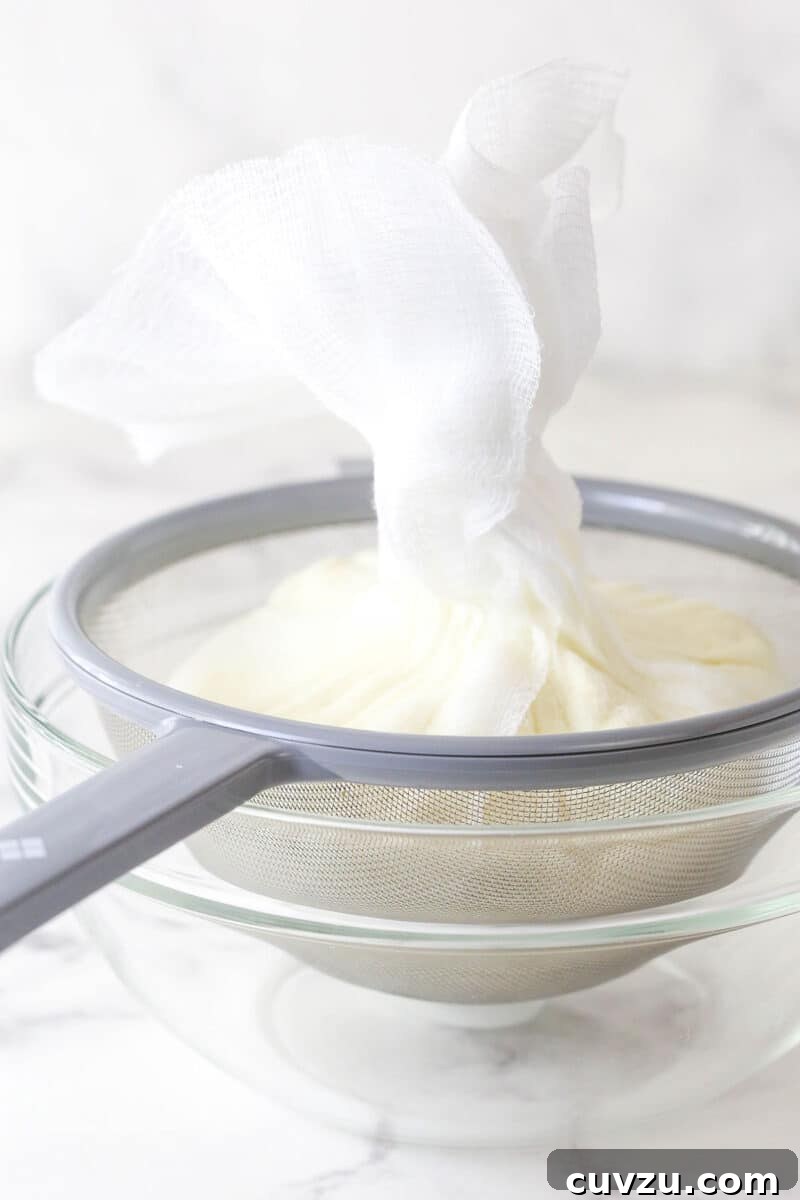
Step 1: Strain the Ricotta. This is perhaps the most critical step for a successful ricotta cheesecake. Line a fine-mesh strainer or colander with several layers of cheesecloth and place it over a deep bowl. Spoon the entire 3 pounds of ricotta cheese into the cheesecloth, then cover it loosely. Allow the ricotta to strain in the refrigerator for a minimum of 4 hours. For optimal results and the creamiest, firmest cheesecake, I highly recommend straining it overnight, if your schedule allows. This process removes excess liquid, which is vital for preventing a thin or soft filling. Discard the liquid that collects in the bowl.
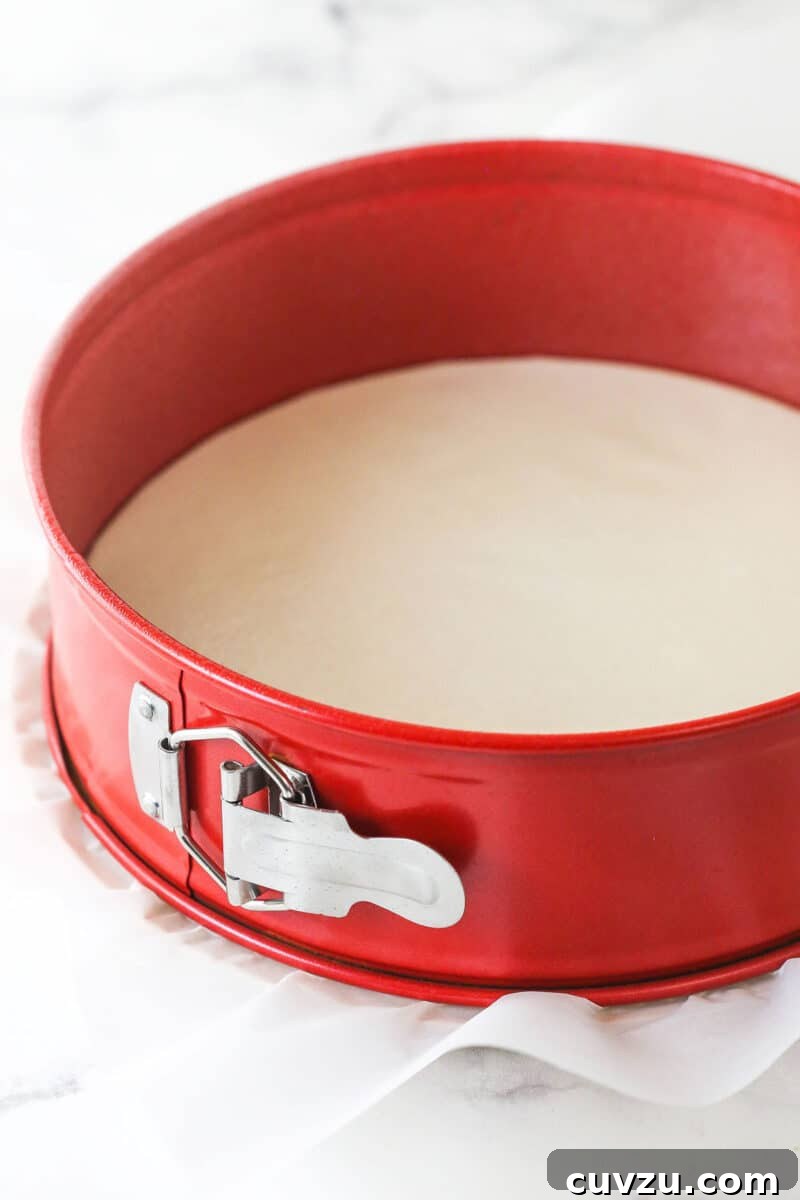
Step 2: Prepare the Springform Pan. Preheat your oven to 325°F (163°C). Since this is a crustless cheesecake, proper pan preparation is essential for easy removal. Place a circular piece of parchment paper on the bottom of a 9-inch springform pan, then securely attach the sides of the pan over the parchment, leaving a slight overhang of paper on the outside. This overhang will act as handles, making it much easier to lift the finished cheesecake out. Thoroughly spray the sides of the pan with a good quality non-stick spray. Finally, wrap the outside of the pan tightly with heavy-duty aluminum foil to create a waterproof barrier for the water bath. You can also use a specialized silicone water bath pan to prevent leaks. Set your prepared pan aside.
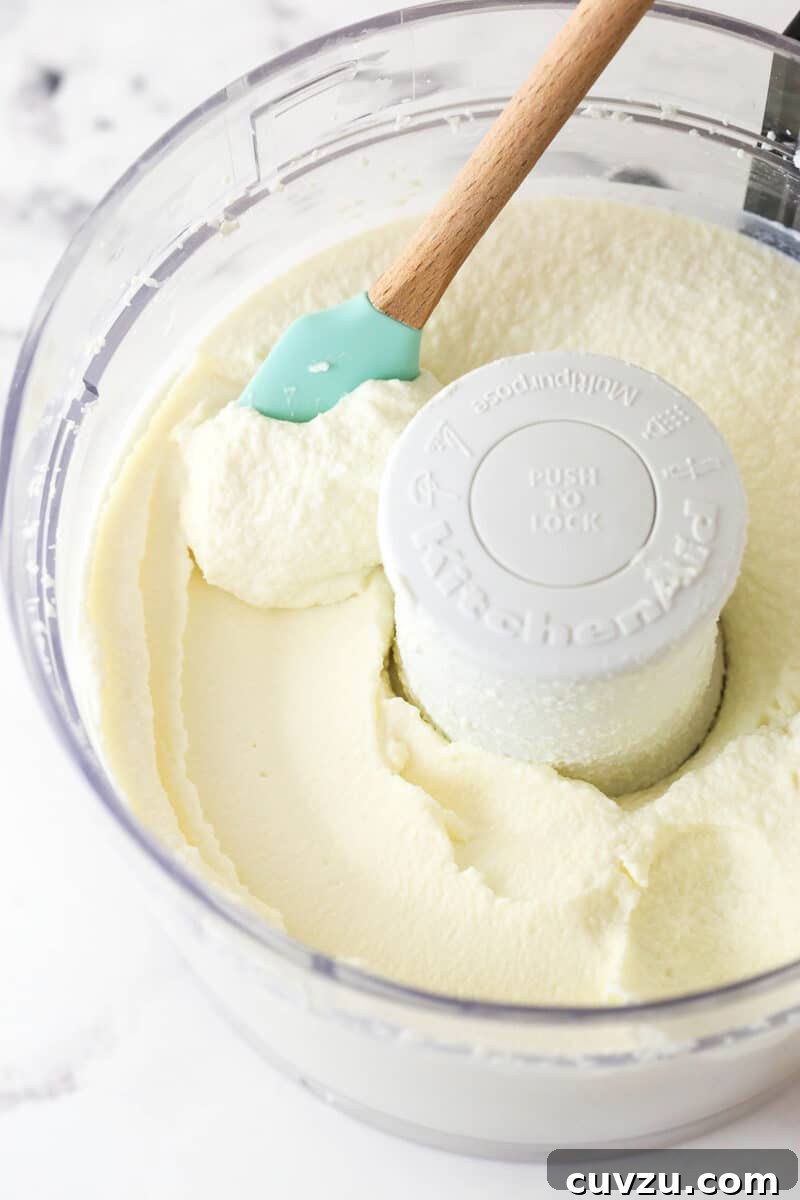
Step 3: Process the Ricotta for Smoothness (Optional but Recommended). For a truly smooth and luxuriously creamy cheesecake, transfer the thoroughly strained ricotta to a large food processor. If your food processor is smaller, you can process the ricotta in two or three batches. Pulse and process the ricotta until it is completely smooth, lump-free, and resembles a thick, uniform paste. While this step is not strictly mandatory, it significantly enhances the cheesecake’s final texture, delivering that coveted velvety mouthfeel.
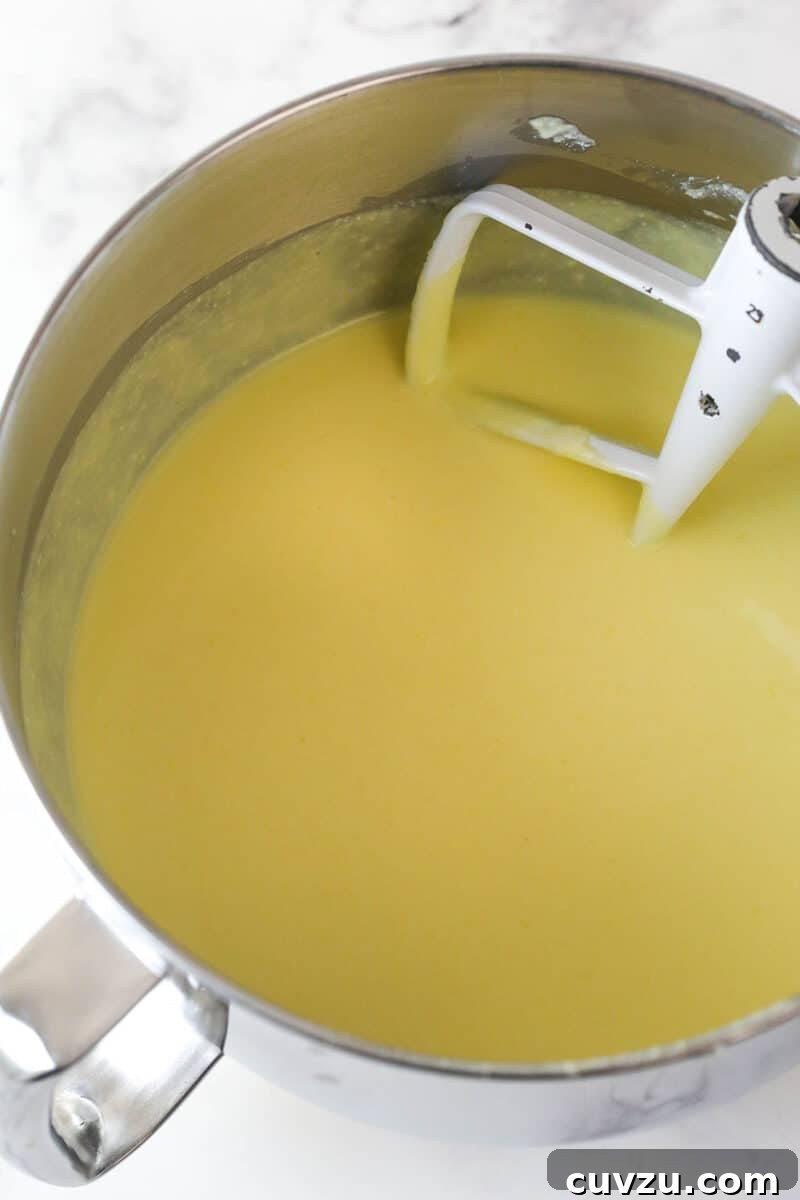
Step 4: Combine the Cheesecake Filling. Transfer the processed (or well-strained) ricotta from the food processor to the bowl of a stand mixer fitted with a paddle attachment, or use a large mixing bowl with an electric hand mixer. Add the granulated sugar, vanilla extract, and lemon zest. Start by adding four of the eight large eggs. Mix on low speed, just until all the ingredients are fully combined and there are no streaks of dry sugar visible. Then, add the remaining four eggs and continue to mix on low speed until everything is homogenous. Be careful not to overmix, as this can incorporate too much air, leading to cracks in the finished cheesecake.
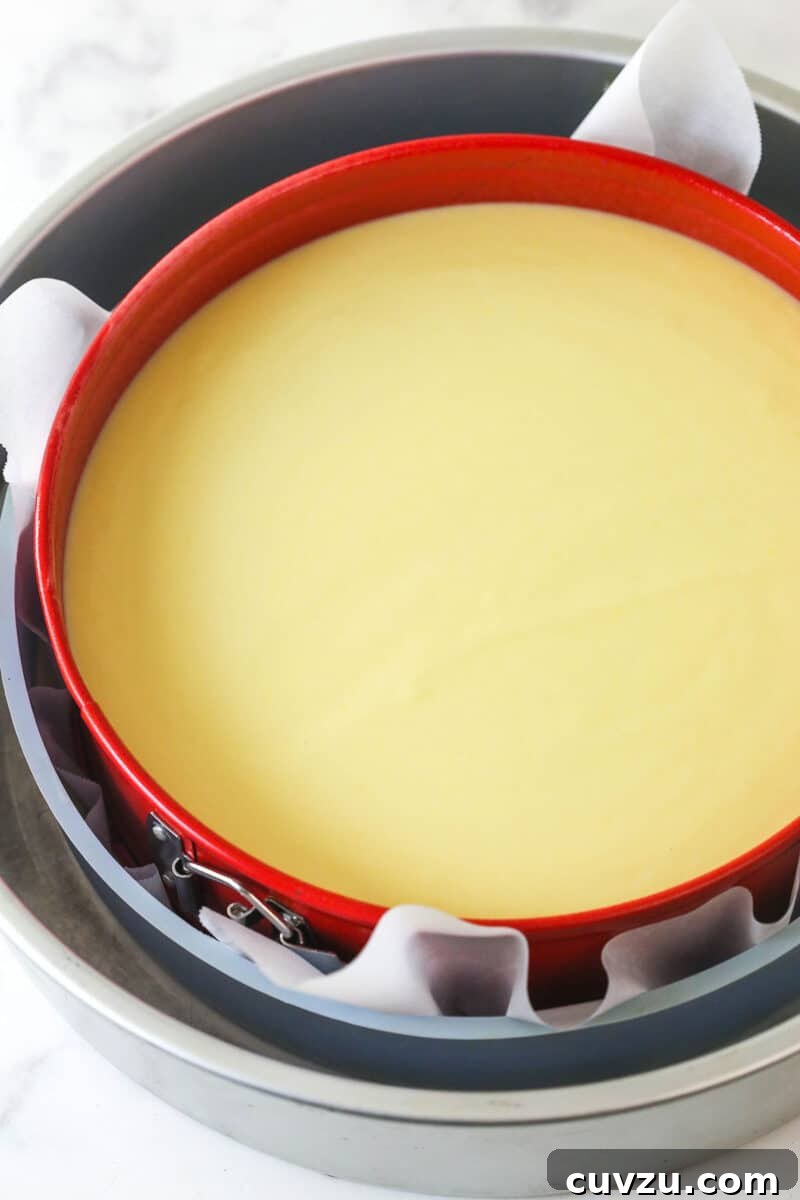
Step 5: Bake the Cheesecake. Carefully pour the prepared cheesecake batter into your lined springform pan. Place the pan inside a larger roasting pan. Fill the roasting pan with hot water until it reaches about halfway up the sides of the springform pan. This water bath creates a moist, even cooking environment, preventing cracks and ensuring a creamy, tender interior. Carefully transfer the entire setup to your preheated oven. Bake for approximately 1 hour and 30 to 40 minutes. The cheesecake is done when the edges appear set, and the center is still slightly wiggly (like firm Jell-O), but not liquid or “sloshy.” Remember, this cheesecake will be softer than a cream cheese variety.
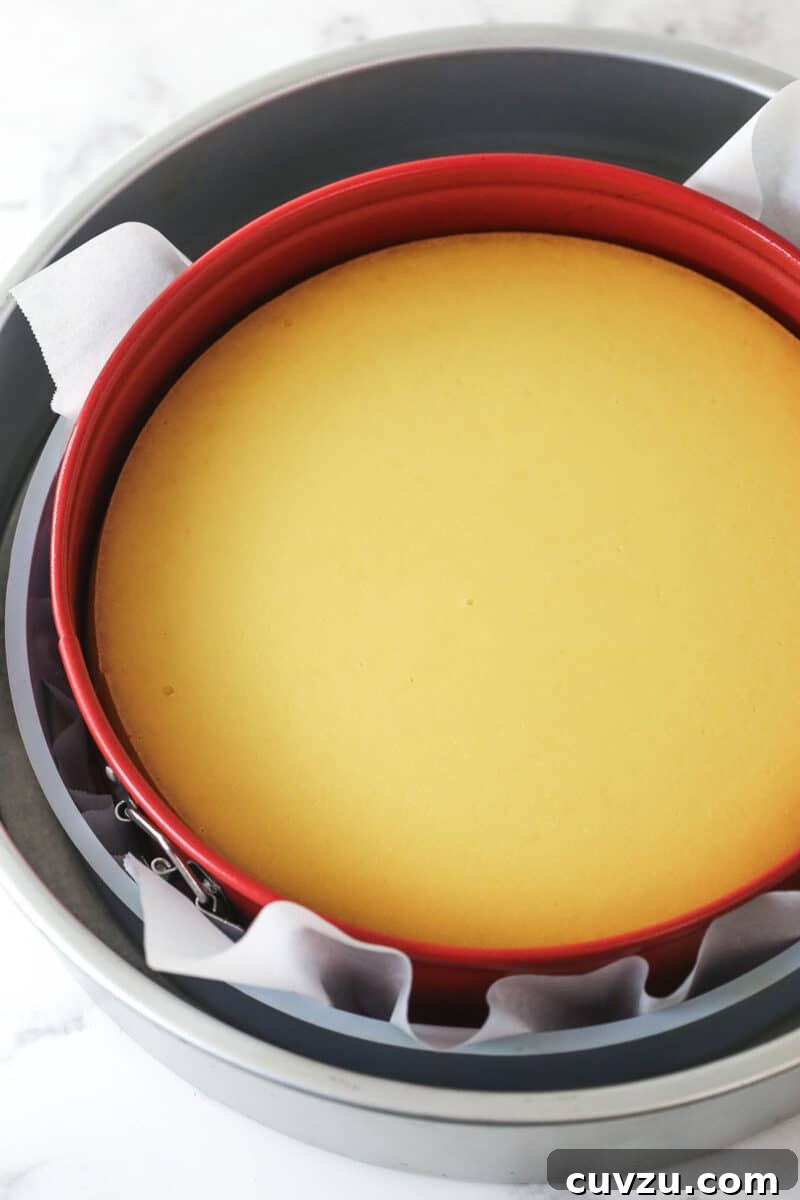
Step 6: Cool Slowly and Refrigerate. Once baked, turn off the oven but leave the cheesecake inside with the door closed for an additional 30 minutes. This allows for a gradual temperature decrease, minimizing the risk of cracks. After 30 minutes, crack the oven door open slightly and allow the cheesecake to cool for another 30 minutes. This slow cooling process is vital for the cheesecake’s structure and appearance. Remove it from the oven and let it cool completely to room temperature on a wire rack. Once cooled, carefully remove the foil and any water bath wrapping. Cover the cheesecake tightly with plastic wrap and refrigerate for at least 5-6 hours, or ideally, overnight. Chilling is crucial for the cheesecake to fully firm up and develop its intended texture and flavor.
Expert Tips for a Flawless Ricotta Cheesecake
While this ricotta cheesecake shares some baking principles with traditional cheesecakes, its unique ingredients necessitate a few distinct preparation techniques. Following these tips will help you achieve a perfectly creamy, crack-free dessert every single time.
- Strain the Ricotta Religiously, Preferably Overnight: The single most crucial step for a firm, creamy ricotta cheesecake is thoroughly straining the ricotta. While 4 hours is the minimum in a pinch, allowing the ricotta to drain overnight in the refrigerator is highly recommended. This ensures that all excess liquid is removed, preventing your cheesecake from being too loose or watery. The drier the ricotta, the more stable and delightful your filling will be.
- Prepare Your Pan with Precision: Given that this cheesecake lacks a crust, careful pan preparation is essential for easy removal and presentation. Line the bottom of your springform pan with a circle of parchment paper, leaving a slight overhang around the edges. This overhang will serve as a convenient “handle” to lift the cheesecake once it’s chilled. Additionally, generously grease the sides of the pan with non-stick spray to prevent sticking.
- Blend the Ricotta for Ultimate Smoothness: For an exceptionally smooth and velvety cheesecake, don’t skip the step of processing the strained ricotta in a food processor. While the cheesecake will still be delicious without this step, blending it transforms the ricotta into an incredibly fine, creamy consistency, eliminating any graininess and enhancing the overall luxurious mouthfeel.
- Embrace the Water Bath for Even Baking: A water bath is your best friend when baking any cheesecake, and this ricotta version is no exception. Baking the cheesecake in a water bath provides a gentle, even heat distribution, which is key to preventing cracks on the surface and ensuring a consistently creamy texture throughout. I promise the minimal extra effort is well worth the flawless results. If you’re new to water baths, explore my comprehensive guide on how to prepare a cheesecake water bath securely.
- Cool Slowly to Prevent Cracks: Just like its cream cheese cousins, this ricotta cheesecake benefits immensely from a slow, gradual cooling process. Once baking is complete, turn off the oven and leave the cheesecake inside with the door closed for 30 minutes. Then, prop the oven door ajar for another 30 minutes before transferring it to the counter to cool completely to room temperature. This controlled cooling prevents sudden temperature changes that can lead to unsightly cracks.
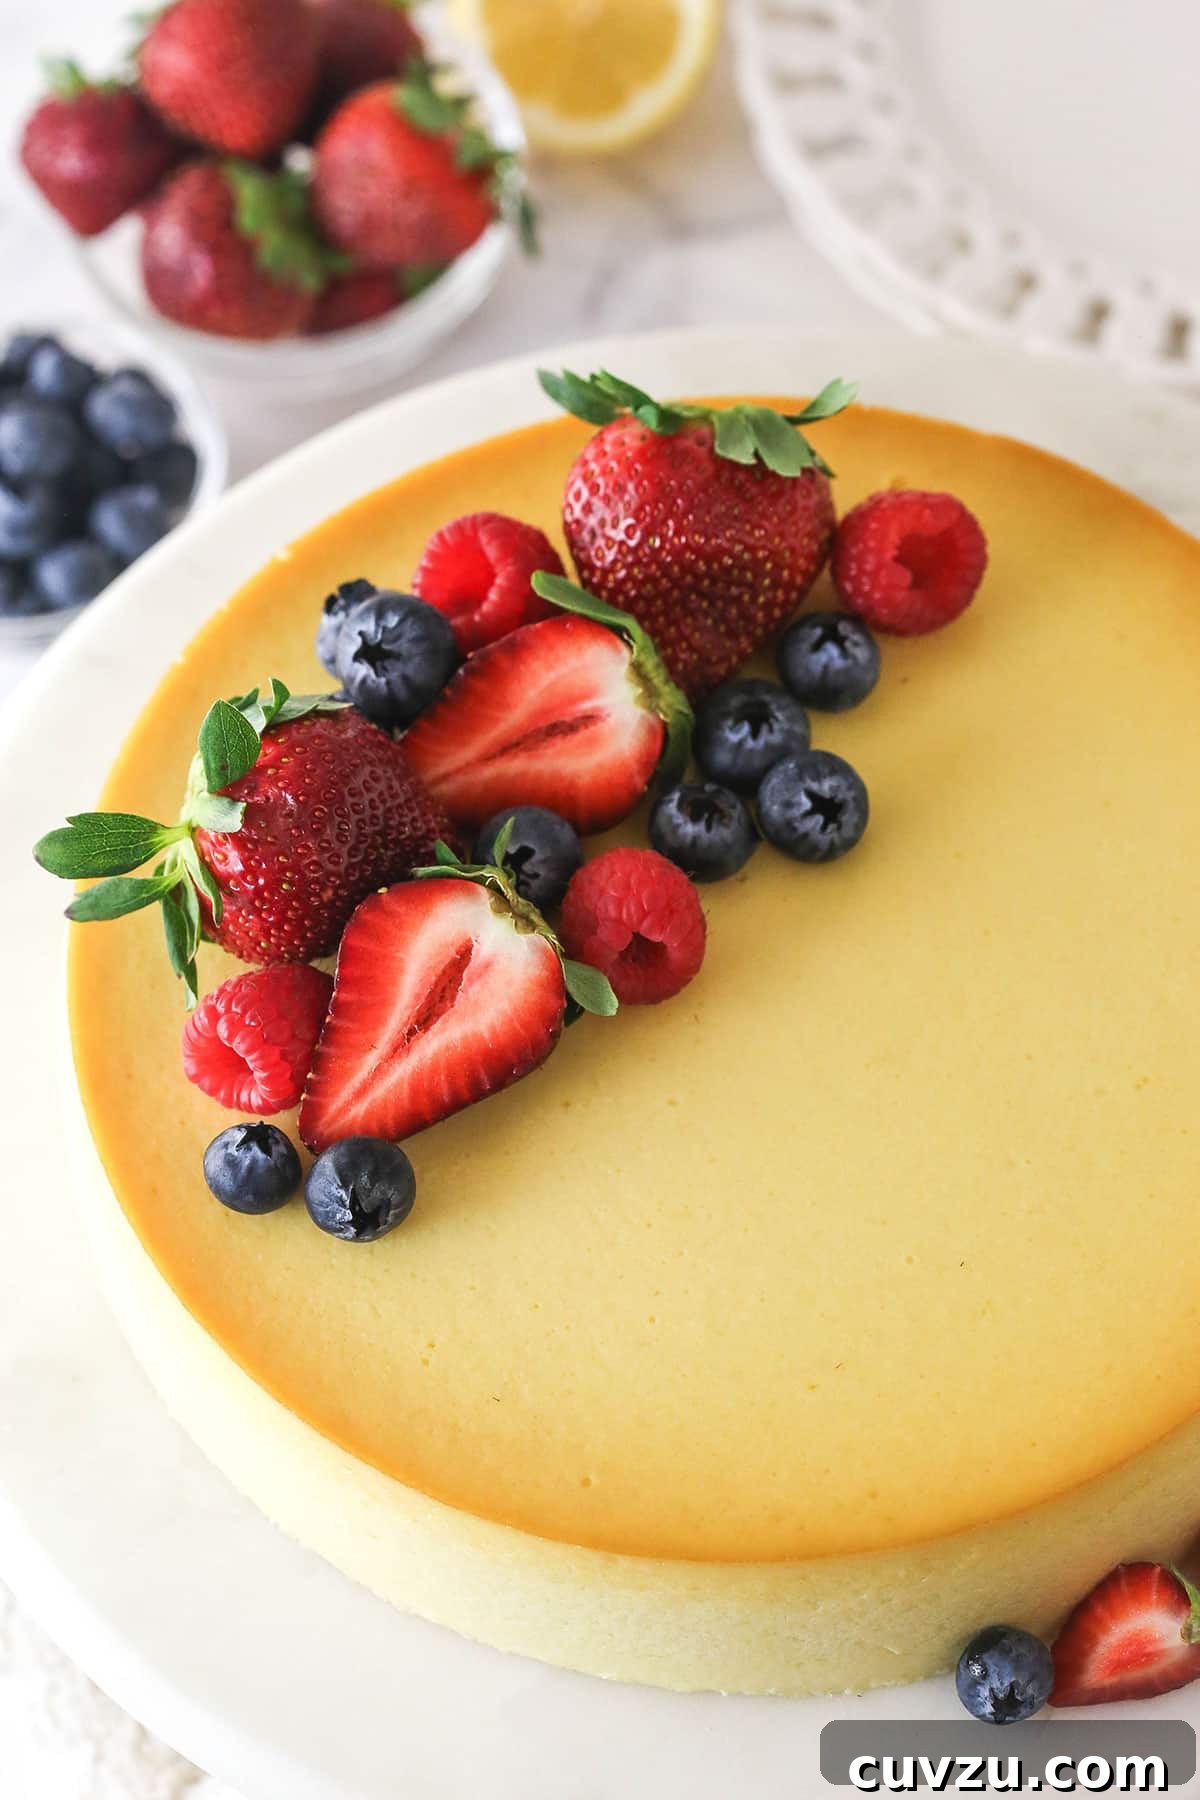
Creative Topping Ideas for Your Ricotta Cheesecake
This ricotta cheesecake, with its inherent simplicity and focus on the star ingredient, is truly sublime on its own. The delicate flavor of the ricotta is meant to be the highlight, needing no embellishment. However, its light and adaptable profile also makes it a wonderful canvas for complementary toppings, should you wish to add a little something extra.
For those who appreciate an added citrusy punch, a dollop of homemade lemon curd would beautifully amplify the subtle lemon notes already present in the cheesecake. And, of course, a cloud of freshly made whipped cream is a universally loved accompaniment that adds an extra layer of lightness and indulgence without overwhelming the main flavor.
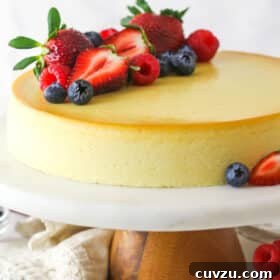
Ultimately, my personal favorite and perhaps the most elegant way to serve this ricotta cheesecake is simply with an abundance of fresh, seasonal fruit. As showcased in the photographs, berries or a mixed fruit medley provide natural sweetness, vibrant color, and a refreshing contrast to the creamy filling, enhancing the cheesecake’s inherent freshness.
How to Determine When Your Ricotta Cheesecake is Perfectly Baked
Because this ricotta cheesecake features a slightly thinner batter and a naturally softer texture compared to more conventional cream cheese cheesecakes, assessing its doneness requires a slightly different approach. The most reliable method is the “wobble test.” Gently jiggle the pan; the edges of the cheesecake should appear set and firm, while the very center should exhibit a slight, gentle jiggle – akin to a very soft jello. It should not be visibly liquid or “sloshy.” This delicate wobble is the perfect indicator, as the cheesecake will continue to cook and firm up considerably as it cools, both in the oven and during refrigeration.
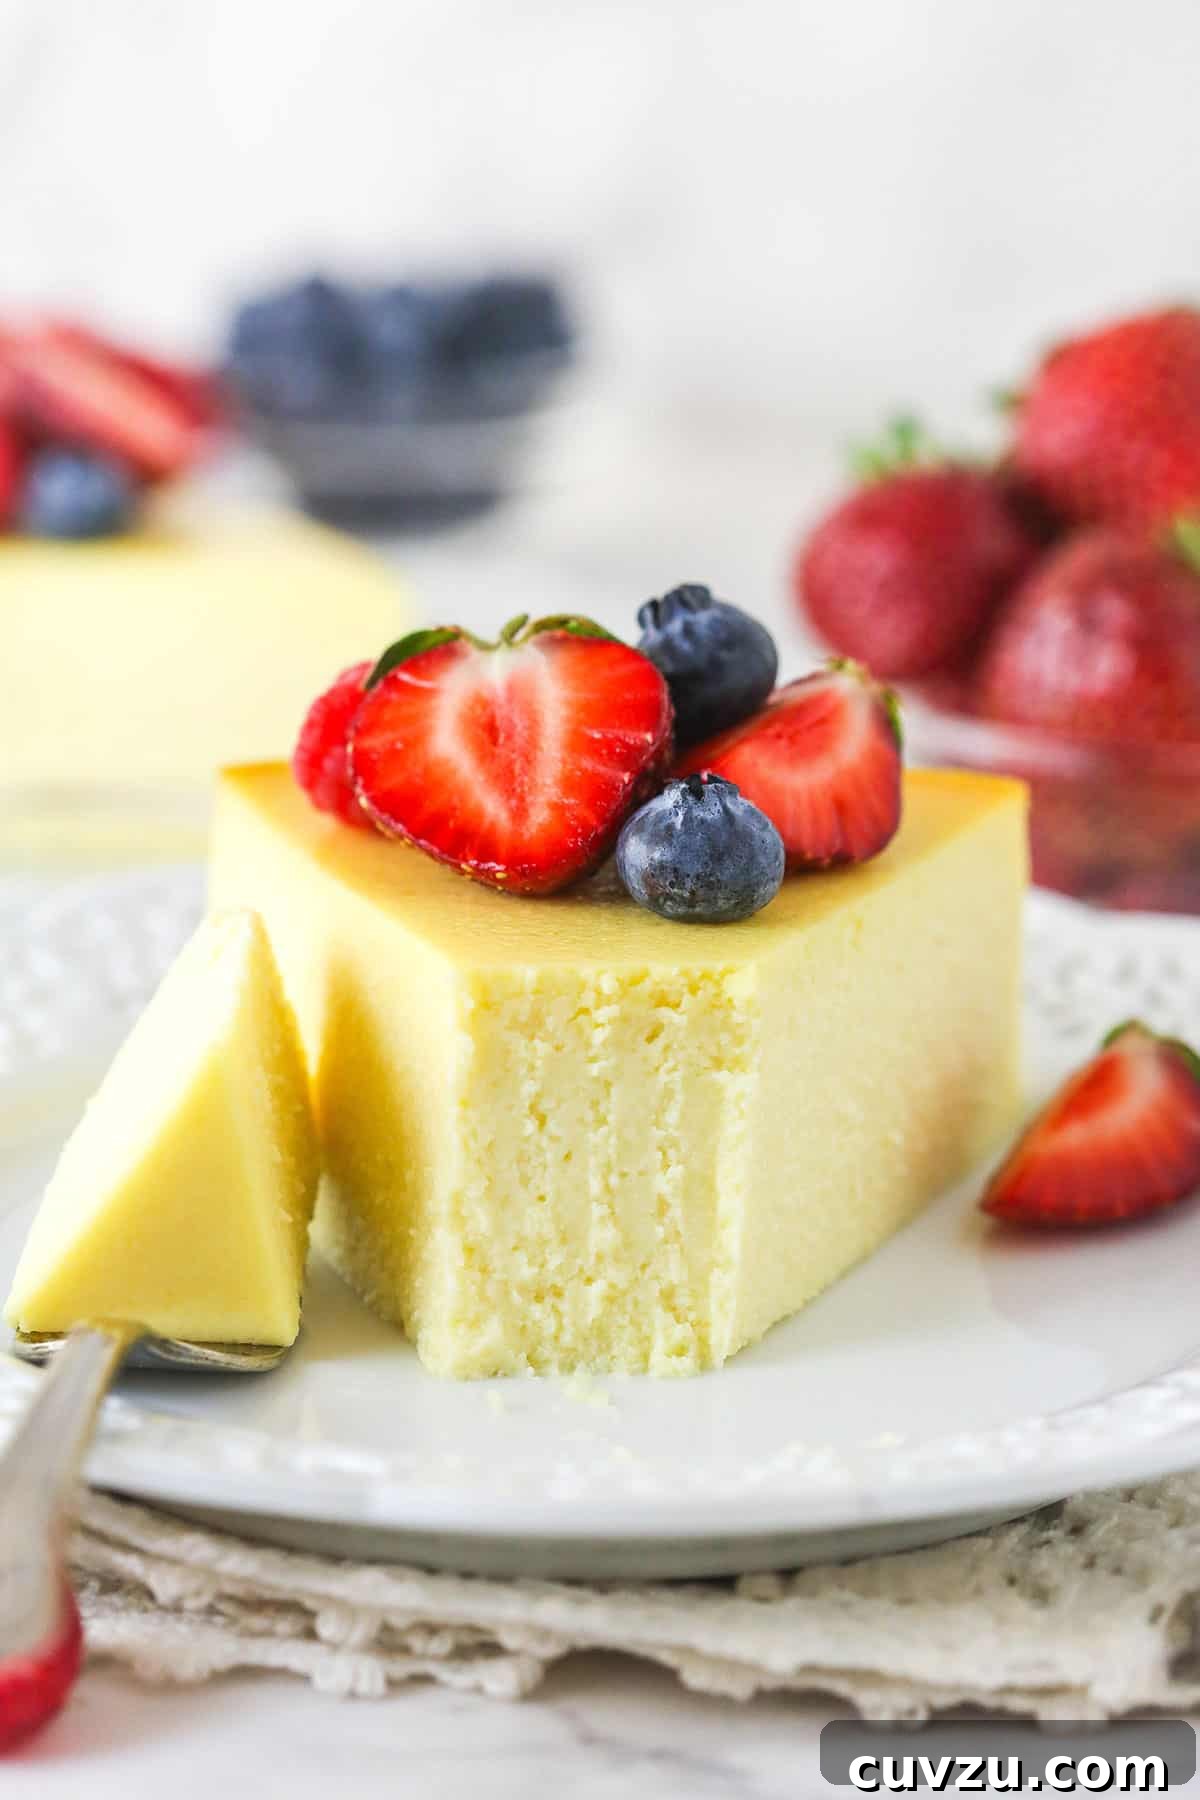
Proper Storage for Freshness
Ensuring your ricotta cheesecake remains fresh and delicious is simple with proper storage techniques.
- Refrigerator Storage: Once completely chilled, store your ricotta cheesecake in the refrigerator. It’s best to cover it tightly with plastic wrap or transfer it to an airtight container to prevent it from absorbing other odors and drying out. When stored correctly, this cheesecake is best enjoyed within 4-5 days for optimal flavor and texture.
- Freezer Storage: For longer preservation, this cheesecake freezes beautifully for up to 2 months. After it has fully chilled in the refrigerator, wrap the entire cheesecake (or individual slices) tightly first in plastic wrap, ensuring no air exposure, and then in a layer of aluminum foil. To thaw, simply transfer it to the refrigerator overnight. This slow thawing process helps maintain its creamy texture.
Explore More Cheesecake Creations
If you’ve fallen in love with the art of cheesecake making, be sure to explore these other delicious recipes from my collection:
- Biscoff Cheesecake
- Pistachio Cheesecake
- Snickerdoodle Cheesecake
- Creamy Coffee Cheesecake
Watch How To Make Ricotta Cheesecake
No ratings yet
Ricotta Cheesecake
Rate
Made with just 5 ingredients, this ricotta cheesecake is light, creamy, and easy to make. Skipping a crust and cream cheese keeps the focus on the subtle ricotta flavor, with just a hint of lemon. It’s so good!
Save This Recipe
Enter your email & we’ll send it to your inbox. Plus get new recipes from us every week!
(Subscription form removed as per instruction to remove Javascript.)
Ingredients
- 3 pounds whole milk ricotta cheese
- 1 ¼ cups (259g) granulated sugar
- 1 teaspoon vanilla extract
- 4 teaspoons lemon zest (from about 3 lemons)
- 8 large eggs (divided)
Instructions
Strain the Ricotta
- Line a fine-mesh strainer or colander with cheesecloth and place it over a bowl. Spoon the ricotta into the cheesecloth and cover it. Allow it to sit and strain for at least 4 hours, or overnight. I prefer to let it sit overnight, if I’m able to plan that far ahead. Discard the liquid.
Make Cheesecake Filling
- Preheat oven to 325°F (163°C) and prepare a 9-inch springform pan. Place a piece of parchment paper over the top of the bottom of the pan, then secure the sides on top of the parchment paper, leaving overhang on the outside of the pan. This will make it easier to remove the cheesecake when it’s done, since it has no crust. Spray the sides of the pan well with non-stick spray. Cover the outside of the pan with aluminum foil so that water from the water bath cannot get in (or use a silicone pan, as I do – see how I prepare a pan for a water bath). Set prepared pan aside.
- Note: This step is optional, but gives you a much smoother cheesecake. Add the strained ricotta to a large food processor (or use a small food processor and process in two or three batches) and process until smooth and creamy.
- Remove the ricotta from the food processor and add to a mixer bowl. Add the sugar, vanilla extract, lemon zest and 4 of the eggs and mix on low speed just until well combined. Add the remaining 4 eggs and mix until well combined.
- Pour the cheesecake batter into the prepared pan and bake for 1 hour and 30-40 minutes, or until the edges are set and the center is a little wiggly, but not sloshy (it’ll be a little softer than your average cream cheese-based cheesecake). At this point, turn of the oven but leave the door closed for another 30 minutes so that it can continue to cook and begin slowly cooling.
- Crack the door of the oven for 30 minutes to allow the cheesecake to continue to cool slowly. This process helps prevent cracking.
- Remove from the oven and allow to cool to room temperature. Remove from water bath wrapping, then cover and refrigerate for 5-6 hours, or overnight.
- Remove cheesecake from springform pan and transfer to a serving plate. Serve with fresh fruit and whipped cream, if desired. Store covered in the fridge. Best if eaten within 4-5 days.
Notes
Storage: Ricotta cheesecake should be enjoyed within 5 days. You can also freeze it for up to 2 months. Wrap it tightly in plastic wrap, then foil. You can also freeze individual slices. Thaw overnight in the fridge before serving.
Nutrition
Calories: 321kcal | Carbohydrates: 25g | Protein: 16g | Fat: 18g | Saturated Fat: 10g | Polyunsaturated Fat: 1g | Monounsaturated Fat: 5g | Trans Fat: 0.01g | Cholesterol: 167mg | Sodium: 137mg | Potassium: 162mg | Fiber: 0.1g | Sugar: 21g | Vitamin A: 663IU | Vitamin C: 1mg | Calcium: 252mg | Iron: 1mg
The nutrition facts provided are calculated using a third-party tool and are estimates only. Actual nutritional content may vary based on the ingredients and brands you use, as well as portion sizes. For accurate results, please consult a registered dietitian or nutritionist.
Did You Love This Recipe?
Make sure to drop a comment below or connect with me on Instagram @lifeloveandsugar!