Baking bread is a deeply rewarding culinary art, yet it’s a craft that often presents its own unique set of challenges. Whether you’re a novice baker or have years of experience under your belt, you’ve likely encountered common pitfalls: dough that refuses to rise, a perplexing stickiness that makes handling a nightmare, crusts that turn out disappointingly chewy, or the ultimate heartbreak of an undercooked center. These issues, while varied in their manifestation, frequently share a single, underlying culprit: temperature. Mastering the subtle nuances of temperature control is not merely a suggestion but a critical foundation for achieving consistently perfect loaves. This comprehensive guide will demystify the essential temperature zones for every stage of bread baking, empowering you to troubleshoot common problems and elevate your baking game to professional standards.
Unlocking Yeast’s Potential: The Ideal Water Temperature for Bread
Have you ever wondered why some bread recipes specify “warm” water, while others provide a precise temperature, and if these details truly matter? The answer is a resounding yes – water temperature plays an absolutely pivotal role in the success of your bread. It directly impacts the activity of yeast, the microscopic organisms responsible for leavening your dough and giving bread its characteristic airy texture and flavor.
Using water that’s too hot, generally above 120°F (49°C), can be detrimental to your yeast. At these temperatures, the delicate yeast cells begin to weaken and eventually die, losing their ability to produce carbon dioxide. The result? A dense, flat loaf that fails to rise, as the primary leavening agent has been inactivated. Conversely, if your water is too cold, typically below 100°F (38°C), the yeast will remain dormant or activate very slowly. This sluggish start will significantly prolong proofing times, leading to a dough that might feel excessively sticky and challenging to work with due to underdeveloped gluten structure and insufficient fermentation. In essence, the yeast is still alive but too sleepy to do its job efficiently.
For most active dry yeast, the sweet spot for activation is a range of 105 to 115°F (41 to 46°C). Within this window, the yeast awakens rapidly, begins to feed on sugars, and actively produces the gas needed for a robust rise. This optimal environment ensures proper yeast flourishing, translating directly into a well-risen, beautifully textured dough. When working with fresh yeast (also known as cake yeast or compressed yeast), a slightly cooler temperature of around 95°F (35°C) is preferred, as it’s more delicate. Instant yeast, designed for convenience and often mixed directly with dry ingredients, is more resilient and can tolerate warmer temperatures, ideally between 120 to 130°F (49 to 55°C).
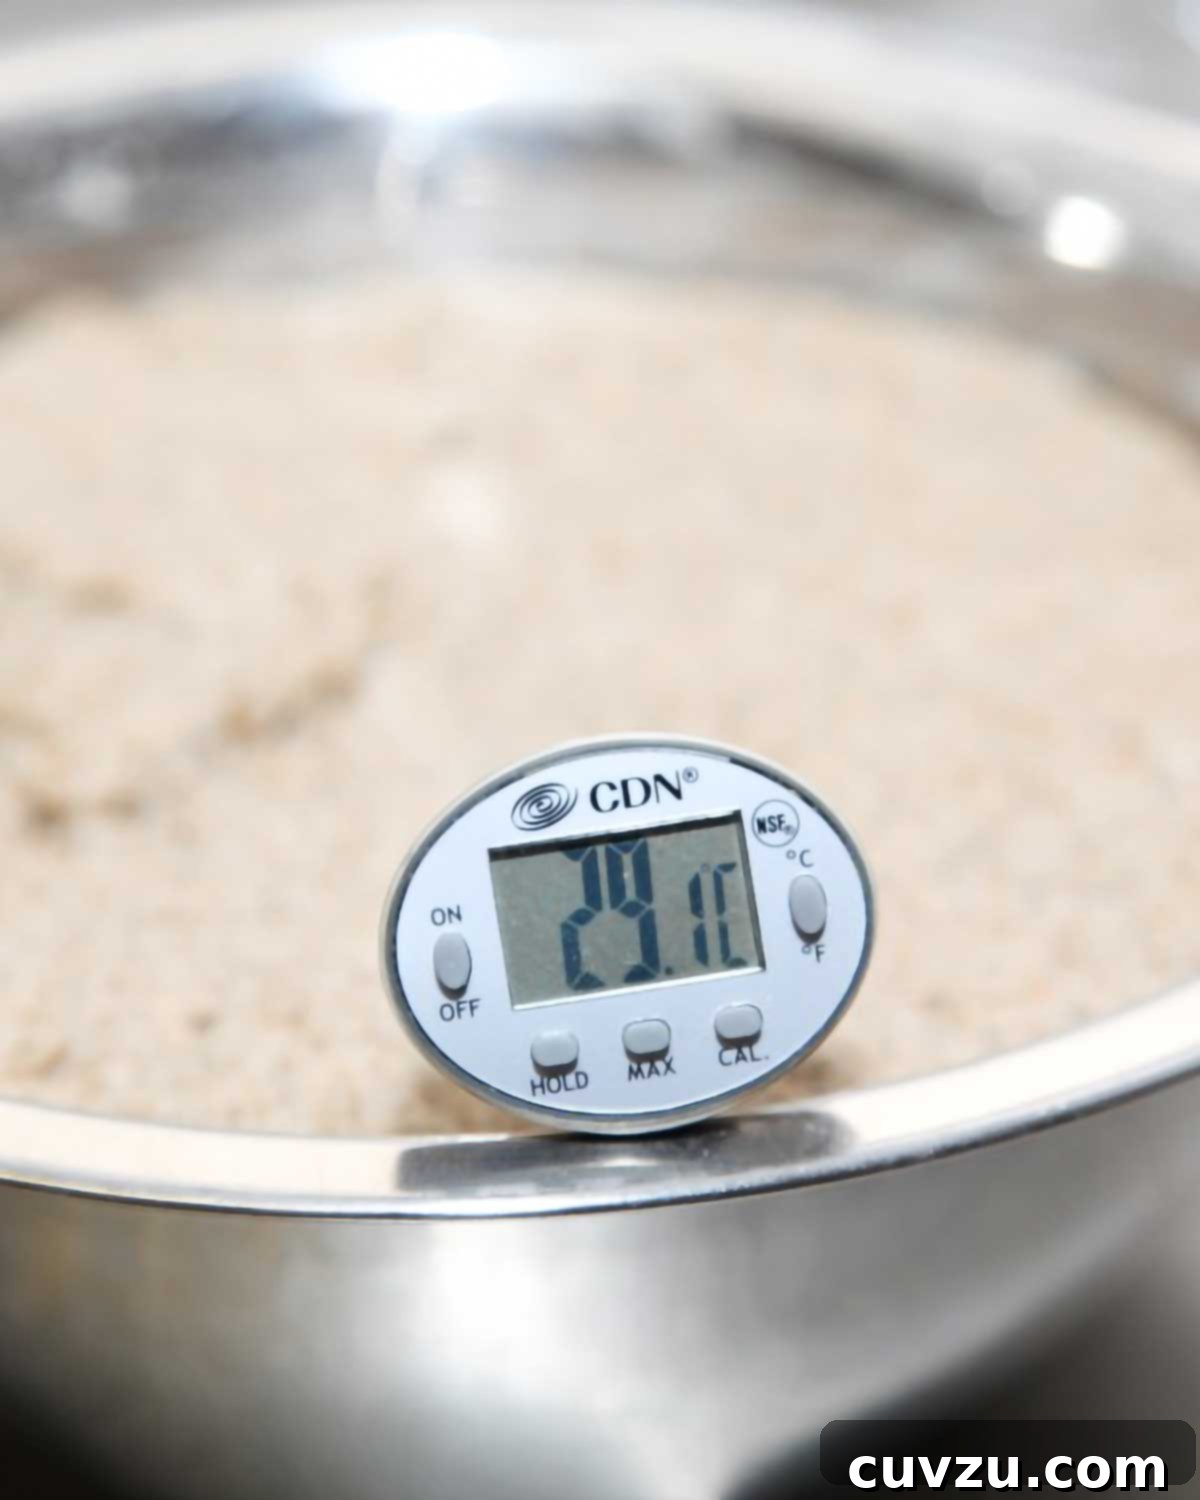
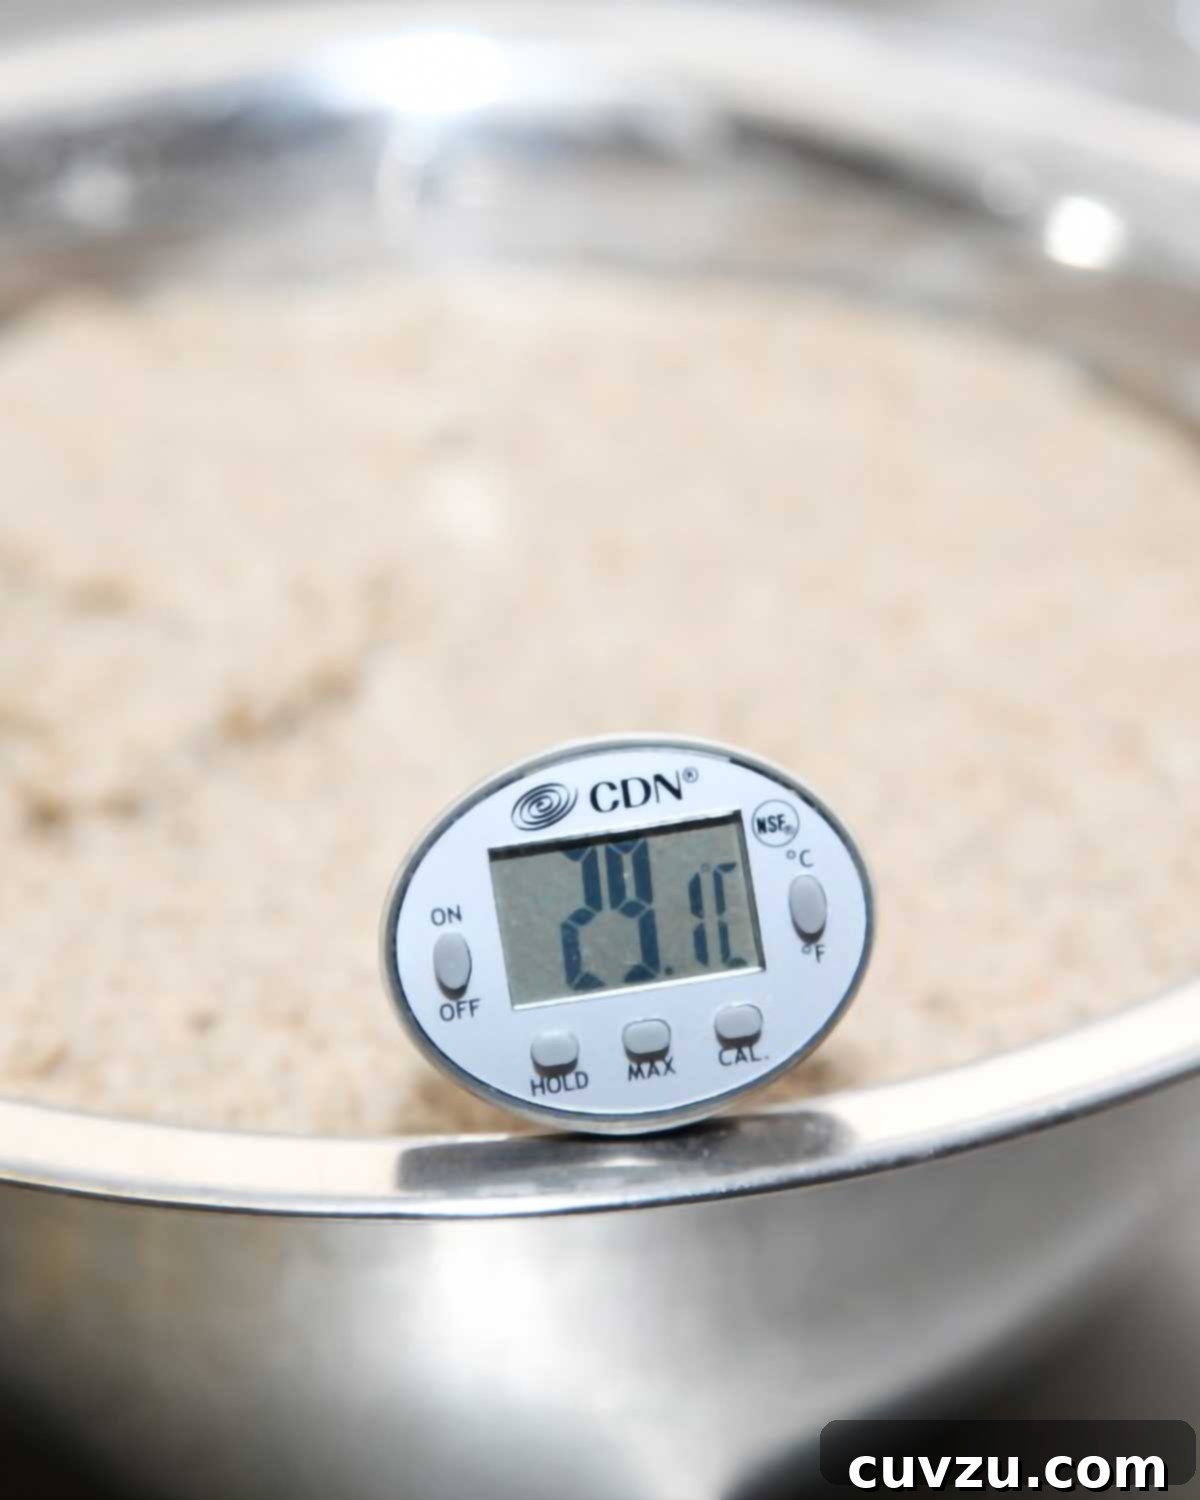
To consistently hit these crucial temperature targets, a digital thermometer is an invaluable tool. It offers quick, precise readings, removing all guesswork and ensuring your yeast gets the perfect start. Beyond merely activating yeast, water temperature also subtly influences the final texture of your bread. Through extensive baking experiments, many bakers observe that slightly cooler water can yield a denser crumb and a chewier crust, while warmer water often contributes to a lighter, airier interior and a crispier crust. Understanding and controlling this initial temperature sets the stage for a truly remarkable loaf.
The Perfect Proofing Zone: Optimal Temperature for Dough Rising
Once your ingredients are meticulously mixed and kneaded, your dough enters a crucial phase known as proofing, or fermentation. This is when the activated yeast tirelessly works to produce carbon dioxide, creating the airy pockets that give bread its signature texture. For optimal yeast activity and a consistent, well-structured rise, your dough requires a warm, stable environment with a temperature ideally between 80 and 90°F (27 and 32°C).
The temperature of your proofing environment is just as critical as the water temperature used to activate the yeast. If the ambient air is too cool, below this ideal range, the yeast’s metabolic activity will slow significantly. This leads to a painfully slow rise, often resulting in a dense, underdeveloped loaf with a tight crumb and diminished flavor. You might find yourself staring at a stubborn lump of dough for hours, wondering if it will ever double in size. Conversely, an environment that’s too hot can cause the yeast to overproduce gas too quickly. This rapid rise often leads to overproofing, where the gluten structure stretches too far too fast, becoming weak and unable to hold the gas. Overproofed dough often collapses in the oven (a phenomenon known as oven spring failure), resulting in a bread with a poor texture, an excessively sour flavor, and a dense, gummy interior.
Achieving this ideal proofing temperature can be a challenge, especially in cooler kitchens. Fortunately, there are several simple yet effective techniques to create the perfect warm haven for your dough. One popular method is to place your dough in an oven with just the oven light turned on. The warmth generated by the light bulb is often enough to create an ideal temperature pocket for rising. However, always remember to remove the dough before you preheat the oven for baking! Other effective strategies include placing the bowl of dough in a draft-free spot, using a dedicated proofing box, or even setting the bowl in a warm water bath (ensuring no water seeps into the dough). Some bakers also find success by placing the dough in a microwave with a cup of freshly boiled water, letting the steam and residual heat create a warm, humid environment.
Consistency in temperature and avoiding sudden drafts are key during proofing. A stable environment allows the yeast to work steadily, developing both the volume and the complex flavors that make homemade bread so irresistible. Paying attention to this stage ensures your loaf achieves its full potential in both size and taste.
The Ultimate Test: Determining Bread Doneness with Internal Temperature
You’ve meticulously prepared your dough, nurtured its rise, and carefully placed it into a hot oven. But how do you know when it’s truly baked through? Relying solely on visual cues like a golden-brown crust can be misleading; a beautiful exterior doesn’t always guarantee a perfectly cooked interior. Nothing is quite as disheartening as investing hours into a loaf of bread, only to slice into it and discover a gummy, undercooked center. This is where the precision of a digital thermometer becomes indispensable, transforming guesswork into certainty.
Just as you would check the internal temperature of a roast chicken or a pot roast, a digital probe thermometer allows you to accurately assess the doneness of your bread. Simply insert the probe into the center of the loaf, avoiding any air pockets, to get a precise reading. The internal temperature indicates the point at which the starches in the flour have fully gelatinized and the proteins have coagulated, leading to the desired crumb structure and texture.
For most lean bread doughs – those made primarily from flour, water, yeast, and salt, like artisan loaves, baguettes, or sourdough – the ideal internal temperature for doneness ranges from 195° to 205°F (91° to 96°C). This range ensures a fully cooked interior, a light and airy crumb, and a crisp crust. However, enriched doughs, which contain higher amounts of fat (like butter or oil), sugar, eggs, or milk (such as brioche, challah, or sandwich bread), will typically be ready at a slightly lower internal temperature, usually between 180° to 190°F (82° to 88°C). The additional ingredients in enriched doughs contribute to a softer, more tender crumb that cooks through at a slightly lower point.
Using a thermometer eliminates the risk of both underbaked and overbaked bread. An underbaked loaf will be dense, moist, and doughy, with a raw flavor. An overbaked loaf, while safe to eat, will often be dry, tough, and crumbly, having lost too much moisture. While tapping the bottom of the loaf and listening for a hollow sound can be an indicator, it’s a skill that takes practice and can still be subjective. For consistent, perfect results every time, trust your digital thermometer. It’s the definitive method to ensure your bread is cooked through to perfection, allowing you to enjoy every slice without disappointment.
Mastering the Heat: A Comprehensive Guide to Critical Bread Baking Temperatures
Understanding and controlling temperature at every stage of bread baking is the secret weapon of successful bakers. The following critical temperature benchmarks, inspired by authoritative culinary science, provide a roadmap for navigating the precise thermal requirements of yeast and dough. These insights, drawing from works like “The Inquisitive Cook” by Anne Gardiner and Sue Wilson, ensure you make informed decisions from start to finish.
- 300°F to 400°F (150°C to 205°C): This is the surface temperature range where the Maillard reaction occurs, leading to the glorious browning and crisping of your bread’s crust. It’s during this phase that complex flavors and aromas develop, making the crust one of the most appealing parts of the loaf.
- 200°F (93°C): This is a key indicator of doneness for many standard, lean bread types. Achieving this internal temperature signifies that the starches are fully gelatinized and the proteins are set, ensuring a light, airy, and fully cooked crumb without any gumminess.
- 130°F to 140°F (55°C to 60°C): This range represents the thermal death point for most yeast cells. Exposing yeast to temperatures within this spectrum, even briefly, will irreversibly damage or kill them, halting fermentation and preventing the dough from rising. This is why it’s crucial to be precise with your water temperature.
- 120°F to 130°F (49°C to 55°C): This is the ideal water temperature for activating instant yeast, which is often designed to be mixed directly with dry ingredients in a recipe. Instant yeast is more robust and can withstand these slightly higher temperatures compared to active dry yeast.
- 105°F to 115°F (41°C to 46°C): The perfect temperature range for reconstituting active dry yeast. When using active dry yeast, dissolving it in water (often with a pinch of sugar) within this range allows it to hydrate properly and begin its fermentation process vigorously, ensuring a strong rise.
- 100°F (38°C) or lower: When yeast is mixed with water at too low a temperature, it remains sluggish. Furthermore, an amino acid called glutathione can leak from the cell walls, particularly in older or less vital yeast. This glutathione can break down gluten strands, making doughs excessively sticky, difficult to handle, and leading to a less structured final product.
- 95°F (35°C): This is the recommended temperature for liquids used to dissolve compressed yeasts, also known as fresh yeast or cake yeast. Fresh yeast is more perishable and sensitive to temperature extremes than its dried counterparts, thriving in a slightly cooler activating environment.
- 80°F to 90°F (27°C to 32°C): This represents the optimum temperature range for yeast to grow and the ideal temperature range for letting your dough rise during its first and second proofing stages. This environment encourages consistent, steady fermentation without over-stressing the gluten structure.
- 70°F to 80°F (21°C to 27°C): If you’re using a bread machine, this slightly cooler water temperature is often recommended. Bread machines generate their own heat during the mixing and kneading cycles, so starting with cooler water helps prevent the dough from overheating and overproofing prematurely within the machine’s sealed environment.
- 40°F (4°C): This is the standard recommended refrigerator temperature. If you store fresh yeast in the fridge, it will be too cold to work properly when used directly. It’s advisable to allow fresh yeast to warm slightly to room temperature before incorporating it into your recipe, ensuring optimal activation.
By keeping these critical temperatures in mind and utilizing the right tools, you gain unparalleled control over your bread-baking process, moving closer to consistently achieving bakery-quality results.
Choosing Your Essential Tool: The Best Digital Thermometer for Bread Bakers
Given the pivotal role temperature plays in every stage of bread baking, from activating yeast to confirming doneness, a reliable digital thermometer isn’t just a luxury—it’s an absolute necessity. Equipping your kitchen with the right thermometer will empower you with precision and confidence, ensuring consistently excellent results. While there are many options on the market, choosing the “best” one often depends on your specific needs, budget, and desired features.
When selecting a digital thermometer for bread baking, consider the following key features:
- Accuracy and Response Time: Look for a thermometer that offers high accuracy (within 1-2 degrees Fahrenheit or Celsius) and a fast response time. Instant-read thermometers are particularly valuable for quickly checking water temperature and the internal temperature of a hot loaf straight from the oven.
- Probe Length and Material: A longer, thin probe is advantageous for reaching the center of a large loaf without difficulty. Stainless steel probes are durable, easy to clean, and resistant to corrosion.
- Display Clarity: The display should be clear, easy to read, and ideally backlit for use in varying kitchen lighting conditions. Large, bold numbers are a plus, especially when you need a quick glance.
- Temperature Range: Ensure the thermometer can handle a broad range of temperatures, from the cooler end of yeast activation to the high heat of internal bread doneness.
- Ease of Use and Cleaning: Simple controls, a comfortable grip, and a design that’s easy to wipe clean are practical considerations for daily use.
- Durability: Kitchens can be demanding environments. A thermometer that can withstand occasional drops or splashes will be a long-term investment.
- Budget: Digital thermometers range widely in price. While high-end models offer superior features and speed, many mid-range options provide excellent value and sufficient accuracy for home bakers.
Popular types include instant-read probe thermometers, which are versatile for liquids and solids, and even some oven-safe probe thermometers that can remain in the loaf during baking (though most bakers prefer to use an instant-read thermometer once the bread is out of the oven for accuracy and convenience). Whichever model you choose, remember that this small, affordable tool has the power to transform your bread-making experience, moving it from hit-or-miss attempts to consistently successful, delicious loaves. Investing in a quality digital thermometer is investing in better bread.
In conclusion, the journey to baking exceptional bread is deeply intertwined with a thorough understanding and precise control of temperature. From the initial awakening of yeast in warm water to the ideal environment for proofing, and finally, to the crucial internal temperature that signals a perfectly baked loaf, every degree matters. By embracing the principles outlined in this guide and leveraging the indispensable aid of a digital thermometer, you unlock the full potential of your ingredients and your effort. Say goodbye to guesswork and disappointment, and hello to consistently achieving that coveted airy crumb, crisp crust, and rich flavor that defines truly great homemade bread. Start baking with confidence and precision today!